
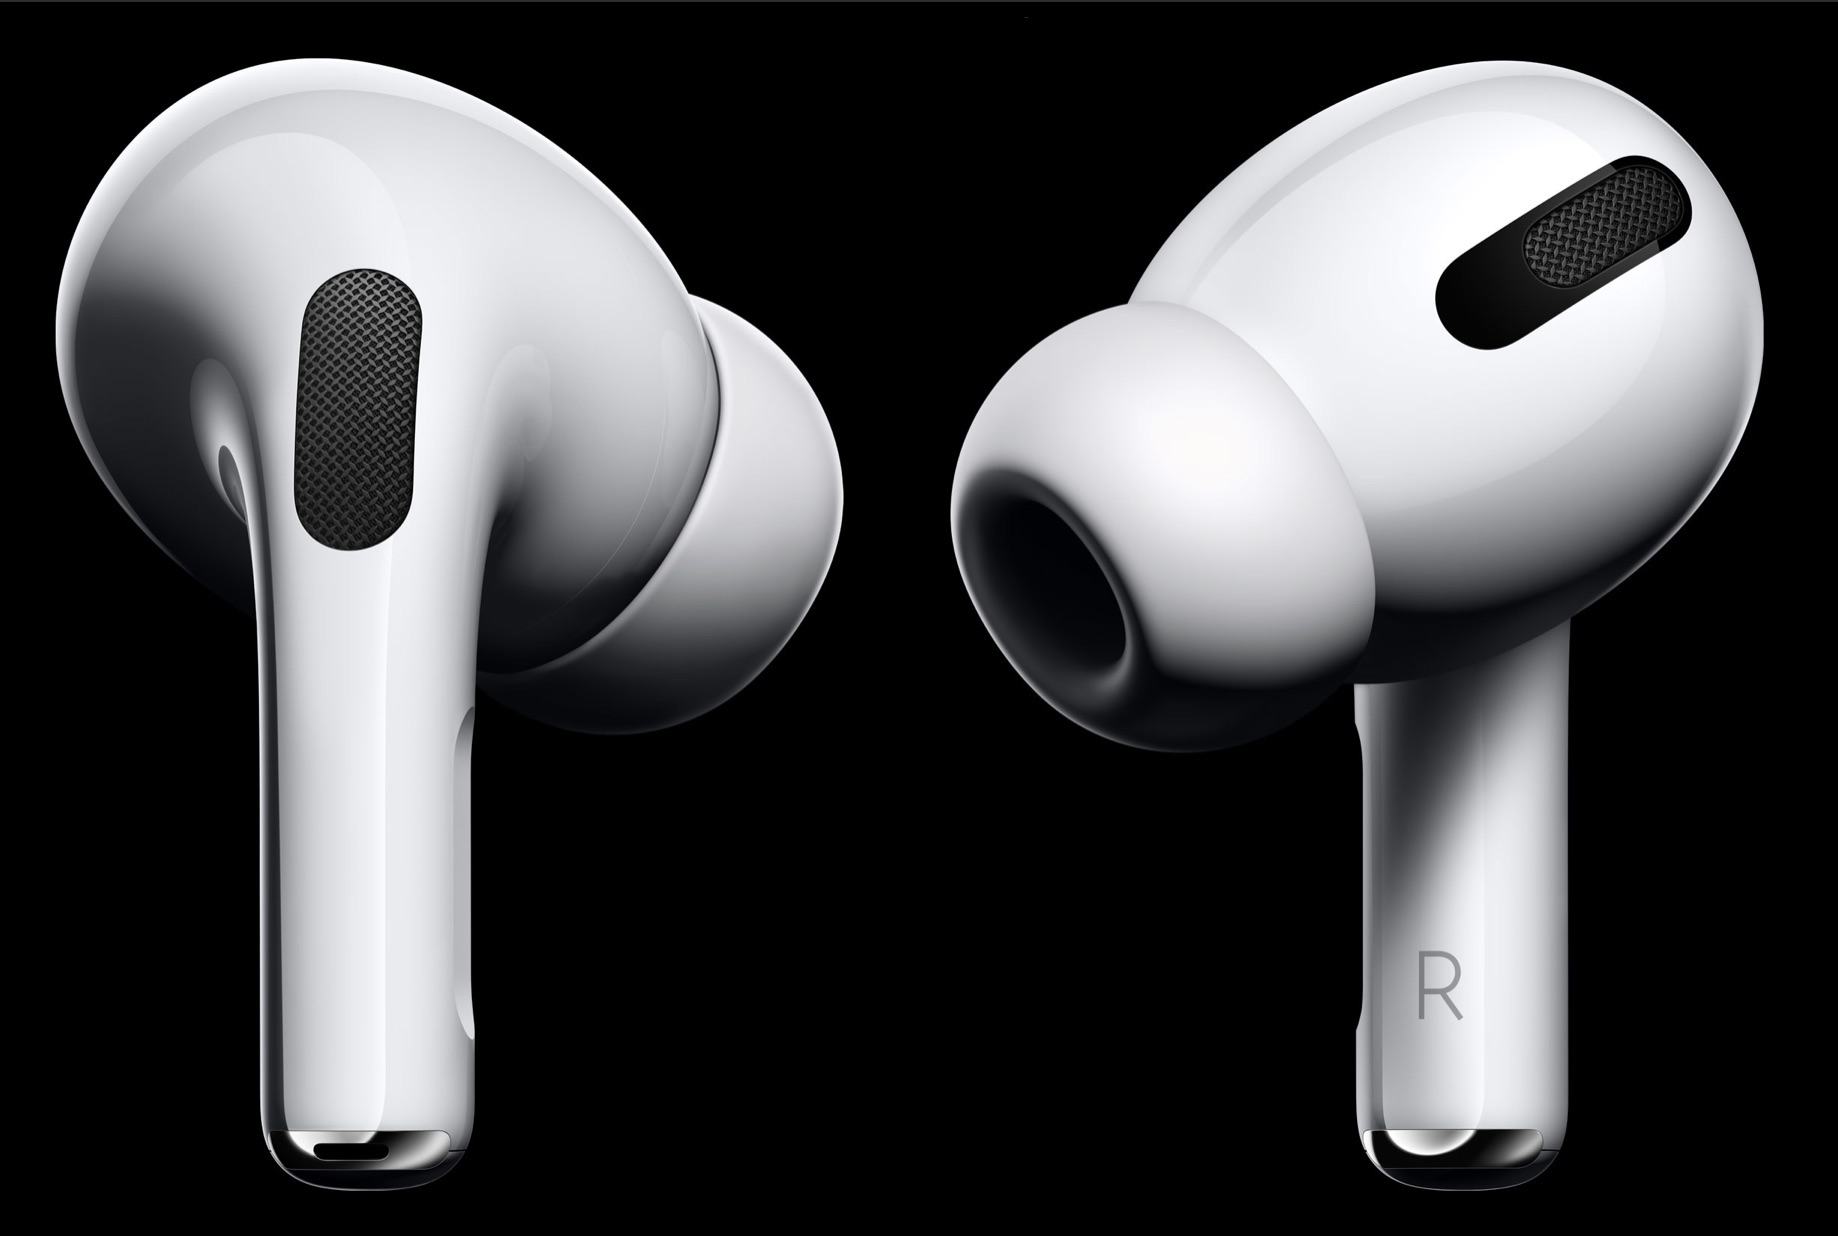
The AirPods Pro, Apple’s latest addition to the AirPods family, have been a game-changer in the world of wireless earbuds. Along with their sleek design and impressive sound quality, one of the standout features of the AirPods Pro is their active noise cancelling capability. This cutting-edge technology allows users to immerse themselves in their favorite music or podcasts while blocking out background noise. But how exactly do you turn on the noise cancelling feature on your AirPods Pro? In this article, we will guide you through the simple steps to activate noise cancelling and dive into a world of uninterrupted listening pleasure. Whether you’re a new AirPods Pro owner or a seasoned user looking for a refresher, this guide has got you covered.
Inside This Article
- Overview
- Activating Noise Cancelling
- Overview
- Activating Noise Cancelling
- Adjusting Noise Cancelling Levels
- Using Transparency Mode
- Conclusion
- FAQs
Overview
Welcome to our comprehensive guide on how to turn on noise cancelling on the AirPods Pro! If you’re looking to experience the ultimate in audio immersion and block out external distractions, then you’ve come to the right place. Apple’s AirPods Pro are equipped with advanced noise cancellation technology, allowing you to enjoy your favorite music, podcasts, and phone calls without any interruptions from the outside world.
With the AirPods Pro, you can easily toggle noise cancellation on and off, enabling you to customize your audio experience based on your surroundings. Whether you’re in a noisy office, commuting on public transportation, or simply seeking some tranquil moments, the AirPods Pro has got you covered.
In this guide, we’ll walk you through the simple steps to connect your AirPods Pro to your device, understand the controls, and activate noise cancellation. Additionally, we’ll provide tips on how to adjust the intensity of the noise cancellation feature to perfectly suit your preferences.
So, grab your AirPods Pro and let’s dive into the world of immersive audio and a truly serene listening experience!
Activating Noise Cancelling
One of the standout features of the AirPods Pro is their active noise cancellation capability. This technology uses microphones to continuously monitor and block out external sounds, providing a truly immersive audio experience. Activating noise cancellation on your AirPods Pro is a breeze.
To begin, make sure that your AirPods Pro are connected to your device. Once they are properly paired, follow these simple steps to activate noise cancellation:
- Put your AirPods Pro in your ears and ensure they are securely in place.
- Open the Control Center on your iPhone or iPad by swiping down from the top-right corner of the screen (for iPhone X or later) or swiping up from the bottom of the screen (for older iPhone models and iPads).
- Press and hold the volume slider located in the top-right corner of the Control Center.
- A new expanded volume slider will appear, along with an icon representing your AirPods Pro.
- Tap on the AirPods Pro icon to access the settings for your AirPods Pro.
- In the settings menu, you will find a toggle switch to enable or disable noise cancellation.
- Tap on the switch to activate noise cancellation.
Once you have activated noise cancellation, you will immediately notice a significant reduction in ambient noise. Whether you are in a busy office, a crowded train, or a noisy coffee shop, the AirPods Pro will create a bubble of tranquility around you, allowing you to fully enjoy your music or podcasts.
Keep in mind that with noise cancellation turned on, you may not be fully aware of your surroundings. It is important to exercise caution when using your AirPods Pro in environments where situational awareness is necessary, such as while walking on a busy street or during outdoor activities.
If you ever need to deactivate noise cancellation, simply follow the same steps outlined above and toggle the switch to the off position.
The ability to control noise cancellation directly from your device’s Control Center provides a seamless and convenient user experience. With just a few taps, you can switch between total immersion in your audio or engage with your surroundings without having to remove your AirPods Pro.
Remember, enabling noise cancellation on your AirPods Pro is just one of the many features that enhance your overall listening experience. Take some time to explore the other functionalities and settings available to you to make the most out of your AirPods Pro.
Overview
When it comes to the AirPods Pro, one of the most sought-after features is the noise cancellation. This innovative technology allows you to fully immerse yourself in your music or calls, blocking out unwanted background noise for a superior audio experience. In this article, we will guide you through the process of turning on noise cancellation on your AirPods Pro, and how to adjust the intensity of the noise cancellation to suit your preferences.
Activating Noise Cancelling
The AirPods Pro offers a seamless and user-friendly way to activate the noise cancellation feature. Once your AirPods Pro is connected to your device, follow these simple steps:
- Open the Control Center on your iOS device by swiping down from the top-right corner of the screen.
- Long-press on the volume slider to expand the options.
- Tap on the Noise Cancellation button to enable it.
Alternatively, you can activate noise cancellation by going to the Settings app on your iOS device. Tap on Bluetooth, then select your AirPods Pro from the list. Toggle the switch for Noise Cancellation to turn it on.
Once noise cancellation is activated, you will immediately start to experience a quieter and more focused audio environment. The AirPods Pro uses advanced algorithms to analyze and cancel out ambient noise, allowing you to enjoy your music or conversations without any interruptions.
Adjusting Noise Cancelling Levels
The AirPods Pro also gives you the flexibility to adjust the intensity of the noise cancellation to better suit your personal preferences. To do this:
- Open the Control Center on your iOS device by swiping down from the top-right corner of the screen.
- Long-press on the volume slider to expand the options.
- You will see a slider labeled “Noise Cancellation.” Simply drag the slider to increase or decrease the level of noise cancellation.
By adjusting the noise cancellation levels, you can find a balance between blocking out external distractions and maintaining awareness of your surroundings. This is particularly useful in situations where you need to stay alert, such as when traveling or walking in busy areas.
Remember, the AirPods Pro also features a Transparency mode, which allows you to hear and interact with the outside world while still enjoying your audio. You can easily switch to Transparency mode by following the same steps in the Control Center and tapping on the Transparency button.
With the AirPods Pro’s customizable noise cancellation features, you have complete control over your audio experience. Whether you want to completely immerse yourself in your music or stay aware of your surroundings, the AirPods Pro has got you covered.
Using Transparency Mode
Alongside the powerful noise cancellation feature, the AirPods Pro also offer transparency mode, allowing you to easily hear your surroundings while still enjoying your music or calls. This can come in handy when you want to stay aware of your environment, such as when walking on busy streets or while traveling.
To activate transparency mode on your AirPods Pro, follow these simple steps:
- Make sure your AirPods Pro are connected to your device.
- Double-tap on the force sensor located on the stem of either AirPod. This will bring up the control center.
- Look for the transparency mode icon, which looks like an ear with sound waves coming out.
- Tap on the transparency mode icon to activate it.
Once transparency mode is enabled, you will notice a significant difference in the audio experience. The AirPods Pro will allow external sound to pass through, ensuring that you can hear what’s happening around you without needing to remove your earbuds.
Transparency mode not only enhances your safety while on the go but also enables you to have conversations without having to remove your AirPods Pro. This feature can be particularly useful when you need to listen to announcements, interact with others while wearing your earbuds, or simply want to enjoy your music while staying connected to your surroundings.
Keep in mind that while transparency mode allows external sounds to come through, it may slightly impact the clarity and quality of the audio you are listening to. However, the AirPods Pro are designed to strike a balance between giving you the best audio experience and keeping you connected to the world around you.
To disable transparency mode, simply follow the same steps outlined above and tap on the transparency mode icon to turn it off. You can also use Siri commands by saying “Hey Siri, turn off transparency mode” to quickly switch back to noise cancellation or regular mode.
Whether you need to be aware of your surroundings or engage in conversations without interrupting your audio experience, the transparency mode on the AirPods Pro offers a convenient and intuitive solution. Explore this feature and enjoy a personalized sound experience that adapts to your needs and preferences.
Conclusion
In conclusion, the AirPods Pro with their advanced noise cancelling feature offer a truly immersive and uninterrupted audio experience. Understanding how to turn on the noise cancelling feature can greatly enhance your enjoyment of these wireless earbuds.
With just a few simple steps, you can activate noise cancelling on your AirPods Pro and tune out the surrounding sounds. From blocking out the noise in a busy cafe to creating a peaceful environment for focused work, the noise cancelling feature is a game-changer.
By firmly pressing and holding the force sensor on the stem of the AirPods Pro, you can switch between Transparency mode and noise cancelling mode. Transparency mode allows you to stay aware of your surroundings when needed, while noise cancelling mode blocks out external sounds for undisturbed listening.
Whether you’re a frequent traveler, a music enthusiast, or someone who simply wants to enjoy audio in a quiet environment, AirPods Pro with noise cancelling are an excellent choice. With their seamless integration with Apple devices, premium sound quality, and comfortable fit, they deliver an unmatched audio experience.
So go ahead, turn on the noise cancelling feature on your AirPods Pro and immerse yourself in your favorite music, podcasts, or videos without any distractions.
FAQs
Q: How do I turn on noise cancelling on my AirPods Pro?
A: Turning on noise cancelling on your AirPods Pro is simple. Just follow these steps:
- Make sure your AirPods Pro are connected to your device.
- Open the Control Center on your device by swiping down from the upper-right corner (iPhone X or newer) or swiping up from the bottom (iPhone 8 or older) of the screen.
- Press and hold the volume slider located in the top-right corner.
- Tap on the “Noise Cancellation” button to turn it on.
Q: Can I customize the level of noise cancelling on my AirPods Pro?
A: Yes, you can customize the level of noise cancelling on your AirPods Pro. Here’s how:
- Make sure your AirPods Pro are connected to your device.
- Open the Settings app on your device.
- Tap on “Bluetooth” and find your AirPods Pro in the list of paired devices.
- Tap the “i” icon next to your AirPods Pro.
- Under the “Noise Control” section, you can choose between three options: “Noise Cancellation,” “Transparency,” or “Off.”
- Select “Noise Cancellation” to enable it.
- You can also use the volume slider to adjust the intensity of the noise cancellation.
Q: Is noise cancelling available for phone calls on AirPods Pro?
A: Yes, noise cancelling is available for phone calls on AirPods Pro. When you receive or make a phone call, the noise cancelling feature will automatically activate to block out background noise and enhance call quality.
Q: Does noise cancelling drain the battery of the AirPods Pro faster?
A: Yes, noise cancelling does consume more battery power. When you enable noise cancelling on your AirPods Pro, it requires additional processing power to actively cancel out external sounds. This leads to faster battery drainage compared to when noise cancelling is turned off. However, the AirPods Pro have a built-in battery optimization feature that helps maximize battery life.
Q: Can I use noise cancelling with just one AirPod Pro?
A: Unfortunately, no. Noise cancelling on the AirPods Pro requires both earbuds to be connected and in use. The technology used to cancel out external noise relies on microphones in each earbud working in tandem. If you remove one earbud, the noise cancelling feature will not function properly.