
Are you tired of accidentally dropping your phone? Do you find it uncomfortable to hold your device for long periods of time? Look no further, as the solution to your phone-holding woes is here – the PopSocket! A PopSocket is a nifty little accessory that attaches to the back of your smartphone, providing extra grip, stability, and convenience. In this article, we will guide you through the simple process of putting a PopSocket on your phone. Whether you’re an iPhone enthusiast, a Samsung loyalist, or a Google Pixel lover, this guide will apply to you. Say goodbye to slippery phone incidents and hello to a secure and comfortable grip. Let’s jump right into it and discover how to easily put a PopSocket on your phone!
Inside This Article
- Choosing the Right Popsocket
- Preparing Your Phone for the Popsocket
- Installing the Popsocket on Your Phone
- Tips for Using a Popsocket
- Conclusion
- FAQs
Choosing the Right Popsocket
When it comes to personalizing and enhancing the functionality of your cellphone, few accessories can compare to the popsocket. This small device, which attaches to the back of your phone, not only adds a stylish touch but also provides a secure grip and stand. With a wide range of options available in the market, it’s important to choose the right popsocket that suits both your style and practical needs. Here are some key factors to consider when selecting a popsocket:
- Design: Popsockets come in a variety of designs, from simple and minimalistic to vibrant and eye-catching. Consider your personal taste and the overall aesthetic of your phone when choosing the design. Whether you prefer a sleek matte finish or a dazzling glittery pattern, there is a popsocket design out there that will match your style.
- Functionality: While the primary purpose of a popsocket is to provide a secure grip, it’s worth exploring the additional features that some popsockets offer. Some models come with a built-in wallet compartment, allowing you to store cards or cash. Others have a mount that can be used to attach your phone to surfaces, such as car dashboards or magnetic holders. Think about how you plan to use your popsocket and determine which features would be most useful to you.
- Compatibility: Before purchasing a popsocket, check whether it is compatible with your phone model. Most popsockets are designed to work with a wide range of devices, including iPhones, Samsung Galaxy phones, and Google Pixel phones. However, it’s always a good idea to double-check compatibility to ensure a proper fit.
- Durability: Look for a popsocket that is built to last. Consider the materials used and read reviews from other users to get an idea of the durability of the product. A well-made popsocket should withstand daily use without losing its functionality or causing damage to your phone.
By taking these factors into consideration, you can choose a popsocket that not only matches your personal style but also meets your practical requirements. Whether you opt for a stylish design or a functional feature, a popsocket is sure to enhance your phone experience. So go ahead and explore the options available, and find the perfect popsocket to complement your phone!
Preparing Your Phone for the Popsocket
Before you can apply a Popsocket to your phone, it’s essential to properly prepare the surface to ensure optimal adhesion. Here are some steps you can follow to get your phone ready:
- Clean the surface: Start by cleaning the back of your phone with a gentle, lint-free cloth or a microfiber cloth. This will remove any dirt, oils, or residue that may affect the adhesion of the Popsocket.
- Use a cleaning solution (if needed): If your phone’s surface is particularly dirty or sticky, you can use a mild cleaning solution. Dampen a cloth with a mixture of water and a small amount of gentle soap or rubbing alcohol. Gently wipe the surface of your phone and then dry it with a clean cloth.
- Allow your phone to dry: After cleaning, give your phone some time to air dry completely. This will ensure that there is no moisture left on the surface, which could affect the adhesive of the Popsocket.
- Avoid applying on textured surfaces: It’s important to note that Popsockets adhere best to smooth and flat surfaces. Avoid applying the Popsocket on textured phone cases or surfaces, as it may not adhere securely.
- Consider a phone case: If you’re using a phone case, you may have the option to stick the Popsocket directly onto the case instead of the phone itself. This can provide added versatility, allowing you to remove the Popsocket if needed without leaving a residue on your phone.
Following these steps will ensure that your phone’s surface is clean and ready for the Popsocket. By taking the time to prepare properly, you’ll help ensure a strong and durable bond between your phone and the Popsocket.
Installing the Popsocket on Your Phone
Once you have chosen the right Popsocket and prepared your phone, it’s time to install the Popsocket on your device. Follow these steps to ensure a successful installation:
- Clean your phone: Before attaching the Popsocket, make sure to clean the back of your phone thoroughly. Use a microfiber cloth and a small amount of rubbing alcohol to remove any dirt, grease, or residue that may prevent the adhesive from sticking properly.
- Remove the backing: The Popsocket comes with a removable backing covering the adhesive. Peel off the backing, being careful not to touch the adhesive with your fingers. Alternatively, some Popsockets come with a sticky gel pad instead of adhesive, in which case you can skip this step.
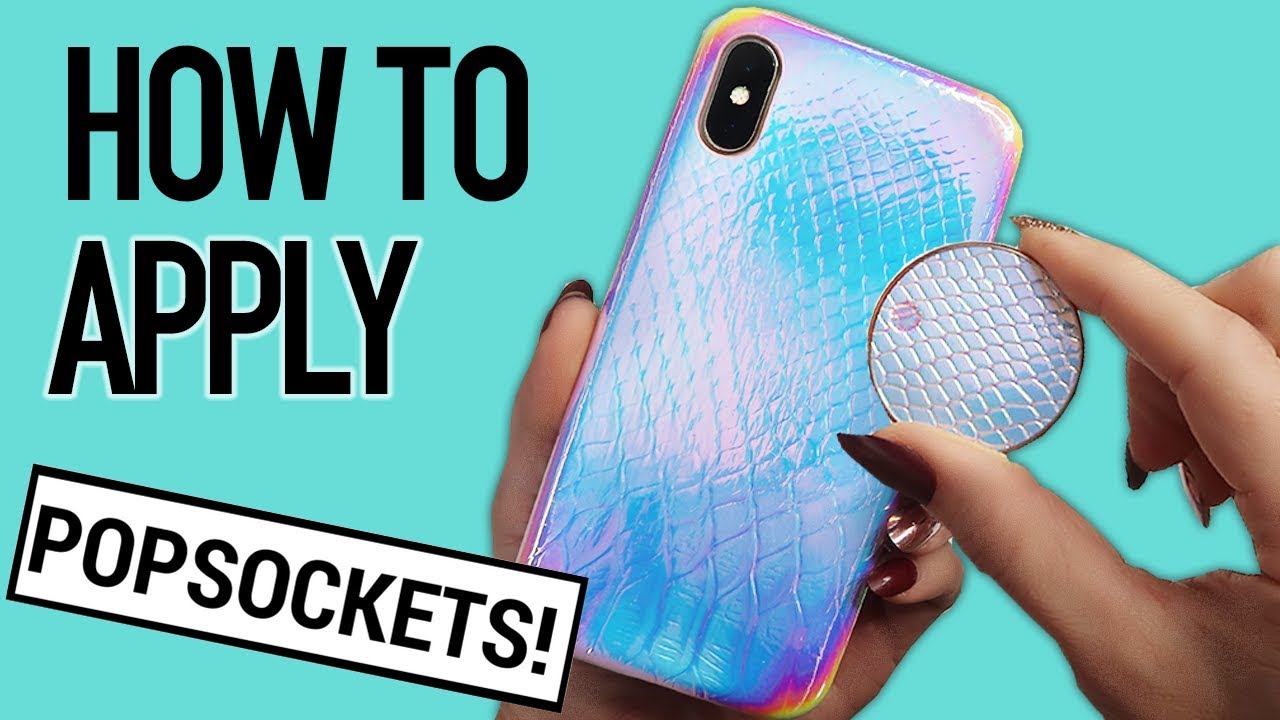
- Position the Popsocket: Decide where you want to place your Popsocket on the back of your phone. You can choose to center it, align it with the camera, or position it to your preference. Once you have decided, firmly press the adhesive side of the Popsocket onto the back of your phone, applying even pressure.
- Let it set: After attaching the Popsocket, it’s best to let it set for at least 15 minutes before using it. This allows the adhesive to properly adhere to your phone, ensuring a secure and long-lasting attachment.
- Test it out: Once the Popsocket has set, test it out by extending and collapsing it a few times. Make sure it feels secure and functions properly. If it feels loose or doesn’t hold well, you may need to reposition or reattach the Popsocket.
Remember, the placement and installation of a Popsocket is a personal choice. Experiment with different positions to find the one that works best for you in terms of comfort, functionality, and aesthetics.
Tips for Using a Popsocket
Now that you have successfully installed a popsocket on your phone, it’s time to get the most out of this handy accessory. Here are some tips to help you make the most of your popsocket:
- Find your grip: Experiment with different positions and angles to find the most comfortable grip for your hand. The popsocket allows you to securely hold your phone with just a few fingers, reducing the risk of dropping it.
- Use it as a stand: Extend the popsocket and use it as a stand to watch videos, make video calls, or take hands-free selfies. Adjust the angle by rotating the popsocket to find the perfect viewing position.
- Manage your headphone cord: Wrap your headphone cord around the popsocket when not in use. This prevents your headphones from getting tangled and makes them easily accessible when you need them.
- Get creative: Popsockets come in various designs and styles, allowing you to express your personality. Choose a popsocket that matches your phone case or opt for a bold and stylish design that stands out.
- Customize your popsocket: Some popsockets are customizable, allowing you to add your own images or designs. Personalize your popsocket with photos, artwork, or logos to give it a unique touch.
- Keep it clean: Over time, dirt, dust, and oils can accumulate on your popsocket. Clean it gently with a damp cloth or antibacterial wipe to maintain its grip and functionality.
- Switch it up: Popsockets are removable and reusable. If you want to change the look of your phone or switch to a new popsocket design, simply peel off the old one and replace it with a new one.
- Share the love: Popsockets make great gifts for friends and family. Spread the love by recommending them to others or surprising someone with a popsocket of their own.
By following these tips, you can make the most of your popsocket and enhance your smartphone experience. Enjoy the added comfort, convenience, and style that this simple accessory brings to your device.
Conclusion
In conclusion, putting a PopSocket on your phone is a simple and effective way to enhance your smartphone experience. These handy accessories offer a secure grip, making it easier to text, talk, take photos, and browse the internet with one hand. PopSockets also serve as a convenient stand, allowing you to prop up your phone for hands-free viewing of videos, movies, and video calls.
With their customizable designs and endless options, PopSockets are not only functional but also a fun way to personalize your phone. From trendy patterns and vibrant colors to cute characters and inspirational quotes, you can find a PopSocket that reflects your style and personality.
Installing a PopSocket is a breeze. Just peel off the adhesive backing, position it on the back of your phone or phone case, and press it firmly to ensure a secure attachment. The adhesive is strong, but it can also be repositioned or removed without leaving any residue.
So, don’t hesitate to jazz up your phone with a PopSocket. It’s a small accessory that can make a big difference in your mobile experience. Try it out and discover the convenience and style that a PopSocket brings to your everyday smartphone usage. Your fingers will thank you!
FAQs
1. How do you put a PopSocket on your phone?
To put a PopSocket on your phone, follow these steps:
- Start by cleaning the back of your phone or phone case with a mild soap and water solution or rubbing alcohol.
- Peel off the adhesive backing from the PopSocket.
- Align the PopSocket with the desired position on the back of your phone and firmly press it down.
- Allow the adhesive to cure for at least 24 hours before using your PopSocket.
2. Can I remove a PopSocket once it is attached?
Yes, you can remove a PopSocket from your phone or phone case. To remove it, gently peel the PopSocket from one side, moving slowly to avoid damaging your device. If there is any residue left behind, you can clean it off using a mild adhesive remover or rubbing alcohol.
3. Can I reuse a PopSocket?
While it’s technically possible to reuse a PopSocket, it is not recommended. The adhesive on the back of the PopSocket loses its effectiveness after removal, making it less reliable when reattached. It’s best to replace your PopSocket with a new one if needed.
4. Will a PopSocket damage the finish of my phone?
PopSockets are designed to be easily removable without causing any damage to the finish of your phone. However, it’s always a good idea to check your phone’s manufacturer guidelines and recommendations before attaching any accessories.
5. Can I use a PopSocket with a phone case?
Yes, you can use a PopSocket with a phone case. The adhesive on the back of the PopSocket is designed to stick to various surfaces, including phone cases. Just make sure to clean the back of the phone case thoroughly before attaching the PopSocket to ensure proper adhesion.