
Are you curious about the inner workings of your computer? If you’ve ever delved into the world of computer hardware, you may have encountered the term “SATA data connector.” These connectors play a crucial role in connecting storage devices, such as hard drives and solid-state drives (SSDs), to your computer’s motherboard.
One common question that arises when discussing SATA data connectors is: How many pins are in a SATA data connector? The answer may surprise you! In this article, we’ll dive into the details of SATA data connectors, exploring their anatomy and shedding light on the exact number of pins you can expect to find in these essential components.
Inside This Article
- SATA Data Connector Pinout
- Pin Configuration of SATA Data Connector
- How to Identify Pins in a SATA Data Connector
- Functions of Different Pins in a SATA Data Connector
- Conclusion
- FAQs
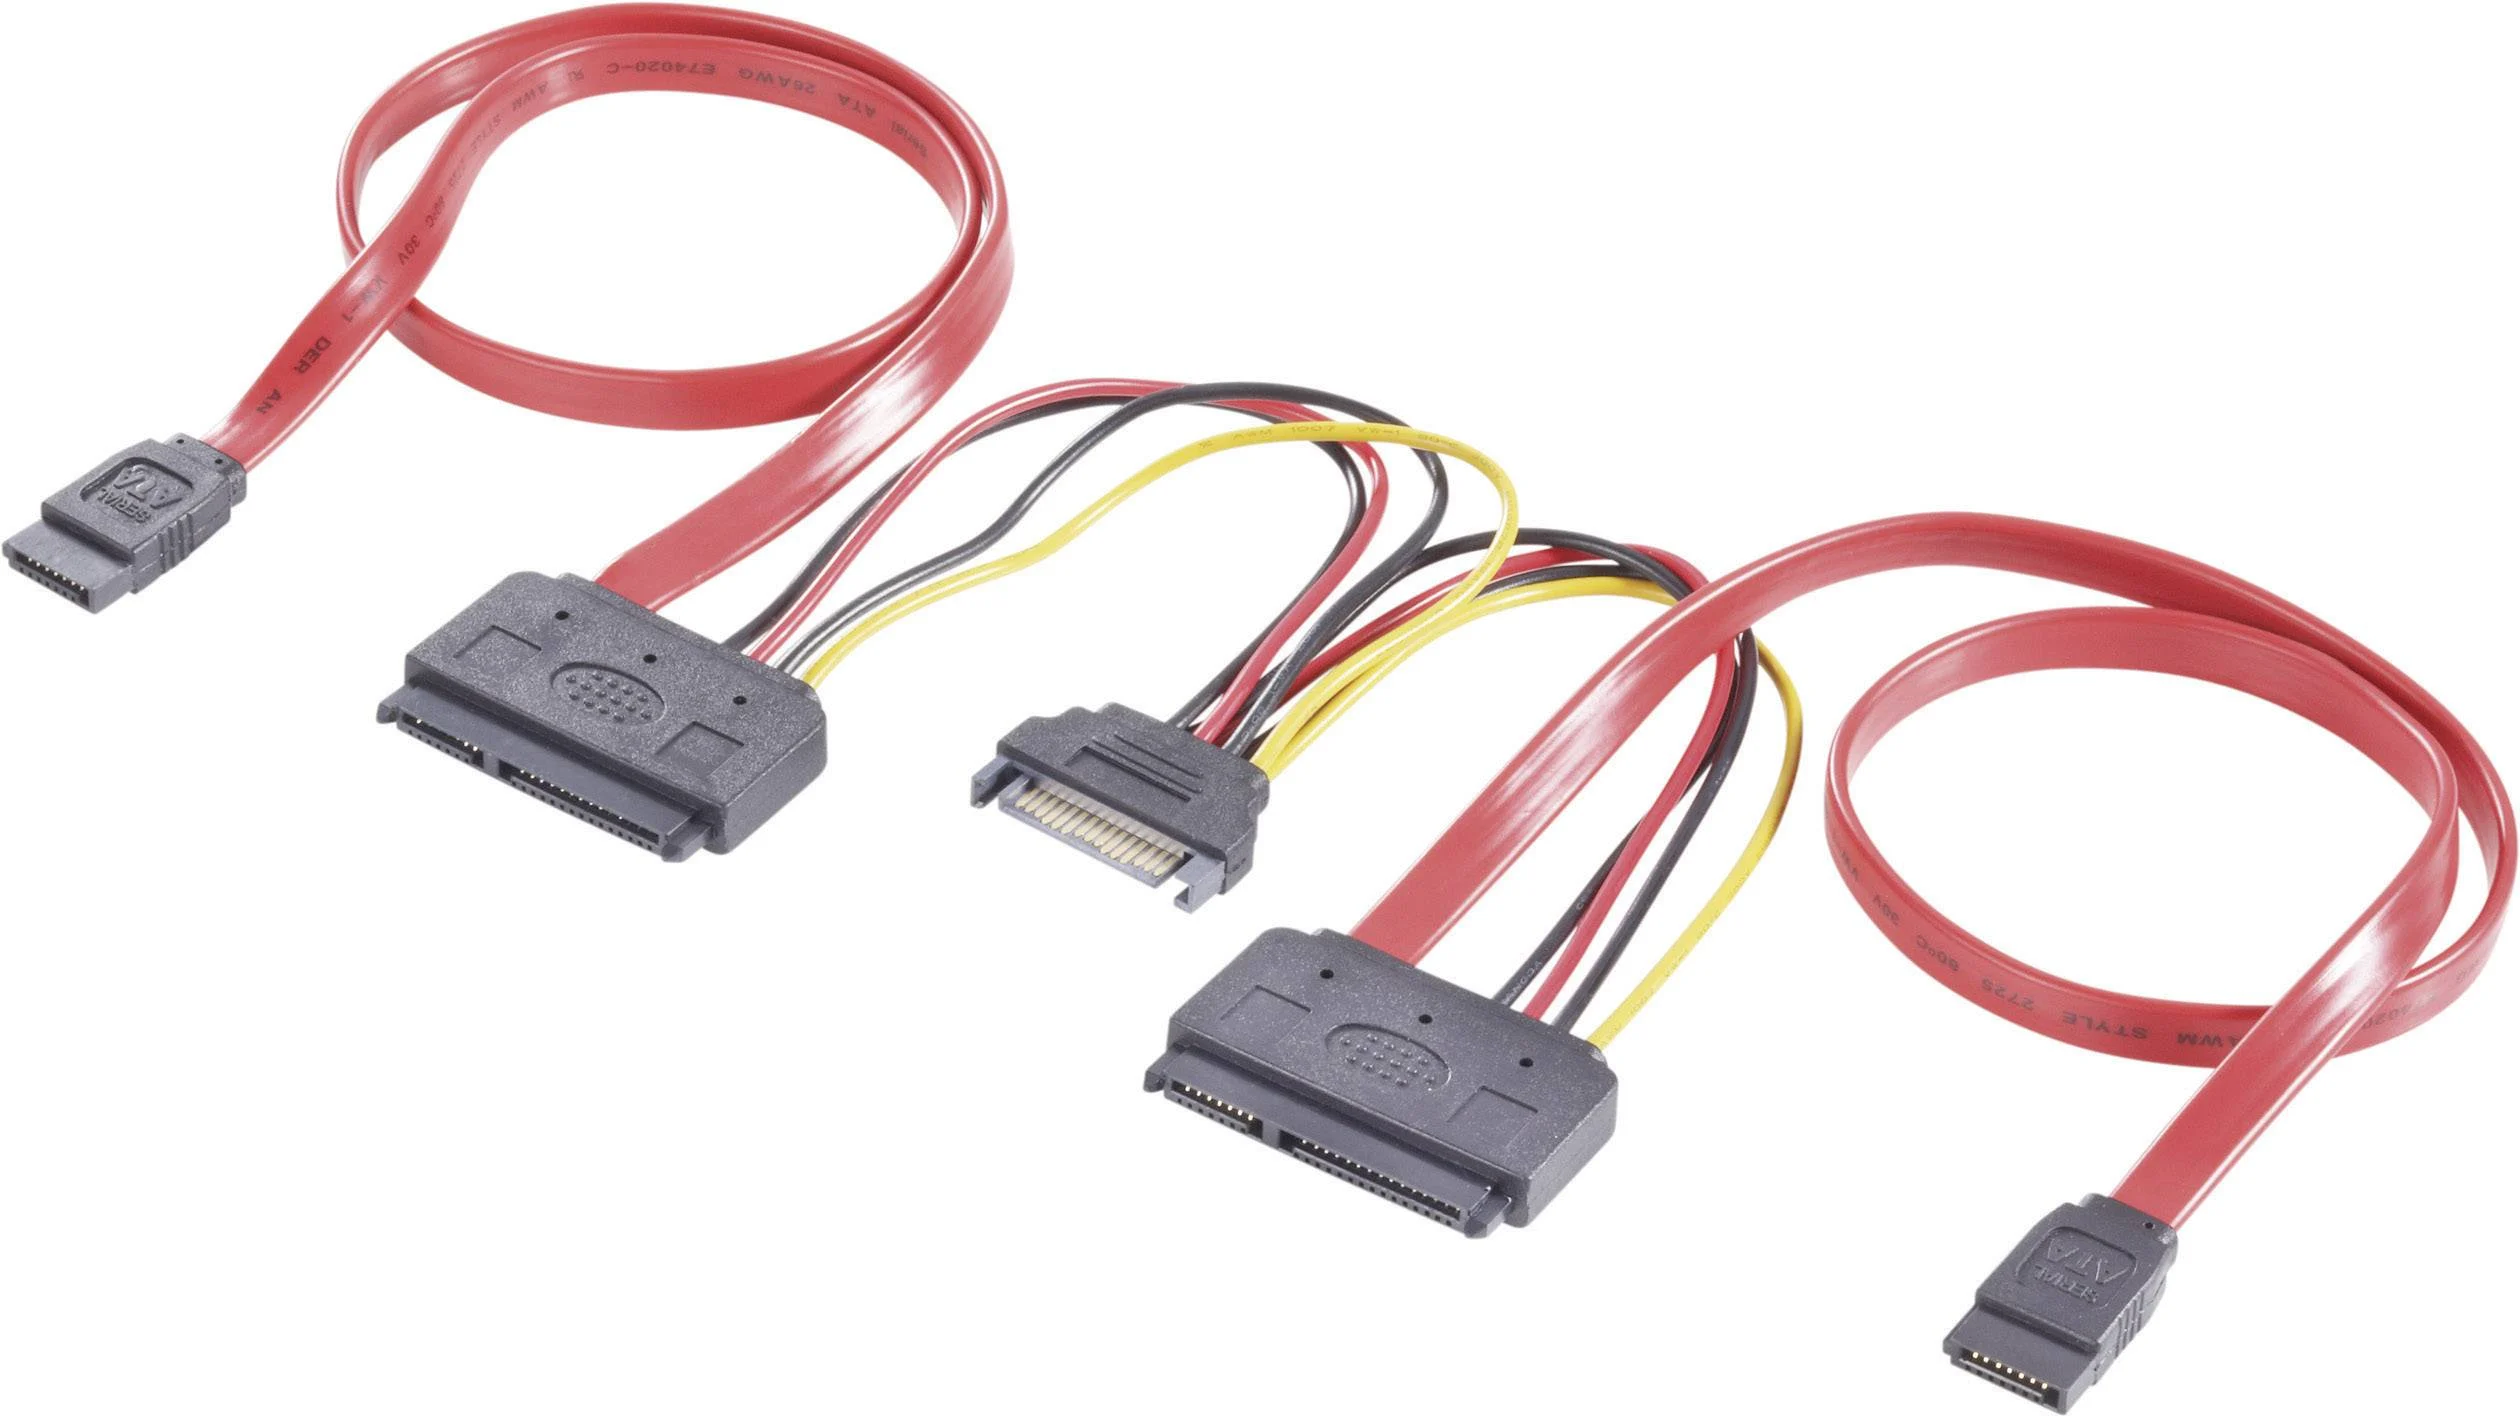
SATA Data Connector Pinout
The SATA (Serial ATA) data connector is a key component in modern computer systems, as it allows for the transfer of data between the motherboard and storage devices such as hard drives and solid-state drives (SSDs). Understanding the pinout of the SATA data connector is essential for anyone looking to upgrade or troubleshoot their storage devices. In this article, we will delve into the details of the SATA data connector pinout and explore its various functions.
The SATA data connector features a total of seven pins, each serving a specific purpose. These pins are arranged in two rows, with the top row consisting of three pins and the bottom row consisting of four pins. Let’s take a closer look at the pin configuration of the SATA data connector:
- Pin 1 (GND): This pin is connected to the ground and helps in establishing a reference point for the other pins.
- Pin 2 (A+): This pin is responsible for transmitting the positive side of the first differential pair.
- Pin 3 (A-): This pin is responsible for transmitting the negative side of the first differential pair.
- Pin 4 (Ground): This pin is again connected to the ground, providing a reference point for the remaining pins.
- Pin 5 (B-): This pin is responsible for transmitting the negative side of the second differential pair.
- Pin 6 (B+): This pin is responsible for transmitting the positive side of the second differential pair.
- Pin 7 (GND): This pin is connected to the ground, providing an additional reference point.
It’s important to note that the pin numbers mentioned above are generic and may vary depending on the manufacturer and the specific version of the SATA data connector being used. Make sure to refer to the documentation provided by the manufacturer for accurate pin assignments.
Now that we have discussed the pin configuration of the SATA data connector, let’s explore the functions of these pins:
- GND (Ground): The ground pins provide a reference point for the signal voltages and help maintain stable electrical connections.
- A+ and A- (Differential Pair 1): These pins are responsible for transmitting and receiving data signals between the motherboard and storage device.
- Ground: The second ground pin provides an additional reference point to ensure proper grounding.
- B- and B+ (Differential Pair 2): These pins also handle the transmission and reception of data signals, similar to the first differential pair.
Understanding the pinout and functions of the SATA data connector is crucial for tasks such as connecting storage devices, troubleshooting data transfer issues, or upgrading hardware components in a computer system. By familiarizing yourself with the pin configuration and functions, you can ensure seamless data transfer and optimal performance for your storage devices.
Pin Configuration of SATA Data Connector
The Serial ATA (SATA) data connector is an essential component when it comes to transferring data between storage devices, such as hard drives and solid-state drives (SSDs). Understanding the pin configuration of a SATA data connector is crucial for anyone working with computer hardware or troubleshooting connectivity issues. Let’s take a closer look at the pin configuration of a SATA data connector.
A standard SATA data connector, also known as a SATA port, consists of 7 pins. These pins are responsible for transmitting and receiving data signals, enabling high-speed data transfer between the storage device and the motherboard of a computer or other compatible device.
Pin 1: Ground (Return)
The first pin in the SATA data connector is the ground pin. It serves as the reference point for the electrical signal and completes the circuit. This pin is vital for ensuring proper signal transmission and maintaining signal integrity.
Pin 2: Transmit (TxD)
The second pin in the SATA data connector is the Transmit pin. It is responsible for sending data signals from the storage device to the motherboard. This pin plays a crucial role in data transfer and is essential for proper communication between the devices.
Pin 3: Receive (RxD)
The third pin in the SATA data connector is the Receive pin. It is responsible for receiving data signals from the motherboard and delivering them to the storage device. Like the Transmit pin, the Receive pin is vital for proper communication and error-free data transfer.
Pin 4: Ground (Return)
The fourth pin in the SATA data connector is another ground pin. Similar to Pin 1, this pin provides the necessary grounding and completes the electrical circuit.
Pin 5: Ground (Return)
The fifth pin in the SATA data connector is yet another ground pin. It serves the same purpose as the previous ground pins, providing a stable reference point for the electrical signal.
Pin 6: Reserved for Future Use
The sixth pin in the SATA data connector is currently reserved for future use. It does not have any designated function or purpose in the current SATA specifications and is left unconnected.
Pin 7: Ground (Return)
The seventh and final pin in the SATA data connector is the last ground pin. It serves the same purpose as the others, ensuring proper grounding and completing the electrical circuit.
Understanding the pin configuration of a SATA data connector is essential for troubleshooting connectivity issues, ensuring proper data transfer, and maintaining the integrity of the electrical signals. By being familiar with the function of each pin, you can diagnose and resolve any problems related to SATA connectivity effectively.
How to Identify Pins in a SATA Data Connector
Identifying the pins in a SATA data connector is essential for proper installation and troubleshooting of your storage devices. The SATA (Serial ATA) interface is widely used in modern computers and supports high-speed data transfer between the motherboard and storage devices such as hard drives and solid-state drives.
To identify the pins in a SATA data connector, you can follow these steps:
- Inspect the connector: Start by taking a close look at the SATA connector itself. It usually has a rectangular shape with a series of metal pins in two rows. The pins are arranged in a specific pattern to ensure proper data transmission.
- Count the pins: SATA connectors typically have 7 pins in each row, totaling 14 pins. However, it’s important to note that not all pins are used for data transfer. Some pins are used for power supply or other auxiliary functions.
- Identify the keying notch: Look for a small notch or cutout on one side of the connector. This keying notch ensures that the connector is inserted correctly and prevents incorrect alignment of the pins. Make sure to align the notch with the corresponding groove on the device’s SATA port.
- Refer to the pinout diagram: If you want to know the specific functions of each pin in a SATA data connector, it’s helpful to refer to a pinout diagram. A pinout diagram illustrates the layout and purpose of each pin in the connector. You can find these diagrams in the user manual of your motherboard or by searching online for the specific SATA connector model you are using.
- Use a magnifying glass: Sometimes, the pin markings on a SATA connector may be small and difficult to read with the naked eye. If necessary, use a magnifying glass or a macro lens on your smartphone’s camera to get a closer look at the pin labels.
By following these steps, you should be able to identify the pins in a SATA data connector effectively. Having a clear understanding of the pin configuration will help you ensure accurate connections and troubleshoot any issues that may arise during the installation or operation of your storage devices.
Functions of Different Pins in a SATA Data Connector
The SATA data connector is an essential component in modern computer systems, allowing for the transfer of data between storage devices and the motherboard. This small but crucial connector is responsible for connecting hard drives, solid-state drives, and other storage devices to the computer’s motherboard.
Understanding the functions of the different pins in a SATA data connector can help you troubleshoot connectivity issues, upgrade your storage capacity, or even design custom storage solutions. Let’s explore the functions of each pin in a SATA data connector:
- Pin 1 (GND): Pin 1 is the ground pin, which ensures the stability and integrity of the data transfer process. It provides a reference voltage level and helps in dissipating any unwanted electrical noise that may occur during the data transmission.
- Pin 2 (A+): This pin is responsible for transmitting the positive signal of the first differential pair. It carries data in one direction during the read process.
- Pin 3 (A-): Pin 3 is the complement of Pin 2 and is responsible for transmitting the negative signal of the first differential pair. It works in conjunction with Pin 2 to ensure accurate and reliable data transmission.
- Pin 4 (Ground): Pin 4 serves as a ground connection and helps maintain the stability of the data signal by providing a reference point for the data transmission.
- Pin 5 (B+): This pin carries the positive signal of the second differential pair and is responsible for transmitting data in the opposite direction during the read process.
- Pin 6 (B-): Pin 6 is the complement of Pin 5 and transmits the negative signal of the second differential pair. Together, Pins 5 and 6 ensure reliable and accurate bidirectional data transmission.
- Pin 7 (Ground): Much like Pin 4, Pin 7 serves as an additional ground connection to maintain signal integrity.
- Pin 8 (Presence Detect): Pin 8 is used for presence detection, which helps identify the presence of a connected device. It ensures that the motherboard recognizes the presence of the storage device connected via SATA.
- Pin 9 (BIST Control): BIST stands for Built-In Self-Test, and Pin 9 is used to control this self-diagnostic feature. BIST allows for the testing and monitoring of the SATA interface’s performance, ensuring optimal functionality.
- Pin 10 (BIST Enable): This pin enables or disables the BIST functionality. When enabled, it initiates the self-test process, providing valuable information about the SATA interface’s condition.
- Pin 11 (SATA Activity): Pin 11 indicates the activity status of the SATA device. It is commonly used as an LED indicator, providing visual feedback about data activity, such as reading or writing to the connected storage device.
- Pin 12 (SATA Reset): This pin is responsible for resetting the SATA device. It is connected to the reset circuitry of the storage device and helps initialize the device during startup or when a reset is required.
Understanding the functions of these pins in a SATA data connector can be helpful not only in troubleshooting but also in building custom storage solutions or expanding storage capacity. Whether you’re a computer enthusiast, IT professional, or simply curious about the inner workings of computer systems, having a basic understanding of the SATA data connector pins‘ functions is invaluable.
Conclusion
In conclusion, the SATA data connector is an essential component in modern computing devices, allowing for fast and reliable data transfer between storage devices and motherboards. Understanding the number of pins in a SATA data connector is crucial when it comes to compatibility and connectivity.
The standard SATA data connector has 7 pins, which are responsible for transmitting data signals, power, and ground connections. However, it’s important to note that other variations of the SATA connector, such as the slimline and micro SATA connectors, have a different number of pins to suit specific devices.
Whether you’re building a new computer or upgrading your hard drive, knowing the pin count of your SATA data connector is essential to ensure proper functionality and compatibility with your hardware. So, next time you’re working on your computer’s storage system, remember to check the number of pins in your SATA data connector for a smooth and efficient data transfer process.
FAQs
Here are some frequently asked questions about SATA data connectors:
1. How many pins are in a SATA data connector?
The SATA data connector typically has 7 pins. These pins are used to transfer data between the storage device, such as a hard drive or SSD, and the computer’s motherboard.
2. Can I use a SATA data connector for power?
No, the SATA data connector is specifically designed for data transfer, and it cannot be used for power. For power, you will need a separate SATA power connector, which provides the necessary voltage and current to the storage device.
3. Are SATA data connectors backward compatible?
Yes, SATA data connectors are generally backward compatible. This means that you can use a newer SATA device with an older SATA interface, but you may not be able to take full advantage of the newer device’s features or performance capabilities. It is always recommended to check the compatibility specifications before connecting different SATA devices.
4. Are there different types of SATA data connectors?
Yes, there are different types of SATA data connectors. The most common type is the SATA 3 connector, also known as SATA III or SATA 6Gbps. This type offers a maximum data transfer rate of 6 gigabits per second. However, there are also older SATA connectors, such as SATA 2 (SATA II or SATA 3Gbps) and SATA 1 (SATA I or SATA 1.5Gbps), which have lower transfer speeds.
5. Can I use a SATA data cable for longer distances?
While SATA data cables are generally designed for short distances, there are SATA cables available that are specifically built for longer distances. These cables use special materials and shielding to maintain data integrity over extended lengths. However, keep in mind that using longer SATA cables may impact the overall signal quality and could potentially lead to data errors.