
Are you tired of a dimly lit room every time you receive a phone call or a notification on your mobile device? Well, the solution might be as simple as changing the ring light bulb. The ring light bulb is an essential component of your mobile device, ensuring that you never miss a call or message by illuminating the notification area. In this article, we will guide you through the process of changing the ring light bulb on your mobile device. Whether you have an iPhone, Samsung, or any other brand, we will provide step-by-step instructions and helpful tips to make the process smooth and hassle-free. So, grab your mobile device and let’s get started with brightening up your notifications!
Inside This Article
Getting Started
To change a ring light bulb, you’ll need a few basic tools and supplies. Before you begin, make sure you have the following:
- A replacement bulb – Ensure that the new bulb is compatible with your specific ring light model. Check the packaging or consult the user manual to find the correct bulb type.
- A screwdriver – Depending on your ring light, you may need a Phillips or flat-head screwdriver to remove the bulb housing.
- An electrical tester – While not essential, an electrical tester can be useful to ensure that the power is disconnected before performing any work.
- Safety gloves – It’s always a good idea to wear gloves to protect your hands while handling the bulb and working with electricity.
- A stable surface – Find a flat, stable surface to work on, such as a table or workbench. This will provide a safe and steady area for the bulb replacement.
Once you have gathered these supplies, you are ready to start changing the ring light bulb. Make sure to follow the manufacturer’s instructions and safety guidelines throughout the process. Now, let’s move on to the next step: removing the old bulb.
Removing the Old Bulb
When it comes to changing a ring light bulb, the first step is to safely remove the old bulb. Follow these simple steps to ensure a smooth and hassle-free process:
Step 1: Turn off the Power
Before you begin, it’s important to turn off the power supply to the ring light. This will help prevent any electrical accidents and ensure your safety. Locate the power switch or unplug the light from the power source.
Step 2: Allow the Bulb to Cool
Ring light bulbs can get hot during extended use, so it’s crucial to allow the bulb to cool down completely. This will prevent any burns or injuries. Wait for the bulb to cool down before proceeding to the next step.
Step 3: Identify the Bulb Type
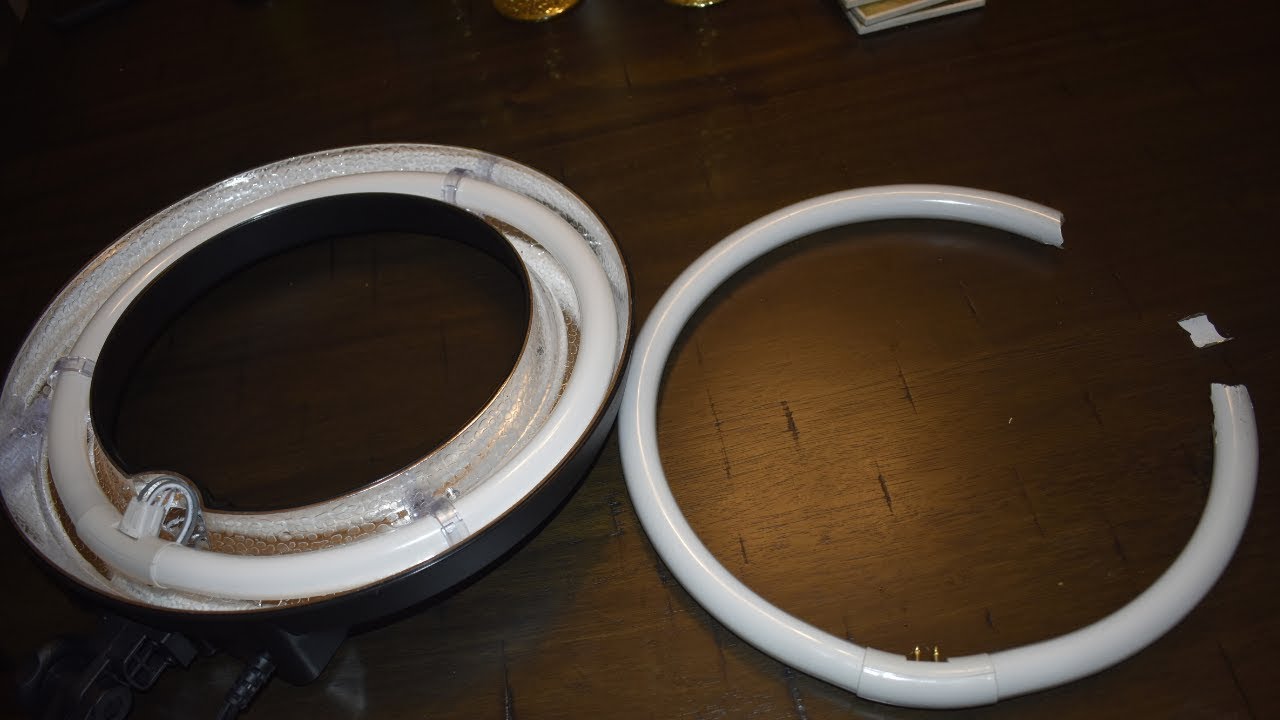
Before removing the old bulb, you need to identify the type of bulb you are working with. Ring lights can utilize different types of bulbs, such as fluorescent, LED, or incandescent. Knowing the bulb type will help you choose the appropriate replacement and handle the removal correctly.
Step 4: Remove the Protective Cover
Many ring lights come with a protective cover that needs to be removed before accessing the bulb. Carefully remove the cover by unscrewing it or sliding it off, depending on the design of your ring light.
Step 5: Unscrew the Bulb
Once the protective cover is off, you can now unscrew the old bulb. Depending on the model, it may require a gentle counterclockwise twist or simply pulling it out. Take caution not to force the bulb or twist too hard, as this can damage the socket.
Step 6: Dispose of the Old Bulb Properly
After removing the bulb, it’s important to dispose of it properly. Since some bulbs contain hazardous materials, such as mercury, it is recommended to recycle them at designated recycling centers. This ensures environmental safety and compliance with regulations.
Step 7: Clean the Socket (Optional)
If the socket appears dirty or has debris inside, you can use a soft cloth or a small brush to clean it gently. This will help ensure a good connection when installing the new bulb.
With the old bulb successfully removed, you are now ready to proceed to the next step: Installing the new bulb.
Installing the New Bulb
Once you have successfully removed the old bulb, it’s time to install the new one. Follow these steps to ensure a smooth and hassle-free installation process:
1. Firstly, make sure that you have the correct replacement bulb for your ring light. Check the specifications and compatibility to ensure a proper fit.
2. Carefully hold the new bulb by the base, being cautious not to touch the surface or glass with your bare hands. Oils from your skin can cause damage or reduce the lifespan of the bulb.
3. Align the new bulb with the socket or connector on the ring light. Gently insert the bulb into the socket, applying even pressure until it is fully seated and secure.
4. Once the bulb is in place, give it a slight twist clockwise to lock it in position. This will ensure that the bulb is properly secured and will not become loose during operation.
5. After securing the bulb, double-check that it is correctly aligned and fully inserted. Any misalignment or incomplete insertion may result in flickering or poor performance.
6. Once you are satisfied with the bulb’s position, power on the ring light to test the installation. Observe the brightness and color temperature to ensure that the new bulb is functioning as expected.
7. If everything looks good, you can now enjoy your properly installed new bulb and continue using your ring light for your photography or videography needs.
Remember to dispose of the old bulb properly, following any local regulations for safe and eco-friendly disposal of electronic waste.
By following these steps and taking the necessary precautions, you can easily install a new bulb in your ring light and maintain optimal lighting performance.
In conclusion, learning how to change a ring light bulb is a simple and straightforward process that can be done by following a few easy steps. By selecting the right replacement bulb and ensuring the power is turned off, you can safely replace a burnt-out bulb in your ring light. Take the time to familiarize yourself with the type of bulb your ring light requires and keep a spare on hand for any future replacements. Remember to handle the bulb with care and use caution when removing and installing it to avoid any accidents or injuries. With these tips in mind, you can confidently maintain your ring light and ensure that it continues to provide you with the perfect lighting for all your photography and video needs.
FAQs
-
Can I change the ring light bulb by myself?
Yes, changing the ring light bulb is a relatively simple task that you can do yourself. Most ring lights are designed to be user-friendly, allowing you to replace the bulb without any special tools or technical expertise. However, it is important to follow the manufacturer’s instructions and ensure you are using a compatible replacement bulb to avoid any damage.
-
What type of bulb should I use to replace my ring light bulb?
The type of bulb you should use to replace your ring light bulb depends on the specific model and brand of your ring light. It is important to consult the manufacturer’s instructions or contact their customer support to determine the correct type of bulb. Common types of bulbs used in ring lights include LED and fluorescent bulbs. Ensure you purchase a bulb with the appropriate wattage and socket size to ensure compatibility.
-
How often should I change the bulb in my ring light?
The frequency at which you should change the bulb in your ring light can vary depending on various factors such as usage time and bulb quality. However, as a general guideline, it is recommended to replace the bulb every 6 to 12 months for optimal performance. If you notice a decrease in brightness or flickering, it may be a sign that the bulb needs to be replaced sooner.
-
Are there any safety precautions to be mindful of when changing the ring light bulb?
While changing the ring light bulb is a straightforward task, it is always important to prioritize safety. Make sure to switch off and unplug the ring light before attempting to replace the bulb. Allow the existing bulb to cool down if it was recently in use to prevent any burns. Also, handle the new bulb with care to avoid breakage or damage. If you are unsure of the process or have any concerns, it is best to consult a professional or contact the manufacturer for guidance.
-
Can I use a different brand bulb in my ring light?
It is generally recommended to use a replacement bulb from the same brand or a compatible brand that is recommended by the manufacturer of your ring light. This ensures that the bulb is specifically designed to work with your ring light and provides optimal performance. Using a different brand bulb may not be supported, resulting in compatibility issues or potentially damaging the ring light. If you are unsure, it is best to consult the manufacturer or refer to the user manual for guidance on compatible replacement bulbs.