
Are you the proud owner of an Oculus Quest 2 headset? With its cutting-edge virtual reality technology, you can dive into immersive gaming experiences like never before. However, like any electronic device, the Quest 2 headset needs to be charged regularly to keep the adventures going. In this article, we will guide you through the process of charging your Quest 2 headset, providing you with helpful tips to ensure a smooth and efficient charging experience. Whether you’re a newbie or a seasoned VR enthusiast, this article will leave you equipped with the knowledge you need to keep your Quest 2 headset powered up and ready for your next virtual journey.
Inside This Article
- Safety Precautions
- STEP 1: Checking the Battery Status
- STEP 2: Connecting the Charging Cable
- STEP 3: Plugging in the Charger
- Troubleshooting Tips
- Conclusion
- FAQs
Safety Precautions
Charging your Quest 2 headset is a simple process, but it’s important to follow some safety precautions to ensure a smooth and risk-free charging experience. Here are some key safety measures to keep in mind:
- Use the provided charging cable: It is recommended to use the charging cable that comes with your Quest 2 headset. This cable is specifically designed to provide the optimal charging performance and compatibility.
- Avoid using third-party chargers: While it may be tempting to use a charger from another device, it is advisable to stick to the original charger. Third-party chargers may not provide the necessary voltage and amperage required by the Quest 2 headset, which could result in slower charging or potential damage to the device.
- Keep an eye on the charging process: When charging your headset, it is important to monitor the charging process. If you notice any unusual behavior such as overheating, excessive charging time, or a bulging battery, disconnect the charger immediately and contact the manufacturer for assistance.
- Avoid charging in extreme temperatures: It is best to charge your Quest 2 headset in a moderate temperature environment. Extreme temperatures, both hot and cold, can negatively impact the charging efficiency and battery life of the device. Avoid charging in direct sunlight or near sources of heat.
- Avoid charging overnight: Although the battery of the Quest 2 headset is designed to prevent overcharging, it is still recommended to avoid leaving the device connected to the charger for extended periods, such as overnight. Disconnect the charger once the device is fully charged to prevent any potential risks.
- Keep the charging port clean and dry: Ensure that the charging port of your Quest 2 headset is free from dust, debris, and moisture before plugging in the charging cable. This will prevent any potential damage to the charging port and ensure a stable connection.
- Store the charging cable properly: When not in use, store the charging cable in a safe and dry place. Avoid twisting or bending the cable excessively, as this can lead to cable damage and affect the charging performance.
- Follow manufacturer’s instructions: Always refer to the manufacturer’s instructions and guidelines for charging your Quest 2 headset. These instructions provide important information specific to your device and ensure the best charging practices.
By following these safety precautions, you can charge your Quest 2 headset with confidence. Remember to prioritize the safety and well-being of both yourself and your device throughout the charging process.
STEP 1: Checking the Battery Status
Before you start charging your Quest 2 headset, it is essential to check the battery status. This will give you an idea of how much charge is left and determine if your headset needs to be charged immediately or can wait for a while.
To check the battery status of your Quest 2 headset, follow these steps:
- Put on your Quest 2 headset and turn it on.
- While wearing the headset, press the Oculus button located on the right-hand side of the headset.
- A menu will appear in your virtual view. Look for the Batteries section and check the battery level indicated next to it.
If your battery level is critically low or near empty, it’s time to charge your headset. If the battery level is still decent, you can continue using your Quest 2 for a while longer before charging.
It’s worth mentioning that charging your headset regularly, even when the battery level is not critically low, can help prolong its overall battery life. So, if you have the opportunity to charge it, it’s always a good idea to top up the battery.
Now that you know the battery status of your Quest 2 headset, it’s time to proceed to the next step: connecting the charging cable.
STEP 2: Connecting the Charging Cable
Once you have checked the battery status of your Quest 2 headset, it’s time to connect the charging cable. Follow these simple steps to ensure a proper connection:
- Locate the charging port: On the Quest 2 headset, you will find a USB-C charging port. It is usually located on the bottom or side of the device. Take a moment to locate it.
- Prepare the charging cable: The Quest 2 headset comes with a USB-C charging cable. Ensure that the cable is untangled and in good condition. If you are using a third-party cable, make sure it is compatible with your headset.
- Align the cable with the charging port: Take the USB-C end of the charging cable and gently align it with the charging port on the Quest 2 headset. Be careful not to force it in the wrong direction, as this could damage both the cable and the port.
- Insert the cable: Once the cable is aligned with the charging port, firmly insert it into the port until it clicks into place. Make sure the connection is secure, but avoid applying excessive force.
- Check the LED indicator: After connecting the charging cable, check the LED indicator on the headset to confirm that it is receiving power. A solid white light indicates that the headset is charging.
- Ensure a stable connection: It is recommended to place the Quest 2 headset on a stable surface while it is charging. This will prevent any accidental disconnection of the charging cable and ensure a consistent power supply.
That’s it! You have successfully connected the charging cable to your Quest 2 headset. Now you can move on to the next step and plug in the charger. Remember to follow all the necessary safety precautions to keep your device and yourself protected while charging.
STEP 3: Plugging in the Charger
Once you have connected the charging cable to your Quest 2 headset and the power source, it’s time to move onto the next step: plugging in the charger. This step is crucial to ensure a proper and efficient charging process. Please follow the instructions below to complete this step:
1. Take the charging adapter that came with your Quest 2 headset and locate the charging port on the headset. It is usually located at the bottom or side of the device.
2. Align the USB end of the charging cable with the charging port on your headset. Make sure the connectors match, and gently insert the USB end into the port until it’s securely in place.
3. Once the cable is in place, locate the power outlet or power strip where you plan to plug in the charger. Ensure that it’s easily accessible and has sufficient power supply.
4. Take the charging adapter and plug it into the power outlet or power strip. Make sure it’s inserted fully and securely to establish a proper connection.
5. After plugging in the charger, you should see a small indicator light on the charging adapter or cable. This light indicates that the charging process has started and that power is flowing to the Quest 2 headset.
6. Leave the charger plugged in for the recommended amount of time to allow the battery to charge fully. This duration can vary depending on the battery’s current level and the charging speed. It is usually best to refer to the manufacturer’s guidelines for specific charging times.
7. Keep an eye on the indicator light throughout the charging process. If the light turns off or starts blinking, it may indicate an issue with the connection or a problem with the charger. In such cases, try unplugging the charger and plugging it back in to see if the issue resolves.
8. Once the Quest 2 headset is fully charged, disconnect the charging cable from both the headset and the power source. Ensure that you remove the cable gently and avoid any unnecessary tugging or yanking.
With the charger plugged in and the charging process initiated, you can now sit back and relax while your Quest 2 headset replenishes its battery. Once fully charged, you’ll be ready to embark on your virtual reality adventures once again!
Troubleshooting Tips
While charging your Quest 2 headset, you may encounter some common issues. Here are some troubleshooting tips to help you resolve them:
- No charging indicator: If you connect the charging cable and there is no charging indicator on the headset, first make sure that the cable is securely connected to both the headset and the charging source. Try using a different charging cable or a different power outlet to rule out any issues with the cable or outlet.
- Slow charging: If your Quest 2 headset is charging slowly, it could be due to various factors. Make sure you are using the original charging cable and adapter that came with the headset, as using third-party accessories may affect the charging speed. Additionally, check if there are any background apps or processes running on the headset that could be consuming power, and close them if necessary.
- Overheating: If your Quest 2 headset gets excessively hot while charging, it is recommended to disconnect the charging cable and allow the device to cool down before continuing the charging process. Charging a hot device can result in slower charging or potential damage to the battery.
- Battery draining faster than usual: If you notice that your Quest 2 headset’s battery is draining faster than usual, there could be several reasons for this. Check if there are any apps or processes running in the background that are consuming excessive power, and close them if necessary. Adjusting the brightness level of the display and reducing the volume can also help conserve battery life.
- Intermittent or unstable charging: If you experience intermittent or unstable charging, try cleaning the charging port on the headset using a soft brush or compressed air. Dust or debris in the charging port can interfere with the connection and cause charging issues. If the problem persists, it could indicate a hardware problem with the charging port, and you may need to contact customer support for further assistance.
Remember, if you are unable to troubleshoot the charging issue on your own, it is always recommended to reach out to the manufacturer’s support team for further guidance.
Conclusion
Charging your Quest 2 headset is a simple yet crucial aspect of ensuring an uninterrupted and immersive virtual reality experience. By following the steps outlined in this article, you have learned how to properly charge your headset, maximize its battery life, and choose the right accessories to enhance your gaming sessions.
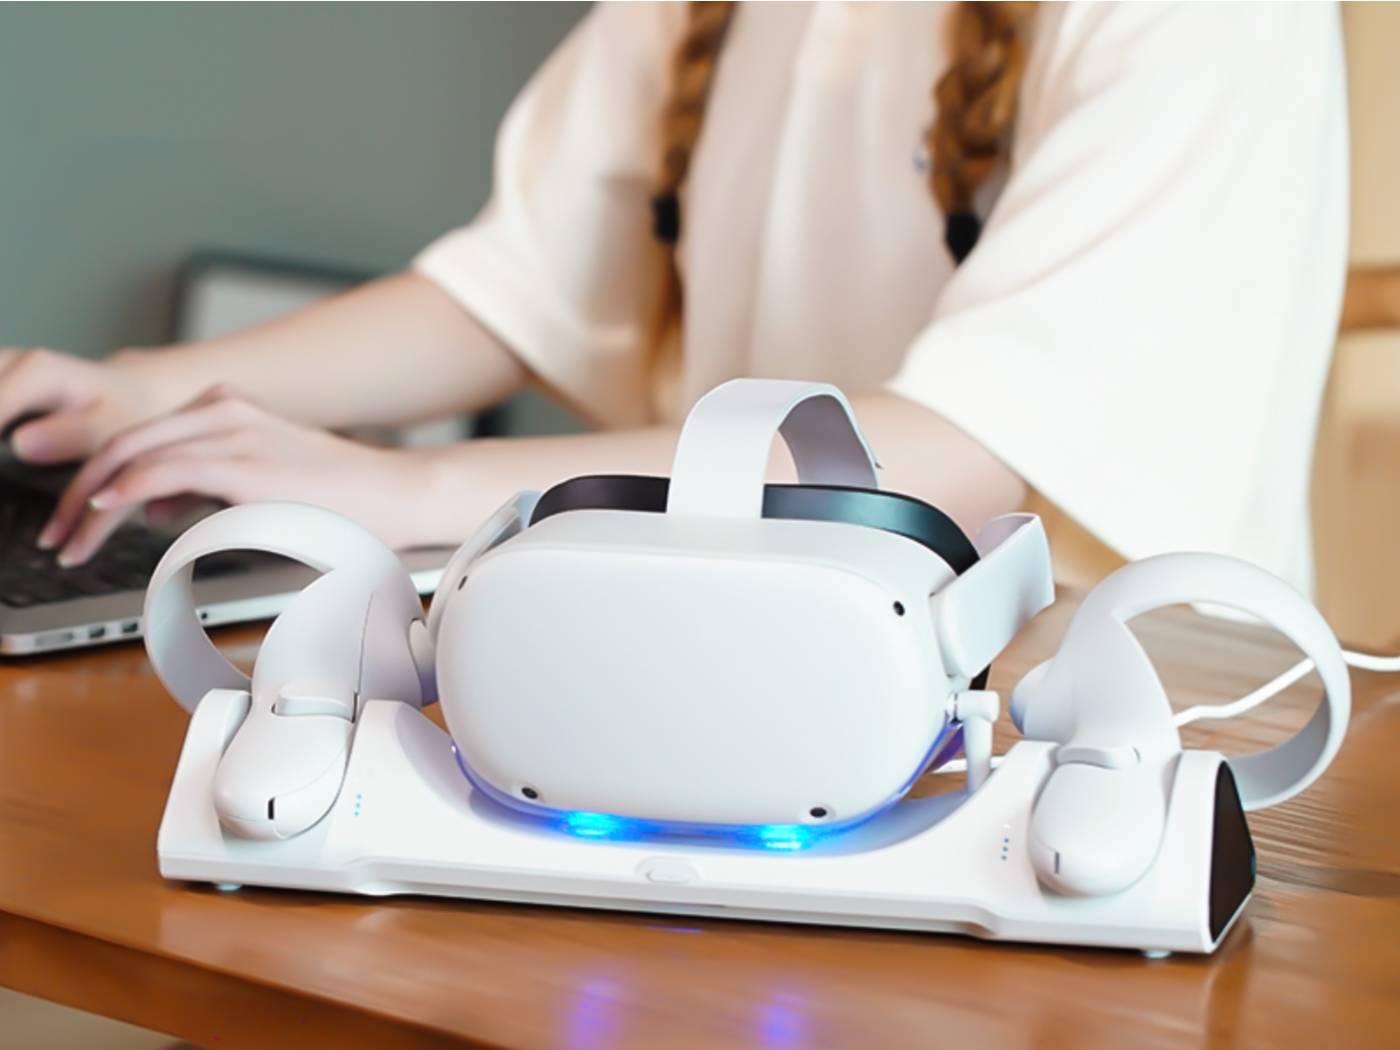
Remember to always use the official charging cable and adapter provided by Oculus to ensure compatibility and safety. Additionally, consider investing in a portable power bank or a charging dock for added convenience and flexibility.
With the right charging practices and accessories, you can enjoy extended playtime and worry-free gaming on your Quest 2 headset. So, keep your headset powered up and dive into the captivating world of virtual reality with confidence.
FAQs
1. How do I charge my Quest 2 headset?
Charging your Quest 2 headset is simple. Use the provided USB-C cable and connect one end to the USB-C port on the headset and the other end to a power source. You can use a wall adapter, a computer, or a power bank to charge your headset. Once connected, the headset will begin charging automatically.
2. How long does it take to fully charge the Quest 2 headset?
The charging time for the Quest 2 headset depends on several factors, including the battery level at the start of charging and the power source you are using. On average, it takes approximately 2 to 3 hours to fully charge the headset from 0% to 100%. Keep in mind that using a higher-powered wall adapter may speed up the charging process.
3. Can I use the Quest 2 headset while it is charging?
Yes, you can use the Quest 2 headset while it is charging. The charging cable allows for simultaneous charging and usage, so you don’t have to interrupt your gaming or virtual reality experience. However, be mindful that if the battery level is low, the headset may take longer to charge than it drains while in use.
4. Can I charge the Quest 2 headset with a power bank?
Yes, you can charge the Quest 2 headset using a power bank. This is especially useful when you’re on the go and don’t have access to a wall socket. Make sure your power bank has a USB-C output and connect it to the headset using the provided USB-C cable. Keep in mind that the charging speed may vary depending on the power bank’s capacity and output.
5. Do I need to purchase any additional accessories to charge my Quest 2 headset?
No, the Quest 2 headset comes with all the necessary accessories to charge it. The package includes a USB-C cable that you can use to connect your headset to a power source. However, if you prefer a longer cable or want to have extra charging options, you can consider purchasing additional USB-C cables or a wall adapter with a higher power output. These accessories can provide more convenience and flexibility when charging your headset.