
If you’re a gaming enthusiast and the proud owner of a Turtle Beach headset, you might be wondering how to connect it to your phone. Whether you want to use it for gaming on your mobile device or simply enjoy the superior audio quality during phone calls or media playback, connecting your Turtle Beach headset to your phone is a convenient option. In this article, we’ll guide you through the process of connecting your Turtle Beach headset to your phone, step by step. We’ll cover various models of Turtle Beach headsets and provide solutions for both iPhone and Android users. So, get ready to unlock the full potential of your Turtle Beach headset and take your mobile gaming and entertainment experience to the next level.
Inside This Article
- Pairing Your Turtle Beach Headset with Your Phone
- Connecting via Bluetooth
- Adjusting Audio Settings on Your Phone
- Troubleshooting Common Issues
- Conclusion
- FAQs
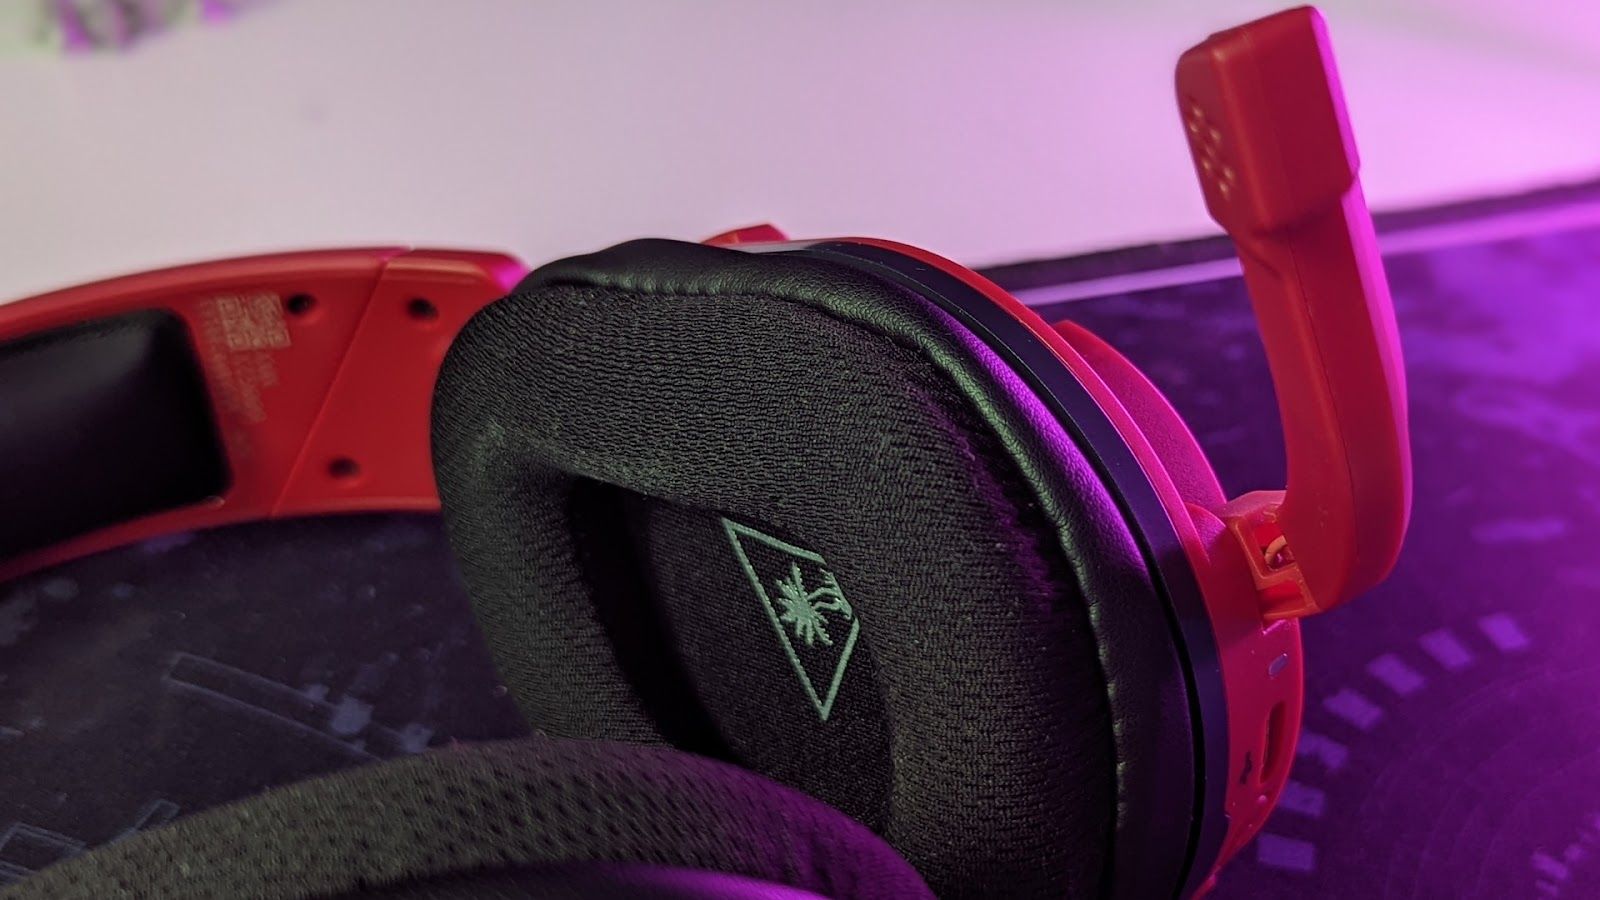
Pairing Your Turtle Beach Headset with Your Phone
Pairing your Turtle Beach headset with your phone allows you to enjoy your favorite mobile games, music, and videos with high-quality sound and convenient wireless functionality. Whether you have a wired headset that can be connected directly to your phone or a wireless headset that relies on Bluetooth technology, there are multiple options available to connect your Turtle Beach headset to your phone.
Here are three different methods you can use to connect your Turtle Beach headset to your phone:
- Option 1: Using a Wired Connection
- Option 2: Using a Bluetooth Connection
- Option 3: Using an Adapter
If your Turtle Beach headset has a detachable cable, you can directly connect it to your phone using the appropriate audio jack. For headsets with a 3.5mm audio jack, simply plug one end of the cable into the headset and the other end into the headphone jack on your phone. If your phone doesn’t have a headphone jack, you may need an adapter to connect the cable to a USB-C or Lightning port.
If your Turtle Beach headset supports Bluetooth connectivity, you can pair it with your phone wirelessly. Activate the Bluetooth function on your phone and put your headset in pairing mode. This is usually done by holding down the power or Bluetooth button for a few seconds until the LED indicator starts flashing. Once both devices are in pairing mode, select your headset from the list of available Bluetooth devices on your phone and follow the on-screen prompts to complete the pairing process. Once connected, you can easily switch between your phone and headset for calls, music, and other audio.
If your Turtle Beach headset uses a connector that is not compatible with your phone, you may need to use an adapter. For example, if your headset has a USB connector and your phone only has a USB-C or Lightning port, you can purchase a USB to USB-C or USB to Lightning adapter. Once you have the appropriate adapter, simply connect your Turtle Beach headset to the adapter and then plug the adapter into your phone.
Connecting your Turtle Beach headset to your phone opens up a world of immersive audio experiences. Whether you prefer a wired or wireless connection, you can enjoy crystal-clear sound and seamless communication on your gaming sessions or everyday activities. So, follow the appropriate method mentioned above and start enjoying the exceptional audio quality that Turtle Beach headsets have to offer on your mobile device.
Connecting via Bluetooth
Connecting your Turtle Beach headset to your phone via Bluetooth offers a convenient and wireless solution. Follow these steps to establish a Bluetooth connection:
- Ensure that your Turtle Beach headset is in pairing mode. Most headsets have a dedicated button or a combination of buttons that you need to press and hold to activate pairing mode. Refer to your headset’s user manual for specific instructions.
- On your phone, go to the Bluetooth settings. This can usually be found in the settings menu, under the “Connections” or “Wireless & Networks” section.
- Turn on Bluetooth on your phone if it’s not already enabled. Tap on the toggle switch or option to activate Bluetooth.
- Your phone will start scanning for available Bluetooth devices. Wait for a moment until your Turtle Beach headset appears on the list of available devices.
- Select your Turtle Beach headset from the list. The name of the headset will typically include the brand name or a specific model number.
- If prompted, enter a Bluetooth pairing code or PIN. Some headsets may require a code to securely establish the connection. Refer to your headset’s instructions for the correct code.
- Once the pairing is successful, your Turtle Beach headset should be connected to your phone via Bluetooth. You should now be able to hear audio from your phone through your headset and use the headset’s built-in microphone for calls or voice commands.
- Remember to disconnect or unpair the headset from your phone when you’re done using it, especially if you plan to connect it to another device later.
Note that the Bluetooth pairing process may vary slightly depending on your specific Turtle Beach headset model and the type of phone you are using. Always refer to the respective product manuals or support resources for detailed instructions.
Connecting your Turtle Beach headset to your phone via Bluetooth provides you with the freedom to move around without the restrictions of a wired connection. Whether you’re listening to music, watching videos, or making phone calls, the wireless convenience of Bluetooth connectivity enhances your mobile experience.
Adjusting Audio Settings on Your Phone
When it comes to enjoying your favorite music, taking calls, or immersing yourself in a gaming session, adjusting the audio settings on your phone can make a world of difference. Whether you’re using wired or Bluetooth headphones, ensuring that the audio settings are optimized can enhance the overall experience. In this article, we will guide you on how to adjust the audio settings on your phone to maximize the audio quality and customize it to your preferences.
1. Access the Sound Settings: To adjust the audio settings on your phone, start by accessing the sound settings. These settings can typically be found in the phone’s settings menu or the notification panel. Look for an icon resembling a speaker or sound waves to locate the sound settings.
2. Equalizer Settings: Once you’re in the sound settings, locate the equalizer settings. The equalizer allows you to fine-tune the different audio frequencies to suit your personal preferences. You can choose from preset equalizer modes or manually adjust the sliders to enhance bass, treble, or balance. Play around with the settings until you find the ideal sound profile for your headphones.
3. Audio Effects: Some phones offer additional audio effects to enhance the listening experience. These effects may include options like surround sound, 3D audio, or virtual sound. Enable these features if available and experiment with different settings to find the one that gives you the most immersive audio experience.
4. Volume Levels: Adjusting the volume levels on your phone is essential to ensure optimal audio. Increase or decrease the volume to a comfortable level, keeping in mind that excessively high volumes can potentially damage your hearing. Take note of any volume limitation settings or maximum volume warnings provided by your phone to maintain a safe listening experience.
5. Noise Cancellation: If your phone supports it, enable noise cancellation or ambient noise reduction features. These features can help eliminate background noise and enhance the clarity of your audio. This can be especially useful in noisy environments or during phone calls.
6. Bluetooth Audio Codec: If you’re using Bluetooth headphones, check your phone’s Bluetooth settings to see if there are options to adjust the audio codec. Different codecs offer varying levels of audio quality and compatibility. Experiment with different codecs to find the one that provides the best audio performance for your specific headphones.
7. Test and Fine-Tune: After adjusting the audio settings, it’s crucial to test and fine-tune the settings. Play some audio or video content with your headphones connected and listen carefully. Make any necessary adjustments to the equalizer, volume, or effects to achieve the desired audio experience.
8. Save and Apply: Once you’re satisfied with the audio settings, make sure to save and apply them. Some phones may require you to hit a save or apply button, while others automatically apply the changes. Double-check the settings to ensure they are retained even after rebooting your phone.
By following these steps, you can easily adjust the audio settings on your phone to enhance your headphone audio experience. Whether you’re immersing yourself in music, watching videos, or gaming on the go, optimizing the audio settings will elevate your auditory enjoyment to the next level.
Troubleshooting Common Issues
Even with the best mobile accessories, sometimes issues can arise. Here are some common problems users may encounter when connecting their Turtle Beach headset to their phone, and how to troubleshoot them:
1. No Sound Coming From the Headset: If you’re not hearing any sound through your Turtle Beach headset, the first thing to check is the volume settings on both your phone and the headset. Make sure the volume is turned up and not muted. Additionally, ensure that the headset is properly connected to your phone and that the audio cable or Bluetooth connection is fully inserted or paired.
2. Intermittent or Distorted Sound: If you experience intermittent or distorted sound through your Turtle Beach headset, it may be due to a weak Bluetooth signal or interference from other devices. Try moving closer to your phone or removing any sources of interference, such as other wireless devices or metal objects. If using a wired connection, check that the audio cable is securely connected and not damaged.
3. Microphone Not Working: If your Turtle Beach headset has a microphone and it’s not working, check that the microphone is not muted or the volume is not turned down on the headset or your phone. Ensure that the headset is properly connected to your phone, and if using a wired connection, confirm that the microphone cable is securely plugged in. You may also need to adjust the microphone settings on your phone’s audio settings.
4. Compatibility Issues: Some Turtle Beach headsets may have specific compatibility requirements with certain phone models or operating systems. Before purchasing a Turtle Beach headset, check the compatibility list provided by the manufacturer to ensure it will work with your specific phone. If you’re experiencing compatibility issues, try updating your phone’s operating system or contacting Turtle Beach customer support for assistance.
5. Battery Drain: If you’re using a wireless Turtle Beach headset that relies on a battery, you may encounter rapid battery drain. To conserve battery life, make sure to fully charge the headset before use and consider lowering the volume or using energy-saving features if available. If the battery drain persists, it may be worth replacing the battery or contacting Turtle Beach customer support for further assistance.
6. Audio Lag: Delayed audio, also known as audio lag, can be frustrating when using a Turtle Beach headset with your phone. This issue can occur with both wired and wireless connections. To reduce audio lag, try adjusting the audio settings on your phone, such as enabling “low-latency mode” if available. If the lag persists, it may indicate a compatibility issue or a problem with the headset itself, and contacting Turtle Beach support is recommended.
By troubleshooting these common issues, you can ensure a seamless and enjoyable experience when using your Turtle Beach headset with your phone. If you’re still encountering difficulties, don’t hesitate to reach out to the Turtle Beach customer support team for further assistance.
Conclusion
Connecting your Turtle Beach headset to your phone is a simple and convenient way to enjoy high-quality audio while on the go. By following the steps outlined in this article, you can easily pair your headset with your phone and start enjoying an immersive audio experience.
Whether you’re using Bluetooth or wired connectivity, Turtle Beach headsets are designed to deliver exceptional sound quality, comfort, and durability. With a wide range of options available, you can choose a headset that suits your preferences and enhances your mobile gaming or entertainment experience.
Remember to check the compatibility of your Turtle Beach headset with your phone model before making a purchase. Additionally, keep an eye out for any firmware updates or troubleshooting tips provided by Turtle Beach to ensure optimized performance.
Investing in a Turtle Beach headset for your phone will elevate your audio experience to new heights, allowing you to fully immerse yourself in gaming, music, movies, and more, wherever you go.
FAQs
FAQ 1: How do I connect my Turtle Beach headset to my phone?
To connect your Turtle Beach headset to your phone, follow these steps:
- Make sure your Turtle Beach headset is charged and turned on.
- Put your phone into Bluetooth pairing mode. To do this, go to the Settings menu on your phone, select Bluetooth, and turn it on.
- On your Turtle Beach headset, press and hold the Bluetooth pairing button until you hear a voice prompt saying “Pairing Mode.”
- On your phone, you should see your Turtle Beach headset listed in the available devices. Select it to initiate the pairing process.
- Once the pairing is successful, you should hear a confirmation message in your headset, indicating that it is connected to your phone.
FAQ 2: Can I use my Turtle Beach headset with any phone?
Turtle Beach headsets are designed to be compatible with a wide range of devices, including smartphones. However, it is always recommended to check the compatibility of your specific Turtle Beach model with your phone before purchasing or attempting to connect it. You can refer to the product information or reach out to Turtle Beach customer support for more details on compatibility.
FAQ 3: What if my Turtle Beach headset is not connecting to my phone?
If you are experiencing issues with connecting your Turtle Beach headset to your phone, here are a few troubleshooting steps you can try:
- Ensure that Bluetooth is enabled on your phone and the headset is in pairing mode.
- Restart both your phone and the Turtle Beach headset.
- Try forgetting the headset from your phone’s Bluetooth settings and then re-pairing it.
- Check if there are any firmware updates available for your Turtle Beach headset and apply them if necessary.
- If the issue persists, consult the user manual or contact Turtle Beach customer support for further assistance.
FAQ 4: Can I use my Turtle Beach headset to make phone calls?
Yes, most Turtle Beach headsets that have built-in microphones can be used to make phone calls on your mobile phone. However, it is important to check the specific features and compatibility of your Turtle Beach model to ensure it supports this functionality. You can refer to the user manual or product information for more details on using your headset for phone calls.
FAQ 5: How do I adjust the volume on my Turtle Beach headset when connected to my phone?
To adjust the volume of your Turtle Beach headset when connected to your phone, follow these steps:
- Locate the volume control buttons on your Turtle Beach headset. These are typically located on the ear cups or the control module.
- While wearing the headset, use the volume buttons to increase or decrease the volume as desired.
- Alternatively, you can also adjust the volume directly from your phone. Simply use the volume buttons on your phone to control the volume output to your Turtle Beach headset.