
In today’s fast-paced and connected world, having access to the internet wherever you go is essential. Whether you’re on a road trip, in a coffee shop, or simply in an area without Wi-Fi, having the ability to connect your Fire Tablet to a hotspot can make all the difference. By connecting your Fire Tablet to a hotspot, you can browse the internet, stream movies and TV shows, play games, and stay connected with friends and family, all without the need for a Wi-Fi network. In this article, we will guide you through the easy steps to connect your hotspot to your Fire Tablet, allowing you to stay connected and enjoy seamless internet access on the go.
Inside This Article
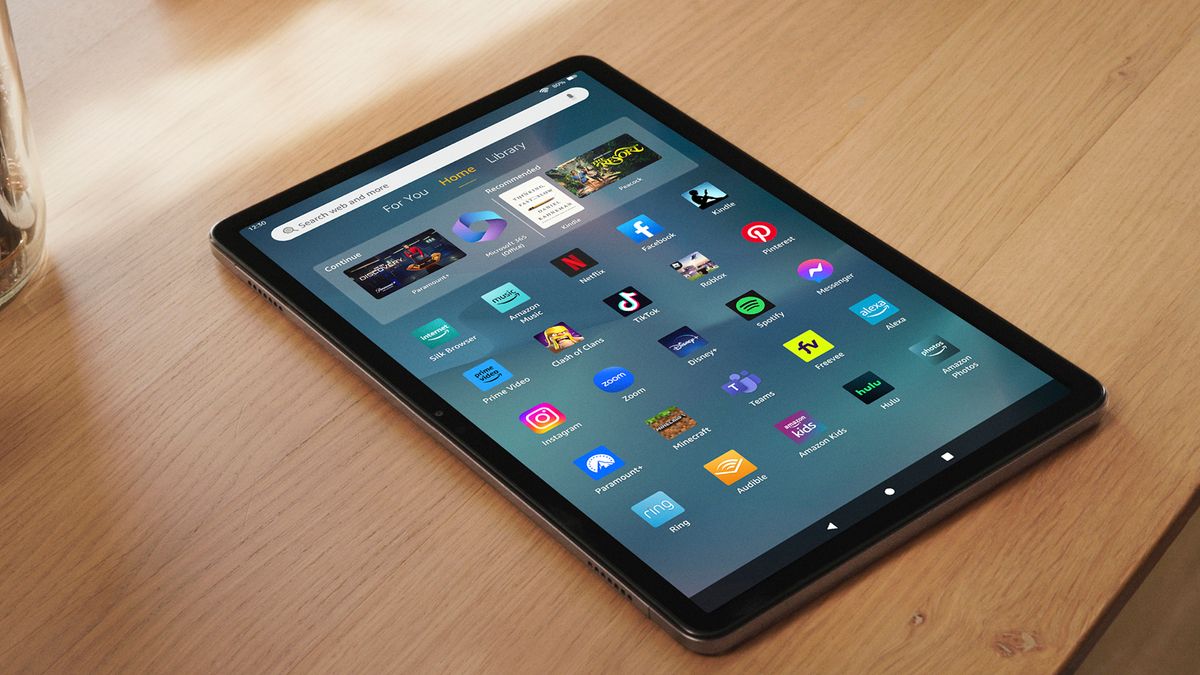
- Connecting Hotspot to Fire Tablet
- Troubleshooting Tips:
- Step 1: Access the Settings menu
- Step 2: Select “Wireless” or “Network & Internet”
- Step 3: Enable Wi-Fi and choose “Hotspot & Tethering”
- Step 4: Turn on the Wi-Fi Hotspot and set the network name and password
- Troubleshooting Tips:
- – Make sure your mobile data plan allows tethering
- – Check if the Wi-Fi hotspot is within range
- – Restart your Fire Tablet and try again
- – Reset network settings on your Fire Tablet
- Conclusion
- FAQs
Connecting Hotspot to Fire Tablet
Are you looking to connect your Fire Tablet to a hotspot? Whether you’re on the go or your home Wi-Fi is down, using a hotspot can provide a convenient way to stay connected. In this article, we will guide you through the easy steps to connect your Fire Tablet to a hotspot.
Before we dive into the steps, it’s important to note that the process may vary slightly depending on the version of Fire Tablet you have. However, the general steps remain the same.
Step 1: Access the Settings menu
To get started, unlock your Fire Tablet and swipe down from the top of the screen to open the notification panel. Tap on the gear icon to access the Settings menu.
Step 2: Select “Wireless” or “Network & Internet”
In the Settings menu, look for either the “Wireless” or “Network & Internet” option. Tap on it to proceed.
Step 3: Enable Wi-Fi and choose “Hotspot & Tethering”
Within the “Wireless” or “Network & Internet” settings, find the Wi-Fi option. Tap on it to enable Wi-Fi.
Next, locate and select the “Hotspot & Tethering” option. This is where you’ll find the settings to connect to a hotspot.
Step 4: Turn on the Wi-Fi Hotspot and set the network name and password
Once you’re in the “Hotspot & Tethering” menu, you’ll see the option to turn on the Wi-Fi hotspot. Toggle the switch to the “On” position.
You also have the choice to customize the network name (SSID) and password. Tap on the “Set up Wi-Fi hotspot” option and follow the prompts to enter your desired network name and password.
That’s it! Your Fire Tablet is now connected to the hotspot. You can go back to the home screen and begin using the internet through the hotspot connection.
Troubleshooting Tips:
If you encounter any issues while connecting your Fire Tablet to a hotspot, try the following troubleshooting tips:
- Make sure your mobile data plan allows tethering.
- Check if the Wi-Fi hotspot is within range of your Fire Tablet.
- Restart your Fire Tablet and try connecting to the hotspot again.
- If the above steps don’t work, you can try resetting the network settings on your Fire Tablet. To do this, go to the Settings menu, select “Wireless” or “Network & Internet”, tap on “Reset Network Settings”, and confirm your action.
By following these steps and troubleshooting tips, you should be able to successfully connect your Fire Tablet to a hotspot. Enjoy uninterrupted internet access wherever you go!
Step 1: Access the Settings menu
To connect your Fire Tablet to a hotspot, you first need to access the Settings menu on your device. The Settings menu contains all the options and configurations for your Fire Tablet, including network settings.
To access the Settings menu, simply swipe down from the top of the screen to open the notification panel. Then, tap on the gear-shaped Settings icon in the top-right corner of the screen.
Alternatively, you can go to the Apps screen and tap on the “Settings” app icon to directly access the Settings menu.
Once you are in the Settings menu, you will see various options and categories. Scroll down or swipe across the screen to navigate through the different sections of the Settings menu.
The exact layout and organization of the Settings menu may vary depending on the version of Fire OS running on your tablet. However, you should be able to find the necessary options to connect to a hotspot.
Step 2: Select “Wireless” or “Network & Internet”
After accessing the Settings menu on your Fire Tablet, the next step is to select either the “Wireless” or “Network & Internet” option. The specific name may vary depending on the model and version of your tablet, but it will typically be one of these two.
Once you locate and tap on this option, you will be directed to a new screen with various connectivity settings.
If you see the “Wireless” option, tap on it to proceed. This section usually includes options such as Wi-Fi, Bluetooth, and Airplane Mode.
On the other hand, if you come across the “Network & Internet” option, select it to continue. This section typically contains settings related to Wi-Fi, mobile data, and VPN.
It is important to note that the placement and naming of these options may slightly differ between Fire Tablet models and software versions. However, the main aim is to locate and access the settings related to network connectivity.
After selecting the appropriate option, you are now ready to proceed to the next step of connecting your hotspot to the Fire Tablet.
Step 3: Enable Wi-Fi and choose “Hotspot & Tethering”
Once you have accessed the Settings menu on your Fire Tablet, the next step is to enable Wi-Fi and choose the “Hotspot & Tethering” option. This will allow you to turn on the Wi-Fi hotspot and share your mobile data connection with other devices.
To enable Wi-Fi, simply toggle the switch to the “On” position. This will activate the Wi-Fi functionality on your Fire Tablet, allowing it to connect to available wireless networks.
After enabling Wi-Fi, navigate to the “Hotspot & Tethering” section. This can typically be found under the “Wireless” or “Network & Internet” menu, depending on the specific version of Fire Tablet you have.
Within the “Hotspot & Tethering” section, you will find the option to turn on the Wi-Fi hotspot. By enabling this feature, your Fire Tablet will act as a wireless access point, allowing other devices to connect to it and share its internet connection. This can be incredibly useful when you are on the go and need to provide internet access to other devices, such as laptops or smartphones.
Additionally, you can set the network name and password for your Wi-Fi hotspot. This will ensure that only authorized users can connect to your hotspot and protect your mobile data from being accessed by strangers. It is recommended to choose a strong password to enhance the security of your hotspot.
Once you have enabled the Wi-Fi hotspot and configured the network name and password, other devices will be able to detect and connect to your Fire Tablet’s hotspot just like any other wireless network. This will allow them to make use of your mobile data connection and stay connected to the internet even when no other Wi-Fi networks are available.
Now that you have successfully enabled Wi-Fi and chosen the “Hotspot & Tethering” option on your Fire Tablet, you are ready to share your mobile data connection with other devices. Whether you are at a coffee shop, in a car, or anywhere else without Wi-Fi, your Fire Tablet can become your own personal hotspot, keeping you connected wherever you go.
Step 4: Turn on the Wi-Fi Hotspot and set the network name and password
Now that you have accessed the “Hotspot & Tethering” menu on your Fire Tablet, it’s time to turn on the Wi-Fi hotspot and set a network name and password. Follow these simple steps to complete the process:
1. Look for the option to “Turn on Wi-Fi Hotspot” or a similar phrase. It may be located at the top of the menu or under a separate “Hotspot” tab. Tap on it to enable the Wi-Fi hotspot feature.
2. Once you have turned on the Wi-Fi hotspot, the next step is to set the network name, also known as the SSID (Service Set Identifier). This is the name that will be visible to other devices when they search for available networks.
3. Tap on the option to “Set Network Name” or something similar. Enter a name that is easy to remember and identifiable to you. Avoid using personal information in the network name for security reasons.
4. After setting the network name, it’s time to set the password for your Wi-Fi hotspot. Tap on the option to “Set Password” or a similar phrase.
5. Create a strong password that is at least 8 characters long and includes a combination of letters (both uppercase and lowercase), numbers, and special characters. This will ensure that your Wi-Fi hotspot remains secure.
6. Once you have entered the password, tap on the “Save” or “Apply” button to finalize the settings.
Congratulations! You have successfully turned on the Wi-Fi hotspot on your Fire Tablet and set the network name and password. Now, other devices can connect to your hotspot and access the internet using the credentials you have provided.
Remember to keep your hotspot enabled only when you need it to conserve battery life and ensure the security of your device and personal information.
Troubleshooting Tips:
If you’re having trouble connecting your Fire Tablet to a hotspot, don’t worry – we’ve got you covered with some troubleshooting tips to help you get things up and running smoothly. Here are some potential issues and steps you can take to resolve them:
1. Make sure your mobile data plan allows tethering: Some mobile carriers restrict tethering or hotspot usage on certain data plans. Double-check your plan to ensure that you have the necessary permissions to use the hotspot feature.
2. Check if the Wi-Fi hotspot is within range: Ensure that your Fire Tablet is within close proximity to the hotspot you’re trying to connect to. If the hotspot signal is weak or intermittent, you may experience connectivity issues.
3. Restart your Fire Tablet and try again: Occasionally, a simple device restart can help resolve connectivity problems. Turn off your Fire Tablet, wait a few seconds, and then power it back on. Attempt to connect to the hotspot again and see if the issue persists.
4. Reset network settings on your Fire Tablet: If all else fails, you can try resetting the network settings on your Fire Tablet. This will remove any saved Wi-Fi networks and their associated settings. To do this, go to the Settings menu, select “Wireless” or “Network & Internet,” and then choose the option to reset network settings. Keep in mind that this will also remove any saved Wi-Fi passwords.
By following these troubleshooting tips, you should be able to tackle any issues you encounter when connecting your Fire Tablet to a hotspot. Remember, patience and persistence are key – sometimes it just takes a little trial and error to achieve the desired connection.
– Make sure your mobile data plan allows tethering
When attempting to connect your Fire Tablet to a hotspot, it is important to ensure that your mobile data plan allows tethering. Tethering allows your tablet to use your smartphone’s cellular data connection, essentially turning it into a mobile hotspot, so you can connect to the internet.
Not all mobile data plans include tethering, so it is crucial to check with your service provider to confirm if it is included in your plan. Some carriers offer separate hotspot plans, while others may charge an additional fee for tethering.
If tethering is not included in your plan, you may need to upgrade your data plan to enable this feature. Contact your mobile service provider to discuss your options and choose a plan that suits your needs.
Before attempting to connect to a hotspot, it is essential to verify that your mobile data plan allows tethering. This will ensure a seamless and uninterrupted internet connection on your Fire Tablet.
– Check if the Wi-Fi hotspot is within range
One common issue when trying to connect your Fire Tablet to a Wi-Fi hotspot is the signal range. If the Wi-Fi hotspot you are trying to connect to is too far away, your Fire Tablet may not be able to detect or establish a stable connection with it.
To check if the Wi-Fi hotspot is within range of your Fire Tablet, try moving closer to the hotspot and see if the signal improves. You can also check the signal strength indicator on your Fire Tablet to determine the strength of the Wi-Fi signal.
If you are already within close proximity to the Wi-Fi hotspot and still unable to connect, there may be potential obstructions or interference causing the weak signal. Walls, furniture, and other physical objects can block or weaken the Wi-Fi signal. Additionally, other electronic devices or appliances in the vicinity can interfere with the Wi-Fi signal.
Try repositioning your Fire Tablet or the Wi-Fi hotspot to minimize obstructions and improve the signal strength. It may also help to keep your Fire Tablet and the Wi-Fi hotspot in clear line of sight to ensure a strong and stable connection.
If despite these efforts, your Fire Tablet still cannot connect to the Wi-Fi hotspot, it is possible that the hotspot itself is experiencing technical difficulties or limitations. Contact the hotspot provider or the person in charge of the hotspot to troubleshoot the issue further.
– Restart your Fire Tablet and try again
If you’re facing issues connecting your Fire Tablet to a hotspot, a simple solution is to restart your device and try again. Restarting can help resolve minor software glitches or connectivity issues that may be preventing the tablet from connecting to the hotspot.
To restart your Fire Tablet, follow these steps:
- Locate the power button on your device. It is usually located on the side or at the top of the tablet.
- Press and hold the power button for a few seconds until the power options menu appears on the screen.
- Select the “Restart” option from the menu.
- Wait for your Fire Tablet to power off and then turn back on automatically. This process may take a few moments.
Once your device has restarted, try connecting to the hotspot again by following the previously mentioned steps. Restarting the tablet clears temporary system files and refreshes the device’s network connections, which can help resolve connectivity issues.
If restarting your Fire Tablet doesn’t solve the problem, you may need to troubleshoot further or consider other possible solutions, such as checking your Wi-Fi settings or contacting your mobile service provider for assistance.
– Reset network settings on your Fire Tablet
If you’re experiencing issues with your Fire Tablet’s network connection, resetting the network settings can often resolve the problem. Resetting the network settings will erase all saved Wi-Fi networks, Bluetooth devices, and VPN settings on your device. Here’s how you can do it:
- Swipe down from the top of the screen to open the Quick Settings menu.
- Tap on the “Settings” gear icon to access the Settings menu.
- Scroll down and select “Wireless” or “Network & Internet”, depending on the version of the Fire Tablet you have.
- Find and tap on the “Reset Network Settings” option. It may be located under the “Advanced” or “More” section.
- You will be prompted with a warning message explaining that resetting network settings will remove all saved networks and erase other settings. Confirm your decision by tapping on the “Reset” button.
- Your Fire Tablet will then proceed to reset the network settings. This may take a few moments.
- Once the process is complete, your device will restart automatically.
After your Fire Tablet restarts, you will need to set up your Wi-Fi network connections again. Make sure to have the necessary network names and passwords handy. Additionally, you may need to reconnect your Bluetooth devices and reconfigure any VPN settings if you use them.
Resetting the network settings can often fix issues related to Wi-Fi or Bluetooth connectivity, such as connection drops, slow speeds, or problems with pairing devices. It can also help with resolving network conflicts that may be causing issues with your Fire Tablet’s connection.
If resetting the network settings doesn’t solve your problem, you may need to troubleshoot further or contact Amazon customer support for assistance.
Connecting your Fire Tablet to a hotspot is a convenient way to stay connected and access the internet on the go. Whether you’re traveling, in a coffee shop, or simply in an area with no Wi-Fi network, knowing how to connect your Fire Tablet to a hotspot can be a lifesaver.
In conclusion, the process of connecting your Fire Tablet to a hotspot is simple and straightforward. By following the steps outlined in this article, you can easily connect your Fire Tablet to a hotspot and enjoy seamless internet connectivity wherever you are.
Remember to check the hotspot settings on your Fire Tablet and ensure that you have the necessary credentials to connect. If you encounter any issues, refer to the troubleshooting section or consult with customer support for further assistance.
So, go ahead and connect your Fire Tablet to a hotspot to enjoy browsing, streaming, and all the other amazing features your Fire Tablet has to offer, even when there’s no Wi-Fi network available.
FAQs
Below are some frequently asked questions about connecting a hotspot to a Fire Tablet:
Q: How do I connect my Fire Tablet to a hotspot?
A: To connect your Fire Tablet to a hotspot, navigate to the device’s settings and select the Wi-Fi option. From there, you will see a list of available networks. Locate your desired hotspot network and tap on it to connect. If prompted, enter the password for the hotspot to establish a connection.
Q: Can I use my smartphone as a hotspot for my Fire Tablet?
A: Yes, you can use your smartphone as a hotspot for your Fire Tablet. Most smartphones have a built-in feature that allows you to set up a Wi-Fi hotspot. Simply enable this feature on your smartphone, and then connect your Fire Tablet to the hotspot network using the steps mentioned earlier.
Q: What are the benefits of using a hotspot with my Fire Tablet?
A: Utilizing a hotspot with your Fire Tablet can provide you with internet connectivity on the go, even in areas where Wi-Fi access may be limited or unavailable. This can be particularly useful when traveling or when you need to access the internet outside of your home or office.
Q: How do I manage the hotspot settings on my Fire Tablet?
A: To manage the hotspot settings on your Fire Tablet, go to the device’s settings and select the Wi-Fi option. Then, tap on the “Wi-Fi hotspot” option to access the hotspot settings. From there, you can enable or disable the hotspot, change the network name (SSID), set a password, and adjust other related settings.
Q: Can I connect multiple devices to the same hotspot?
A: Yes, you can connect multiple devices, including your Fire Tablet, to the same hotspot network. The number of devices that can be connected simultaneously may vary depending on the specific hotspot device or the capabilities of your smartphone. However, most hotspots allow for multiple connections, making it convenient to share the internet connection with multiple devices.