
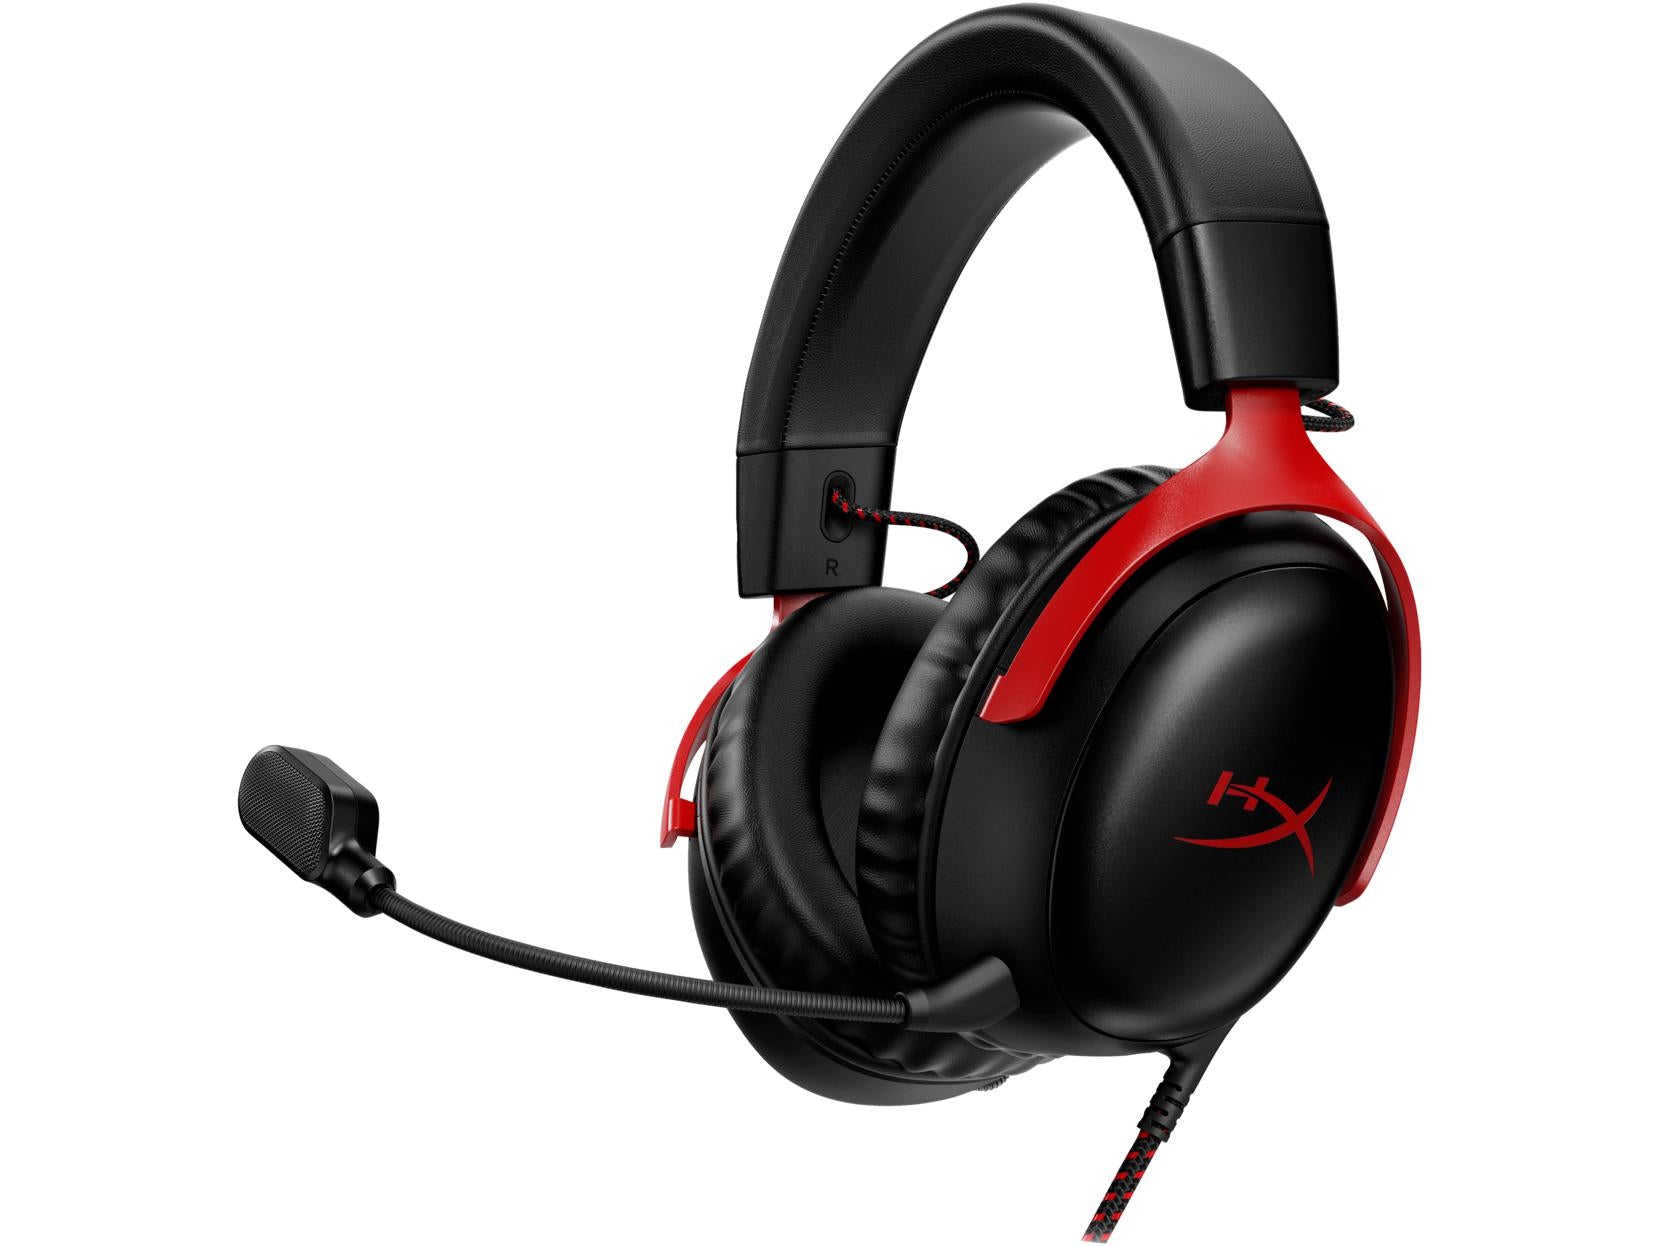
If you’re a avid gamer and own a Hyperx headset, you may be wondering how to connect it to your Xbox console for the ultimate gaming experience. Connecting your Hyperx headset to your Xbox is a simple process that can greatly enhance your gameplay with immersive audio and clear communication. In this article, we will guide you through the steps to easily connect your Hyperx headset to your Xbox console, ensuring that you can hear every sound effect and communicate with your teammates effectively. Whether you’re playing a intense battle royale game or immersed in an open-world adventure, having your Hyperx headset connected to your Xbox will elevate your gaming experience to the next level. Let’s dive in and discover how to connect your Hyperx headset to your Xbox!
Inside This Article
- Steps to Connect HyperX Headset to Xbox
- Step 1: Check your Xbox Console
- # Step 2: Connect the Headset to the Controller
- # Step 3: Adjust the Headset Settings on Xbox
- # Step 4: Test the Connection and Troubleshoot
- Conclusion
- FAQs
Steps to Connect HyperX Headset to Xbox
Are you ready to take your gaming experience to new heights? Connecting your HyperX headset to your Xbox console is a straightforward process. Follow these steps to get started:
Step 1: Check your Xbox Console
Ensure that your Xbox console is turned on and functioning properly. Make sure that your controller is powered on and connected to the console.
Step 2: Connect the Headset to the Controller
Take the 3.5mm audio cable provided with your HyperX headset and plug one end into the headset’s audio jack. Then, insert the other end into the audio jack located at the bottom of your Xbox controller.
Step 3: Adjust the Headset Settings on Xbox
Once the headset is connected, you need to adjust the settings on your Xbox console. Navigate to the “Settings” menu by pressing the Xbox button on your controller. Select “Profile & system” and then choose “Audio.” From there, you can adjust the volume, chat mixer, and other audio settings to your preference.
Step 4: Test the Connection and Troubleshoot
After making the necessary adjustments, it’s time to test the connection. Start a game or play some music to ensure that the audio is coming through the headset. If you encounter any issues, try the following troubleshooting steps:
- Make sure the headset is securely connected to the controller.
- Check if the headset’s volume is turned up.
- Verify that the controller and headset are both properly charged.
- Try using a different audio cable or controller if available.
- Restart your Xbox console and try the connection again.
By following these steps, you can successfully connect your HyperX headset to your Xbox console and enjoy immersive gaming with crisp audio and clear communication. Get ready to dominate your virtual battlefield!
For more information and specific troubleshooting guides, refer to the user manual provided with your HyperX headset or visit the official HyperX website.
Step 1: Check your Xbox Console
Before you start connecting your HyperX headset to your Xbox, it’s important to make sure that your Xbox console is compatible with the headset. Here are a few things to check:
1. Make sure you have an Xbox One, Xbox One S, or Xbox One X console. These models are compatible with the HyperX headset. If you have an older Xbox 360 console, the headset may not work.
2. Check the available ports on your Xbox console. The HyperX headset usually connects via the 3.5mm audio jack or the USB port. Ensure that your Xbox has the corresponding ports to connect your headset.
3. Verify that your Xbox console is fully updated. Some headset compatibility issues can be resolved by installing the latest system updates. Go to the system settings on your Xbox and check for any available updates.
4. If you’re using a wireless HyperX headset, ensure that your Xbox console has a wireless connection feature. Not all Xbox console models have built-in wireless support, so you may need to purchase an additional wireless adapter.
By checking these factors, you can ensure that your Xbox console is ready to connect with your HyperX headset. Let’s move on to the next step to proceed with the connection process.
# Step 2: Connect the Headset to the Controller
After ensuring that your Xbox console is compatible with the HyperX headset, it’s time to connect the headset to your controller. Here’s how you can do it:
1. Take the 3.5mm audio jack on the headset cable and insert it into the audio jack on the bottom of your Xbox controller. Make sure the connection is secure and tight.
2. Once connected, you may need to adjust the audio settings on your Xbox to ensure that the headset is recognized and configured correctly.
3. On your Xbox console, go to the settings menu. You can access this by pressing the Xbox button on your controller and selecting the gear icon.
4. In the settings menu, navigate to the “Audio” section. Here, you’ll find options related to audio output and input devices.
5. Select the option that allows you to choose your audio output device. Depending on your Xbox console model, this option may be labeled differently, but it should mention headphones or headset.
6. From the available options, select the HyperX headset as your audio output device. This will ensure that the game audio, chat audio, and other audio elements are routed through your headset.
7. Additionally, you may also have the option to configure other audio settings, such as audio mix and chat mixer balance. Feel free to adjust these settings to your preference.
8. Once you have made the necessary adjustments, exit the settings menu. Your HyperX headset should now be successfully connected to your Xbox controller, and you can start enjoying an immersive audio experience while gaming.
If you’re facing any issues with the headset connection or audio configuration, refer to the troubleshooting section for helpful tips and solutions.
# Step 3: Adjust the Headset Settings on Xbox
Once you have connected your HyperX headset to your Xbox controller, the next step is to adjust the headset settings on the Xbox. This will ensure that you have the best audio experience while gaming or chatting with friends. Here’s how you can do it:
1. Press the Xbox button on your controller to open the guide menu.
2. Navigate to the “System” tab and select “Settings”.
3. In the Settings menu, go to the “Audio” tab.
4. Under the Audio tab, you will find various options to customize your headset settings. Firstly, you can adjust the Headset Volume by moving the slider left or right. This will control the volume of game audio and chat sound from your headset.
5. Next, you can adjust the Headset Chat Mixer. This option lets you balance the audio levels between game audio and chat sound. Move the slider to the left to prioritize game audio or to the right to prioritize chat sound.
6. The Mic Monitoring option allows you to hear your own voice through the headset. You can adjust the Mic Monitoring volume to your preference. Increasing the volume will make your voice louder in the headset, while decreasing it will make your voice softer.
7. If you have enabled Dolby Atmos for Headphones or Windows Sonic for Headphones, you can choose the Spatial Audio format under the Headset Format section. This will enhance your audio experience by providing a more immersive sound.
8. Lastly, if you want to use your headset for communication purposes, such as in-game chat or voice calls, make sure that the “Headset Mic” option is set to “On”.
9. Once you have made the desired adjustments, you can exit the settings menu and start enjoying your HyperX headset on your Xbox.
It is important to note that the available settings may vary depending on your Xbox console model and system software version. Make sure to check for any updates or refer to the Xbox support website for detailed instructions specific to your console.
By adjusting the headset settings on your Xbox, you can fine-tune the audio experience to your preference and have an immersive gaming or chatting session with your HyperX headset.
# Step 4: Test the Connection and Troubleshoot
After connecting your HyperX headset to your Xbox console, it’s important to test the connection to ensure that everything is working properly. Here are some steps you can follow to test the connection and troubleshoot any issues that may arise:
1. Check the audio output: Start by checking if you can hear audio through your headset. Play a game or video on your Xbox and listen carefully for any sound coming through the headset. If you don’t hear any audio, make sure the volume is turned up on both the headset and the Xbox, and that the headset is properly connected to the controller.
2. Verify microphone functionality: Test if the microphone on your HyperX headset is working. You can do this by joining a party chat or using the built-in voice chat feature in a game. Speak into the microphone and ask your friends if they can hear you. If they can’t, make sure the microphone is not muted, and that it’s properly positioned near your mouth.
3. Adjust audio settings: If you’re having trouble with audio balance or volume, you can adjust the audio settings on your Xbox. Go to the settings menu, select “Audio,” and then choose “Headset Volume.” From there, you can increase or decrease the headset volume to your preference.
4. Check controller firmware: Occasionally, headset connection issues can be caused by outdated controller firmware. Make sure your Xbox controller is up to date by connecting it to your console via USB and checking for any available updates in the settings menu.
5. Troubleshoot wireless connection: If you’re using a wireless HyperX headset, ensure that it’s properly connected to the Xbox wireless adapter. If you experience any connectivity issues, try re-pairing the headset with the adapter or moving closer to the console to improve the signal strength.
6. Restart your Xbox and headset: If you’re still encountering issues, try restarting both your Xbox console and HyperX headset. Sometimes, a simple reboot can fix any connectivity problems or glitches that may be occurring.
7. Contact HyperX support: If you’ve followed all the troubleshooting steps and your HyperX headset still isn’t working properly, it may be best to reach out to HyperX customer support. They can provide further assistance and help resolve any technical issues you may be facing.
By following these steps and testing the connection of your HyperX headset, you can ensure that your gaming experience on Xbox is optimized and enjoyable. Troubleshooting any issues promptly will help you get back to gaming without any interruptions or frustrations.
Conclusion
Connecting your Hyperx headset to your Xbox is a simple and straightforward process that can greatly enhance your gaming experience. By following the steps outlined in this article, you can seamlessly connect your headset, ensuring crisp audio and clear communication with your fellow gamers. Remember to check the compatibility of your headset with your Xbox console and make any necessary updates to ensure optimal performance. With your Hyperx headset connected, you’ll be immersed in the world of gaming, able to hear every detail and communicate effectively with your teammates. Gear up, connect your headset, and dive into the thrilling world of gaming with unparalleled sound quality.
FAQs
Q: Can I connect my Hyperx headset to an Xbox?
A: Absolutely! The Hyperx headset is compatible with Xbox consoles, allowing you to enjoy immersive gaming audio.
Q: How do I connect my Hyperx headset to an Xbox?
A: Connecting your Hyperx headset to an Xbox is easy. Simply plug the headset into the 3.5mm audio jack on your Xbox controller, and you’re good to go!
Q: Can I use a wireless Hyperx headset with Xbox?
A: Yes, you can use a wireless Hyperx headset with Xbox. Hyperx offers wireless models that can be easily paired with your Xbox console for a hassle-free gaming experience.
Q: Do I need any additional equipment to use my Hyperx headset with Xbox?
A: No, you do not need any additional equipment to use your Hyperx headset with Xbox. Simply plug the headset into the controller, and it will work seamlessly.
Q: Can I adjust the audio settings of my Hyperx headset on Xbox?
A: Yes, you can adjust the audio settings of your Hyperx headset on Xbox. You can access the audio settings through the Xbox settings menu and modify the volume, chat balance, and other audio parameters to suit your preferences.