
Crimping a BNC connector is a crucial skill for anyone involved in the field of electronics or telecommunications. Whether you’re a professional technician or an enthusiastic DIYer, knowing how to properly crimp a BNC connector can make a significant difference in the performance and reliability of your connections. BNC connectors are commonly used in applications such as CCTV systems, networking equipment, and RF communications. In this article, we will guide you through the process of crimping a BNC connector step by step, providing you with valuable tips and techniques to ensure a secure and efficient connection. So, if you’re ready to learn the art of crimping BNC connectors, read on!
Inside This Article
Tools and Materials Needed
Before you begin crimping a BNC connector, it’s important to have the right tools and materials on hand. This will ensure a smooth and successful crimping process. Here are the essential items you will need:
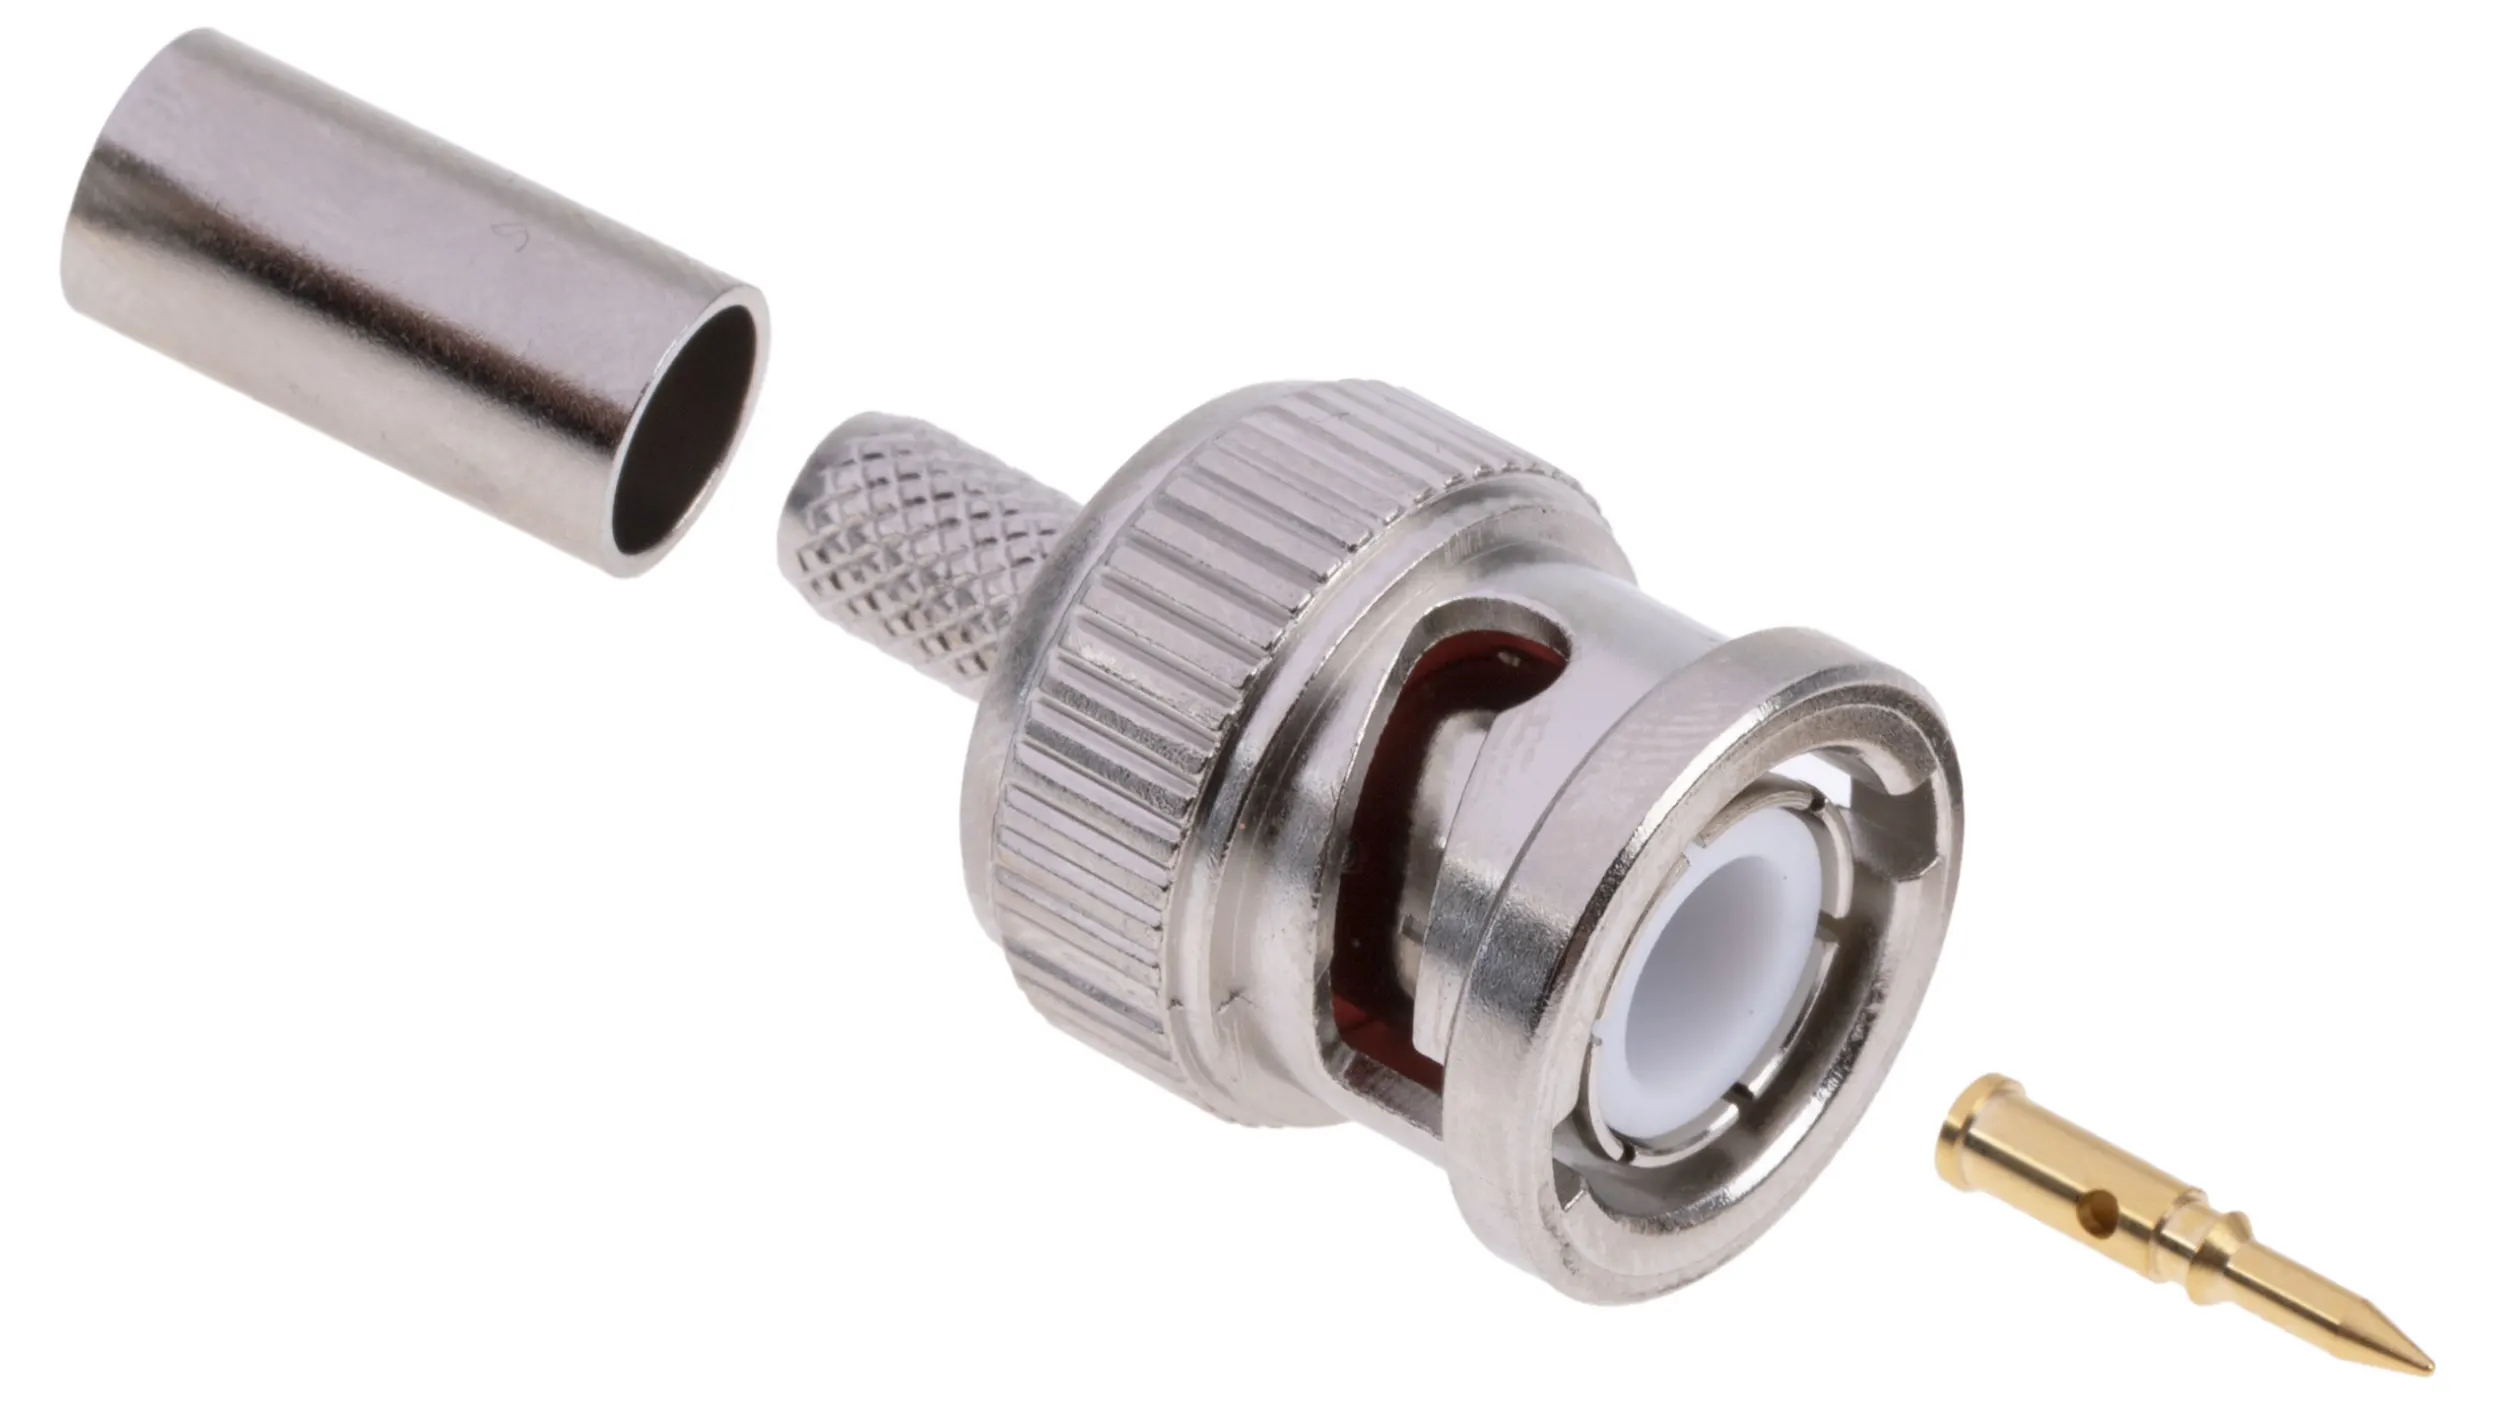
- BNC Connector: Start by selecting the appropriate BNC connector for your specific needs. There are various types available, such as male or female connectors, straight or right-angle connectors, and crimp or twist-on connectors. Choose a connector that matches your cable type and application.
- Cable: You’ll need a coaxial cable to attach the BNC connector. Make sure you have the correct type of cable for your application, such as RG-58 or RG-59. The cable should be the appropriate length for your intended use.
- Wire Strippers: A good pair of wire strippers is essential for removing the outer insulation of the coaxial cable. Look for wire strippers that are designed specifically for coaxial cables to ensure clean and precise cuts.
- Crimping Tool: The crimping tool is the key tool required for crimping a BNC connector. Invest in a high-quality crimping tool that is designed for BNC connectors. This tool will securely attach the connector to the cable, ensuring a reliable connection.
- Coaxial Cable Cutter: A coaxial cable cutter is necessary for cleanly cutting the coaxial cable to the desired length. This tool will produce clean and accurate cuts without damaging the cable.
- Heat Gun or Lighter: In some cases, a heat gun or lighter may be needed to heat-shrink the connector for added durability and protection. This step is optional but recommended for extra security.
- Heat-Shrink Tubing: If you decide to heat-shrink the connector, you will need heat-shrink tubing. This tubing will slide over the crimped connector and can be heated to create a tight seal for added strength and protection.
- Electrical Tape: Electrical tape can be used to secure the heat-shrink tubing (if used) and provide additional insulation to the connection. Choose a high-quality electrical tape that is resistant to moisture and can withstand the conditions of your application.
- Marker or Label: It’s always a good idea to label or mark the cable and connector for easy identification in the future. Use a marker or label to indicate the purpose or location of the cable for convenience.
Having these tools and materials at your disposal will help ensure a successful BNC connector crimping process. Now that you’re equipped with the necessary items, let’s move on to the steps involved in crimping a BNC connector.
Steps to Crimp a BNC Connector
Crimping a BNC connector is a key skill for anyone working with coaxial cables and CCTV systems. The process involves securely attaching the connector to the cable, ensuring a reliable signal transmission. Follow these simple steps to successfully crimp a BNC connector:
- Prepare the cable: Start by stripping off the outer insulation of the coaxial cable. You can use a cable stripping tool to avoid damaging the inner conductor. Remove about half an inch of the outer covering to expose the braided shield.
- Prepare the braided shield: Gently fold back the braided shield against the outer insulation to keep it clear of the inner conductor. This will prevent any interference or shorts when attaching the connector.
- Trim the dielectric: The dielectric is the insulation layer between the inner conductor and the braided shield. Use a cable stripping tool to carefully trim the dielectric, ensuring that it is flush with the connector’s body.
- Insert the connector: Slide the BNC connector onto the end of the cable, making sure that the inner conductor goes into the connector’s pin and the braided shield fits into the connector’s sleeve.
- Check for proper alignment: Double-check the alignment of the inner conductor and the braided shield inside the connector. They should be properly seated and positioned for a reliable connection.
- Crimp the connector: Use a crimping tool specifically designed for BNC connectors to secure it to the cable. Apply steady pressure to the crimping tool, ensuring a tight grip between the connector and the cable.
- Inspect the connection: After crimping, visually inspect the connection to make sure there are no exposed wires or loose parts. A proper crimp should result in a solid and clean connection.
- Test the connection: Connect the cable to the appropriate device, such as a CCTV camera or a signal analyzer, and test the signal quality. Make sure the connection is secure and transmitting without any issues.
By following these step-by-step instructions, you can confidently crimp a BNC connector and ensure a strong and reliable connection for your coaxial cables.
Troubleshooting Tips
When it comes to crimping a BNC connector, you may encounter some challenges along the way. Luckily, there are troubleshooting tips that can help you overcome these issues and ensure a successful crimp. Here are some common problems and their solutions:
1. Connector Not Crimping Properly: If you find that the connector is not crimping properly, double-check that you have inserted the cable all the way into the connector. Make sure that the cable is aligned correctly and that the connector’s teeth are making proper contact with the cable. Also, ensure you are using the right crimping tool and applying sufficient pressure during the crimping process.
2. Insufficient Cable Stripping: Improper cable stripping can cause issues with the crimping process. Make sure you strip the cable precisely to the recommended length. Use a cable stripper or a sharp knife to carefully remove the outer insulation without damaging the inner conductor. Inspect the stripped cable to ensure it is clean and doesn’t have any loose strands that could interfere with the crimp connection.
3. Bent or Damaged Pins: If the pins of the BNC connector are bent or damaged, it can lead to a poor connection. Inspect the pins before crimping to ensure they are straight and undamaged. If any of the pins are bent, use a small tool such as a needle-nose pliers to carefully straighten them. If the pins are severely damaged, it’s best to replace the connector.
4. Incorrect Crimp Sizes: Using the wrong crimp size can result in an unreliable connection. Make sure you choose a BNC connector and crimp size that matches the specifications of your cable. Consult the documentation or manufacturer’s guidelines to determine the correct crimp size for your cable type. Using the right crimp size will ensure a secure and durable connection.
5. Testing the Connection: After crimping the BNC connector, it’s essential to test the connection to ensure it’s working correctly. Use a BNC connector tester or a multimeter to check for continuity and proper signal transmission. If you experience any issues, such as intermittent connection or poor signal quality, recheck your crimping process and troubleshoot accordingly.
By following these troubleshooting tips, you can overcome common challenges when crimping a BNC connector. Remember to double-check your crimping process, ensure proper cable stripping, straighten any bent pins, use the correct crimp size, and test the connection for reliability. With practice and attention to detail, you’ll become proficient in crimping BNC connectors and achieve reliable connections every time.
Conclusion
All in all, knowing how to crimp a BNC connector is an essential skill for anyone working with mobile accessories or in the telecommunications field. It allows for a secure and reliable connection between the coaxial cable and the device, ensuring optimal performance and signal transmission.
By following the step-by-step guide outlined in this article, you can confidently crimp BNC connectors with ease. Remember to gather all the necessary tools, strip the coaxial cable carefully, insert it into the connector, and apply the necessary pressure to crimp it firmly in place. With practice, you will become proficient in this technique and be able to complete installations and repairs efficiently.
So, don’t hesitate to give it a try. Mastering the art of crimping BNC connectors will not only save you time and money but also ensure that your mobile accessories operate at their best, providing an optimal user experience. Get your tools ready and start crimping!
FAQs
1. What is a BNC connector?
2. Why would I need to crimp a BNC connector?
3. What tools and materials do I need to crimp a BNC connector?
4. How do I crimp a BNC connector onto a cable?
5. Are there any tips or tricks for a successful crimping process?