
Screen protectors are essential for keeping our cell phone screens free from scratches, smudges, and cracks. But what happens when dust sneaks its way under the screen protector, marring the clarity and functionality of our devices? The presence of dust particles can be frustrating and distracting, but fear not, as there are effective solutions to rid your screen protector of this pesky intruder. In this article, we will explore different methods and techniques to get rid of dust from under a screen protector, ensuring that your device maintains its pristine appearance and functionality. Whether you are using a tempered glass or plastic screen protector, we have got you covered. Say goodbye to annoying dust specks and hello to a crystal-clear screen!
Inside This Article
- Steps to Get Dust From Under Screen Protector
- Gather the necessary materials
- Remove the screen protector
- Clean the screen
- Reapply the screen protector securely
- Conclusion
- FAQs
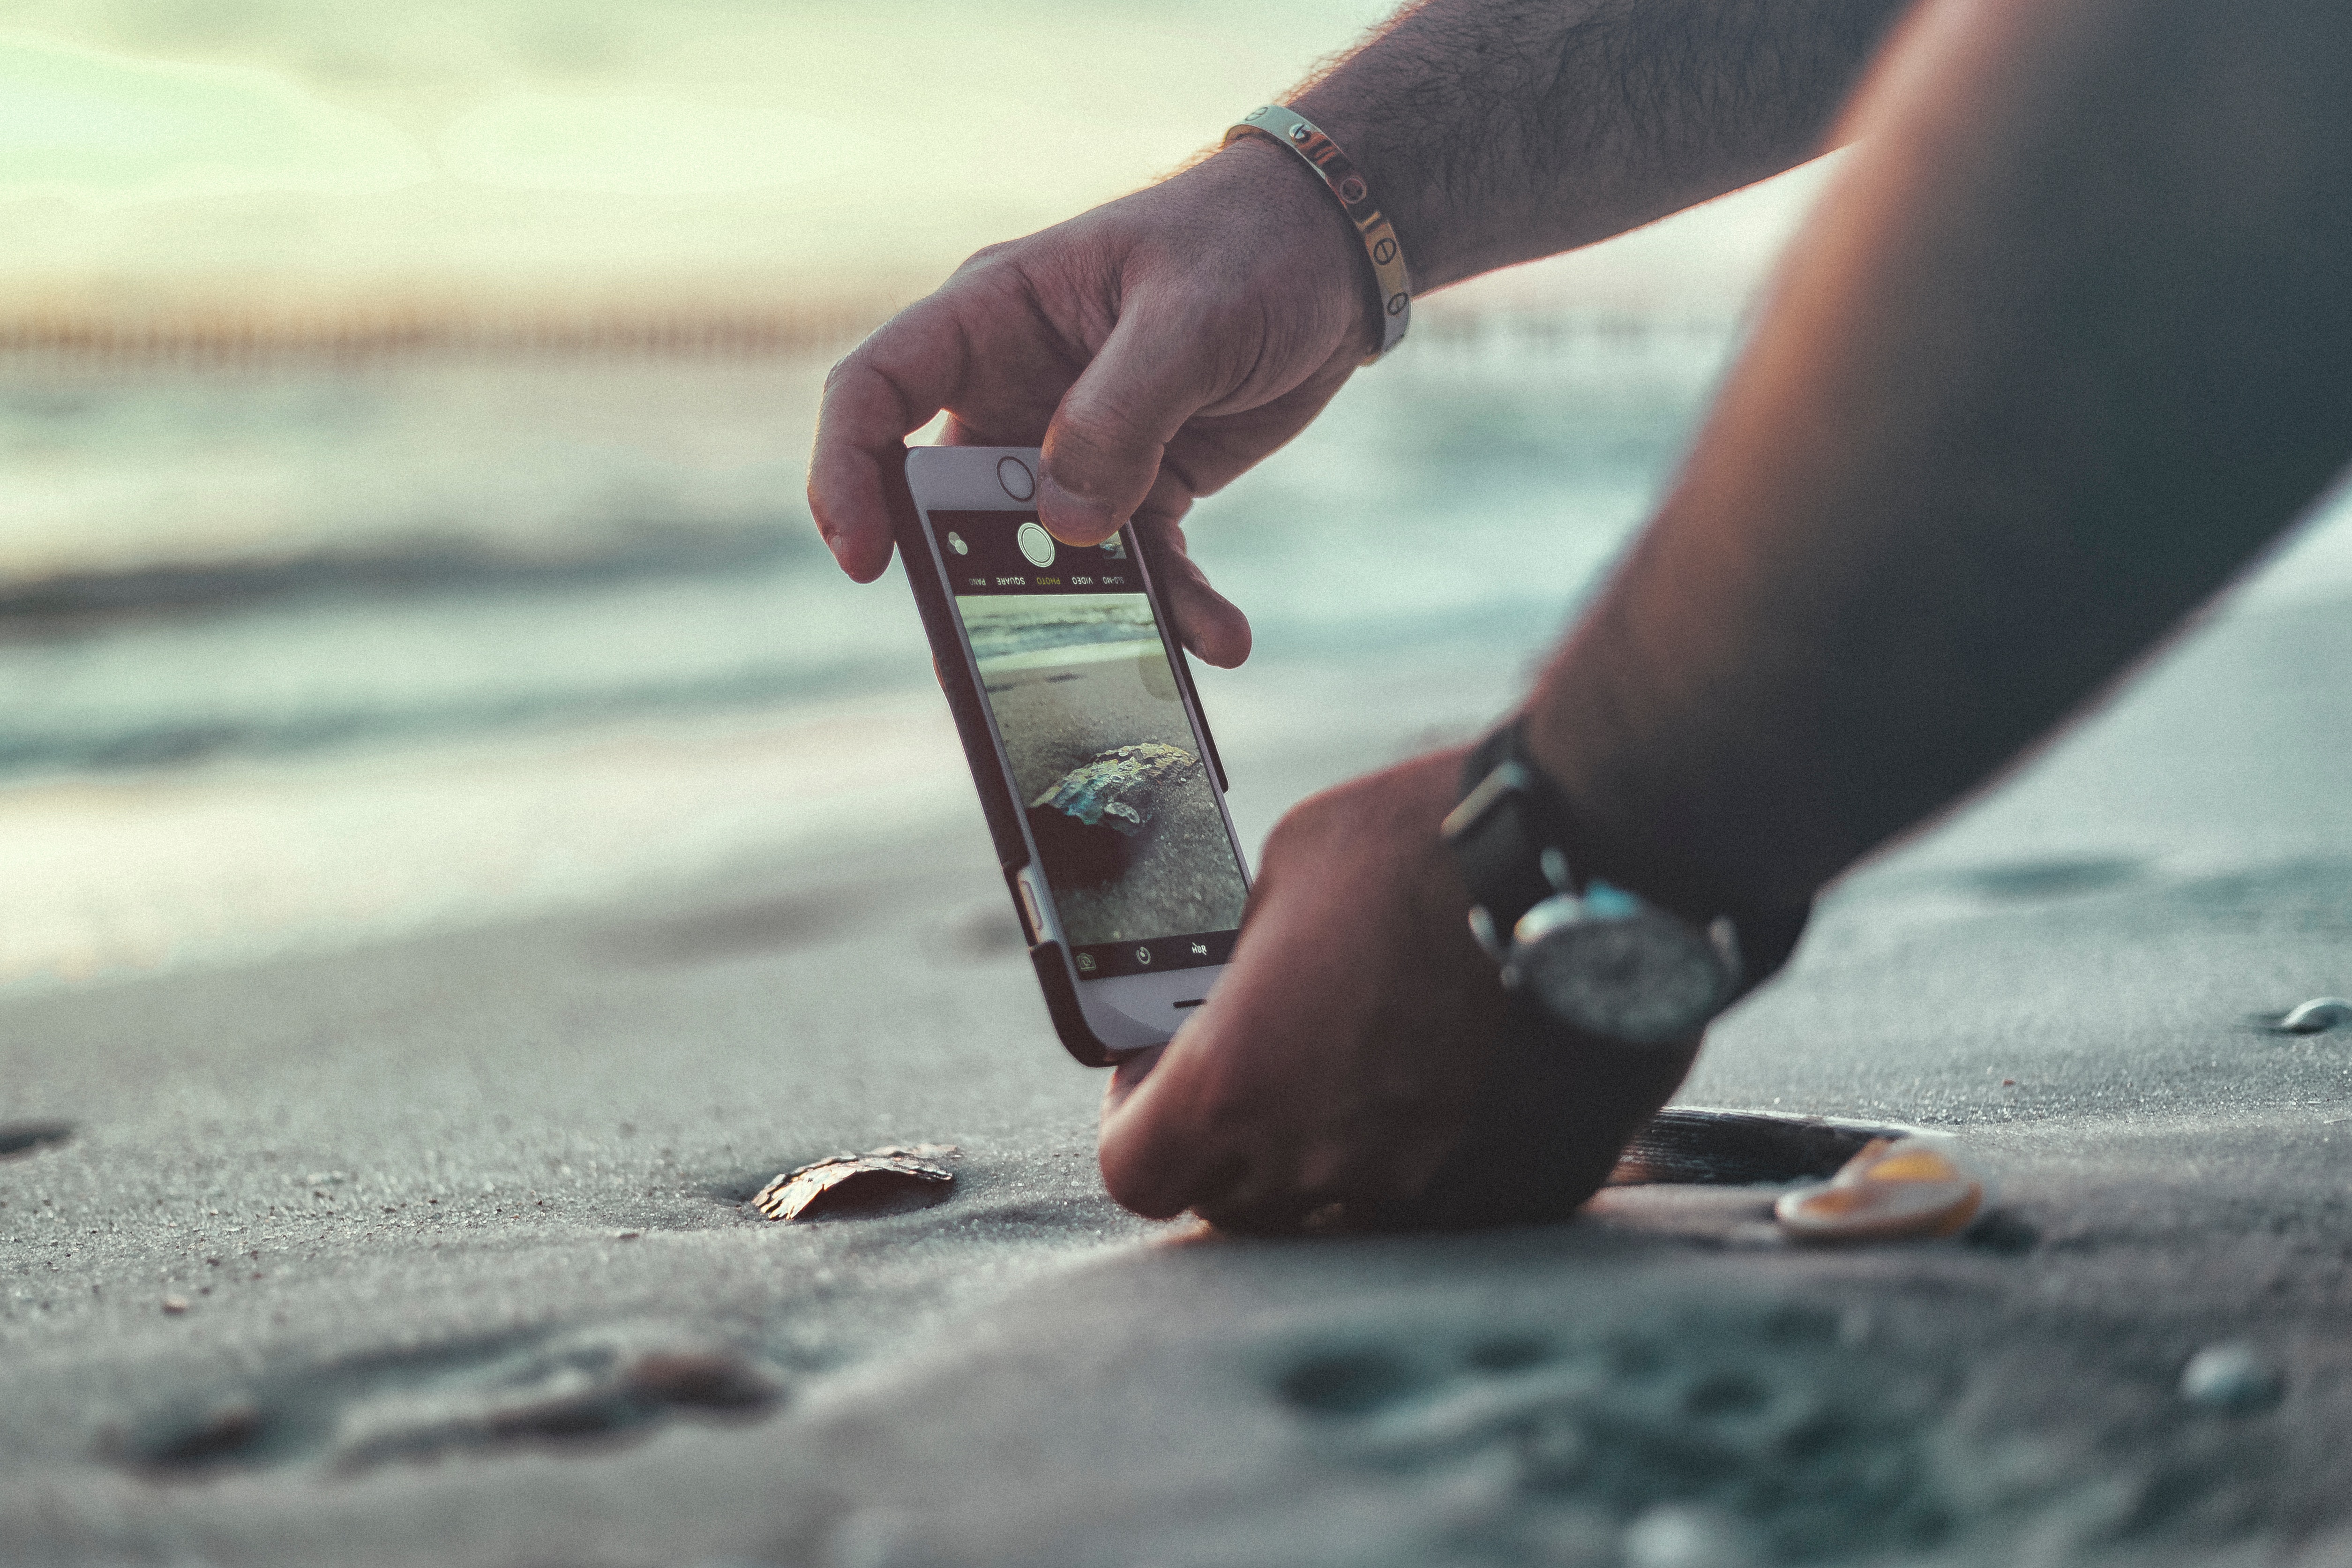
Steps to Get Dust From Under Screen Protector
Having dust particles trapped under your screen protector can be annoying and can affect the clarity of your phone’s display. If you notice dust underneath your screen protector, don’t worry! In this article, we will walk you through the steps to effectively get rid of dust from under your screen protector, ensuring a clean and clear viewing experience.
1. Gather the necessary materials
Before you begin the process, make sure you have the following materials handy:
- Microfiber cloth
- Adhesive tape
- Dust blower or compressed air canister
These materials will help you in removing the dust particles without causing any damage to your screen.
2. Remove the screen protector
The first step is to carefully remove the existing screen protector from your phone. Start by using your fingernail or a thin object, such as a credit card, to lift the edge of the screen protector. Slowly peel off the protector, ensuring not to apply too much force that could damage the screen or leave any residue behind.
3. Clean the screen
Once the screen protector is removed, it’s time to clean the screen thoroughly. Take the microfiber cloth and gently wipe the screen in circular motions to remove any fingerprints, smudges, or dust particles. Make sure to pay extra attention to the edges and corners, as these are the areas where dust commonly accumulates.
4. Reapply the screen protector securely
After cleaning the screen, it’s important to ensure a dust-free environment before applying the new screen protector. This step is crucial to prevent any dust particles from finding their way back onto the screen.
To create a dust-free environment, find a clean and well-lit area with minimal airflow. Use the adhesive tape to remove any remaining dust particles from the screen by gently dabbing it on the surface. You can also use a dust blower or compressed air canister to blow away any stubborn dust.
Once the screen is clean, carefully align the new screen protector with the edges of your phone’s screen. Slowly lower the protector onto the screen, making sure that it adheres evenly and without any air bubbles. Use your fingers or a credit card to smooth out any bubbles or wrinkles from the center to the edges.
Lastly, give the screen protector a final wipe with the microfiber cloth to ensure a clean and clear finish. Allow the adhesive to fully bond with the screen before using your phone.
Congratulations! You have successfully removed the dust from under your screen protector and reinstalled it for an optimal viewing experience. Remember to regularly clean your screen and screen protector to prevent dust buildup in the future.
FAQs
Q: Can I reuse the same screen protector after removing the dust?
A: It is not recommended to reuse the same screen protector as it may have lost its adhesive properties or could be damaged during the removal process. It is best to replace it with a new one.
Q: How often should I clean my screen protector?
A: It’s a good practice to clean your screen protector at least once a week to maintain its clarity and prevent dust buildup.
Q: Is it necessary to use a microfiber cloth to clean the screen?
A: Yes, a microfiber cloth is the best option for cleaning your screen as it is gentle and doesn’t leave any scratches or lint behind.
Q: Can I use compressed air to clean the screen directly?
A: It is not recommended to use compressed air directly on the screen as it can damage the sensitive components. Instead, use it to blow away dust particles from a distance or use a dust blower specifically designed for electronics.
By following these steps and taking proper care of your screen protector, you can enjoy a pristine and dust-free display on your mobile device.
Gather the necessary materials
Before you begin the process of removing dust from under your screen protector, it’s important to gather all the necessary materials. Having the right tools on hand will make the process much smoother and ensure that you can achieve the best results. Here are the materials you’ll need:
- A microfiber cloth: This will be used to clean the screen and remove any dust or smudges.
- A soft bristle brush: This can be a small paintbrush or a dedicated screen cleaning brush. It will help you remove any stubborn dust particles.
- A can of compressed air: This will come in handy for blowing away any loose dust that may be stuck under the screen protector.
- Clear adhesive tape: This can be used to lift the screen protector gently if necessary.
Having these materials ready will ensure that you have all the tools you need to effectively remove the dust from under your screen protector.
Remove the screen protector
After gathering the necessary materials, it’s time to remove the screen protector. Follow these steps to safely and effectively remove the screen protector without damaging your device:
- Start by turning off your device and finding a well-lit area to work in.
- Use a microfiber cloth or a cleaning solution specifically designed for screens to wipe the surface of the screen protector. This will help remove any fingerprints, smudges, or dirt that may have accumulated on the surface.
- Once the surface is clean, take a closer look at the edges of the screen protector. You may notice some dust or particles that have collected along the edges.
- Using a fingernail or a plastic card, gently lift one corner of the screen protector. Be careful not to apply too much pressure or use anything sharp that could scratch the screen.
- Once you have lifted the corner, slowly and carefully peel off the screen protector from one side to the other. Hold onto the corner you initially lifted to avoid any accidental reapplication or damage.
- If you encounter any resistance while peeling off the screen protector, stop immediately and assess the situation. It’s possible that the adhesive has adhered too strongly to the screen, in which case you may need to use a hairdryer on low heat to warm up the adhesive and make it easier to remove.
- Continue peeling off the screen protector until it is completely removed from the screen.
Once you have successfully removed the screen protector, take a moment to inspect both the screen and the protector for any leftover residue or particles. If necessary, use a microfiber cloth or a cleaning solution to wipe away any remaining debris.
Now that the screen protector has been removed, you can move on to the next step: cleaning the screen.
Clean the screen
Once you have successfully removed the screen protector, it’s time to clean the screen underneath. Cleaning the screen is essential to ensure a smooth and uninterrupted viewing experience. Here are the steps you need to follow to clean your screen effectively:
- Start by turning off your device to prevent any accidental touches on the screen while cleaning.
- Prepare a mild cleaning solution by mixing equal parts of distilled water and isopropyl alcohol. Avoid using harsh chemicals or cleaners that may damage your device’s screen.
- Dampen a microfiber cloth with the cleaning solution. Make sure the cloth is not dripping wet, as excess moisture can seep into the device and cause damage.
- Gently wipe the screen in a circular motion, applying light pressure. Be thorough in your cleaning, paying attention to any stubborn smudges or fingerprints.
- For better results, you can use a screen cleaning spray specifically designed for electronic devices. Spray the solution onto the microfiber cloth and then clean the screen in the same manner as mentioned above.
- After cleaning, use a dry microfiber cloth to wipe away any residual moisture or streaks on the screen. This helps in achieving a crystal-clear display.
- Allow the screen to air dry for a few minutes before reapplying the screen protector.
It is essential to handle the cleaning process with care and avoid using excessive force or abrasive materials, as these can cause scratches or damage to the screen. Always use gentle, circular motions to clean the screen effectively without harming its surface.
Following these steps will ensure that your screen is clean and ready for the next step of reapplying the screen protector.
Reapply the screen protector securely
Once you have cleaned the screen thoroughly, it’s time to reapply the screen protector. Follow these steps to ensure a secure and bubble-free application:
- Start by carefully removing the protective backing from the screen protector. Be cautious not to touch the adhesive side of the protector.
- Align the screen protector with the edges of your device’s screen. Make sure it is centered and level.
- Slowly lower the screen protector onto the screen, starting from one end and gradually smoothing it down to the other end. Use your fingertips or a soft cloth to press out any air bubbles as you go.
- If you encounter any stubborn bubbles, gently lift the screen protector and try again. It may be helpful to use a credit card or a special tool designed for screen protector installation to smooth out any stubborn bubbles.
- Once the screen protector is securely in place, use a microfiber cloth to gently wipe away any fingerprints or smudges on the surface.
- Gently check the edges of the screen protector to ensure that it is properly adhered to the device’s screen. If you notice any lifted edges, gently press them down to secure the protector.
It’s important to note that different screen protector brands and models may have specific instructions for application. Always refer to the manufacturer’s guidelines for the best results.
By following these steps, you can confidently reapply your screen protector and enjoy a clear, protected screen without any dust or bubbles interfering with your device’s display.
Conclusion
In conclusion, dealing with dust under a screen protector can be a frustrating experience, but with the right techniques and tools, it is possible to effectively remove it. Whether you opt for the tape method, the dust blower, or the dust removal sticker, it is crucial to be gentle and patient to avoid damaging the screen or the protector.
Regularly cleaning your screen and applying a new protector when needed can also help prevent dust buildup in the first place. Additionally, ensuring a dust-free environment during the installation process can greatly reduce the likelihood of encountering this issue.
Remember, taking preventative measures and being proactive in maintaining the cleanliness of your screen protector will ensure a clear and enjoyable viewing experience on your mobile device. So, don’t let dust under your screen protector dampen your mobile experience – follow these tips and get rid of that pesky dust once and for all!
FAQs
Q: Can dust get under a screen protector?
A: Yes, it is possible for dust to get trapped under a screen protector, especially if it is not applied properly or if there are gaps between the protector and the device screen.
Q: How does dust get under a screen protector?
A: Dust can find its way under a screen protector in several ways. It can be introduced during the application process if the surface of the device or the protector is not clean. Additionally, tiny particles can sneak in through small gaps over time due to the constant handling and usage of the device.
Q: Does dust under a screen protector affect screen visibility?
A: Dust under a screen protector can cause a noticeable decrease in screen visibility. It can create small specks or bubbles, disrupting the clarity and brightness of the display. Over time, it may also cause scratches if the dust particles rub against the screen.
Q: How can I prevent dust from getting under my screen protector?
A: To prevent dust from getting under your screen protector, follow these steps:
– Thoroughly clean the surface of your device before applying the protector
– Ensure the protector is aligned and applied evenly, avoiding any gaps
– Use a dust-free environment, such as a bathroom with steam from a hot shower to minimize airborne dust particles
Q: How do I remove dust from under a screen protector?
A: To remove dust from under your screen protector, you can try the following methods:
– Gently lift the protector from one corner using a clean microfiber cloth or a piece of tape, and carefully remove any visible dust particles
– Use a can of compressed air to blow away the dust from the edges and corners of the screen
– If the dust persists, consider replacing the screen protector with a new one