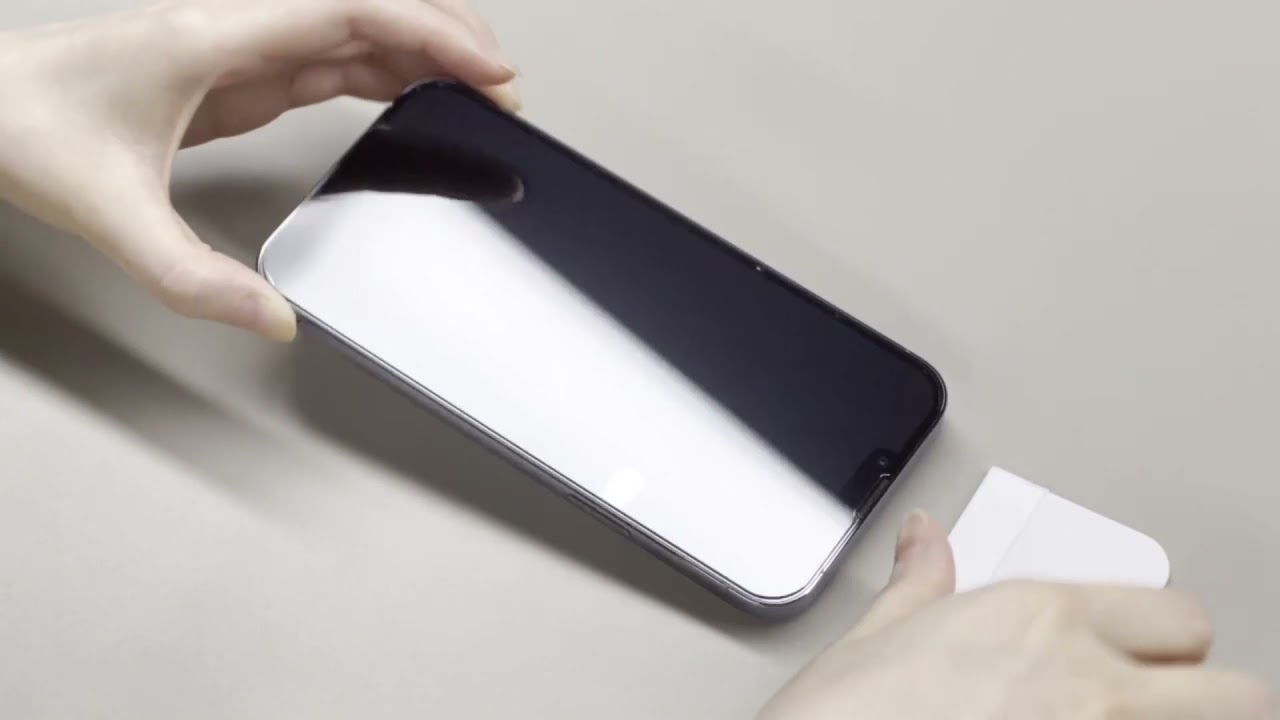
To fix bubbles on screen protector, gently push them toward the nearest edge with a clean plastic card or squeegee, working from the center outward. Small, scattered bubbles often disappear on their own within 24 to 48 hours as the adhesive settles, so patience is your first tool.
How to fix bubbles on screen protector: Quick fixes
If you’ve just applied the protector and see bubbles, act fast. Use a credit card or plastic squeegee to press them out toward the edges, this works for most fresh bubbles. For tiny, isolated bubbles, leave them alone for a day or two; they’ll often vanish naturally as the adhesive flows into place.
Why bubbles appear under your screen protector
Bubbles form when dust, fingerprints, or moisture gets trapped between the screen and the adhesive, or when the protector isn’t aligned properly during installation. Poor cleaning before application is the most common culprit, as even microscopic particles create air pockets. Environmental factors like humidity can also cause bubbles, but these are less frequent if you work in a clean, dry area.
Method 1: Push bubbles to the edge with a card
This is the fastest and safest method for most bubbles, especially if they’re large or clustered.
- Take a clean plastic card (credit card, library card, or a dedicated squeegee) and wrap it in a soft microfiber cloth to avoid scratching the protector.
- Place the card at the center of the bubble and apply firm, even pressure.
- Push the card outward toward the nearest edge of the screen, using slow, sweeping motions. Work from the center of the bubble to the edge, not back and forth.
- Repeat for each bubble, always moving from the center of the screen outward.
- If a bubble remains, lift the card slightly and try again from a different angle, sometimes air needs a little extra nudge to escape.
For stubborn bubbles, you can also use a dry microfiber cloth instead of a card, pressing with your finger wrapped in the cloth. The key is to keep the pressure steady and move slowly to avoid re-trapping air.
Method 2: Apply gentle heat to release trapped air
Heat softens the adhesive, making it more pliable and easier to push out stubborn bubbles. This works best for larger bubbles or those that resist a card alone.
- Set a hairdryer to its lowest heat setting (no higher than “low” or “warm”).
- Don’t concentrate heat on one spot, this can damage the screen or the protector’s adhesive.
- Immediately after warming, use a card or your thumb wrapped in a microfiber cloth to press the bubble toward the edge.
- Let the screen cool completely before checking if the bubble has disappeared. If it hasn’t, repeat the process once more.
Caution: Never use high heat or hold the hairdryer too close, as this can warp the protector or harm your device’s display. If you don’t have a hairdryer, you can skip this method and rely on the card technique.
Method 3: Lift and reapply only as a last resort
Reapplying should be your final option because it risks weakening the adhesive or introducing new dust. Reapplying a screen protector can compromise the adhesive's strength or introduce more dust, particularly with plastic protectors. However, for a single large bubble that won’t budge, you can try a targeted lift.
- Wash and dry your hands thoroughly to avoid adding oils to the screen.
- Use a piece of clear tape (like scotch tape) folded over your fingertip, sticky side out.
- Gently insert the tape under one corner of the protector near the bubble, lifting just enough to release the trapped air. Do not peel the whole protector off.
- Press the lifted corner back down, smoothing it with a card from the center outward.
- If the bubble reappears, repeat from step 3. If it doesn’t, you’re done.
This method works best for glass protectors; plastic films are more likely to stretch or crease, so weigh the risk before lifting. If you must fully remove the protector, consider replacing it entirely, reapplying a used protector often leads to more bubbles.
When to wait and when to act
Not every bubble needs immediate action. Small, scattered bubbles, especially those smaller than a pea, often disappear within 24-48 hours as the adhesive cures. If you’ve just applied the protector, give it a full day before touching it. For larger bubbles or those that remain after 48 hours, use the card method. If you’ve tried all three methods and bubbles persist, the protector may be defective or the screen wasn’t clean enough, consider replacing it.
Frequently asked questions
Can I use a needle to pop a bubble? No. Piercing the protector creates a permanent hole and can crack glass protectors. Stick to pushing bubbles out with a card or heat.
Why do bubbles keep coming back after I push them out? This usually means dust or debris is trapped under the bubble, or the adhesive has lost its stickiness. Clean the screen and reapply, or replace the protector if it’s old.
Will a screen protector with bubbles still protect my phone? Yes, but the protection is compromised, bubbles reduce adhesion, making the protector more likely to peel at the edges. Fix them for full coverage.
How do I prevent bubbles on my next screen protector application and repair? Thoroughly clean the screen with a microfiber cloth and alcohol wipe, work in a steamy bathroom to reduce dust, and align the protector carefully before pressing down. For a perfect installation, check out our guide on how to put on glass screen protector.
Is it safe to use a hairdryer on my phone? Yes, but only on low heat and for short bursts. Keep the dryer moving and never point it directly at the screen for more than 30 seconds at a time.
When should I replace the protector instead of fixing it? If the protector is cracked, deeply scratched, or won’t stick after multiple attempts, replace it. Also, if bubbles appear after a week, the adhesive has likely failed.