
Are you ready to take your cell phone experience to the next level with Project Fi? Getting a Project Fi SIM card is the first step towards accessing Google’s innovative wireless network. With Project Fi, you can enjoy seamless coverage and flexible plans tailored to your needs. Whether you’re new to Project Fi or looking to upgrade your existing SIM card, this comprehensive guide will walk you through the process. From ordering your SIM card to activating it and transferring your number, we’ll cover all the steps to get you up and running on Project Fi in no time. So, let’s dive in and discover how to get your hands on a Project Fi SIM card and unlock the true potential of your cell phone.
Inside This Article
- How to Check Compatibility
- How to Order Project Fi SIM Card
- How to Activate Project Fi SIM Card
- Troubleshooting Tips
- Conclusion
- FAQs
How to Check Compatibility
Before ordering a Project Fi SIM card, it is crucial to determine if your device is compatible. Project Fi, a mobile virtual network operator (MVNO) service by Google, is known for its wide device compatibility, but there are still a few requirements to keep in mind.
The first step is to ensure that your device is unlocked. Most devices purchased directly from carriers are locked to their network, which means they cannot be used with other carriers unless unlocked. Contact your mobile carrier to inquire about unlocking your device or check if your phone is already unlocked.
Next, check if your device is compatible with the Project Fi network. Project Fi primarily works with Google Pixel devices, but it also supports select Android and iPhone models. Visit the Project Fi website and look for the device compatibility list or use the “Check Compatibility” tool to see if your phone is supported.
If your device is listed as compatible, it’s good news! You are one step closer to enjoying the benefits of Project Fi. However, keep in mind that certain features or network capabilities may vary depending on the device.
On the other hand, if your device is not listed as compatible, you may have to consider switching to a compatible device to use Project Fi. While Google Pixel devices are the most optimized for the network, there are other Android and iPhone models that can work as well.
Remember that Project Fi uses a combination of networks, including T-Mobile, Sprint, and U.S. Cellular, to provide coverage. Therefore, having a device that supports multiple network bands and technologies will help ensure a better experience on the network.
By checking the compatibility of your device before ordering a Project Fi SIM card, you can avoid any potential disappointment or complications. Once you have confirmed compatibility, you can move on to the next step – ordering your Project Fi SIM card.
How to Order Project Fi SIM Card
Ordering a Project Fi SIM card is a straightforward process that can be done online. Whether you’re a new customer or an existing one, follow these steps to get your SIM card delivered to your doorstep.
1. Visit the Project Fi website: Start by visiting the official Project Fi website. You can access it through your computer or mobile device.
2. Check device compatibility: Before ordering a SIM card, it’s important to check whether your device is compatible with Project Fi. This will ensure that you can enjoy all the benefits of using the service. Project Fi is compatible with a wide range of devices, including popular models from Google, Samsung, and Apple.
3. Sign in or create an account: If you’re already a Project Fi user, sign in to your account using your Google credentials. If you’re a new customer, create a new account by clicking on the “Sign Up” or “Get Started” button.
4. Select the SIM card option: Once you’re signed in, navigate to the “Order SIM” section of the website. You will find different options for SIM cards, such as single SIM or multi-SIM packs. Choose the option that best suits your needs.
5. Enter shipping details: Provide the necessary information for shipping the SIM card to your location. Double-check your address to ensure accurate delivery.
6. Review and confirm: Take a moment to review your order details. Make sure you have selected the correct SIM card option and that your shipping information is accurate. If everything looks good, proceed to the next step.
7. Place the order: Click the “Place Order” or “Submit” button to complete your purchase. You may be asked to provide payment information if applicable. Follow the prompts to finalize your order.
8. Wait for delivery: Sit back and relax while your Project Fi SIM card is prepared and shipped to your designated address. Delivery times may vary depending on your location.
Once you receive your Project Fi SIM card, you can follow the activation instructions provided to get started with the service. It’s worth noting that the activation process will depend on the type of device you’re using, whether it’s a new phone or an existing one that you’re switching to Project Fi.
By ordering a Project Fi SIM card, you’re on your way to experiencing the benefits of Google’s flexible mobile network. Enjoy reliable coverage, seamless switching between networks, and cost-saving features.
How to Activate Project Fi SIM Card
Once you have received your Project Fi SIM card, it’s time to activate it and start enjoying the benefits of this innovative mobile service. Activating your Project Fi SIM card is a simple process that can be done in a few easy steps. Here’s how:
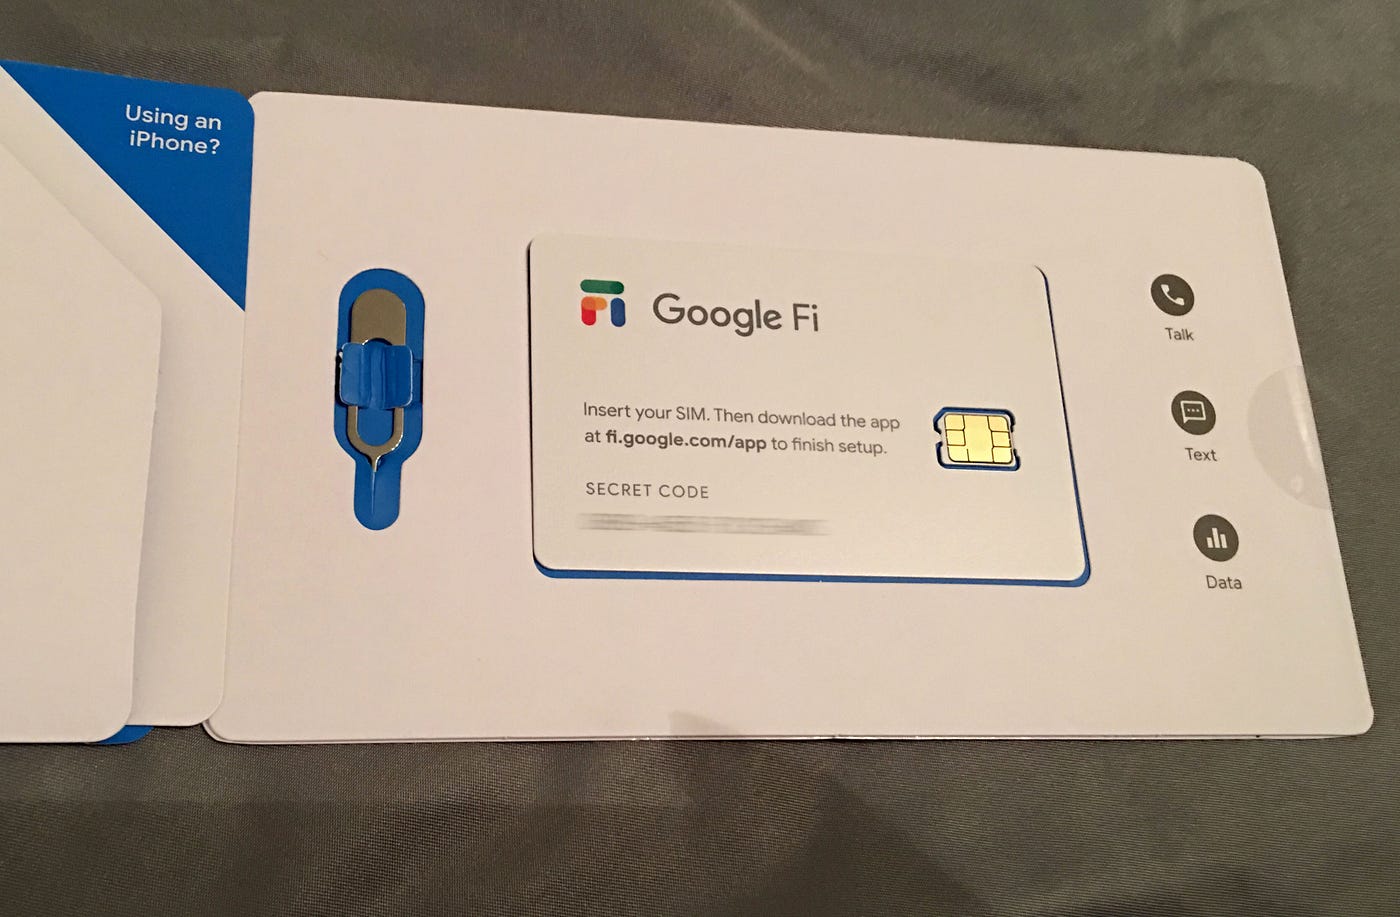
1. Insert the SIM Card: Locate the SIM card slot on your device and carefully insert the Project Fi SIM card. Ensure that it aligns properly with the SIM card slot and is firmly inserted.
2. Power on Your Device: Power on your device and wait for it to recognize the inserted SIM card. This may take a few moments, so be patient.
3. Connect to Wi-Fi: Make sure your device is connected to a Wi-Fi network. This is essential for the activation process.
4. Set Up Your Google Account: If you don’t have a Google account, create one. If you already have a Google account, sign in using your credentials. Project Fi is a service provided by Google, so having a Google account is necessary for activation.
5. Open the Project Fi App: Once signed in to your Google account, locate and open the Project Fi app on your device. If you don’t already have the app installed, you can download it from the Google Play Store.
6. Follow the On-Screen Instructions: The Project Fi app will guide you through the activation process. Follow the on-screen instructions, which may include verifying your phone number, selecting a plan, and agreeing to the terms and conditions of service.
7. Complete the Activation: Once you have followed the instructions and provided the necessary information, the Project Fi app will complete the activation process. This may take a few minutes, so remain connected to Wi-Fi and keep your device powered on.
8. Test Your Service: After the activation process is complete, test your Project Fi service by making a call or sending a text message. If everything is working correctly, you are now ready to enjoy the full benefits of Project Fi and its advanced mobile service features.
Remember, if you encounter any issues during the activation process, you can visit the Project Fi support website or contact their customer support team for assistance. They will be more than happy to help you troubleshoot any problems and ensure a smooth activation experience.
Troubleshooting Tips
Even with the best products and services, technical issues can sometimes arise. If you encounter any problems with your Project Fi SIM card, here are some troubleshooting tips that can help you get back on track:
1. Check your device compatibility: Before troubleshooting, make sure that your device is compatible with Project Fi. Visit the Project Fi website and check the list of supported devices. If your device is not listed, it may not work with the Project Fi SIM card.
2. Restart your device: Sometimes, a simple restart can resolve connectivity issues. Turn off your device, remove the Project Fi SIM card, wait for a few seconds, reinsert the SIM card, and then turn on your device.
3. Check network settings: Ensure that your device is set to automatic network selection. Go to your device’s settings, select “Network & Internet,” then “Mobile Network,” and finally, “Network Operator.” Choose “Automatic” to let your device detect and connect to the strongest available network.
4. Reset your network settings: If you are still experiencing connectivity issues, you can try resetting your network settings. Go to your device’s settings, select “System,” then “Reset options,” and finally, “Reset Wi-Fi, mobile & Bluetooth.” This will reset all network-related settings, so make sure to reconnect to Wi-Fi networks and re-enter any saved passwords.
5. Update your device’s software: Outdated software can sometimes cause compatibility or performance issues. Check for any available updates for your device’s operating system and install them if necessary. This can help ensure optimal performance with your Project Fi SIM card.
6. Contact Project Fi support: If none of the troubleshooting steps mentioned above resolve the issue, it may be necessary to reach out to Project Fi support for further assistance. They have a dedicated support team that can help you troubleshoot specific problems and provide personalized solutions.
Remember, these troubleshooting tips are meant to address common issues that users may encounter with their Project Fi SIM card. If you are still experiencing difficulties, don’t hesitate to contact Project Fi support for additional assistance.
Conclusion
In conclusion, getting a Project Fi SIM card is a straightforward process that allows you to enjoy the benefits of this innovative mobile service. By following the steps outlined in this guide, you can easily order a Project Fi SIM card and activate it on your compatible device. Whether you’re looking for a reliable cell phone plan with great coverage or you want to take advantage of the unique features offered by Project Fi, such as international data roaming and seamless switching between networks, getting a Project Fi SIM card is the first step towards unlocking a world of possibilities. So don’t wait any longer – get your Project Fi SIM card today and experience the future of mobile connectivity!
FAQs
1. Where can I get a Project Fi SIM card?
You can get a Project Fi SIM card directly from Google. Visit the Project Fi website and follow the instructions to order your SIM card. They will deliver it to your doorstep, making it convenient and hassle-free.
2. How do I activate my Project Fi SIM card?
To activate your Project Fi SIM card, simply insert it into your compatible phone and follow the setup instructions. You will need to have an active Google Account and be located in a supported country. The activation process is usually quick and straightforward.
3. Can I use a Project Fi SIM card with any phone?
No, Project Fi SIM cards are only compatible with specific phones. These include Google Pixel devices, some Motorola phones, and some LG phones. Before getting a Project Fi SIM card, make sure that your phone is eligible by checking the list of compatible devices on the Project Fi website.
4. Can I keep my current phone number when switching to Project Fi?
Yes, you can usually keep your current phone number when switching to Project Fi. During the activation process, you will have the option to transfer your number from your current provider to Project Fi. Follow the on-screen instructions and provide the necessary information to complete the number transfer.
5. How much does a Project Fi SIM card cost?
The cost of a Project Fi SIM card is included in your Project Fi subscription. When you sign up for Project Fi, you will pay for the monthly service plan, which includes data, calls, and texts. The SIM card itself does not have an additional cost, as it is part of the overall service package.