
So, you’ve managed to capture a stunning 360-degree shot using your monopod, but now you’re faced with a dilemma. The monopod appears in the image, disrupting the seamless panoramic view you were hoping for. Don’t worry, because we’ve got you covered. In this article, we’ll explore various techniques and tricks to remove the monopod from your 360 shots. Whether you’re a seasoned photographer or just starting out, these methods will help you achieve a flawless panoramic image that will leave your viewers in awe. Say goodbye to those pesky monopods and say hello to breathtaking panoramic photos!
Inside This Article
- Overview
- What is a Monopod in a 360 Shot?
- Understanding the Challenges of Monopod Removal
- Techniques for Removing Monopod in 360 Shots
- Tips for Achieving Seamless Monopod Removal
- Conclusion
- FAQs
Overview
In the world of photography and videography, capturing stunning 360 shots has become increasingly popular. These immersive images allow viewers to experience a scene from all angles, giving them a unique sense of presence. However, one common challenge that photographers and filmmakers face when shooting with a monopod is the presence of the monopod itself in the final image.
In this article, we will explore the concept of a monopod in a 360 shot and discuss the difficulties it presents. We will also delve into various techniques that can be employed to remove the monopod and achieve seamless 360 shots. Additionally, we will provide essential tips to help you overcome this obstacle and capture stunning images without any traces of the monopod.
So, whether you are a professional photographer, a passionate hobbyist, or simply interested in the world of photography, this article is for you. Let’s dive into the world of monopods in 360 shots and discover how to get rid of them to create captivating images.
What is a Monopod in a 360 Shot?
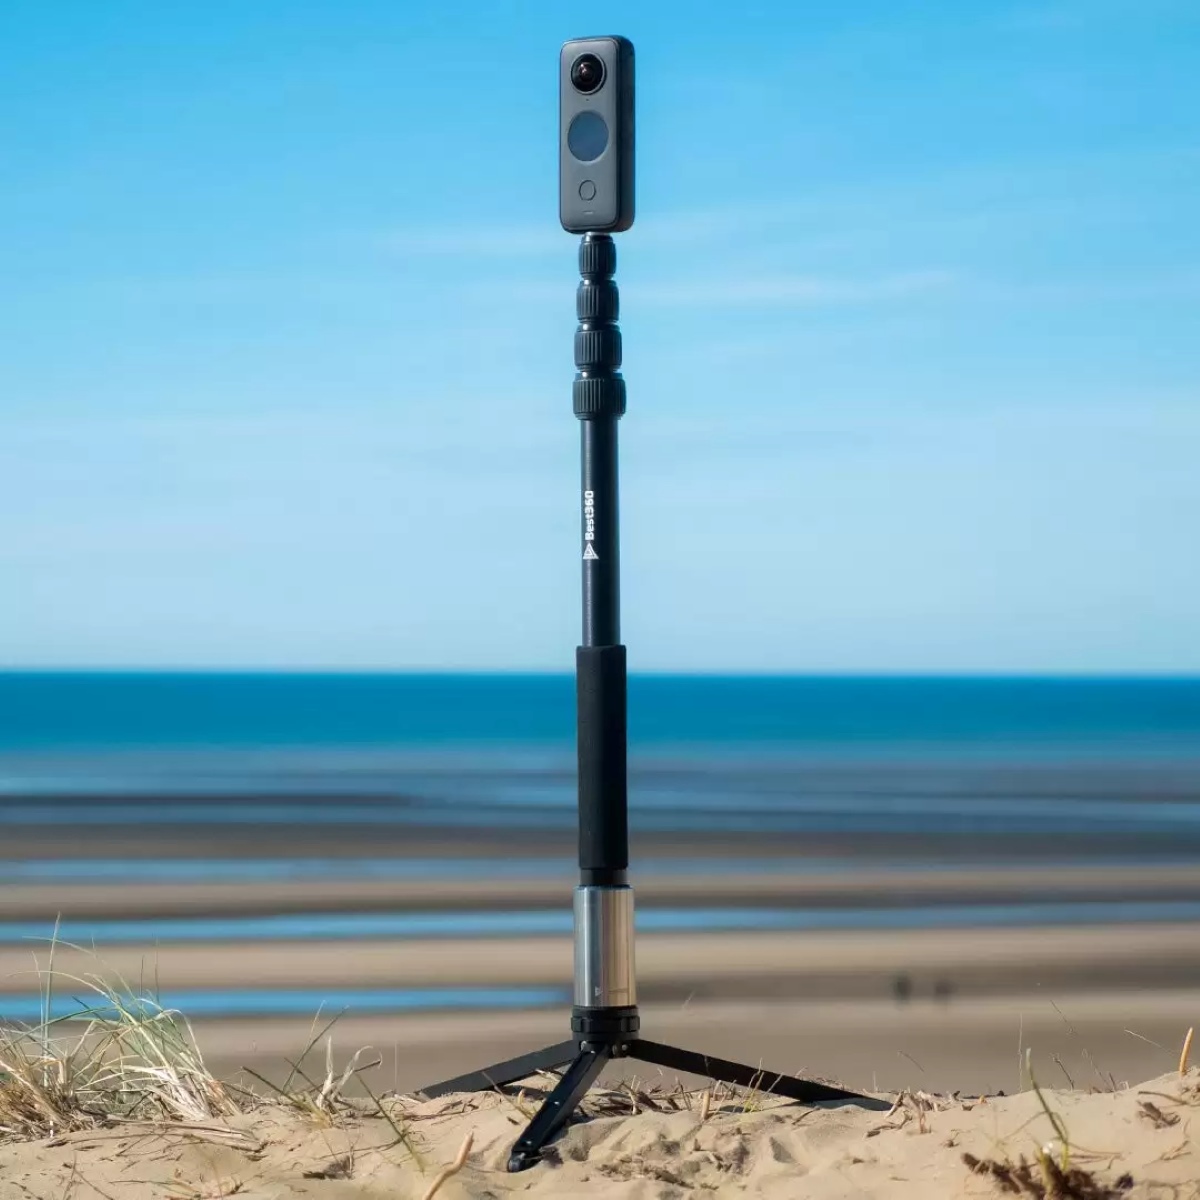
A monopod, also known as a unipod, is a single-legged camera support device commonly used by photographers and videographers to stabilize their cameras. In the context of a 360 shot, a monopod refers to the presence of the monopod itself within the captured 360-degree image or video.
When capturing a 360-degree shot using a monopod, the monopod becomes a point of interest within the frame. It appears as a vertical pole or stick extending from the ground up, often protruding from the bottom or obstructing the lower portion of the 360 image.
The presence of a monopod in a 360 shot can be distracting, taking the viewer’s attention away from the main subject or scene. Removing the monopod is essential for creating a seamless, professional-looking 360 shot where the focus remains on the intended subject or surroundings.
Understanding the Challenges of Monopod Removal
When it comes to capturing stunning 360 shots, the presence of a monopod can prove to be a significant challenge. A monopod is a single-legged camera accessory that provides stability while shooting, but it can also obstruct the view and disrupt the immersive experience of a 360-degree photo or video.
The main difficulty in removing a monopod from a 360 shot lies in the nature of the media format itself. Unlike traditional photographs or videos, which capture a fixed field of view, 360-degree shots capture the entire surrounding environment. This means that any object or accessory within the frame needs to be carefully edited out without compromising the overall visual integrity.
Another challenge is the presence of shadows or reflections caused by the monopod. These can create a distorted or unnatural appearance in the final image. Removing such artifacts requires advanced editing techniques to ensure a seamless and realistic result.
Furthermore, monopods can vary in size, shape, and color, making their removal more complex. Some monopods may have intricate designs or additional features, such as smartphone mounts or remote controls, further complicating the editing process. The editor must be meticulous in removing the monopod while preserving the surrounding details and maintaining a coherent visual narrative.
It is crucial to understand that removing a monopod from a 360 shot is not a straightforward task. It requires expertise in editing software, attention to detail, and a deep understanding of the unique challenges that arise in the editing process.
Overcoming these challenges requires patience, skill, and knowledge. In the next section, we will explore various techniques that can be employed to effectively remove monopods from 360 shots, allowing you to achieve professional-looking results.
Techniques for Removing Monopod in 360 Shots
Removing a monopod from a 360-degree shot can be a challenging task, but with the right techniques, it can be achieved seamlessly. Here are three effective methods that can help you get rid of the monopod and enhance the overall quality of your 360 shots:
1. Content-Aware Fill
One of the most powerful tools for removing a monopod in a 360-degree shot is the Content-Aware Fill feature in editing software like Adobe Photoshop. This tool uses advanced algorithms to intelligently fill in the missing parts of an image based on its surrounding content. Simply select the area with the monopod and use the Content-Aware Fill feature to replace it with the background. This technique works best when the background is consistent and there are no complex elements overlapping with the monopod.
2. 3D Reconstruction
Another effective method for removing a monopod is to use 3D reconstruction techniques. This involves capturing multiple shots from different angles and using software to reconstruct a 3D model of the scene. By analyzing the 3D model, you can accurately remove the monopod from the image. This technique requires specialized software and expertise in 3D modeling and reconstruction, but it can yield excellent results, especially in complex scenes with overlapping elements.
3. Manual Retouching
If the monopod removal cannot be achieved through automated techniques, manual retouching becomes a viable option. With the help of a skilled photo editor, the monopod can be carefully and skillfully removed using various retouching tools. This method requires attention to detail and a keen eye for seamless blending. The editor can use tools like clone stamp, healing brush, and content-aware patch to remove the monopod and blend the surrounding area for a natural-looking result.
It is important to note that the choice of technique depends on the complexity of the monopod removal and the specific requirements of the 360 shot. Sometimes a combination of these techniques may be required to achieve the desired outcome. Experimentation and practice will help you refine your skills in monopod removal for 360 shots.
Tips for Achieving Seamless Monopod Removal
Removing a monopod from a 360 shot can be a challenging task, but with the right techniques and attention to detail, it is possible to achieve a seamless result. Here are some tips to help you effectively remove the monopod from your 360 shots:
- Plan your shots carefully: Before shooting, take some time to plan your shots and consider the placement of the monopod. Try to position it in a way that will make removal easier in post-production.
- Shoot from different angles: To make monopod removal easier, try shooting from various angles. By capturing the scene from different perspectives, you’ll have more options during the editing process.
- Use a wide-angle lens: Using a wide-angle lens can help minimize the visibility of the monopod in your shots. It allows you to capture a broader view, making it easier to edit out the monopod.
- Pay attention to lighting: Lighting plays a crucial role in post-production editing. Make sure the lighting is consistent throughout your shots, as inconsistencies can make it more difficult to seamlessly remove the monopod.
- Utilize advanced editing techniques: Use advanced editing techniques, such as content-aware fill or clone stamp tools, to remove the monopod from your shots. These tools can help you seamlessly blend the surrounding elements and fill in the gaps created by the monopod.
- Take your time: Removing the monopod requires patience and attention to detail. Take your time to carefully edit each frame, ensuring that the removal is seamless and natural-looking.
- Test your results: Once you’ve removed the monopod from your shots, take some time to review and test the results. Make sure the editing looks seamless and there are no noticeable artifacts or inconsistencies.
- Seek professional help if needed: If you’re struggling to achieve a seamless monopod removal, don’t hesitate to seek professional help. There are experts in post-production editing who specialize in this type of work and can provide valuable guidance and assistance.
By following these tips and applying the right techniques, you can achieve a seamless monopod removal in your 360 shots. Remember, practice makes perfect, so don’t be discouraged if it takes some time to master this skill. With patience and perseverance, you’ll be able to create stunning 360 shots without any trace of a monopod.
Conclusion
The 360 shot has become a popular technique to capture stunning panoramic views. However, one common issue that can arise is the presence of a monopod in the shot, which can be distracting and take away from the immersive experience.
Fortunately, there are several solutions available to help you get rid of the monopod in your 360 shot. You can use advanced editing software such as Adobe Photoshop or Lightroom to manually remove the monopod by carefully blending the surrounding area. Alternatively, you can utilize AI-powered tools like Content-Aware Fill or Clone Stamp to automatically fill in the area occupied by the monopod.
Remember to always capture your 360 shots with the monopod positioned as inconspicuously as possible to minimize the need for extensive editing. By following these techniques, you can effortlessly create breathtaking 360 shots without any distracting monopod in the frame.
FAQs
Q: What is a monopod in a 360 shot?
A: A monopod is a single-legged camera support device that is commonly used in 360 photography or videography. It helps stabilize the camera and allows for smooth, steady shots.
Q: Why would I want to get rid of a monopod in a 360 shot?
A: While monopods are useful for stabilization, they can also be visually distracting in a 360 shot. Removing the monopod from the final image or video allows the viewer to have a more immersive experience, without the obstruction in the frame.
Q: How can I remove a monopod from a 360 shot?
A: There are several methods to remove a monopod from a 360 shot. One common technique is to use photo editing software like Adobe Photoshop or Lightroom to manually clone and blend the surrounding background to cover the monopod. Another option is to use specialized 360 editing software that offers monopod removal features.
Q: Can I remove a monopod from a 360 video?
A: Yes, it is possible to remove a monopod from a 360 video. However, the process may be more complex and time-consuming compared to removing a monopod from a static image. Specialized video editing software with 360 video capabilities, such as Adobe Premiere Pro or Final Cut Pro X, may be required.
Q: Are there any limitations or challenges to removing a monopod in a 360 shot?
A: The main challenge in removing a monopod from a 360 shot is maintaining a realistic and seamless result. The surrounding background and objects need to be carefully adjusted for proper blending. Additionally, if the monopod is blocking any important elements of the scene, it may require more advanced techniques to recreate or restore those missing details.