
Are you looking to upgrade your network with faster and more reliable connections? If so, installing Cat6 connectors is a great solution. Cat6 connectors are designed to provide high-speed performance and reduced interference, making them ideal for use in homes, offices, and other networking environments.
In this article, we will guide you through the process of installing Cat6 connectors. Whether you’re a DIY enthusiast or a network technician, our step-by-step instructions and tips will help you get the job done efficiently and correctly.
So, if you’re ready to enhance your network’s performance, let’s dive into the world of Cat6 connectors and learn how to install them like a pro.
Inside This Article
- Tools and Materials
- Step 1: Preparing the Cat6 Cable
- Step 2: Stripping the Cable Jacket
- Step 3: Separating the Pairs
- Step 4: Trimming the Wires
- Step 5: Inserting the Wires into the Connector
- Step 6: Crimping the Connector
- Step 7: Testing the Connection
- Conclusion
- FAQs
Tools and Materials
Before you start the process of installing a Cat6 connector, it’s essential to gather all the necessary tools and materials. Having everything ready will help you complete the task smoothly and efficiently. Here’s a list of what you’ll need:
- Cat6 cable: Make sure you have high-quality Cat6 cable that meets your specific requirements. It’s essential for transmitting data at high speeds and ensuring a reliable connection.
- Wire strippers: These specialized tools are essential for removing the cable jacket and preparing the wires for termination.
- Cat6 connectors: Choose connectors that are compatible with Cat6 cable. It’s recommended to have a few extra connectors in case of any mistakes or replacements.
- Crimping tool: This tool is used to crimp the connector onto the cable, providing a secure connection.
- Cable tester: A cable tester helps you verify that the connection is properly terminated and working as expected.
- Marker or labeling tape: This will come in handy for labeling the cables and connectors for easy identification in the future.
- Utility knife or cable cutter: A utility knife or cable cutter is necessary for cutting the Cat6 cable to the desired length.
Make sure to have all these tools and materials ready before you start the installation process. This will save you time and ensure you have everything you need within reach. Now that you have your tools and materials ready, it’s time to proceed with the installation.
Step 1: Preparing the Cat6 Cable
Before you can start connecting a Cat6 cable with a connector, it’s important to properly prepare the cable. This will ensure a clean and reliable connection. Here’s how you can get started:
1. Begin by gathering all the necessary tools and materials. You will need a Cat6 cable, a cable stripper, a wire cutter, and a cable tester. It’s important to have all of these items on hand to make the process easier and more efficient.
2. Once you have everything ready, carefully measure the length of cable you need for your installation. Make sure to account for any extra length you may need for flexibility or future adjustments.
3. With your measured length in mind, use the wire cutter to make a clean and straight cut on the Cat6 cable. It’s crucial to have a precise cut to ensure that the wires are properly aligned with the connector.
4. After cutting the cable, gently untwist the pairs of wires. Cat6 cables generally have four pairs of twisted wires within the cable jacket. Take your time to separate the pairs without damaging any of the individual wires.
5. Once the pairs are separated, you will need to remove a portion of the cable jacket to expose the individual wires. Use a cable stripper to carefully score and remove the jacket, taking care not to nick or cut any of the wires inside.
6. Once the jacket is removed, take a moment to arrange the wires in the correct order. Cat6 cables follow a particular wiring pattern known as T568B or T568A. It’s essential to ensure that the wires are arranged in the correct order to maintain proper signal transmission.
7. To prepare the wires for insertion into the connector, you will need to trim off any excess length. Use the wire cutter to carefully trim each wire, ensuring that they are just the right length to fit into the connector without any slack.
With these steps completed, you are now ready to move on to Step 2: Stripping the Cable Jacket. By carefully preparing the Cat6 cable, you are setting the stage for a successful and reliable connection with the connector.
Step 2: Stripping the Cable Jacket
After preparing the Cat6 cable in the previous step, the next crucial step is to strip the cable jacket. The cable jacket is the outer protective layer that covers the individual pairs of wires inside. Stripping the cable jacket is necessary to expose the inner wires and ensure a proper connection.
To strip the cable jacket, you will need a cable stripper tool. This tool is specifically designed to safely remove the insulation without damaging the individual wires underneath. Begin by placing the cable into the stripper tool, ensuring that the blades are aligned with the jacket.
Apply gentle pressure and rotate the tool around the cable in a circular motion. This will cut through the jacket without damaging the inner wires. Make sure to maintain a steady and controlled motion to avoid any accidental cuts or snags.
Once you have completed the rotation, gently pull the jacket away from the cable, exposing the twisted pairs of wires inside. Be cautious not to tug too forcefully, as this can damage the wires and affect the overall performance of the connection.
Inspect the stripped cable to ensure that all the wires are properly exposed. If you notice any small sections of the jacket still attached to the wires, use a small pair of wire cutters to carefully remove them.
It is vital to note that the length of the stripped cable jacket should be carefully controlled. Typically, the exposed wires should extend approximately 0.5-1 inch beyond the stripped end of the cable. This provides enough length to work with when inserting the wires into the connector.
By following these steps, you can successfully strip the cable jacket, revealing the twisted pairs of wires inside. This will prepare the cable for the next stage of the installation process – separating the pairs and trimming the wires.
Step 3: Separating the Pairs
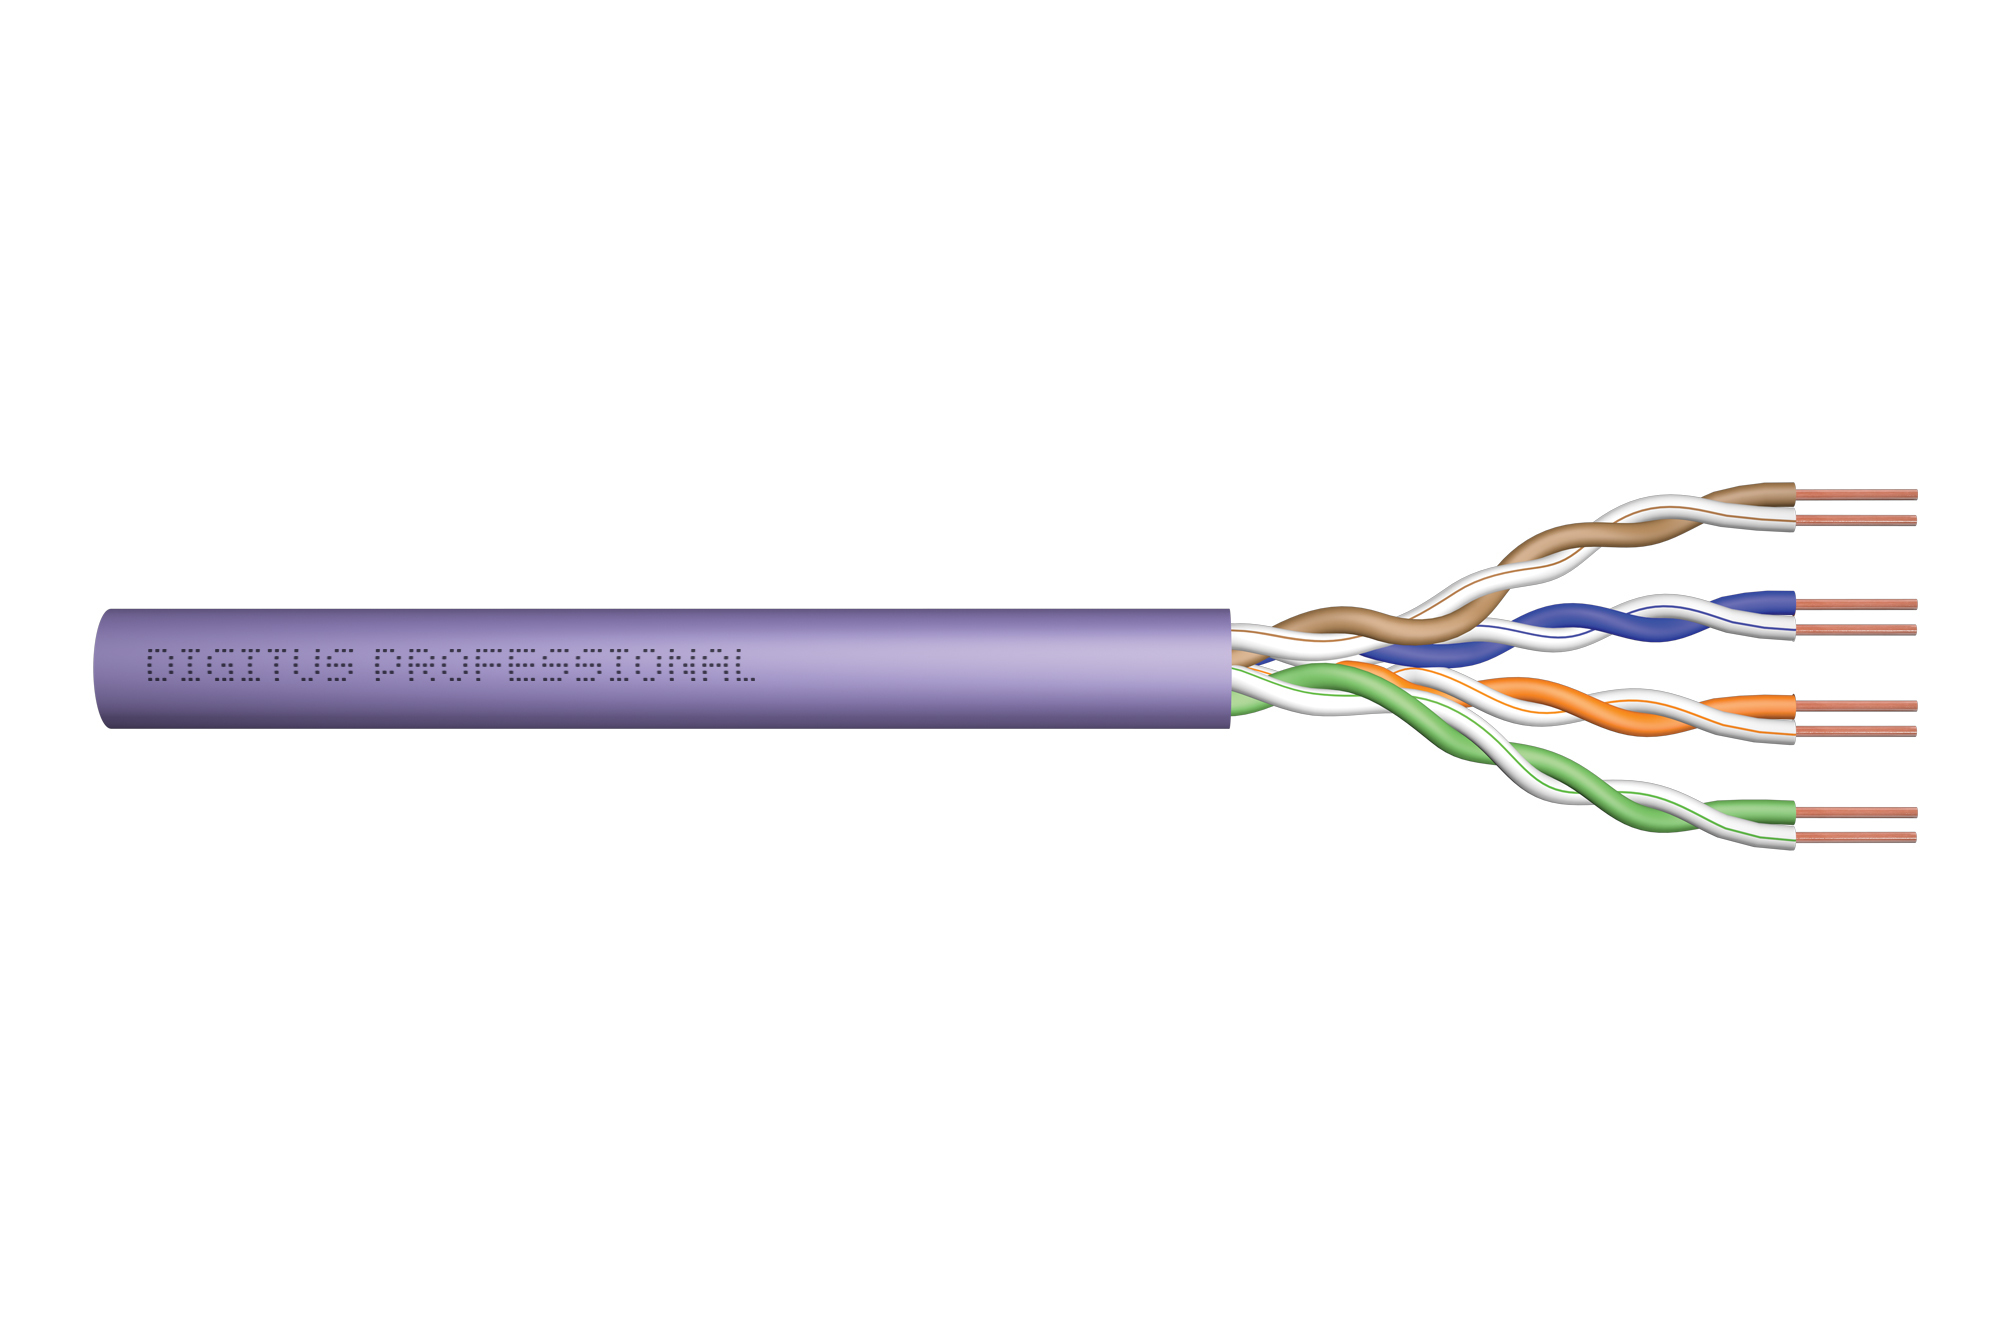
Once you have stripped the jacket and exposed the inner wires of your Cat6 cable, the next step is to separate the wire pairs. Cat6 cables are made up of four twisted pairs of copper wires, color-coded to help you identify and separate them.
Take a close look at your cable and you will see that the wires are grouped together in pairs, each pair consisting of two twisted wires. The pairs are typically color-coded, with each pair having a different color scheme.
To separate the pairs, gently untwist the twisted wires from each other, being careful not to damage or break any of the thin copper wires inside. Start by untwisting the first pair – you can use your fingers or a small pair of needle-nose pliers to do this. Once the wires are separated, give them a gentle pull to straighten them out.
Repeat this process for each pair until you have separated all four pairs of wires. Remember, take your time and be gentle, as the individual wires are delicate and can break easily if mishandled.
Separating the pairs correctly is crucial for ensuring a reliable and high-quality connection. It allows for better signal transmission and reduces the risk of interference, resulting in a more stable and efficient network performance.
Once you have successfully separated the pairs, you are ready to move on to the next step of trimming the wires to the correct length.
Step 4: Trimming the Wires
Once you have successfully separated the pairs of wires in your Cat6 cable, the next step is to trim the wires to the correct length. Trimming the wires ensures that they will fit perfectly into the connector, resulting in a secure and reliable connection.
To trim the wires, you will need a pair of wire cutters or a sharp utility knife. Start by holding the cable firmly with one hand, near the point where you have separated the pairs. With your other hand, carefully trim the excess wire, making sure to cut each wire at the same length.
It is important to trim the wires as straight as possible to achieve a clean and flush connection. If the wires are uneven or jagged, it can cause issues with fitting the connector properly.
Take your time when trimming the wires, and double-check the length to ensure accuracy. Aim for a length of about 1 inch (2.5 cm) for each wire. This length is ideal for fitting into the connector without excess wire sticking out.
Be cautious not to trim the wires too short. If they are too short, you may not be able to properly insert them into the connector, resulting in a weak or unreliable connection.
Once you have finished trimming the wires to the correct length, proceed to the next step of inserting them into the connector.
Step 5: Inserting the Wires into the Connector
Now that you have prepared the Cat6 cable by stripping the jacket and separating the pairs, it’s time to insert the wires into the connector. This step is crucial as it determines the quality and reliability of your network connection. Follow the steps below to ensure a secure and properly connected Cat6 cable.
1. Begin by untwisting the pairs of wires and arranging them according to the color code. The color code for T568B standard is as follows:
- Pair 1: White/Orange and Orange
- Pair 2: White/Green and Green
- Pair 3: White/Blue and Blue
- Pair 4: White/Brown and Brown
2. Hold the RJ45 connector with the tab facing down and the clip facing towards you.
3. Insert the wires into the connector in the following order:
- Pair 1: White/Orange wire into pin 1
- Pair 2: White/Green wire into pin 2
- Pair 3: White/Blue wire into pin 3
- Pair 4: White/Brown wire into pin 4
Make sure that the wires are fully inserted and reach all the way to the front of the connector.
4. Check the color sequence to ensure that the wires are in the correct order. You should see the colors arranged in the same order as the color code mentioned earlier.
5. Once you are satisfied with the wire arrangement, carefully push the wires down to the bottom of the connector, making sure they are snugly fit.
6. Use a crimp tool to crimp the connector, securing the wires in place. Apply firm pressure to ensure a strong connection.
7. After crimping, visually inspect the connector to make sure all the wires are fully inserted and properly aligned.
You have now successfully inserted the wires into the connector. Proceed to the next step to complete the process of installing a Cat6 connector.
Step 6: Crimping the Connector
Once you have correctly inserted the wires into the connector, the next step is to crimp it to ensure a secure and reliable connection. Crimping involves using a specialized tool called a crimping tool, which is designed to press onto the connector and apply the necessary pressure to tighten it around the wires.
Here are the steps to crimp the connector:
- Hold the connector firmly in one hand, ensuring that all the wires are completely inserted and properly aligned within the channels of the connector.
- With the crimping tool in your other hand, position it over the connector so that the crimper’s blades are aligned with the connector’s pins.
- Apply consistent pressure to the crimping tool, squeezing it firmly to compress the connector and create a secure connection between the wires and the pins.
- Make sure to exert enough force to ensure a tight crimp, but be careful not to deform or damage the connector or the wires.
After crimping the connector, give it a gentle tug to ensure that it is securely attached to the wires. If the connector stays in place, you can proceed to the next step. However, if the connector comes loose or the wires show any signs of being damaged, you may need to repeat the crimping process with a fresh connector.
Crimping the connector is a critical step in the installation process, as a properly crimped connector will provide a strong and enduring connection. Double-check your work to make sure each wire is firmly attached to the pin, minimizing the risk of signal loss or interference.
Step 7: Testing the Connection
After successfully crimping the Cat6 connector onto the cable, it’s vital to test the connection to ensure it’s working correctly. Testing the connection will verify if all the wires are properly terminated and will help you identify any potential issues that might affect network performance.
Here’s how you can test the Cat6 connection:
- Use a cable tester: A cable tester is a handy tool that allows you to check the integrity of the cable and the continuity of the wires. Connect one end of the cable to the tester and the other end to a device like a computer or a switch.
- Run the cable test: Once the cable is connected, activate the cable tester. The tester will send signals through each wire in the cable and evaluate the response. It will indicate if the connection is working properly or if there are any breaks or connectivity issues.
- Check the test results: After the test is complete, review the results displayed on the cable tester. It will provide detailed information about the connectivity of each wire, including any shorts, opens, or miswires. A successful test should show a continuous connection from end to end.
- Resolve any issues: If the cable test reveals any problems with the connection, inspect the cable and the crimped connector. Look for any visible signs of damage or incorrect wiring. Make any necessary adjustments or re-crimp the connector if needed.
- Re-test the connection: After resolving any issues, repeat the cable test to ensure that the connection is now functioning correctly. It’s essential to have a reliable and stable connection for optimal network performance.
Testing the connection is a crucial step to ensure that your Cat6 cable and connector are properly installed. It helps prevent performance issues and ensures a reliable network connection for your devices. By following these steps, you can confidently test and verify the integrity of your Cat6 connection.
Conclusion
Installing a Cat6 connector is a relatively simple process that can greatly improve the performance and reliability of your network connection. Whether you are setting up a home network or working in a professional IT environment, having the right tools and following the proper steps will ensure a successful installation.
By following the guidelines outlined in this article, you can confidently install a Cat6 connector to achieve faster data transfer speeds and minimize signal loss. Remember to choose high-quality connectors, use the right tools, and perform the necessary tests to guarantee a secure and stable connection.
With a little practice and attention to detail, you can easily master the process of installing Cat6 connectors. So, get your tools ready, make sure you have the necessary materials, and enjoy the benefits of a high-speed and reliable network connection!
FAQs
1. What is a Cat6 Connector?
A Cat6 connector is a type of connector specifically designed for use with Cat6 ethernet cables. It allows for a secure and reliable connection between the cable and an ethernet device such as a computer, router, or switch.
2. How do I install a Cat6 connector?
To install a Cat6 connector, follow these steps:
1. Strip the outer jacket of the Cat6 cable to expose the individual wires.
2. Untwist and straighten the wires.
3. Arrange the wires according to the T568B wiring standard.
4. Trim the wires to a uniform length and insert them into the connector.
5. Use a crimping tool to crimp the connector onto the cable.
6. Perform a continuity test to ensure proper connection.
3. Can I use a Cat6 connector on a Cat5e cable?
While it is possible to physically connect a Cat6 connector to a Cat5e cable, it is not recommended. Cat6 connectors are designed to work specifically with Cat6 cables, which have stricter performance standards. Mixing connector types may result in reduced performance or even failed connections.
4. Are Cat6 connectors reusable?
In most cases, Cat6 connectors are not designed to be reusable. Once a Cat6 connector has been crimped onto a cable, it is typically difficult to remove without damaging the connector or cable. It is recommended to have spare connectors on hand in case of any installation errors or cable damage.
5. Can I install a Cat6 connector without a crimping tool?
No, a crimping tool is essential for properly installing a Cat6 connector. The crimping tool ensures a secure and reliable connection between the connector and the cable. Attempting to install a Cat6 connector without a crimping tool may result in a weak or faulty connection.