
Welcome to our comprehensive guide on how to install a Cat5 connector! In today’s technology-driven world, a reliable and efficient network connection is essential for both personal and professional use. Whether you’re setting up a home network or working in an office environment, understanding how to properly install a Cat5 connector is crucial.
A Cat5 connector, also known as an Ethernet connector, is used to establish a wired connection between devices, allowing for the transmission of data at high speeds. This versatile connector is widely used in networking applications and is known for its durability and compatibility. In this article, we will walk you through the step-by-step process of installing a Cat5 connector, from preparing the cable to securing the connection. So, let’s dive in and learn how to ensure a strong and reliable network connection with the installation of a Cat5 connector.
Inside This Article
- Overview of Cat5 Connectors
- Types of Cat5 Connectors
- Step-by-Step Guide on How to Terminate a Cat5 Connector
- Common Issues and Troubleshooting Tips for Cat5 Connectors
- Conclusion
- FAQs
Overview of Cat5 Connectors
Cat5 connectors are essential components used in networking to terminate and connect Cat5 cables. These connectors enable the transmission of data, voice, and video signals over Ethernet networks, making them crucial for both residential and commercial environments.
Cat5 connectors are designed to provide a reliable and secure connection between devices such as computers, routers, switches, and modems. They are widely used in home networks, office networks, and data centers to establish wired connections that offer faster and more stable network performance compared to wireless connections.
One of the key features of Cat5 connectors is their compatibility with Cat5 cables, which are twisted pair cables designed specifically for Ethernet networks. These cables consist of four twisted pairs of copper wires, with each pair individually insulated and color-coded for easy identification.
There are various types of Cat5 connectors available, including RJ-45 connectors, keystone jacks, and modular plugs. These connectors have different designs and usage scenarios, but they all serve the purpose of terminating Cat5 cables and facilitating network connectivity.
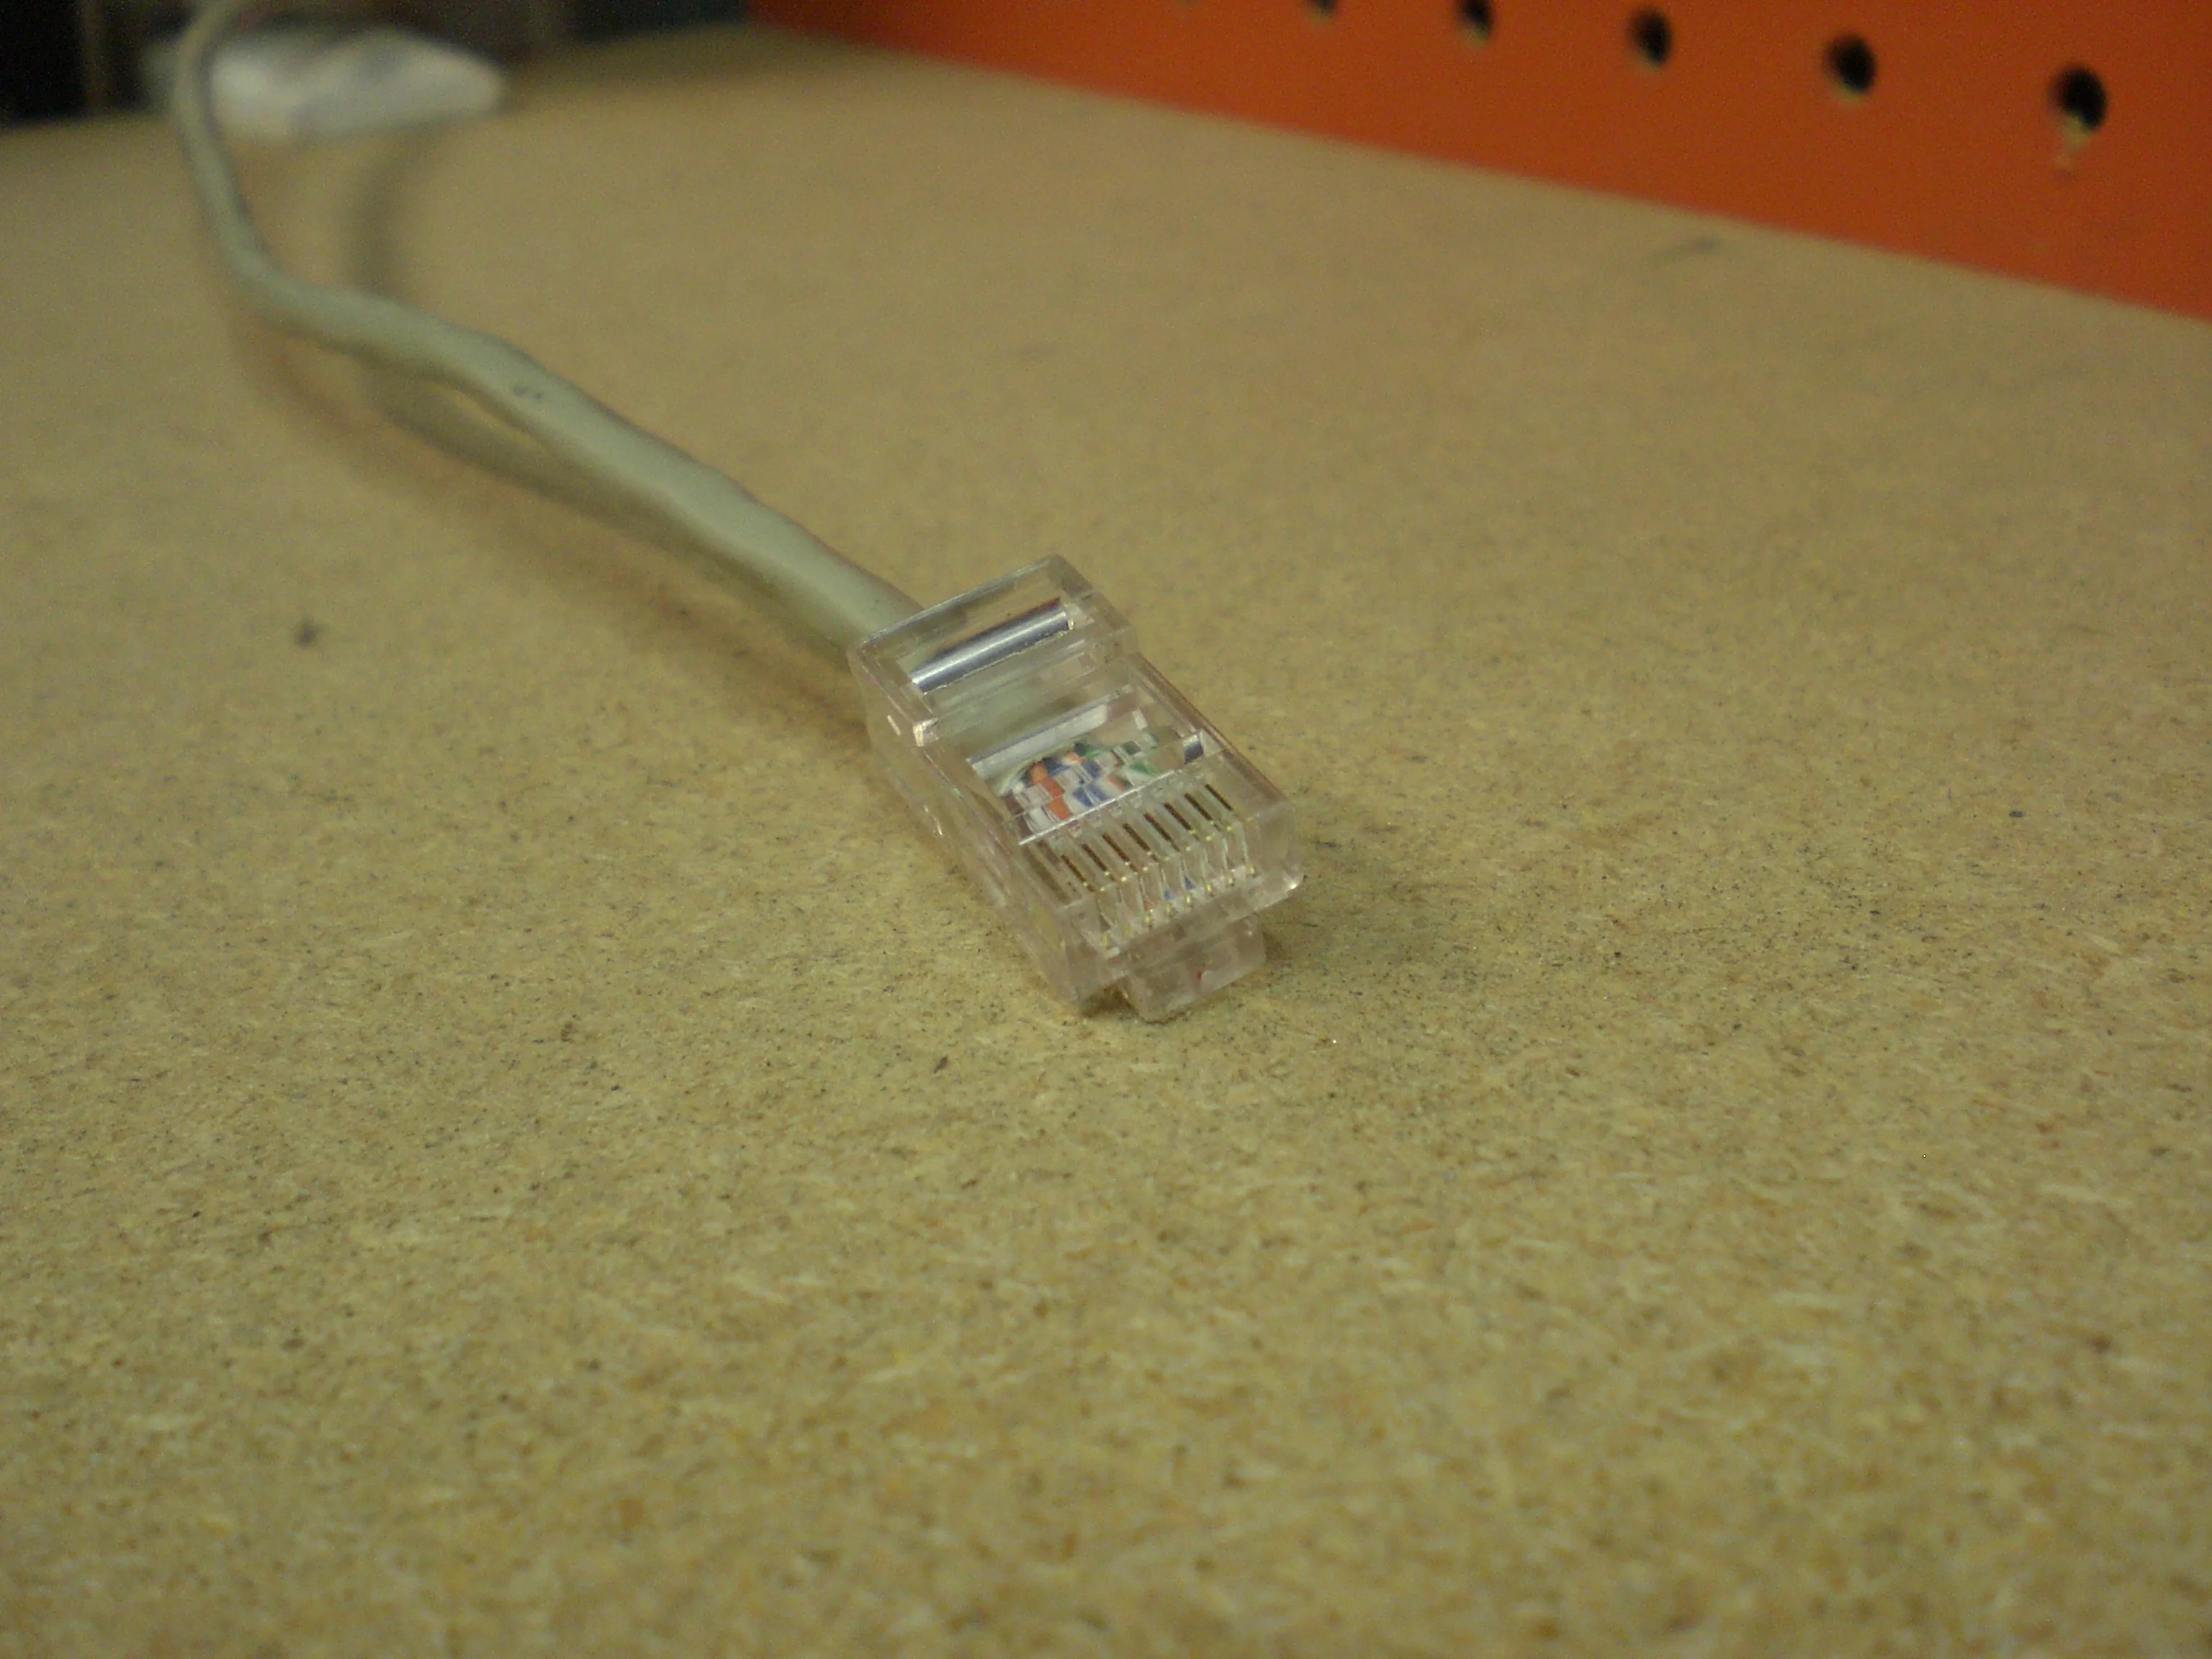
RJ-45 connectors are the most commonly used Cat5 connectors. They resemble telephone connectors but with more pins. These connectors are used to terminate both ends of a Cat5 cable, allowing it to be plugged into a network device or a network port.
Keystone jacks are another type of Cat5 connector commonly used in structured cabling systems. They are designed to snap into wall plates, patch panels, or surface-mount boxes. Keystone jacks provide a neat and organized solution for connecting Cat5 cables to various network devices.
Modular plugs, also known as Category 5 plugs or 8P8C plugs, are used to terminate Cat5 cables in situations where a customized cable length is required. These plugs can be crimped onto the cable ends, providing a secure and reliable connection.
Types of Cat5 Connectors
When it comes to Cat5 connectors, there are several types available, each offering its own unique features and advantages. Let’s take a closer look at some of the most commonly used Cat5 connectors:
RJ-45 Connector
The RJ-45 connector is the most popular and widely used Cat5 connector. It is a standard Ethernet connector that can support up to eight conductors, making it ideal for connecting Ethernet cables. The RJ-45 connector is known for its durability, reliability, and ease of use.
RJ-11 Connector
The RJ-11 connector, also known as a modular connector, is typically used for telephone and DSL connections. It has four conductors, allowing for two separate telephone lines. While the RJ-11 connector is not designed specifically for Cat5 cables, it can be used for lower-speed data transmissions.
Shielded RJ-45 Connector
The shielded RJ-45 connector provides additional protection against electromagnetic interference (EMI). It features a metal shield around the connector, which helps to reduce signal interruptions and ensures a more reliable connection. This type of connector is commonly used in environments where EMI is a concern, such as industrial settings.
Unshielded RJ-45 Connector
The unshielded RJ-45 connector is the standard Ethernet connector used in most residential and commercial applications. While it does not offer the same level of EMI protection as the shielded connector, it is still capable of delivering reliable network connections. The unshielded RJ-45 connector is cost-effective and widely available.
Keystone Jack
The keystone jack is a modular connector that is used to terminate Cat5 cables in wall plates, patch panels, and keystone jacks. It can be easily inserted and removed, allowing for easy installation and reconfiguration of network connections. Keystone jacks are available in both shielded and unshielded versions.
Toolless Connector
The toolless connector is designed for easy and convenient installation. It does not require any specialized tools, making it perfect for DIY enthusiasts and those who prefer a hassle-free setup. The toolless connector typically features a snap-on design, allowing you to quickly and securely connect Cat5 cables without the need for a crimping tool.
These are just a few of the most common types of Cat5 connectors available on the market. Each type offers its own set of features and advantages, so it’s important to choose the connector that best suits your specific needs and requirements.
Step-by-Step Guide on How to Terminate a Cat5 Connector
Terminating a Cat5 connector is a crucial step in setting up a reliable network connection. Proper termination ensures a secure and stable connection between devices. Whether you’re a professional network technician or a DIY enthusiast, this step-by-step guide will help you terminate a Cat5 connector with ease.
Step 1: Gather the necessary tools
Before you start terminating a Cat5 connector, make sure you have the following tools ready:
- Cat5 cable
- UTP (Unshielded Twisted Pair) connectors
- Crimping tool
- Cable stripper
- Utility knife
- Optional: cable tester
Step 2: Strip the outer insulation
Using the cable stripper, carefully strip off about two inches of the outer insulation from the Cat5 cable. Be cautious not to damage the inner wires during this process.
Step 3: Untwist the wire pairs
Once the outer insulation is removed, untwist the four wire pairs inside the Cat5 cable. It’s essential to keep the twisted pairs as close to the cable’s end as possible to maintain optimal performance.
Step 4: Arrange the wires in the correct order
Refer to the T568B standard for arranging the wires correctly. The order, from left to right, should be: orange-white, orange, green-white, blue, blue-white, green, brown-white, brown. Ensure each wire is straight and aligned properly.
Step 5: Trim the wires
Using the utility knife or wire cutters, carefully trim the excess wire length, leaving about 0.5 to 0.75 inches of wire exposed. This will make it easier to insert the wires into the connector.
Step 6: Insert the wires into the connector
Take the properly arranged wires and insert them into the corresponding slots of the UTP connector. Make sure each wire goes into its designated slot fully and is not crossed or bent.
Step 7: Use the crimping tool
Hold the connector securely with one hand and use the crimping tool with the other hand to crimp the connector onto the wires. Apply enough pressure to achieve a proper connection, but avoid over-crimping, which could damage the connector.
Step 8: Repeat the process
Repeat the above steps for the other end of the Cat5 cable if you need to terminate both ends.
Step 9: Test the connection
If you have a cable tester, use it to verify the integrity of the terminated Cat5 connector. This will ensure that there are no wiring faults or connectivity issues.
And that’s it! You have successfully terminated a Cat5 connector. Now you can connect your devices and enjoy a reliable network connection.
Common Issues and Troubleshooting Tips for Cat5 Connectors
Cat5 connectors are widely used in networking for their ability to transmit data at high speeds over long distances. However, like any other technology, they can experience common issues that may pose a challenge to their functionality. In this section, we will explore some of these issues and provide troubleshooting tips to help you resolve them.
1. Poor or No Connection
A common issue with Cat5 connectors is a poor or no connection between the cable and the connector. This can lead to network connectivity problems and slow data transmission speeds. To troubleshoot this issue, check the following:
- Ensure that the cable is properly inserted into the connector. It should make a firm and secure connection.
- Inspect the connector for any physical damage or bent pins. If you find any, replace the connector.
- Verify that the wires are correctly aligned and crimped within the connector. Misaligned wires can cause connectivity issues.
2. Signal Interference
Cat5 cables are susceptible to signal interference, which can result in reduced network performance. Here are some troubleshooting tips to mitigate signal interference:
- Keep the Cat5 cables away from sources of electromagnetic interference, such as power cables and electrical appliances.
- Check for any frayed or damaged cables. Replace them if necessary.
- Try using shielded Cat5 cables to minimize electromagnetic interference.
3. Crosstalk
Crosstalk is another issue that can affect Cat5 connectors. It occurs when signals from adjacent cables interfere with each other, causing data errors. To address crosstalk, follow these steps:
- Ensure that the cables are properly separated and not running parallel to each other for extended distances.
- If feasible, use shielded Cat5 connectors that provide additional protection against crosstalk.
- Consider reducing the length of the cables to minimize the risk of crosstalk.
4. Cable Breakage
A broken Cat5 cable can result in a complete network outage. To troubleshoot cable breakage, follow these steps:
- Inspect the cable for any visible signs of damage, such as cuts or breaks. If any are found, replace the cable.
- Use a cable tester to check for continuity and identify the specific location of the break.
- If the break is near the connector, trim and reterminate the cable. If it is in the middle, consider replacing the entire cable.
By following these troubleshooting tips, you can address common issues with Cat5 connectors and ensure optimal network performance. However, if you encounter persistent problems, it may be advisable to seek assistance from a professional network technician.
Conclusion
In conclusion, understanding how to properly connect a Cat5 connector is essential for anyone working with Ethernet networks. By following the step-by-step process outlined in this article, you can confidently create reliable connections, ensuring optimal performance for your network. Remember to choose the right type of Cat5 connector based on your specific needs, and use the appropriate tools to strip the cable and crimp the connector. Additionally, always double-check your connections and perform thorough testing to confirm that everything is working as intended.
Having a solid grasp of Cat5 connectors allows you to easily set up or troubleshoot network connections, whether it’s at home or in a professional setting. By investing time in learning the proper techniques, you can save yourself from connectivity issues and enjoy a seamless network experience. So, go ahead and start connecting those Cat5 cables with confidence!
FAQs
1. What is a Cat5 connector?
A Cat5 connector, also known as an RJ45 connector, is a standardized connector used to terminate Ethernet cables. It is widely used for wired networks, providing a well-organized and secure connection between devices.
2. How do I terminate a Cat5 connector?
To terminate a Cat5 connector, follow these steps:
- Strip the outer jacket of the Ethernet cable to expose the individual wires.
- Arrange the wires in the correct order according to the T568A or T568B wiring scheme.
- Trim the excess wire length, leaving about half an inch.
- Insert the wires into the corresponding slots in the Cat5 connector.
- Use a crimping tool to secure the connector onto the cable.
3. Can I use a Cat5 connector for Cat6 cables?
No, you cannot use a Cat5 connector for Cat6 cables. Cat6 cables require a specific connector known as an RJ45 Cat6 connector. The design and specifications of the Cat6 connector allow it to handle the higher frequencies and data rates supported by Cat6 cables.
4. What are the advantages of using a Cat5 connector?
Using a Cat5 connector offers several advantages:
- Provides a secure and reliable connection for Ethernet networks.
- Allows for easy termination of Ethernet cables, making installations and repairs straightforward.
- Supports high-speed data transmission for most home and small business networking needs.
- Offers compatibility with various network devices, including computers, routers, and switches.
5. Are Cat5 connectors compatible with wireless networks?
No, Cat5 connectors are used for wired connections and are not compatible with wireless networks. Wireless networks rely on different technologies, such as Wi-Fi, to transmit data without the need for physical cables and connectors.