
Are you a Mac user who’s been longing for the convenience and flexibility of a touchscreen? While Apple hasn’t yet introduced a native touchscreen feature for Mac computers, there are still ways to turn your Mac into a touchscreen device. In this article, we will explore different options and methods to achieve the functionality of a touchscreen on your Mac. Whether you’re a creative professional looking for better control over your graphics or a casual user wanting to add a new level of interactivity to your Mac experience, we’ve got you covered. From hardware add-ons to software solutions, we’ll walk you through the steps to make your Mac touchscreen dreams a reality. So, let’s dive in and find out how you can bring touch capabilities to your Mac!
Inside This Article
- Method 1: Using a Touchscreen Overlay
- Method 2: Using a DIY Touchscreen Kit
- Method 3: Using AirBar Device
- Method 4: Using a Tablet as a Secondary Display
- Conclusion
- FAQs
Method 1: Using a Touchscreen Overlay
If you have always wished to have a touchscreen experience on your Mac, using a touchscreen overlay can be a great solution. A touchscreen overlay is a thin transparent film that can be applied over the screen of your Mac to enable touch functionality. This method allows you to easily interact with your Mac by tapping, swiping, and gesturing on the screen, just like you would on a tablet or smartphone.
One of the main advantages of using a touchscreen overlay is that it is relatively simple to install. You can find touchscreen overlays that are specifically designed for Mac models, ensuring a perfect fit. The overlay is usually adhesive-backed, making it easy to attach securely to the screen without any impact on the display quality.
Once the touchscreen overlay is installed, your Mac will recognize it as a touch device, and you can start enjoying the touchscreen experience. You can use your fingers or a stylus to navigate through applications, scroll through web pages, zoom in and out, and perform other touch-based actions. This method is especially useful for tasks that require precise touch control, such as drawing, designing, or photo editing.
It is worth noting that not all Mac models are compatible with touchscreen overlays. Before purchasing one, make sure to check if your Mac model supports touch functionality. Additionally, while using a touchscreen overlay, you may need to calibrate it to ensure accurate touch response. This can usually be done through the operating system settings or with the help of calibration software provided by the manufacturer.
Overall, using a touchscreen overlay is a convenient way to add touchscreen capabilities to your Mac. It offers a seamless and intuitive user experience, allowing you to interact with your Mac in a more natural and intuitive way. Whether you are a creative professional or simply someone who enjoys touch-based interactions, adding a touchscreen overlay can enhance your Mac experience.
Method 2: Using a DIY Touchscreen Kit
If you’re looking to turn your standard Mac into a touchscreen device, but don’t want to spend a fortune on expensive hardware, a DIY touchscreen kit might be the perfect solution for you. These kits are designed to provide a cost-effective way to add touchscreen functionality to your Mac without the need for professional installation.
Nowadays, there are various do-it-yourself touchscreen kits available in the market. These kits typically include a transparent touchscreen film that can be placed directly on top of your Mac’s display. The film is equipped with touch-sensitive sensors that enable it to recognize your finger gestures and translate them into commands that your Mac can understand.
Installing a DIY touchscreen kit is a relatively straightforward process. You’ll need to clean your Mac’s screen thoroughly to remove any dust or residue. Then, carefully peel off the backing from the touchscreen film and align it with your screen. Gently press down to adhere the film to your Mac’s display, making sure there are no air bubbles trapped underneath.
Once the touchscreen film is attached, you’ll need to connect it to your Mac using the provided USB cable. This allows the film to communicate with your computer and enable the touchscreen functionality. Most DIY touchscreen kits come with detailed instructions and software drivers to ensure a hassle-free installation.
After you’ve completed the installation, your Mac will now have touchscreen capabilities. You can simply touch the screen with your finger or use a stylus to interact with your Mac’s interface. Whether you want to navigate through menus, scroll through web pages, or zoom in on images, the touchscreen kit will allow you to do so with ease.
It’s important to note that using a DIY touchscreen kit may not provide the same level of precision or responsiveness as a native touchscreen device. However, it can still offer a decent touchscreen experience for casual use and basic tasks. Keep in mind that compatibility can vary depending on your Mac model and operating system version, so it’s advisable to check the kit’s specifications and requirements before purchasing.
Overall, using a DIY touchscreen kit is an affordable and accessible option for those who want to experiment with touchscreen functionality on their Mac. It’s a great way to enhance your user experience and bring a new level of interaction to your device without breaking the bank.
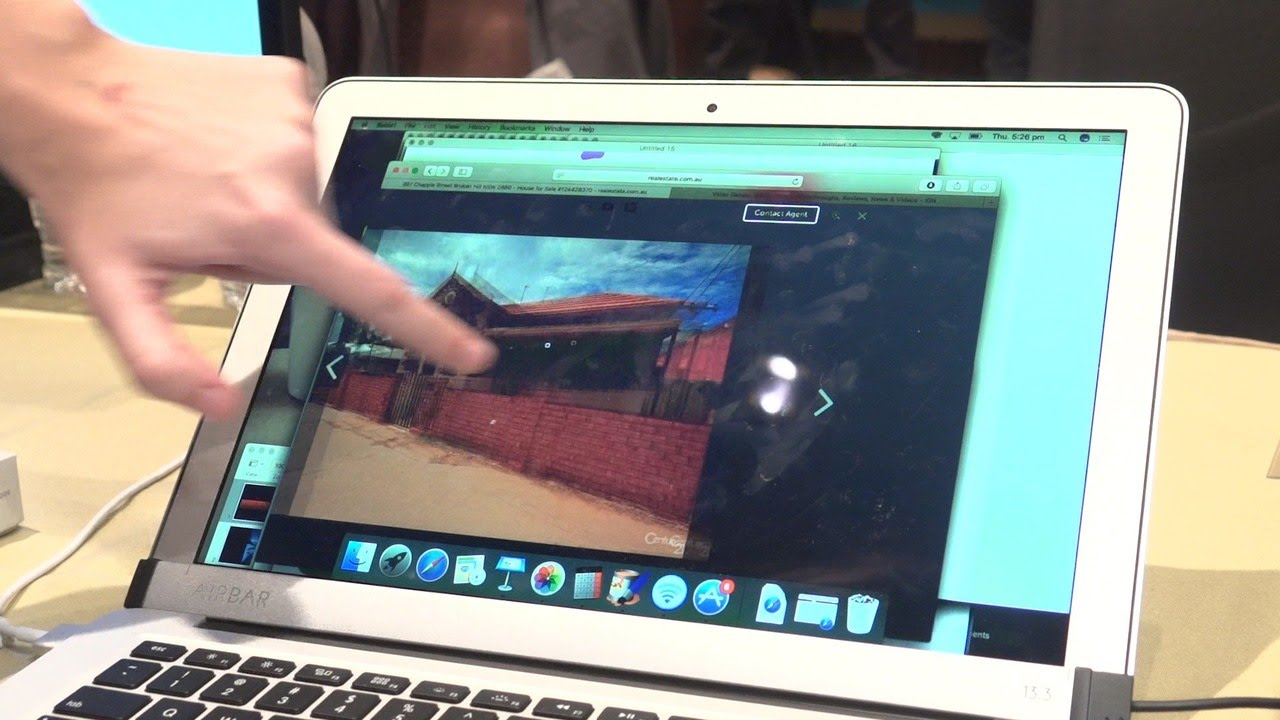
Method 3: Using AirBar Device
If you’re looking to add a touchscreen capability to your Mac, one convenient option is to use the AirBar device. The AirBar is a sleek and portable device that can transform any regular Mac display into a touchscreen. It’s a plug-and-play solution that requires no additional software or complicated installation process.
The AirBar device uses advanced light-sensing technology to detect touch gestures. Simply attach the AirBar to the bottom of your Mac display using the provided magnets and connect it to the USB port. Once connected, it creates an invisible light field on the screen, allowing you to interact with your Mac using touch gestures, just like you would on a tablet or smartphone.
The AirBar device supports a wide range of touch gestures, including tapping, swiping, pinching, and zooming. Whether you want to scroll through web pages, navigate apps, or draw directly on the screen, the AirBar offers a seamless touchscreen experience on your Mac.
One of the key advantages of the AirBar device is its compatibility. It works with various Mac models, including MacBook Air, MacBook Pro, and iMac. Moreover, it is compatible with both macOS and Windows operating systems, giving you the flexibility to use it on multiple devices.
Another noteworthy feature of the AirBar device is its palm-rejection technology. It intelligently distinguishes between intentional touch gestures and accidental palm or wrist contact, ensuring accurate and error-free interaction on your Mac display.
In terms of installation and setup, the AirBar device is incredibly easy to use. It doesn’t require any drivers or additional configuration. Simply plug it in, and it starts working instantly. Additionally, it doesn’t affect the display’s image quality or add any noticeable thickness to your Mac.
The AirBar device is a fantastic option for those who want to experience the convenience of a touchscreen on their Mac. Whether you’re browsing the web, editing photos, or creating digital artwork, the AirBar enhances your productivity and adds a new dimension to your Mac experience.
Method 4: Using a Tablet as a Secondary Display
Another innovative way to add a touchscreen functionality to your Mac is by using a tablet as a secondary display. This method offers a versatile and portable solution that can greatly enhance your productivity and user experience.
To get started, you’ll need to download and install a third-party app that allows you to use your tablet as an extended display. There are several apps available on both the App Store and Google Play Store that are specifically designed for this purpose.
Once you have installed the app on both your Mac and tablet, you will need to connect them using a wired or wireless connection. Some apps may require you to connect via USB cable, while others offer the flexibility of wireless connectivity through Wi-Fi or Bluetooth.
After establishing the connection, you can configure the app settings to extend your Mac’s display onto the tablet. This will effectively turn your tablet into a touchscreen input device for your Mac, allowing you to interact with applications and navigate through your Mac’s interface using touch gestures.
Using a tablet as a secondary display not only adds touchscreen functionality to your Mac but also provides you with additional screen real estate. This can be particularly useful for tasks that require multitasking or reference materials.
However, it’s important to note that using a tablet as a secondary display may not provide the same level of touch sensitivity and responsiveness as a dedicated touchscreen monitor. It’s also essential to ensure that your tablet is compatible with the app you choose and meets the necessary system requirements.
Overall, using a tablet as a secondary display offers a cost-effective and portable solution to add touchscreen functionality to your Mac. Whether you’re using it for creative tasks, video editing, or simply as a more intuitive way to interact with your Mac, this method provides a flexible and convenient option.
Conclusion
In conclusion, while Mac computers currently do not come with built-in touchscreens, it is still possible to transform your Mac into a touchscreen device using external accessories. By utilizing innovative technologies such as touchscreen overlays, stylus pens, and interactive displays, you can enhance your Mac’s functionality and experience the convenience of touch interaction.
However, before investing in any Mac touchscreen accessories, it is important to consider your specific needs and preferences. Take into account factors such as compatibility, responsiveness, and durability. Additionally, be sure to read customer reviews and compare different products to make an informed decision.
By following the steps outlined in this article and exploring the variety of Mac touchscreen accessories available, you can unlock new possibilities and elevate your productivity and creativity to new heights.
FAQs
Q: Can I add a touchscreen to my Mac?
A: No, you cannot add a touchscreen to a Mac. Mac computers are designed to be used with a mouse and trackpad, and do not support touch input. However, there are external touchscreen monitors available that you can connect to your Mac if you want a touchscreen experience.
Q: Are there any third-party accessories that can add touchscreen functionality to a Mac?
A: While there may be some third-party accessories claiming to add touchscreen functionality to a Mac, they are not officially supported by Apple and may not provide a seamless experience. It is recommended to use the Mac with its built-in input methods.
Q: Why doesn’t Apple include touchscreens on Macs?
A: Apple has opted not to include touchscreens on Macs for several reasons. One of the main reasons is that macOS, the operating system used on Macs, is designed to be used with a mouse and trackpad. Apple believes that touchscreens are better suited for mobile devices, such as iPhones and iPads.
Q: Can I use touch gestures on my Mac?
A: Yes, you can use touch gestures on a Mac trackpad. macOS supports a variety of multi-touch gestures, allowing you to navigate, zoom, scroll, and perform other actions using gestures with multiple fingers. These gestures can enhance your productivity and make it easier to interact with your Mac.
Q: Are there any alternative methods to interact with a Mac?
A: Yes, if you prefer an alternative method to interact with your Mac, you can consider using a graphics tablet or a stylus. Graphics tablets provide a more precise input method for drawing, design, and other creative tasks. Styluses can also be used on Macs with compatible touch-enabled trackpads or graphics tablets for a more intuitive input experience.