
Are you tired of your phone constantly sliding off the dashboard or getting lost in between the car seats while driving? Look no further! In this article, we will guide you on how to make a DIY popsocket mount for your car stick. A popsocket mount is a clever and convenient way to keep your phone securely in place while on the move. In just a few simple steps, you can create a reliable mounting solution that will ensure your phone stays within easy reach and eliminates the risk of it falling or getting damaged while driving. So, let’s dive in and discover how to make your very own popsocket mount for your car stick.
Inside This Article
- Introduction
- Materials Needed
- Steps to Make Popsocket Mount for Car Stick
- Maintenance and Tips
- Introduction
- Materials Needed
- Steps to Make Popsocket Mount for Car Stick
- Maintenance and Tips
- Conclusion
- Conclusion
- FAQs
Introduction
When it comes to using your mobile phone in the car, having a secure and convenient mount is essential. One popular accessory that has gained immense popularity is the Popsocket. A Popsocket is a collapsible grip and phone stand that attaches to the back of your phone. While it is perfect for holding your phone on the go, it might not be ideal for placement in your car. However, with a little creativity and some basic materials, you can easily create a custom Popsocket mount for your car stick.
In this article, we will guide you through the step-by-step process of making a Popsocket mount for your car stick. With this DIY solution, you can safely and securely attach your phone to your car’s dashboard or windshield, making it easier to use your phone for navigation, hands-free calling, or streaming music while driving.
Before we dive into the process, let’s gather the materials you will need:
- Sticky mount adhesive pads
- Popsocket
- Scissors
- Alcohol wipes or cleaning solution
- Microfiber cloth
Materials Needed
When it comes to creating a popsocket mount for your car stick, you’ll need a few essential materials. Here’s a list of what you’ll need:
- Sticky mount adhesive pads: These pads are crucial for attaching the popsocket mount to your dashboard. Make sure to choose adhesive pads that are strong and durable to ensure a secure attachment.
- Popsocket: A popsocket is a collapsible grip and stand for your phone that makes it easier to hold and use your device. You’ll need a popsocket to attach to the sticky mount adhesive pad.
- Scissors: You’ll need a pair of scissors to help with any trimming or cutting necessary during the process.
- Alcohol wipes or cleaning solution: Before attaching the adhesive pad, it’s essential to clean the selected area on your car dashboard. Alcohol wipes or a cleaning solution will help remove any dirt or residue.
- Microfiber cloth: A microfiber cloth is perfect for wiping down the dashboard surface after cleaning, ensuring a clean and smooth surface for the adhesive pad.
Having these materials on hand will help you create a sturdy and reliable popsocket mount for your car stick. Now that you have everything you need, let’s move on to the step-by-step process.
Steps to Make Popsocket Mount for Car Stick
Here is a step-by-step guide on how to make a Popsocket mount for your car stick:
- Step 1: Clean the selected area on your car dashboard
- Step 2: Peel off the backing from the sticky mount adhesive pad
- Step 3: Attach the sticky mount adhesive pad to the desired location on the dashboard
- Step 4: Press firmly to ensure secure attachment
- Step 5: Wait for the adhesive to set for the recommended time
- Step 6: Remove the top of the sticky mount adhesive pad
- Step 7: Position the Popsocket onto the exposed adhesive pad
- Step 8: Press firmly to attach the Popsocket securely
- Step 9: Allow the adhesive to set for the recommended time
- Step 10: Test the stability and adjust if necessary
Start by cleaning the area on your car’s dashboard where you want to attach the Popsocket mount. Use alcohol wipes or a cleaning solution to ensure the surface is free from dirt, dust, and oils.
Take the sticky mount adhesive pad and carefully peel off the backing. Make sure to handle it with clean hands to avoid any contaminants on the adhesive surface.
Place the exposed adhesive side of the mount onto the cleaned area of your car’s dashboard. Choose a location that is easily accessible and within your reach without obstructing your view while driving.
Apply firm pressure to the mount to ensure it is securely attached to the dashboard. Make sure there are no air bubbles or gaps between the adhesive pad and the surface.
Allow the adhesive to set according to the manufacturer’s instructions. This will typically be a few minutes, but it is important to follow the specific guidelines provided.
Once the adhesive has set, carefully remove the top protective layer from the mount. This will expose the sticky surface on which you will attach the Popsocket.
Take your Popsocket and align it with the exposed adhesive pad on the mount. Position it at your desired angle or orientation.
Press the Popsocket firmly against the adhesive pad, ensuring it is securely attached. Apply even pressure to ensure a strong bond between the Popsocket and the mount.
Similar to the initial adhesive setting time, allow the Popsocket to bond with the mount for the recommended duration. This will ensure a secure attachment.
Gently test the stability of the Popsocket mount by applying slight pressure and ensuring it remains firmly in place. If any adjustments are needed, carefully reposition the mount and Popsocket as desired.
Maintenance and Tips
Once you have successfully created your Popsocket mount for your car stick, it’s essential to maintain it properly to ensure its longevity and functionality. Here are some tips to help you keep your Popsocket mount in excellent condition:
- Regularly clean the Popsocket mount and dashboard area to maintain adhesion: Over time, dust, dirt, and oils can accumulate on the surface of your mount, reducing its stickiness. Use a microfiber cloth or alcohol wipes to wipe down the Popsocket mount and the dashboard area it is attached to. This will help maintain a strong bond between the mount and the dashboard.
- Avoid extreme temperature conditions that may weaken the adhesive: High temperatures can cause the adhesive to soften, while extremely cold temperatures can make it brittle. Avoid leaving your car in direct sunlight for extended periods, as it can heat up the adhesive. Additionally, during winter, consider warming up your car before driving to prevent the adhesive from becoming too cold and losing its stickiness.
- Ensure the Popsocket mount does not obstruct the driver’s view or interfere with airbags: It’s crucial to position the Popsocket mount in a location that does not obstruct your view of the road or any essential information on the dashboard. Make sure it is not blocking any air vents or interfering with the deployment of airbags in case of an accident. Safety should always be a top priority.
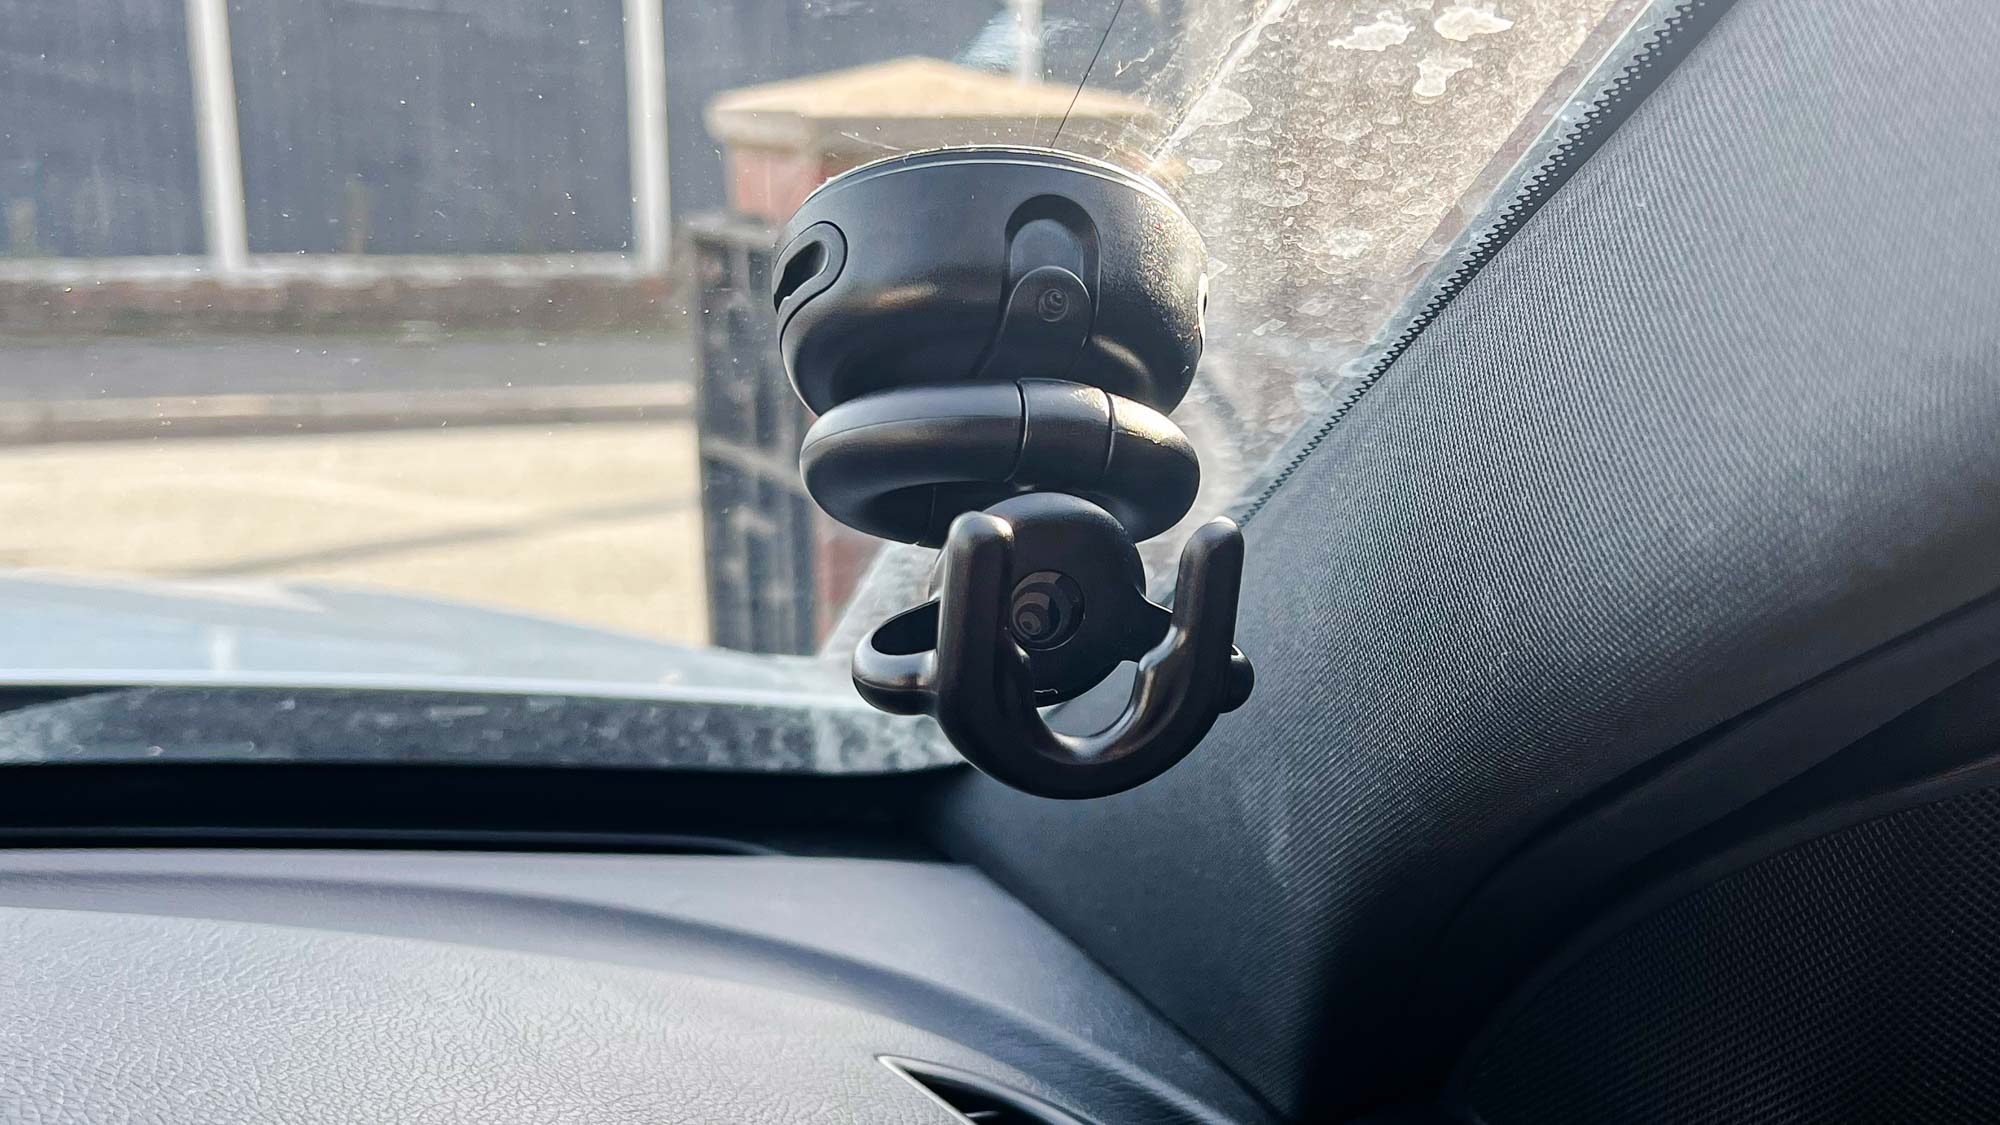
- Consider alternative positioning options for optimal convenience and safety: While the dashboard is a common place to mount a Popsocket, it may not be the most convenient or practical location for everyone. Depending on your preferences and the layout of your car, you may find other suitable mounting areas such as the center console, the side of the car seat, or even the windshield using specialized suction cup mounts. Experiment with different positions to find what works best for you.
By following these maintenance tips and incorporating them into your car stick setup, you can ensure a secure and reliable Popsocket mount that enhances your driving experience while keeping your cellphone within reach.
Introduction
If you’re someone who spends a lot of time driving and using your smartphone, you know how important it is to have a secure and convenient way to mount your phone in your car. One popular solution is to use a Popsocket mount that sticks to your car’s dashboard. In this article, we’ll guide you through the process of making a Popsocket mount for your car stick, so you can keep your phone within easy reach while on the road.
Materials Needed
Before getting started, gather the following materials:
- Sticky mount adhesive pads
- Popsocket
- Scissors
- Alcohol wipes or cleaning solution
- Microfiber cloth
Steps to Make Popsocket Mount for Car Stick
Follow these steps to create a secure Popsocket mount for your car:
- Step 1: Clean the selected area on your car dashboard: Use alcohol wipes or cleaning solution with a microfiber cloth to thoroughly clean the area where you want to attach the mount. This will ensure a strong adhesive bond.
- Step 2: Peel off the backing from the sticky mount adhesive pad: Carefully remove the protective backing from the sticky mount adhesive pad, being mindful not to touch the adhesive side.
- Step 3: Attach the sticky mount adhesive pad to the desired location on the dashboard: Place the exposed adhesive side of the mount onto the cleaned area of your car dashboard. Press firmly to ensure a secure attachment.
- Step 4: Press firmly to ensure secure attachment: Once the adhesive pad is in place, firmly press down on it to ensure it sticks securely to the dashboard surface.
- Step 5: Wait for the adhesive to set for the recommended time: Follow the manufacturer’s instructions for the recommended setting time of the adhesive pad. This will allow the adhesive to fully bond with the dashboard surface.
- Step 6: Remove the top of the sticky mount adhesive pad: After the adhesive has set, carefully remove the top layer of the adhesive pad, exposing the sticky surface.
- Step 7: Position the Popsocket onto the exposed adhesive pad: Take your Popsocket and align it with the exposed adhesive on the mount. Make sure it is centered and positioned as desired.
- Step 8: Press firmly to attach the Popsocket securely: Apply firm pressure to the Popsocket, pressing it onto the adhesive pad to ensure a secure attachment.
- Step 9: Allow the adhesive to set for the recommended time: Once again, refer to the manufacturer’s instructions for the recommended setting time to allow the adhesive to fully bond with the Popsocket.
- Step 10: Test the stability and adjust if necessary: After the adhesive has set, give the Popsocket a gentle tug to check its stability. If needed, reposition or apply additional pressure to ensure a secure mount.
Maintenance and Tips
Here are some maintenance tips to keep your Popsocket mount in optimal condition:
- Regularly clean the Popsocket mount and dashboard area to maintain adhesion. Use a mild cleaning solution and a microfiber cloth to remove any dust or debris.
- Avoid exposing the mount to extreme temperature conditions, as this could weaken the adhesive. Park your car in covered areas whenever possible or use a windshield sunshade to protect from excessive heat.
- Ensure the Popsocket mount does not obstruct your view while driving or interfere with airbags. Choose a position on the dashboard that allows easy visibility without compromising safety.
- Consider alternative positioning options for optimal convenience and safety. You may find that attaching the mount to a different area of your car’s interior provides a better viewing angle or reduces distractions.
Conclusion
Creating a Popsocket mount for your car stick is a simple and convenient way to keep your smartphone within reach while driving. By following the steps outlined in this article and considering the maintenance tips, you can ensure a secure and reliable mount that enhances your driving experience. Now, you can easily navigate, answer calls, or stream music without fumbling with your phone while on the road.
Conclusion
In conclusion, creating your own Popsocket mount for your car stick is a simple and cost-effective solution to keep your phone securely mounted while on the road. With just a few materials and a little bit of creativity, you can customize a mount that suits your needs and personal style.
By following the step-by-step process outlined in this article, you can ensure that your Popsocket mount is sturdy, reliable, and easy to use. Whether you’re using your phone for navigation, hands-free calling, or to stream music, having a secure mount in your car is essential for both convenience and safety.
With the increasing popularity of mobile accessories, specifically the Popsocket, finding innovative ways to incorporate them into various aspects of our lives, such as car mounts, can greatly enhance our overall smartphone experience. So why settle for a generic car mount when you can create a unique Popsocket mount that reflects your personality? Get creative, have fun, and enjoy the benefits of hands-free phone usage in your car!
FAQs
1. Can I make my own Popsocket Car Mount?
Yes, you can! Making your own Popsocket car mount is an easy and affordable DIY project. With just a few materials and some basic crafting skills, you can create a personalized and functional mount for your car stick.
2. What materials do I need to make a Popsocket car mount?
To make a Popsocket car mount, you will need the following materials:
- A Popsocket grip
- An adhesive or adhesive tape
- A small piece of cardboard or foam
- A suction cup or magnetic base (optional)
3. How do I attach the Popsocket car mount to my car stick?
Attaching the Popsocket car mount to your car stick is a simple process. First, make sure the car stick is clean and free from any dust or debris. Then, apply the adhesive or adhesive tape to the back of the Popsocket grip. Press it firmly onto the car stick, ensuring that it is securely attached.
4. Can the Popsocket car mount hold my phone securely?
The Popsocket car mount is designed to securely hold your phone while you are driving. However, the stability and grip may vary depending on the type and size of your phone, as well as the surface of your car stick. It is always a good idea to test the stability of the mount before using it with your phone.
5. Can I remove the Popsocket car mount without damaging my car stick?
Yes, you can remove the Popsocket car mount without causing any damage to your car stick. The adhesive or adhesive tape used to attach the mount is designed to be removable without leaving any residue. If you want to remove the mount, simply peel it off gently. If there is any residue left, you can clean it off with a mild adhesive remover or rubbing alcohol.