
In the world of mobile accessories, one common issue that many users encounter is the need to remove a bulb from a connector. Whether you’re trying to replace a broken bulb or simply want to upgrade to a more energy-efficient option, knowing how to safely remove a bulb from its connector is essential.
However, this process can be a bit tricky if you’re not familiar with the right techniques. In this comprehensive guide, we will walk you through the steps to effectively remove a bulb from a connector. From understanding the different types of connectors to providing step-by-step instructions, we’ve got you covered. So, let’s dive in and learn how to effortlessly remove a bulb from its connector!
Inside This Article
- Overview of Bulb Connectors
- Common Methods for Removing Bulbs from Connectors
- Step-by-Step Guide: How to Remove a Bulb from a Connector
- Additional Tips and Precautions
- Conclusion
- FAQs
Overview of Bulb Connectors
Bulb connectors are essential components in a variety of electrical systems. They are used to connect bulbs to wiring harnesses, ensuring a secure and reliable connection. These connectors come in different shapes and sizes, depending on the type of bulb and the application.
One common type of bulb connector is the plug-and-play connector. These connectors feature a male and female end that easily fit together, providing a quick and hassle-free installation process. Plug-and-play connectors are commonly found in automotive headlights and taillights.
Another type of bulb connector is the twist-lock connector. As the name suggests, these connectors require a twisting motion to secure the bulb in place. This type of connector is commonly used in household light fixtures and some automotive applications.
Other bulb connectors may require a push-in or screw-in mechanism to secure the bulb. These connectors are often found in specialty lighting applications or in older electrical systems.
Bulb connectors are usually made of durable materials such as plastic or metal to withstand the heat and electrical current generated by the bulb. They are designed to provide a secure and stable connection, ensuring optimal performance and safety.
It’s important to note that bulb connectors may vary depending on the specific make and model of the bulb. It’s always recommended to refer to the manufacturer’s instructions or consult a professional if you are unsure about the correct type of connector for your specific application.
In the next section, we will explore the common methods for removing bulbs from connectors, providing you with the knowledge and insights to safely handle this task.
Common Methods for Removing Bulbs from Connectors
When it comes to removing bulbs from connectors, there are several common methods that can be used. These methods may vary depending on the type of connector and the specific bulb being removed. Here are some of the most commonly used methods:
Twisting and Pulling: This is often the simplest and most straightforward method for removing a bulb from a connector. Start by twisting the bulb gently to loosen it from the connector. Once it feels loose, firmly pull the bulb straight out of the connector. Be careful not to yank or force the bulb, as this may cause damage.
Push and Release: Some connectors have a tab or button that needs to be pushed in order to release the bulb. Find the release mechanism on the connector and press or push it while gently pulling the bulb out. This will disengage the bulb from the connector, allowing you to remove it easily.
Using a Removal Tool: In some cases, a specialized removal tool may be required to remove a bulb from a connector. These tools are designed to grip the bulb securely and provide leverage for removal. Insert the tool into the connector and twist or pull to remove the bulb. Make sure to use the correct size and type of removal tool for your specific connector.
Applying Heat: If a bulb is stuck or corroded in the connector, applying heat can help loosen it. Use a hairdryer or heat gun to warm up the connector and bulb. Be cautious not to overheat the connector, as this can cause damage. Once the bulb and connector are heated, try twisting and pulling the bulb to remove it.
Lubricating the Connector: If a bulb is stubborn and refuses to come out, applying a lubricant can help loosen it. Spray a small amount of silicone-based lubricant or penetrating oil into the connector. This will help to reduce friction and make it easier to remove the bulb. Twist and pull the bulb while applying gentle pressure to remove it.
Seeking Professional Assistance: If you are unsure or uncomfortable with removing a bulb from a connector, it is always a good idea to seek professional assistance. An expert technician or mechanic will have the knowledge and experience necessary to safely remove the bulb without causing any damage to the connector or other components.
Remember to always refer to the specific instructions provided by the manufacturer for removing bulbs from connectors, as different connectors may have unique requirements. Take your time, be gentle, and exercise caution to ensure a successful and damage-free bulb removal process.
Step-by-Step Guide: How to Remove a Bulb from a Connector
Removing a bulb from a connector may seem like a daunting task, but with the right approach and tools, it can be a straightforward process. Whether you’re replacing a burnt-out bulb or upgrading to a higher wattage, here is a step-by-step guide to help you remove a bulb from a connector:
- Start by ensuring that the power supply to the bulb is turned off. This will help prevent any potential accidents or electrical shocks.
- If the bulb is located in a fixture, remove any necessary coverings or shades to gain access to the bulb.
- Once you have clear access to the bulb, identify the type of connector used. Common types include screw-in, push-in, or pin connectors.
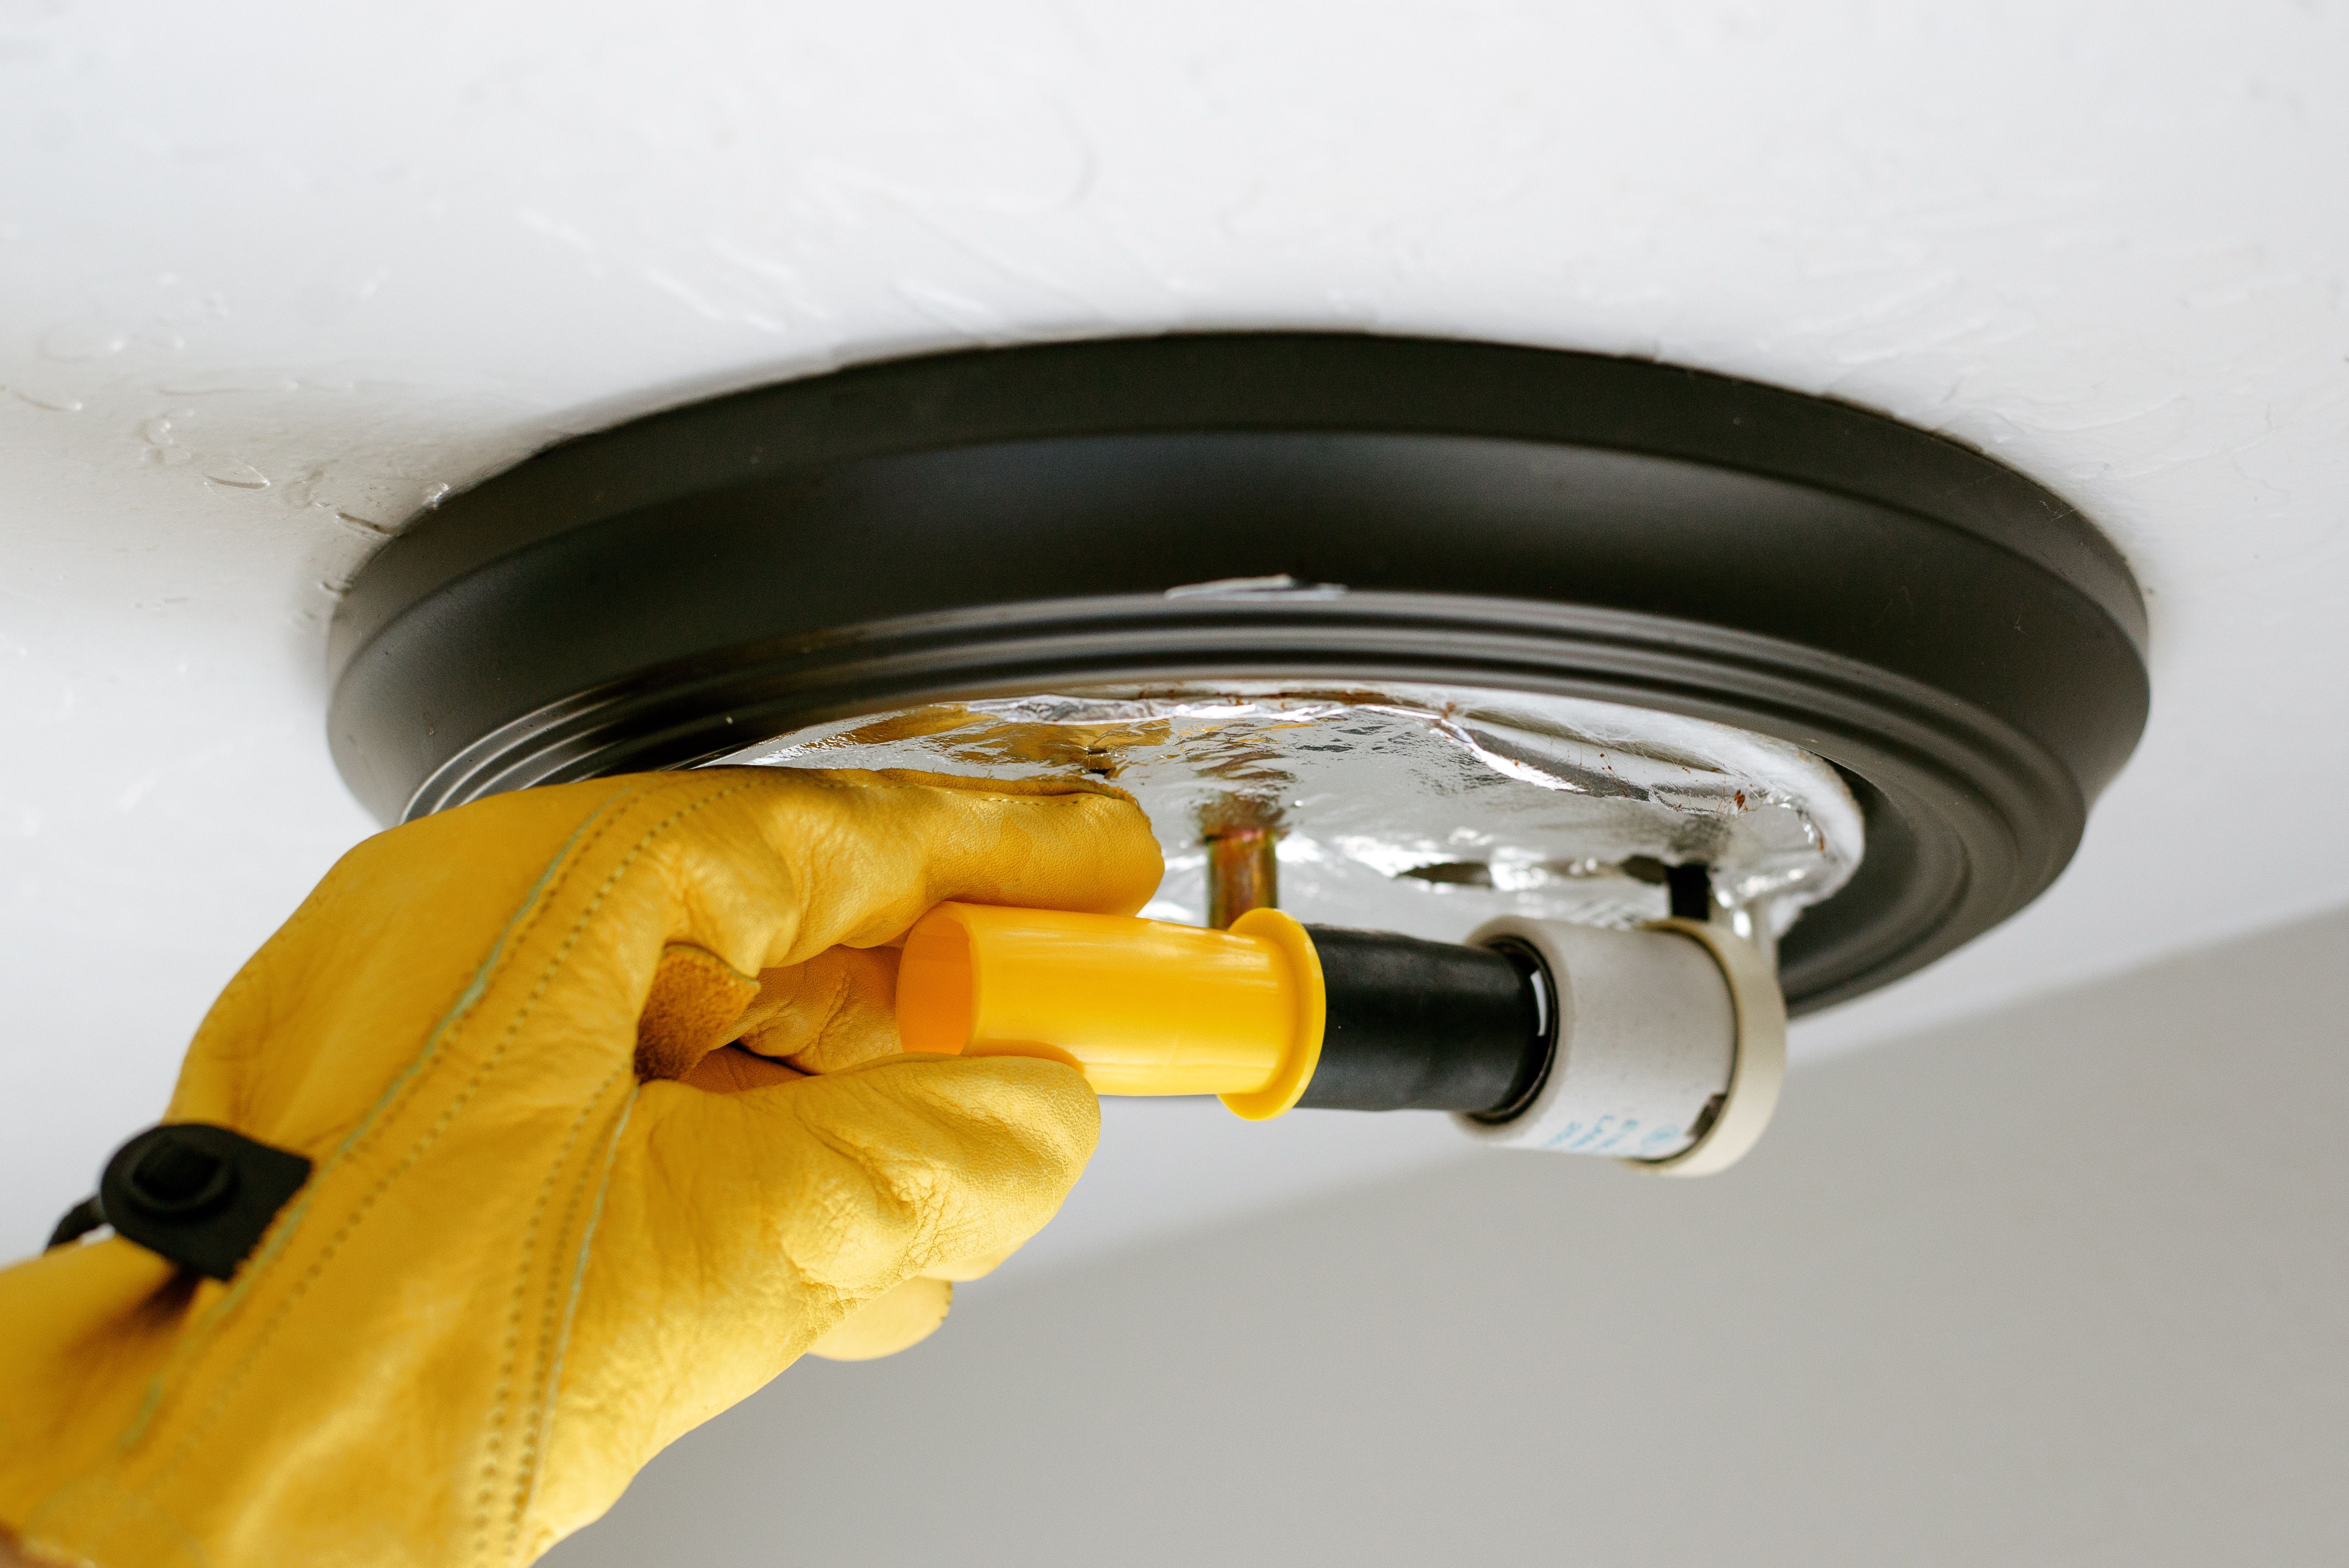
- If you’re dealing with a screw-in connector, place a cloth or towel around the bulb for a better grip and to protect your hands from any sharp edges of a broken bulb.
- Gently twist the bulb counterclockwise to loosen it from the connector. Be careful not to apply excessive force as it can damage the connector.
- If the bulb is a push-in type, locate the two prongs of the connector. Use your fingers or a small flat-head screwdriver to carefully lift and release the prongs, allowing the bulb to slide out.
- For pin connectors, locate the small tabs or pins on either side of the bulb. Insert a flat-head screwdriver or a dedicated pin removal tool into the gap between the connector and the bulb. Gently push down on the tabs or pins to release the bulb.
- Once the bulb is disconnected from the connector, carefully remove it from the fixture or socket.
- Dispose of the old bulb properly by recycling it or following local guidelines for bulb disposal.
It’s important to note that not all bulbs or connectors may follow these exact steps. Different brands or models may have their own unique design and removal process. Always consult the manufacturer’s instructions or refer to specific guidelines for your particular bulb and connector type.
Remember to follow safety precautions, such as wearing protective gloves or glasses, if necessary, to prevent any injury while removing the bulb from the connector.
Now that you have successfully removed the bulb from the connector, you can proceed with replacing it or installing a new one. Take your time and ensure that the replacement bulb is compatible with the connector and meets your specific requirements.
Additional Tips and Precautions
When removing a bulb from a connector, there are a few additional tips and precautions to keep in mind to ensure a smooth and safe process. Here are some guidelines to follow:
1. Wear protective gloves: Bulbs can get hot when they are in use. To prevent burns or injuries, it is advisable to wear protective gloves when handling bulbs and connectors.
2. Turn off the power: Before attempting to remove a bulb, always turn off the power to the socket or the device the bulb is connected to. This will prevent any electrical shocks or accidents.
3. Let the bulb cool down: If the bulb has been recently used, allow it to cool down completely before attempting to remove it. This will prevent any burns or damage to the bulb or your fingers.
4. Check for any signs of damage: Before removing the bulb, inspect the connector and the socket for any signs of damage or wear. If there are any cracks, exposed wires, or other visible issues, it is best to consult a professional or replace the entire connector.
5. Use proper tools: Depending on the type of connector, you may need specific tools to safely remove the bulb. Make sure you have the right tools on hand, such as pliers or a screwdriver, to avoid damaging the bulb or the connector.
6. Follow manufacturer instructions: Different bulbs and connectors may have specific instructions for removal. Always refer to the manufacturer’s guidelines to ensure you are removing the bulb correctly and safely.
7. Dispose of the bulb properly: Once you have successfully removed the bulb, dispose of it according to local regulations. Some bulbs may contain hazardous materials, so it is important to handle and dispose of them responsibly.
8. Avoid touching the glass: When removing the bulb, try to avoid touching the glass part, especially if it is a halogen or incandescent bulb. The oil from your fingers can cause the bulb to heat unevenly and potentially shorten its lifespan.
9. Keep spare bulbs on hand: It’s always a good idea to have spare bulbs available in case one needs to be replaced. This way, you can quickly and easily swap out a bulb if necessary without any downtime.
10. Seek professional assistance if needed: If you are unsure about how to remove a bulb or encounter any difficulties, it is always best to seek professional assistance. Electricians or technicians can safely remove the bulb and provide guidance on proper replacement.
By following these additional tips and precautions, you can ensure a successful and safe bulb removal process, while prolonging the lifespan of both the bulb and the connector.
Conclusion
Removing a bulb from a connector may seem like a daunting task, but with the right knowledge and tools, it can be a straightforward process. By following the steps outlined in this article, you can safely detach the bulb from the connector without causing any damage. Remember to exercise caution and take your time to ensure a successful removal.
Whether you’re replacing a burnt-out bulb, upgrading your lighting system, or troubleshooting a connectivity issue, knowing how to remove a bulb from a connector is an essential skill for any DIY enthusiast or technician. So, equip yourself with the necessary tools, follow the appropriate steps, and confidently tackle any bulb removal task that comes your way.
By mastering this skill, you’ll not only save money on professional repairs but also have the satisfaction of successfully completing the task on your own. So, go ahead, put your newfound knowledge to use, and confidently remove bulbs from connectors with ease.
FAQs
Q: How do I remove a bulb from a connector?
A: To remove a bulb from a connector, you typically need to twist it counterclockwise. Most bulbs are designed to have a bayonet or threaded base that locks into the connector. By twisting the bulb in the opposite direction, it should loosen and come out of the connector easily.
Q: What tools do I need to remove a bulb from a connector?
A: Removing a bulb from a connector usually requires minimal tools. In most cases, you only need your hands to twist the bulb counterclockwise and remove it. However, if the bulb is stuck or difficult to remove, you can use a pair of pliers or a bulb removal tool specifically designed to handle stubborn bulbs.
Q: Is it necessary to turn off the power before removing a bulb from a connector?
A: Yes, it is crucial to turn off the power before attempting to remove a bulb from a connector. This safety measure prevents the risk of electric shock. Ensure that the circuit is completely switched off or the power source is disconnected before working on any electrical connections.
Q: What should I do if the bulb breaks while removing it from a connector?
A: If a bulb breaks while you are trying to remove it from a connector, the first step is to switch off the power to avoid any potential injuries. Carefully remove the broken pieces, using gloves or a cloth to protect your hands from any sharp edges. Dispose of the broken bulb pieces properly and clean the connector thoroughly before installing a new bulb.
Q: Can I reuse a connector after removing a bulb?
A: Yes, most connectors can be reused after removing a bulb. Once the bulb is successfully removed, inspect the connector for any damage or corrosion. Clean the connector if necessary and ensure it is in good condition before installing a new bulb. If the connector is damaged, it is recommended to replace it to maintain a secure electrical connection.