
Have you recently purchased a Popsocket, the handy mobile accessory that provides a secure grip for your phone? If so, you may be wondering how to ensure that it sticks firmly to your device. The last thing you want is for your Popsocket to lose its adhesive and start falling off regularly.
In this article, we will delve into the best practices for getting your Popsocket to stick effectively and stay in place. We will explore different tips, techniques, and troubleshooting methods to help you maximize the adhesive power of your Popsocket and prolong its lifespan.
Whether you’re a first-time Popsocket user or someone looking to replace a worn-out one, our comprehensive guide will equip you with the knowledge you need to keep your Popsocket securely attached to your device. Let’s dive in and discover the secrets to getting your Popsocket to stick!
Inside This Article
- Choosing the Right Surface
- Cleaning the surface
- Applying the adhesive properly
- Allowing Time for Proper Adhesion
- Conclusion
- FAQs
Choosing the Right Surface
When it comes to getting a Popsocket to stick securely, one of the most important factors is choosing the right surface to apply it on. The surface you choose will determine how well the adhesive holds and how long the Popsocket will stay in place. Here are some key considerations to keep in mind:
- Smooth and Flat: It is crucial to select a surface that is smooth and flat. The adhesive on the back of the Popsocket works best on sleek surfaces like glass, plastic, or metal. Avoid applying it on textured or uneven surfaces as the adhesive may not adhere properly, leading to a weak grip.
- Clean and Dry: Before applying your Popsocket, make sure that the surface is clean and dry. Any dust, dirt, or moisture on the surface can interfere with the adhesive’s ability to stick. Use a mild detergent or cleaning solution to remove any dirt or oil buildup. Dry the surface thoroughly before proceeding to the next step.
- Avoid Curved or Flexible Surfaces: Popsockets have a flat base that is designed to attach to a surface. Avoid applying them on curved or flexible surfaces, such as clothing or curved phone cases. The adhesive may not be able to grip these surfaces properly, leading to a weak bond and potential instability.
- Consider the Material: Different materials have different adhesion properties. For example, glass and smooth plastics tend to provide better adhesion compared to matte or rubberized surfaces. Consider the material of the surface you plan to stick your Popsocket on to ensure optimal grip.
- Size and Weight: The size and weight of the item you plan to attach to your Popsocket can also impact the surface selection. If you intend to use a larger and heavier device, ensure that the surface can support the weight without compromising the adhesive’s integrity.
- Experiment and Test: If you are unsure about the suitability of a particular surface, do a small test before committing. Place the Popsocket on the surface for a few hours or use it lightly to see if it holds securely. This will help you determine if the surface is suitable or if you need to consider an alternative option.
By choosing the right surface for your Popsocket, you can ensure a strong and secure grip. Remember to follow the instructions provided by the manufacturer and take necessary precautions to maintain the longevity of the adhesive. Having a properly attached Popsocket will enhance your mobile experience, making it easier to grip, stand, and enjoy your device.
Cleaning the surface
Before applying a Popsocket or any other adhesive product, it is crucial to ensure that the surface is clean and free from any dust, dirt, or oils. This will help to ensure proper adhesion and prevent the Popsocket from falling off.
To clean the surface, start by using a gentle cleanser or rubbing alcohol. Apply a small amount to a clean, soft cloth and gently wipe the surface in a circular motion. Be sure to pay attention to any crevices or hard-to-reach areas where dirt can accumulate.
If you are cleaning a phone case, remove it from the phone first to ensure a thorough cleaning. Use a soft brush or toothbrush to gently scrub away any dirt or debris. Rinse the case with water and pat dry with a clean cloth before proceeding.
Once the surface is clean, give it a final wipe with a dry cloth to remove any residue from the cleaning solution. This will help create an optimal surface for the adhesive to bond to.
Remember, it is important to let the surface dry completely before applying the Popsocket. The adhesive may not stick properly if there is any moisture present.
Applying the adhesive properly
Once you have chosen the right surface and cleaned it thoroughly, it’s time to apply the adhesive of your Popsocket correctly. This step is crucial for ensuring that your Popsocket sticks securely and stays in place. Here are some tips to help you apply the adhesive properly:
- Remove the adhesive backing: Start by peeling off the protective backing from the adhesive. Be careful not to touch the sticky side of the adhesive to avoid any dirt or oils from transferring onto it.
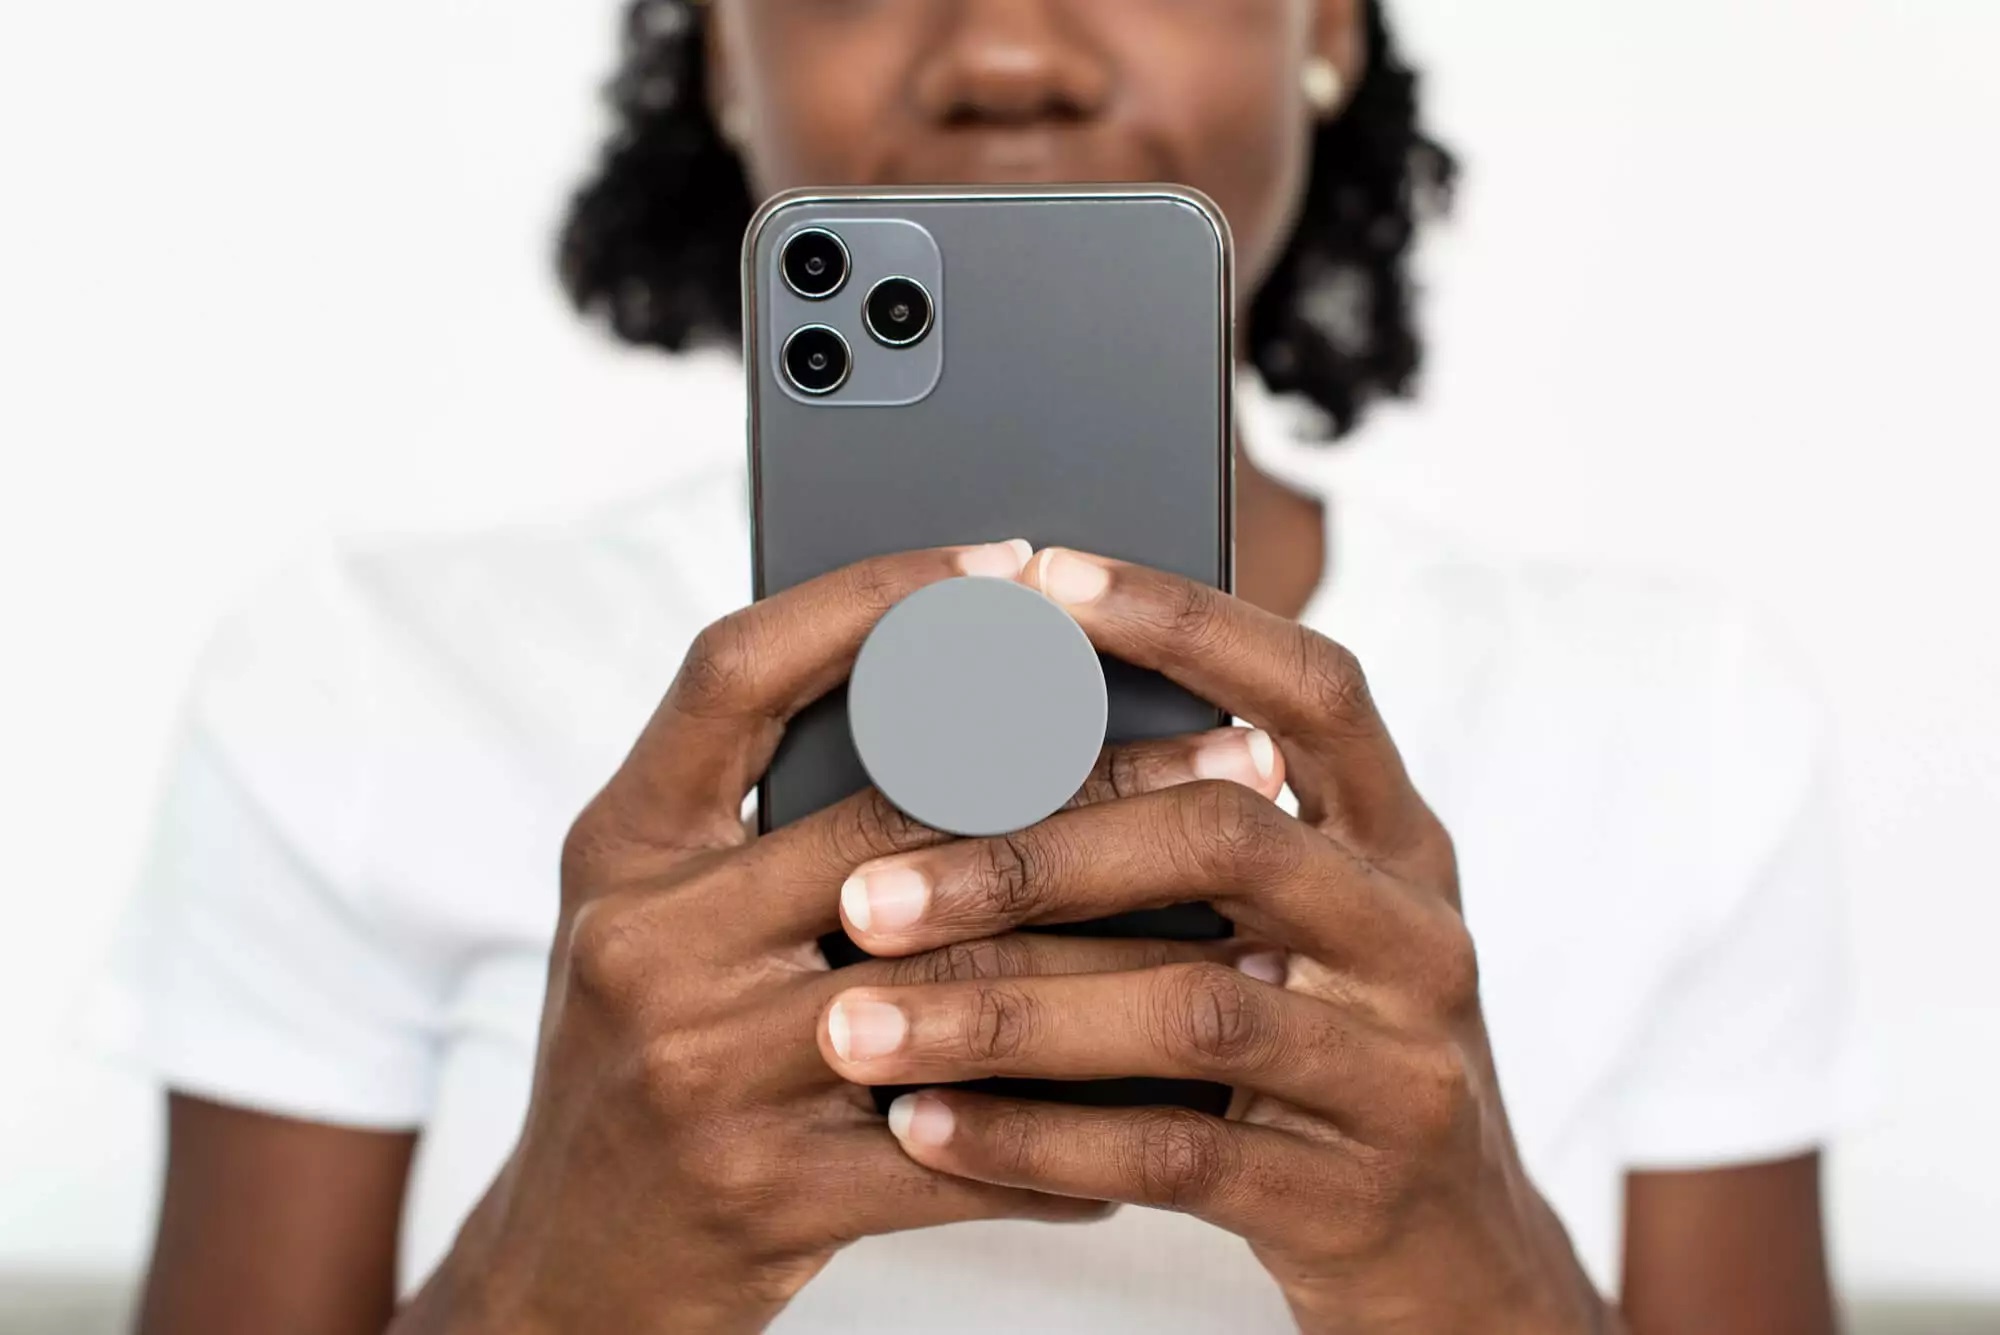
- Position the Popsocket: Determine where you want to place your Popsocket on the back of your phone or phone case. Take into consideration factors such as comfort, ease of use, and stability. Once you have decided on the ideal position, hold the Popsocket in place with one hand.
- Press firmly: With your Popsocket held in position, use your other hand to firmly press down on the adhesive side against the chosen surface. Apply steady pressure for about 15-30 seconds to ensure a secure bond.
- Allow time for adhesion: It’s important to give the adhesive enough time to fully stick to the surface. Avoid using your Popsocket for at least an hour after application to allow the adhesive to cure and bond properly. This waiting period will give the adhesive enough time to establish a strong hold.
Following these steps will help ensure that your Popsocket adheres well to your smartphone or phone case. It’s essential to remember that proper adhesion is crucial for the longevity and functionality of your Popsocket, so take your time during the application process for best results.
Allowing Time for Proper Adhesion
Once you have chosen the right surface, cleaned it thoroughly, and applied the adhesive properly, the final step in getting a PopSocket to stick is allowing enough time for proper adhesion. Rushing this step can result in the PopSocket coming off or not adhering securely, so it’s important to exercise patience and follow the recommended guidelines.
The amount of time needed for proper adhesion can vary depending on the adhesive used and the surface it is applied to. Most PopSocket adhesives require at least 12 hours to fully cure and provide maximum holding power. However, it’s always a good idea to refer to the specific instructions provided by the manufacturer for the adhesive you are using.
During the curing process, it’s important to avoid putting excessive pressure or stress on the PopSocket before it has fully adhered. This means refraining from pulling or twisting the PopSocket, as it can disrupt the adhesive bond and lead to detachment.
In addition to allowing enough time for the adhesive to cure, it’s also important to avoid exposing the PopSocket to extreme temperatures during this period. High heat or cold can compromise the adhesive’s effectiveness and lead to the PopSocket coming off. It’s best to keep the device at a moderate temperature and avoid exposing it to direct sunlight or placing it near heat sources.
If you are unsure about the specific curing time for your PopSocket or are concerned about the conditions it may be exposed to, it’s always a good idea to err on the side of caution and allow for extra curing time. This will help ensure a strong and long-lasting bond between the PopSocket and the surface.
Remember, proper adhesion is essential for the functionality and longevity of your PopSocket. Taking the time to allow the adhesive to fully cure will result in a securely attached PopSocket that can withstand everyday use and provide a reliable grip for your device.
Conclusion
In conclusion, getting a Popsocket to stick to your phone is a simple process that requires proper preparation and adherence to instructions. By following the steps outlined in this article, you can ensure that your Popsocket remains securely attached to your phone, providing you with a convenient grip and stand for your device.
Remember to start by cleaning the back of your phone thoroughly and allowing it to dry completely. Apply the adhesive base of the Popsocket firmly onto the chosen spot, making sure to press and hold it for the recommended amount of time. Give it sufficient time to adhere to the surface before adding any additional weight or stress to the Popsocket.
Regularly check the condition of your Popsocket and reapply it if necessary. If you encounter any issues with the stickiness or longevity of the adhesive, consider purchasing a replacement base or exploring other options to keep your Popsocket securely in place.
With the proper care and attention, you can enjoy the benefits of a Popsocket and enhance your mobile experience. So go ahead, get creative with your Popsocket design, and enjoy the added functionality and convenience that it brings to your device.
FAQs
1. Why won’t my Popsocket stick?
There could be a few reasons why your Popsocket isn’t sticking properly. First, make sure the surface you’re attaching it to is clean and free of any dust or debris. Wipe it down with a clean cloth or use a mild adhesive remover if necessary. Second, ensure that you’re applying enough pressure when you attach the Popsocket. Press it firmly onto the surface for about 10-15 seconds to allow the adhesive to bond properly. If you still have trouble getting it to stick, consider contacting the Popsocket customer support for further assistance.
2. Can I reposition my Popsocket once it’s stuck?
While it’s possible to reposition your Popsocket after it’s stuck, it’s not recommended. The adhesive is designed to have the strongest bond when applied initially and may lose some of its stickiness if removed and repositioned multiple times. If you absolutely need to reposition it, gently peel off the Popsocket from the surface, clean off any adhesive residue, and then apply it to the new position following the instructions provided.
3. Can I remove my Popsocket without damaging my phone?
Yes, you can remove your Popsocket without causing any damage to your phone. Start by peeling it off gently from one side. If you encounter any resistance, do not force it as it may cause damage to the phone’s surface. Instead, use a hairdryer to warm up the adhesive, which will make it easier to peel off. Once removed, any remaining adhesive residue can be cleaned off using a mild adhesive remover and a soft cloth.
4. How long does a Popsocket last?
The lifespan of a Popsocket can vary depending on usage and environmental factors. On average, a Popsocket can last for about a year or longer with proper care. However, keep in mind that excessive exposure to moisture, heat, or direct sunlight can weaken the adhesive over time. If you notice any signs of the Popsocket losing its stickiness or becoming damaged, consider replacing it with a new one for optimal functionality.
5. Can I use a Popsocket with a phone case?
Yes, you can use a Popsocket with a phone case. Most Popsockets are compatible with various phone case materials, including silicone, plastic, and even some rugged cases. However, keep in mind that thicker cases or those with highly textured surfaces may not provide the best adhesive surface for the Popsocket. In such cases, you may need to attach the Popsocket directly to the phone’s surface for a stronger bond.