
Installing a Zagg screen protector on your mobile device can help keep your phone’s screen in pristine condition, protecting it from scratches, smudges, and daily wear and tear. However, there may be instances when you need to remove the Zagg screen protector, whether it is to replace it with a new one or to clean the screen underneath.
While removing a Zagg screen protector may seem like a daunting task, it can be done easily with the right tools and techniques. In this article, we will guide you step-by-step on how to safely remove a Zagg screen protector without causing any damage to your device or leaving behind any residue.
So, if you’re wondering how to remove a Zagg screen protector and restore your phone’s screen to its original condition, read on to find out the best methods and tips for a hassle-free removal process.
Inside This Article
- Introduction
- Preparing for Removal
- Removing the Zagg Screen Protector
- Cleaning the Screen
- Conclusion
- Conclusion
- FAQs
Introduction
So you’ve decided it’s time to remove that Zagg screen protector from your beloved phone. Whether you’re replacing it with a new one or simply opting for a naked screen, the process of removing a Zagg screen protector can sometimes be tricky. But fear not, with a little patience and the right technique, you can safely remove the protector without causing any damage to your phone’s screen.
In this guide, we will walk you through the step-by-step process of removing a Zagg screen protector from your phone. We will also provide some helpful tips to ensure a smooth and hassle-free removal. So let’s get started!
Why Remove a Zagg Screen Protector?
Zagg screen protectors are known for their durability and scratch-resistant properties. While they offer excellent protection for your phone’s screen, there may come a time when you need to remove it. Some common reasons for removing a Zagg screen protector include:
- Replacing the old screen protector with a new one.
- Switching to a different type of screen protector.
- Wanting to experience the naked phone screen.
- Reselling or giving away your phone.
Regardless of the reason, it’s important to follow the proper steps to ensure a clean and safe removal process.
Things to Consider Before Removing
Before you dive into the process of removing the Zagg screen protector, there are a few things you should keep in mind:
- Take your time: Rushing through the removal process can increase the chances of damaging your phone’s screen.
- Gather the necessary tools: You will need a clean microfiber cloth, some isopropyl alcohol (rubbing alcohol), and a credit card or similar plastic card.
- Read the instructions: If your Zagg screen protector came with specific removal instructions, be sure to read and follow them.
- Be patient: Removing a screen protector may require some gentle coaxing and patience. Avoid using excessive force or sharp objects, as they can damage your screen.
By considering these factors and being prepared, you will be ready to tackle the removal process with confidence. In the next section, we will guide you through the steps to remove the Zagg screen protector safely and effectively.
Preparing for Removal
Before you embark on the task of removing your Zagg screen protector, it’s important to gather a few essential tools and prepare your device for the process. Taking a few extra steps beforehand will help ensure a smooth and successful removal without any damage to your phone or screen.
Here are some important steps to follow when preparing for the removal:
- Gather the necessary tools: To remove the Zagg screen protector, you will need a few basic tools such as a microfiber cloth, a credit card, and a hairdryer. The microfiber cloth will be used to clean the screen, the credit card will assist in lifting the screen protector, and the hairdryer will help in loosening the adhesive.
- Find a clean and well-lit area: Locate a spot where you can work comfortably with ample lighting. It is essential to have good visibility to ensure you can see any residue left behind and properly clean the screen afterward.
- Power off your device: Before starting the removal process, turn off your device. This will prevent any accidental button presses or interference while you are working on removing the screen protector.
- Prepare the hairdryer: If the Zagg screen protector is firmly adhered to your device’s screen, you may need to apply heat to soften the adhesive. Set your hairdryer to a medium setting and hold it a few inches away from the screen. Move the hairdryer in a circular motion to evenly distribute the heat over the protector’s surface.
- Secure your device: It’s crucial to keep your device steady and secure during the removal process. Consider using a phone holder or placing your phone on a stable surface to prevent any accidental slips or falls.
By following these essential preparation steps, you will be ready to safely and effectively remove your Zagg screen protector. Taking the time to gather the necessary tools and create an appropriate working environment will make the process smoother and minimize the risk of any damage to your device.
Removing the Zagg Screen Protector
Now that you have properly prepared and gathered the necessary tools, it’s time to remove the Zagg screen protector from your device. Follow these steps to ensure a smooth removal process:
- Step 1: Find a clean and well-lit area
- Step 2: Start from one corner
- Step 3: Slowly peel off the screen protector
- Step 4: Be patient and take your time
- Step 5: Clean any remaining adhesive
Before you begin, make sure you are in a well-lit area with a clean surface. This will help you see any dirt or debris and prevent them from causing any scratches during the removal process.
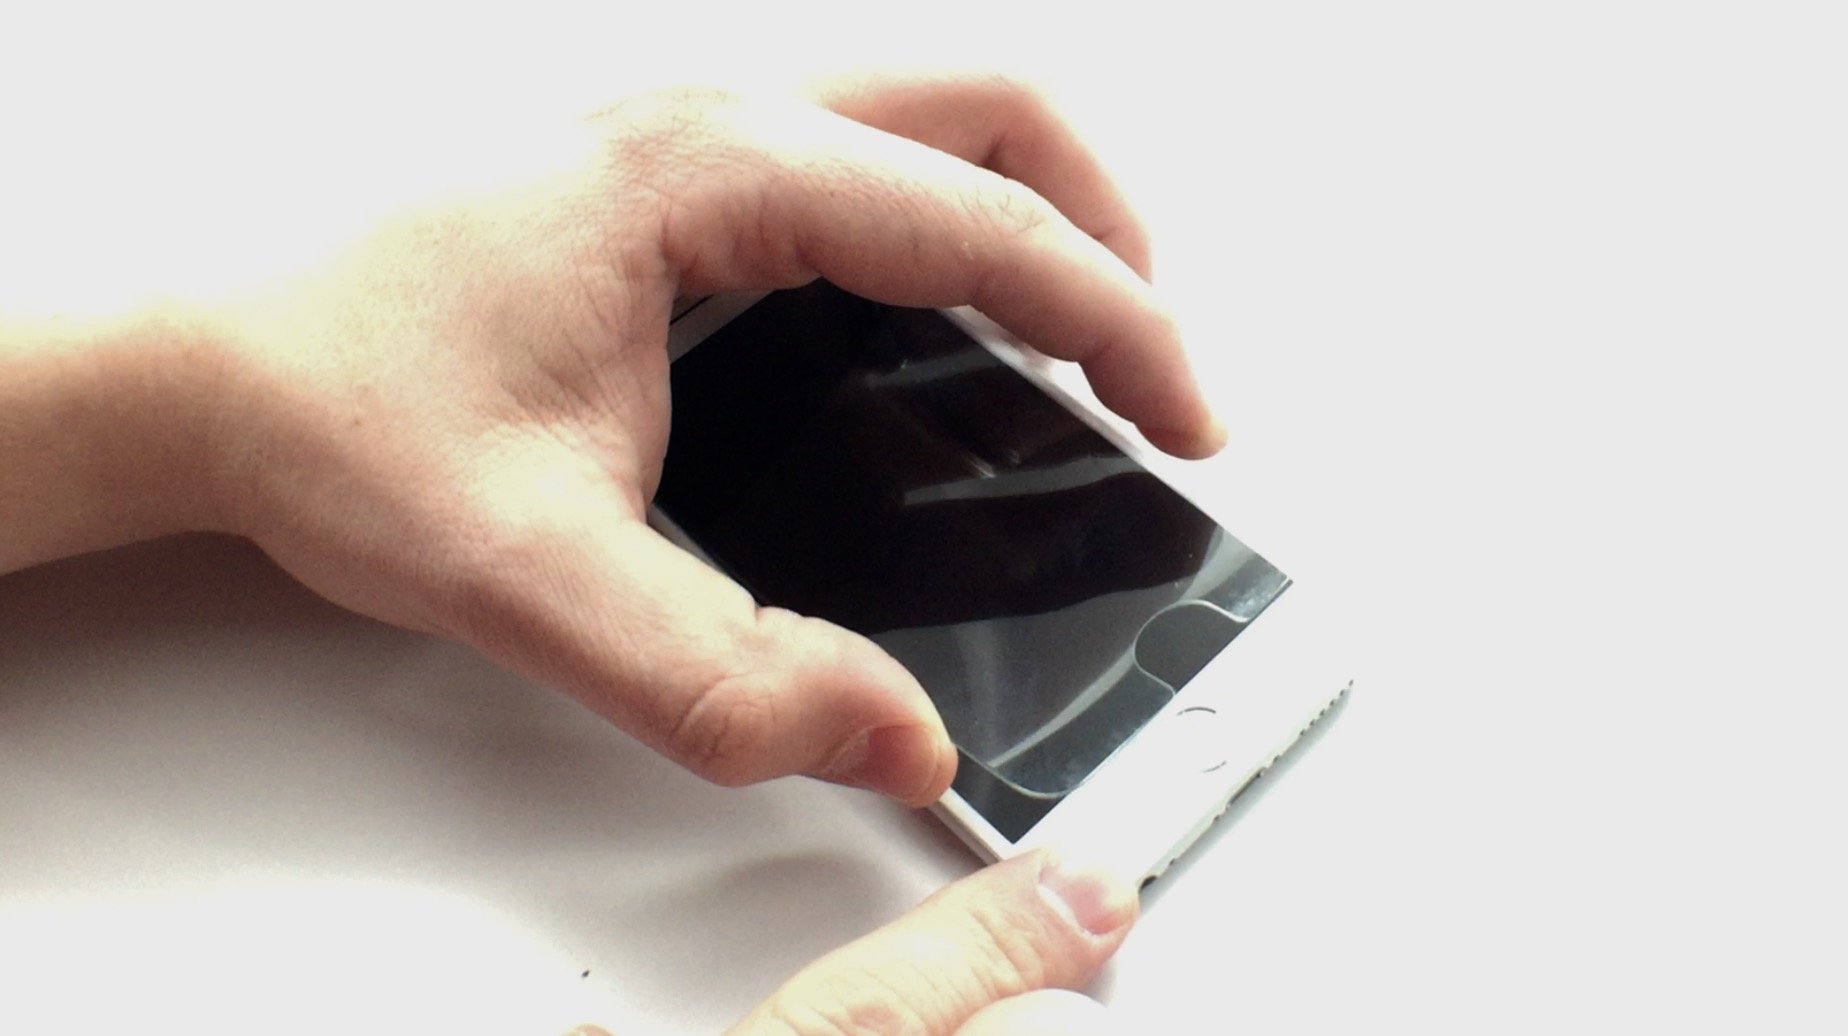
Locate one corner of the screen protector and gently lift it with your fingernail or a thin plastic tool. The corner is typically the easiest and safest place to start the removal process.
Once you have lifted one corner, slowly peel the screen protector off the screen. Use your fingertips or a plastic tool to guide the peeling process, ensuring that you apply gentle pressure to avoid damaging the screen.
Removing a screen protector can be a delicate process, so it’s important to be patient and take your time. Avoid applying excessive force or pulling too hard, as this could lead to unwanted consequences, such as damage to the screen or leaving adhesive residue behind.
After removing the screen protector, you may notice some adhesive residue left on the screen. To clean it, you can use a microfiber cloth slightly dampened with a small amount of isopropyl alcohol. Gently rub the cloth over the sticky residue until it is completely removed.
Remember, removing a Zagg screen protector requires patience and caution. By following these steps, you can safely and effectively remove the screen protector without causing any damage to your device.
Cleaning the Screen
Once you have successfully removed the Zagg screen protector, it’s time to clean the screen thoroughly. This step is important to ensure that your phone’s display is clear of any residue or smudges.
Here are some steps to follow for effectively cleaning your phone screen:
- Use a microfiber cloth: Start by gently wiping the screen with a microfiber cloth. This soft material is ideal for preventing scratches and can effectively remove fingerprints and dust.
- Apply a cleaning solution: If there are stubborn marks or smudges on the screen, you can use a cleaning solution specifically designed for electronic screens. Apply a small amount of the solution onto the microfiber cloth and gently wipe the screen in a circular motion.
- Avoid using harsh chemicals: It’s essential to avoid using harsh chemicals or abrasive materials, such as paper towels or tissue paper, as they can damage the screen. Stick to using a microfiber cloth and a gentle cleaning solution to ensure the safety of your device.
- Pay attention to corners and edges: Make sure to clean the corners and edges of the screen, as dirt and grime can accumulate in these areas. Use gentle, circular motions to clean these hard-to-reach spots.
- Dry the screen: After cleaning, use a dry section of the microfiber cloth to remove any remaining moisture. This step helps prevent streaks or watermarks on the screen.
Remember to always be gentle when cleaning your screen to avoid damaging it. If you prefer a more natural cleaning solution, you can also use a mixture of distilled water and isopropyl alcohol in a 1:1 ratio.
By following these steps, you can ensure that your phone screen is clean and ready for use after removing the Zagg screen protector.
Conclusion
Removing a Zagg screen protector from your mobile device may seem like a daunting task, but with proper preparation and the right techniques, it can be done effectively and without damage to your device. Remember to take your time, follow the steps outlined in this article, and be patient. By doing so, you can safely remove the Zagg screen protector and enjoy a clean and pristine screen once again.
Now that you know how to remove a Zagg screen protector, you can confidently tackle this task when the need arises. Whether you want to replace your existing protector, clean the screen thoroughly, or upgrade to a newer model, the process is now within your reach.
Always remember to be gentle and cautious during the removal process, as applying excessive force or using sharp objects can cause damage to your device. If you encounter any difficulties or have concerns about removing the screen protector, it’s always a good idea to refer to the manufacturer’s instructions or seek professional assistance.
By properly removing the Zagg screen protector and keeping your mobile device screen clean, you can maintain its visibility and functionality for a longer period. Take care of your device, and it will continue to serve you well in your everyday life, providing you with a seamless and enhanced mobile experience.
Conclusion
In conclusion, removing a Zagg screen protector from your device can be a delicate process, but with the right techniques and tools, it can be done effectively without causing any damage. By following the step-by-step instructions mentioned above, you can easily remove your Zagg screen protector and enjoy a clean slate for your device.
Remember to take your time and be patient during the removal process. Rushing or using excessive force can lead to unwanted scratches or cracks on your screen. Additionally, make sure to have the necessary tools like a microfiber cloth and adhesive remover on hand to make the process smoother.
Once you have successfully removed the Zagg screen protector, take the opportunity to clean the screen thoroughly before applying a new protector or enjoying your device’s pristine display. By taking proper care of your screen and accessories, you can extend their lifespan and maintain a seamless user experience.
So, don’t hesitate to remove your Zagg screen protector if it’s worn out or needs replacing. With the right tools, techniques, and a little patience, you can achieve a flawless screen and protect your device effectively.
FAQs
Q: How do I remove a Zagg screen protector?
A: To remove a Zagg screen protector, start by peeling off one corner of the protector gently. Then, slowly lift the protector off the screen, applying gentle pressure and ensuring not to rush or force it. If there are any adhesive residues left on the screen, you can use a microfiber cloth or a solution provided by Zagg to clean it off.
Q: Will removing a Zagg screen protector damage my phone screen?
A: When removed correctly, a Zagg screen protector should not damage your phone screen. The adhesive used by Zagg is designed to be removable without leaving any residue or causing any harm to the screen. However, it is essential to follow the removal process carefully to minimize the risk of any damage.
Q: Can I reuse a Zagg screen protector once removed?
A: No, Zagg screen protectors are not designed to be reusable. Once you have removed the protector from your phone screen, it is best to dispose of it properly. Reapplying a used protector may result in poor adhesion and protection, compromising the effectiveness of the screen protector.
Q: Are there any special tools required for removing a Zagg screen protector?
A: Typically, no special tools are required to remove a Zagg screen protector. The removal process can usually be done with your fingers or a clean, non-abrasive cloth. However, depending on the specific model of the Zagg screen protector you have, there may be additional tools included in the packaging, such as a removal card or a cleaning cloth.
Q: Are there any alternative methods for removing a Zagg screen protector?
A: While the recommended method for removing a Zagg screen protector is to peel it off gently, some users have found success in removing it by using heat. You can use a hairdryer or heat gun on low heat to warm up the edges of the screen protector, which can make it easier to lift and remove. However, exercise caution when using heat near your phone, and always follow the manufacturer’s instructions for safe usage.