
Have you ever dropped your phone and cringed at the sight of a cracked screen? If so, you know how important it is to have a reliable screen protector in place. Screen protectors are the unsung heroes of our smartphones, shielding them from scratches, cracks, and everyday wear and tear.
But what do you do when your screen protector becomes damaged or starts to peel off? Don’t panic! In this article, we will guide you step-by-step on how to replace your phone’s screen protector like a pro, saving you time and money.
We will delve into the different types of screen protectors available, provide tips on how to choose the right one for your device, and walk you through the process of removing the old protector and installing a new one without a hitch.
So let’s dive in and discover how to keep your phone’s screen looking brand new with a fresh screen protector!
Inside This Article
- Introduction
- Choosing the Right Screen Protector
- Removing the Old Screen Protector
- Cleaning the Screen – Preparing the screen for installation – Recommended cleaning solutions and methods
- Applying the New Screen Protector
- Troubleshooting Common Issues
- Proper Maintenance and Care
- Conclusion
- Conclusion
- FAQs
Introduction
Having a screen protector is one of the best ways to keep your phone’s display looking new and pristine. In our daily lives, our phones are constantly exposed to dangers that can scratch, smudge, or even crack the screen. But with the right screen protector, you can protect your investment and ensure a crystal-clear viewing experience for years to come.
In this article, we will guide you through the process of replacing your phone’s screen protector. Whether you have noticed scratches on your current protector or simply want to upgrade to a more advanced model, we’ve got you covered. We will discuss how to choose the right screen protector, remove the old one, clean the screen, and properly apply the new protector. We will also address common troubleshooting issues and provide tips to maintain your screen protector’s longevity.
Replacing a screen protector may seem like a daunting task, but with the right tools and step-by-step instructions, you can do it yourself easily. By following our guide, you’ll be able to quickly and effectively replace your screen protector, giving your phone a fresh and protected look.
So, let’s jump right in and explore the world of screen protectors, learn how to choose the best one for your device, and master the art of replacing them like a pro!
Choosing the Right Screen Protector
When it comes to protecting your precious phone screen, a screen protector is a must-have accessory. But with so many options available, how do you choose the right one? In this section, we will explore the different types of screen protectors and the factors you should consider when selecting the perfect one for your device.
There are several types of screen protectors on the market, each with its own unique features and benefits. Let’s take a closer look at some of the most common ones:
- Tempered Glass Screen Protectors: Made from high-quality tempered glass, these protectors offer excellent durability and scratch resistance. They provide a clear and smooth surface, preserving the touch sensitivity of your phone. Tempered glass protectors are also available in various thicknesses to provide different levels of impact protection.
- PET Film Screen Protectors: These protectors are made from a type of plastic called polyethylene terephthalate (PET). They are thin and lightweight, providing a smooth surface and good scratch resistance. PET film protectors are usually cheaper in price compared to tempered glass ones.
- Privacy Screen Protectors: If you value your privacy and want to prevent prying eyes from seeing your screen, privacy screen protectors are the way to go. These protectors feature a special polarized coating that narrows the viewing angle, making it difficult for others to see the contents of your screen from the side.
- Anti-Glare Screen Protectors: If you frequently use your phone outdoors or in brightly lit environments, an anti-glare screen protector can significantly reduce glare and reflections. These protectors have a matte finish that helps to minimize fingerprint smudges and improve visibility, even in direct sunlight.
- Hybrid Screen Protectors: Hybrid screen protectors combine the best features of tempered glass and PET film protectors. They offer the durability and scratch resistance of tempered glass, while also being thin and lightweight like PET film. These protectors are a great option if you want the best of both worlds.
Now that you have a better understanding of the different types of screen protectors available, it’s important to consider certain factors when making your selection. Here are some key factors to keep in mind:
- Compatibility: Make sure the screen protector you choose is specifically designed for your phone model. Different phones have different screen sizes and shapes, so it’s crucial to pick one that fits perfectly.
- Level of Protection: Consider your lifestyle and how much protection your phone needs. If you lead an active lifestyle or work in a rugged environment, opt for a screen protector with higher impact resistance.
- Clarity and Sensitivity: Look for a protector that does not affect the clarity of your screen and maintains the touch sensitivity. Check for features such as high transparency and responsive touch.
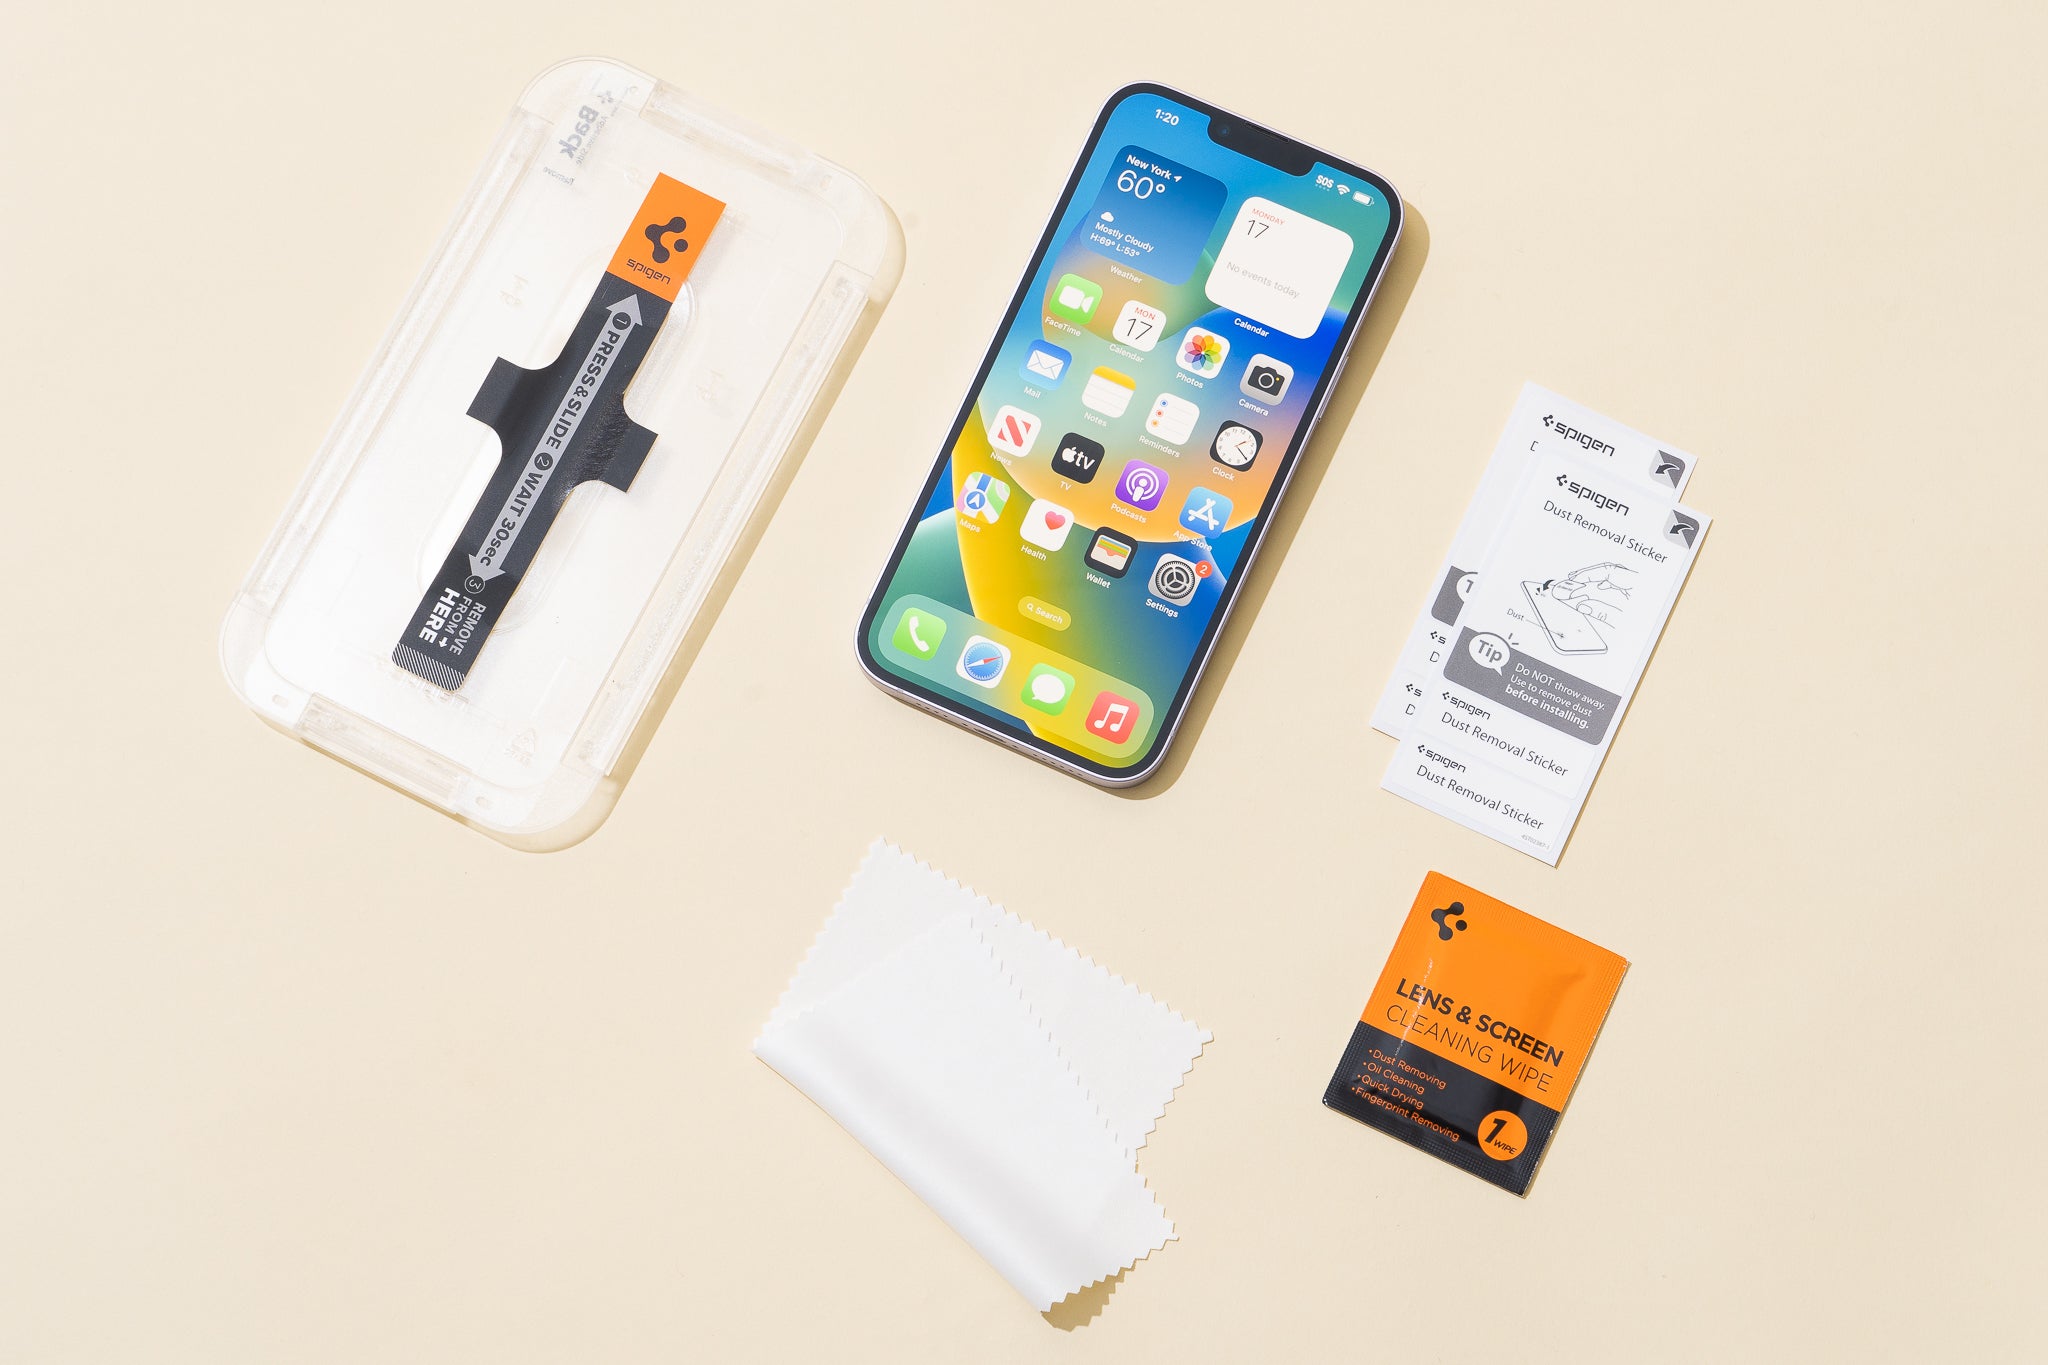
- Installation Ease: Some screen protectors come with installation kits that include tools like cleaning wipes and dust removal stickers, making the installation process easier. Consider choosing a protector that provides a hassle-free installation experience.
- Budget: Screen protectors are available at different price points. Set a budget and choose a protector that fits within your price range while still meeting your requirements for quality and protection.
By considering these factors and understanding the different types of screen protectors available, you can make an informed decision and choose the perfect screen protector to keep your phone’s display safe and pristine.
Removing the Old Screen Protector
Before applying a new screen protector, it’s essential to remove the old one properly. Leaving any residue or damage from the previous protector can affect the performance of the new one. Here’s a step-by-step guide on how to remove your old screen protector:
- Gather necessary tools: Start by gathering the tools you’ll need, such as a microfiber cloth, a plastic card or scraper, and some adhesive tape.
- Prepare the screen: Ensure that your device is turned off and unplugged. If possible, remove the battery to prevent any accidental damage to the screen during the removal process.
- Lift the corner: Use your fingernail or the plastic card to gently lift a corner of the screen protector. Be careful not to apply too much pressure to avoid scratching the screen underneath.
- Peel off the protector: Slowly peel off the protector while applying gentle pressure towards the opposite corner. It’s crucial to maintain a steady and controlled motion to prevent any residue from being left behind.
- Deal with stubborn residue: If you encounter any stubborn adhesive residue, you can use some adhesive tape to dab and lift it off the screen surface. Be cautious not to scratch the screen with excessive force.
- Clean the screen: Once the old screen protector is completely removed, take a microfiber cloth and wipe the screen surface thoroughly. This will ensure that the screen is free from any dust, fingerprints, or leftover adhesive.
By following these steps, you can safely and effectively remove the old screen protector without causing any damage to your device’s screen. It’s essential to take your time and be gentle during the process to maintain the integrity of your device.
Cleaning the Screen – Preparing the screen for installation – Recommended cleaning solutions and methods
Before applying a new screen protector, it is crucial to have a clean and dust-free surface. This will ensure proper adhesion and avoid any imperfections. Here are the steps to follow for cleaning the screen:
- Gather the necessary cleaning supplies: To clean your screen effectively, you will need a few basic items, such as a microfiber cloth, isopropyl alcohol or screen cleaning solution, and a lint-free cloth.
- Power off and detach any accessories: Before cleaning your device’s screen, power it off and remove any protective cases or accessories.
- Dust off the screen: Use the microfiber cloth to gently remove any dust, fingerprints, or smudges from the screen’s surface. Make sure to eliminate all loose particles to avoid scratching the screen during the cleaning process.
- Apply a cleaning solution: Moisten the lint-free cloth with a small amount of isopropyl alcohol or the recommended screen cleaning solution. Be careful not to oversaturate the cloth to prevent liquid from seeping into the device.
- Wipe the screen: Gently wipe the screen using the damp cloth, making sure to cover the entire surface. Apply light pressure and use smooth, circular motions to remove any dirt or residue.
- Dry the screen: After cleaning, use a dry portion of the microfiber cloth to dry the screen thoroughly. Make sure there are no streaks or moisture left behind.
- Inspect for any remaining debris: Take a close look at the screen to ensure there are no remaining dust particles or smudges. If necessary, repeat the cleaning process until the screen is completely clean.
By following these steps, you will have a clean and pristine screen, ready for the installation of a new screen protector. It is important to note that different devices and screen protectors may have specific cleaning instructions, so always refer to the manufacturer’s guidelines for the best results.
Applying the New Screen Protector
Once you have removed the old screen protector and cleaned the screen, it’s time to apply the new one. Follow these step-by-step instructions to ensure a proper installation:
- Prepare the new screen protector: Before you begin, make sure the new screen protector is the correct size and shape for your device. Remove any protective layers and gather any additional items you may need, such as a microfiber cloth or dust removal stickers.
- Align the screen protector: Hold the new screen protector by its edges and align it with the device’s screen. Use the cutouts for the camera and speaker as a guide. Be precise and take your time to ensure accurate alignment.
- Remove any remaining dust: Use a dust removal sticker or a piece of sticky tape to gently lift any remaining dust particles from the screen. Be careful not to touch the adhesive side of the screen protector with your fingers.
- Apply the screen protector: Starting from one end, slowly and carefully place the screen protector onto the screen. Use a soft cloth or a card to smooth out any bubbles or wrinkles as you go. Apply even pressure to ensure proper adhesion.
- Remove bubbles: If you notice any bubbles after applying the screen protector, gently lift the affected area with a piece of tape and reapply it. Use a card to smooth out the bubbles as you press the protector back onto the screen.
- Check for misalignment: Once the screen protector is applied, inspect it for any misalignment. Use the device’s screen as a reference and make adjustments if necessary. Lift the protector slightly and reposition it if needed.
- Give it time to set: After applying the new screen protector, it is recommended to let it set for a few hours before using or placing the device in a case. This will allow the adhesive to fully bond with the screen.
In addition to following the step-by-step installation guide, here are some helpful tips to avoid bubbles and misalignment:
- Work in a clean environment: Make sure you are working in a dust-free, well-lit area to minimize the chances of dust or debris getting trapped under the screen protector.
- Use a microfiber cloth: Before applying the screen protector, use a microfiber cloth to clean the screen thoroughly. This will help ensure a smooth and clear surface for the protector.
- Apply gentle pressure: When smoothing out the screen protector, apply gentle and even pressure to avoid causing bubbles or damage to the protector or screen.
- Be patient and meticulous: Take your time during the installation process. Rushing can lead to mistakes and poor results. Pay attention to detail and make necessary adjustments as you go.
By carefully following these instructions and tips, you can successfully apply a new screen protector to your device without any bubbles or misalignment.
Troubleshooting Common Issues
As with any DIY project, dealing with common issues during the installation of a screen protector is not uncommon. Here, we will address two of the most common problems that users encounter – bubbles or dust under the protector and fixing adhesion problems.
Dealing with Bubbles or Dust Under the Protector
One of the most frustrating issues when installing a screen protector is the presence of bubbles or dust trapped under the protector. These can not only affect the clarity of your screen but also hinder the touch sensitivity of your device. Here are some steps to deal with this issue:
- Lift and reapply: If you notice bubbles or dust immediately after installing the screen protector, carefully lift it from one corner using a piece of tape or the edge of a credit card. Then, slowly reapply it, making sure to smooth out any bubbles or remove any dust particles by gently pressing down.
- Use a credit card or squeegee: If bubbles persist, use a credit card or a dedicated screen protector installation tool, commonly known as a squeegee, to push the bubbles towards the edges of the screen. Apply firm but gentle pressure, gradually moving from the center to the edges until all bubbles are eliminated.
- Apply heat: Another effective method to remove persistent bubbles is to apply gentle heat to the screen protector using a hairdryer or a heat gun on the lowest setting. The heat helps the adhesive to settle properly, allowing any trapped air to escape.
Fixing Adhesion Problems
Occasionally, you may encounter issues with the screen protector not fully adhering to your device’s screen. This can result in a loose fit and reduced touch sensitivity. Here are some steps to fix adhesion problems:
- Reapply the protector: If you notice areas where the screen protector is not sticking properly, gently lift it using a piece of tape or the edge of a credit card. Clean the affected area with a microfiber cloth and a small amount of rubbing alcohol. Then, reapply the protector, ensuring that it is aligned correctly before pressing it down firmly.
- Use a screen protector adhesive: In cases where the screen protector refuses to adhere, there are screen protector adhesives available in the market. These special adhesives provide an extra layer of bonding, helping the protector stick more securely to the screen. Follow the instructions provided with the adhesive carefully.
- Consider a replacement: If all attempts to improve adhesion fail, it may be necessary to remove the protector entirely and replace it with a new one. Over time, the adhesive on screen protectors can lose its effectiveness, leading to reduced adhesion.
Remember to be patient and take your time when troubleshooting these common issues. By following these steps, you can overcome the challenges and ensure a properly installed screen protector.
Proper Maintenance and Care
Once you have successfully installed your new screen protector, it’s important to take proper care of it to ensure its longevity and effectiveness in protecting your device. Here are some valuable tips for maintaining and caring for your screen protector:
Tips for extending the lifespan of your screen protector:
1. Avoid using sharp or abrasive objects on your device’s screen, as they can scratch or damage the protector. Use a soft cloth or a microfiber cloth to gently clean the screen.
2. Be cautious when placing your phone face down on surfaces, as it can cause scratches or damage to the screen protector. Consider using a phone case with a raised lip to provide additional protection.
3. Keep your device away from extreme temperatures, as excessive heat or cold can affect the adhesive properties of the screen protector. Avoid leaving your phone in direct sunlight or in freezing temperatures for extended periods.
4. Avoid exposing your device to moisture or liquids. While many screen protectors are water-resistant, it’s best to be cautious and prevent any potential damage that can compromise the screen protector’s performance.
Cleaning and caring for your device with a screen protector:
1. Regularly clean your screen protector to remove fingerprints, smudges, and dirt. Use a lint-free cloth and a mild cleaning solution specifically designed for electronic screens. Avoid using harsh chemicals or abrasive cleaners, as they can damage the protector.
2. Gently wipe the screen protector in a circular motion to remove any debris or smudges. Take care not to apply too much pressure, as it may cause the protector to shift or lift from the screen.
3. If your screen protector accumulates stubborn stains or sticky residue, you can dampen a cloth with water or isopropyl alcohol to gently remove them. Ensure that the cloth is not soaking wet, as excess moisture can damage your device.
4. Avoid using adhesive screen cleaners or spray-on solutions directly on your device’s screen protector, as they can interfere with the adhesive and cause it to peel off.
By following these maintenance and care tips, you can extend the lifespan of your screen protector and keep your device’s screen looking pristine and protected.
Conclusion
In conclusion, replacing a phone screen protector is a relatively simple task that can greatly contribute to the longevity and functionality of your device. By following the step-by-step guide and considering the factors mentioned in this article, you can confidently select and apply a new screen protector with ease.
Remember, choosing the right screen protector is crucial for optimal protection and compatibility with your device. Take into account the different types available, such as tempered glass or film protectors, and consider factors like durability, clarity, and ease of installation.
When it comes to removing the old screen protector, make sure to gather the necessary tools such as a microfiber cloth and a plastic card. Carefully peel off the protector using gentle pressure and clean any residue left behind.
Before applying the new screen protector, ensure the screen is thoroughly cleaned and free from dust or debris. Utilize recommended cleaning solutions and methods to achieve the best results.
Proper installation is key to a bubble-free and aligned screen protector. Follow the step-by-step guide provided, starting from aligning the protector with the edges of the screen and gradually smoothing it down. Use the tips mentioned in this article to avoid bubbles and misalignment.
If you encounter any issues during the process, don’t panic. Addressing common problems such as bubbles or dust under the protector can be resolved by lifting the edges carefully and reapplying. Similarly, if you experience adhesion problems, gently remove and reapply the protector, ensuring a clean surface.
Maintaining and caring for your screen protector is essential for its longevity. Follow the tips mentioned to extend its lifespan, including regular cleaning with a microfiber cloth and avoiding abrasive materials that may scratch the surface.
By properly maintaining and caring for your screen protector, you ensure that your device remains protected and functional, providing you with a clear and responsive screen.
Overall, replacing a phone screen protector doesn’t have to be a complicated or daunting task. With the right knowledge and techniques, you can easily replace your screen protector and enjoy peace of mind knowing your device is well-protected.
Conclusion
In conclusion, replacing a phone screen protector is a simple and cost-effective way to ensure the longevity and clarity of your device’s screen. By following the steps outlined in this article, you can confidently protect your phone from scratches, smudges, and other potential damages. Remember to choose a high-quality screen protector that is compatible with your phone model and to carefully clean the screen before applying the new protector.
Taking the time to replace your phone screen protector regularly can extend the lifespan of your device and enhance your overall user experience. With the right tools and a little bit of patience, you can have a crystal-clear screen that allows you to fully enjoy all the features and functionalities of your phone.
So don’t wait until it’s too late! Take control of the condition of your phone’s screen and protect your investment with a durable and reliable screen protector. Your phone will thank you for it!
Remember, if you have any questions or concerns, refer to the FAQs section below for further assistance.
FAQs
Q: How often do I need to replace my phone screen protector?
A: The lifespan of a phone screen protector can vary depending on the quality of the product and how it is used. Generally, it is recommended to replace the screen protector every 6 to 12 months or if you notice any visible signs of damage or wear and tear.
Q: Can I replace the screen protector myself?
A: Yes, you can replace the screen protector yourself with a new one. Most phone screen protectors are designed to be easily applied and removed. However, it is important to follow the manufacturer’s instructions and ensure that you have the necessary tools and a clean working environment to avoid any damage to your phone.
Q: How do I remove the old screen protector?
A: To remove the old screen protector, start by gently lifting the edge of the protector with your fingernail or a plastic tool. Slowly peel it off, taking care not to scratch or damage the screen. If the protector is stubborn, you can use a hairdryer on low heat to loosen the adhesive and make it easier to remove.
Q: How do I clean my phone screen before applying a new protector?
A: It is important to thoroughly clean your phone screen before applying a new protector. Use a microfiber cloth and a small amount of screen cleaning solution to remove any dust, fingerprints, or smudges. Avoid using harsh chemicals or abrasive materials as these can damage the screen.
Q: Is it necessary to buy an expensive screen protector?
A: The price of a screen protector does not necessarily determine its quality. There are affordable options available that provide excellent protection for your phone screen. However, it is important to choose a screen protector that is made of high-quality materials and offers features such as scratch resistance and anti-fingerprint coating to ensure optimal protection for your device.