
Welcome to our comprehensive guide on how to take the screen protector off your iPhone. The screen protector serves as a safeguard for your device, protecting it from scratches and other damages. However, there may come a time when you want to remove it, whether it’s because you want to replace it with a new one or you no longer feel the need for the additional layer of protection.
In this article, we will walk you through the step-by-step process of safely and effectively removing the screen protector from your iPhone. We will also provide helpful tips and tricks to ensure a smooth removal without causing any damage to your device’s screen.
So, if you’re ready to say goodbye to your old screen protector and give your iPhone a fresh new look, let’s dive in and learn how to remove it the right way!
Inside This Article
- Why remove a screen protector?
- Preparation before removing the screen protector
- How to remove a screen protector from an iPhone
- Conclusion
- FAQs
Why remove a screen protector?
A screen protector is a protective layer that is placed on the surface of a mobile phone’s screen to prevent scratches, smudges, and damage from impacts. While screen protectors serve the important purpose of safeguarding your phone, there are several reasons why you might need to remove one:
- Worn-out or damaged: Over time, screen protectors can become worn-out or damaged, leading to reduced visibility and functionality. If you notice bubbles, scratches, or cracks on your screen protector, it’s time to remove and replace it.
- Upgrade or replacement: When upgrading to a new phone or replacing a damaged screen, you will often need to remove the current screen protector. This ensures a clean surface before installing a new one or attaching the new screen.
- Change in preference: Sometimes, you may want to change the type of screen protector you are using. This could be due to a desire for a different level of protection or a switch to a different material, such as tempered glass. Removing the current screen protector allows you to make this change.
- Enhanced touch sensitivity: Some screen protectors may affect the touch sensitivity of your phone, making it less responsive. If you find that your phone’s touch screen is not as smooth or accurate as it used to be, removing the screen protector can help restore its original performance.
Removing a screen protector should be done with care to avoid damaging your phone’s screen. Make sure to follow the proper steps and use the right tools to ensure a smooth removal process. Now, let’s discuss the preparation required before removing a screen protector from your iPhone.
Preparation before removing the screen protector
Before you begin the process of removing a screen protector from your iPhone, it is essential to make some preparations. These steps will ensure a smooth and hassle-free removal process. Here are the things you should do:
1. Find a clean and well-lit area: Locate a space where you can work comfortably without any distractions. A well-lit area will help you see any dust or debris that may be stuck under the screen protector.
2. Gather the necessary tools: To remove the screen protector, you will need a few tools. Make sure you have a microfiber cloth, a credit card or any similar plastic card, some adhesive tape, and a hairdryer (optional) on hand.
3. Power off your iPhone: Before removing the screen protector, it’s recommended to turn off your iPhone. This will prevent any accidental touches or malfunctions during the removal process.
4. Clean your hands: Ensure that your hands are clean and free from any dirt, oil, or residue. Cleaning your hands will prevent any smudges or fingerprints from transferring onto the screen.
5. Take off the phone case (if applicable): If your iPhone is covered with a phone case, remove it before attempting to remove the screen protector. This will give you better access and make the removal process easier.
Remember, preparation is key before removing a screen protector. Taking the time to gather the necessary tools and create a clean working environment will ensure a successful and stress-free removal process.
How to remove a screen protector from an iPhone
Screen protectors serve as a crucial shield for your iPhone’s display, safeguarding it from scratches and smudges. However, there may come a time when you need to remove the screen protector, whether it’s because you want to replace it with a new one or you simply prefer to use your iPhone without any additional layer. Whatever the reason may be, the process of removing a screen protector from an iPhone is relatively simple. Here’s a step-by-step guide:
1. Prepare a clean and well-lit workspace:
Before you begin, find a clean and well-lit area where you can safely remove the screen protector. This will help you see any dust particles or residue that may be on the screen protector, making it easier to clean.
2. Power off your iPhone:
It’s always a good idea to turn off your iPhone before removing the screen protector. This ensures that you won’t accidentally tap any buttons or trigger any actions while working on the removal process.
3. Locate the edge of the screen protector:
Inspect your iPhone’s screen and locate the edge of the screen protector. This is usually easiest to identify by looking for any visible gaps or lifted corners. Once you have found the edge, prepare to lift it up.
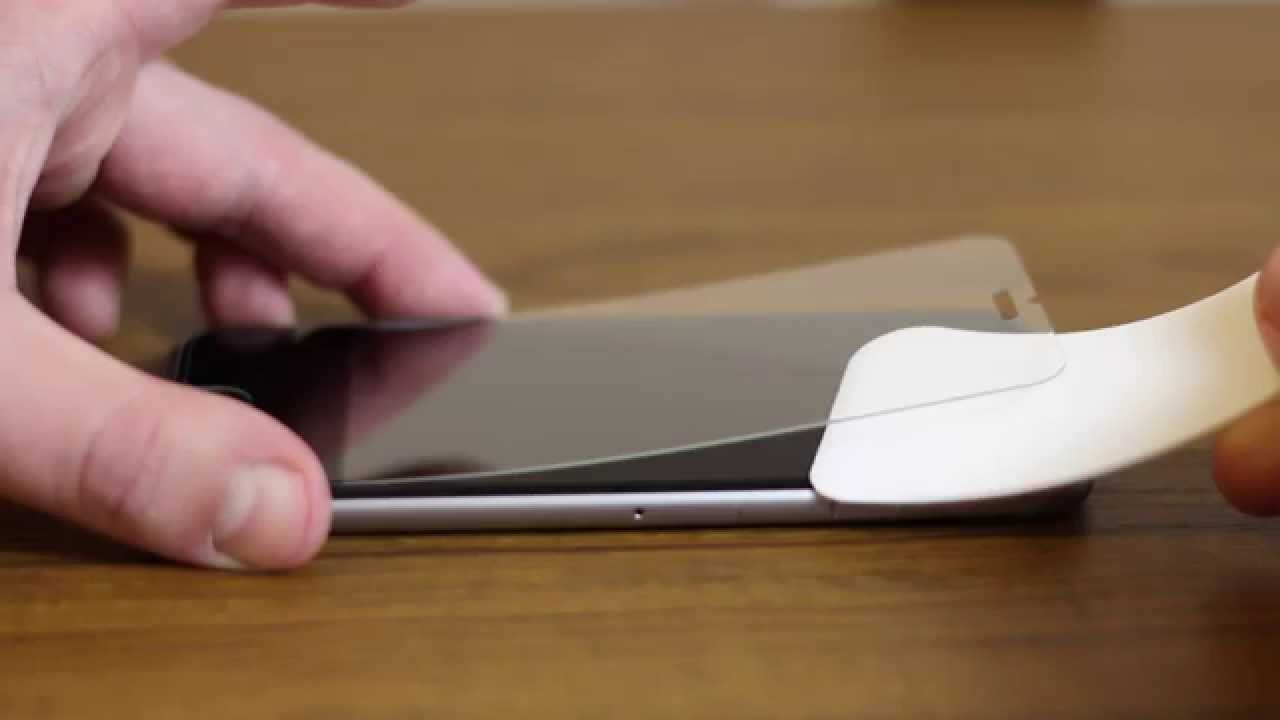
4. Use a fingernail or a plastic card:
To start removing the screen protector, gently lift the edge using either your fingernail or a plastic card. Be cautious not to apply too much pressure, as you don’t want to damage your iPhone’s display. Slowly work your way along the edge, continuing to lift up the screen protector.
5. Remove any adhesive residue:
After the screen protector has been completely lifted off, check the display for any adhesive residue or sticky residue left behind. You can use a microfiber cloth or a gentle adhesive remover to clean the surface of the iPhone’s screen.
6. Clean your iPhone’s screen:
With the screen protector removed and any residue cleaned off, take a moment to wipe down your iPhone’s screen using a microfiber cloth. This will ensure a clean surface for your next screen protector or for using your iPhone without any protection.
That’s it! Following these simple steps, you can safely and easily remove a screen protector from your iPhone. Just take your time, be gentle, and ensure you have a clean working environment. Whether you’re preparing for a new screen protector or prefer the minimalist feel of the bare display, you’ll be able to enjoy your iPhone with or without a screen protector.
Conclusion
In conclusion, removing a screen protector from your iPhone can be a simple yet delicate process. By following the steps outlined in this article, you can ensure that you safely and successfully remove the screen protector without causing any damage to your device. Remember to work slowly and carefully, using the recommended tools and techniques to avoid any potential mishaps.
Additionally, it’s important to consider the condition of your screen protector before attempting to remove it. If it is already damaged or peeling, it may be easier to remove. However, if it is still in good condition, you might want to consider whether it’s necessary to remove it in the first place.
Ultimately, the choice to remove a screen protector from your iPhone is a personal one, based on your preferences and needs. Whether you opt to remove it for a fresh start or keep it to protect your device from scratches and smudges, remember to weigh the pros and cons and make a decision that suits you best.
FAQs
1. How do I remove a screen protector from my iPhone?
Removing a screen protector from your iPhone is a relatively simple process. First, make sure you have a firm grip on the edge of the screen protector. Use your fingernail or a thin plastic card to lift one corner of the screen protector off the surface of your iPhone. Gently and slowly peel back the screen protector, applying minimal force to avoid damaging the screen. If needed, you can use a hairdryer on low heat to soften any adhesive residue. Clean the screen thoroughly to remove any residue and ensure it is ready for a new protector or for use without one.
2. Will removing the screen protector leave any residue on my iPhone?
In some cases, removing a screen protector may leave a small amount of adhesive residue on your iPhone’s screen. However, this can usually be easily cleaned off using a microfiber cloth or a screen cleaning solution. It is important to be gentle and avoid using any abrasive materials or harsh chemicals that can damage the screen.
3. Can I reuse a screen protector once I remove it from my iPhone?
Typically, screen protectors are designed for one-time use and may not adhere properly if reused after removal. It is best to replace the screen protector with a new one to ensure optimal protection for your iPhone’s screen.
4. Are there any alternative methods for removing a screen protector?
While the method described above is the most common and recommended process for removing a screen protector, there are a few alternative methods you can try if you encounter difficulties. These include using adhesive tape to lift the corner of the screen protector, using a credit card to carefully slide between the screen protector and the screen, or using a heat gun or hairdryer to warm up the adhesive before peeling it off. It’s important to exercise caution and go slowly to avoid damaging your iPhone or screen.
5. Do I need to remove the screen protector before applying a new one?
Yes, it is generally recommended to remove the old screen protector before applying a new one. This ensures proper adhesion and prevents any interference or bubbling between the layers. Additionally, removing the old screen protector allows for a thorough cleaning of the screen surface, ensuring the best possible viewing experience.