
Are you interested in learning how to solder Deans connectors? Whether you’re a hobbyist or an electronics enthusiast, knowing how to solder Deans connectors can be a valuable skill. Deans connectors are commonly used in the RC (radio-controlled) hobby industry, providing a secure and reliable connection between batteries and devices like drones, remote-controlled cars, or airplanes.
In this article, we will guide you through the process of soldering Deans connectors step by step. From preparing your materials to properly heating and applying solder, we’ll cover all the essential aspects to ensure a successful soldering job. By the end of this article, you’ll gain the confidence and knowledge needed to effectively solder Deans connectors and keep your RC devices running smoothly.
Inside This Article
- Materials Needed
- Step 1: Preparing the Wires
- Step 2: Applying Flux
- Step 3: Tinning the Wires
- Step 4: Soldering the Deans Connector
- Conclusion
- FAQs
Materials Needed
Soldering iron, Deans connector, Flux, Solder, Wire strippers are the essential materials needed for soldering a Deans connector.
A soldering iron is a tool used to heat the solder and make the necessary connections. It consists of a heated metal tip that melts the solder and allows it to bond with the wires and connectors.
The Deans connector is a popular choice for high-current applications, such as RC vehicles and electronic devices. It provides a secure and reliable connection for power transfer.
Flux is a chemical compound used to clean the surfaces being soldered and improve the flow of solder. It helps remove oxidation and ensures a strong bond between the wires and connectors.
Solder is a metal alloy that melts when heated and solidifies when cooled, creating a permanent connection between the wires and connectors. It is essential for creating a reliable electrical connection.
Wire strippers are tools designed to remove the insulation from the ends of the wires. They have sharp blades that cut through the outer layer of insulation, allowing access to the bare wires for soldering.
Step 1: Preparing the Wires
Before you can start soldering the Deans connector, it’s essential to properly prepare the wires that will be connected to it. This will ensure a secure and reliable connection. Follow these steps to prepare the wires:
1. Strip the ends of the wires: Use wire strippers to remove the outer insulation from the ends of the wires. Make sure to expose approximately 1/4 inch of bare wire.
2. Remove any excess insulation: After stripping the wire, check for any remaining insulation that may be sticking out. Using wire cutters or sharp pliers, carefully remove any excess insulation to ensure a clean connection.
3. Inspect the stripped ends: Take a moment to visually inspect the stripped ends of the wires. Ensure that each wire has a clean and even strip, without any frayed strands or loose wires. This will help facilitate a proper solder joint.
Properly preparing the wires is crucial in creating a solid connection with the Deans connector. Take your time during this step to ensure a clean and professional result.
Step 2: Applying Flux
When it comes to soldering, applying flux is a crucial step in ensuring a strong and reliable connection. Flux is a chemical compound that helps improve the flow of solder and aids in the bonding process.
To apply flux, start by preparing the stripped ends of the wires. Ensure that the wires are clean and free from any dirt or oxidation. This can be achieved by using sandpaper or a wire brush to gently remove any debris.
Once the wires are properly prepared, apply a thin layer of flux to the stripped ends. You can do this by using a flux pen or a small brush. Ensure that the flux covers the entire surface area of the exposed wire.
The flux acts as a cleaning agent, removing any remaining oxidation or contaminants from the wires. It also helps to promote the wetting and flow of solder, making it easier to create a solid and lasting connection.
After applying the flux, be sure to let it dry for a few seconds. The flux will change in appearance, indicating that it is ready for soldering. It will usually turn clear or become slightly tacky.
Once the flux is dry, you can proceed with the soldering process. The flux will facilitate the bonding of the solder to the wires, ensuring a strong and reliable connection.
Remember to use flux in moderation. Using too much flux can result in a messy joint and may even weaken the connection. A thin layer of flux is all you need to improve solder flow and create a solid bond.
By taking the time to apply flux properly, you are setting the stage for successful soldering and ensuring that your connections are strong and reliable.
Step 3: Tinning the Wires
Before soldering the wires to the Deans connector, it’s essential to properly tin them. Tinning is the process of coating the stripped wire ends with a thin layer of solder. This helps to improve the flow of solder and ensures a secure and reliable connection.
To initiate the tinning process, start by heating up the soldering iron. Make sure it reaches the desired temperature before proceeding.
Once the soldering iron is heated, carefully touch its tip to the stripped ends of the wires. The heat from the iron will cause the wire to heat up as well.
Next, apply solder to the heated wire. Slowly feed the solder onto the wire, allowing it to melt and evenly coat the wire. This process should result in a thin layer of solder, known as a tin, covering the entire exposed part of the wire.
Repeat this tinning process for each wire that will be connected to the Deans connector. Ensure that every wire is tin-coated with solder before moving on to the next one.
Tinning the wires ahead of time provides several benefits. It helps to prevent fraying or strands of wire coming loose during soldering, as the solder forms a protective barrier. Additionally, the tin coating helps improve the soldering flow and bonding between the wire and the connector.
By taking the time to properly tin the wires, you will ensure a solid and reliable connection when soldering them to the Deans connector.
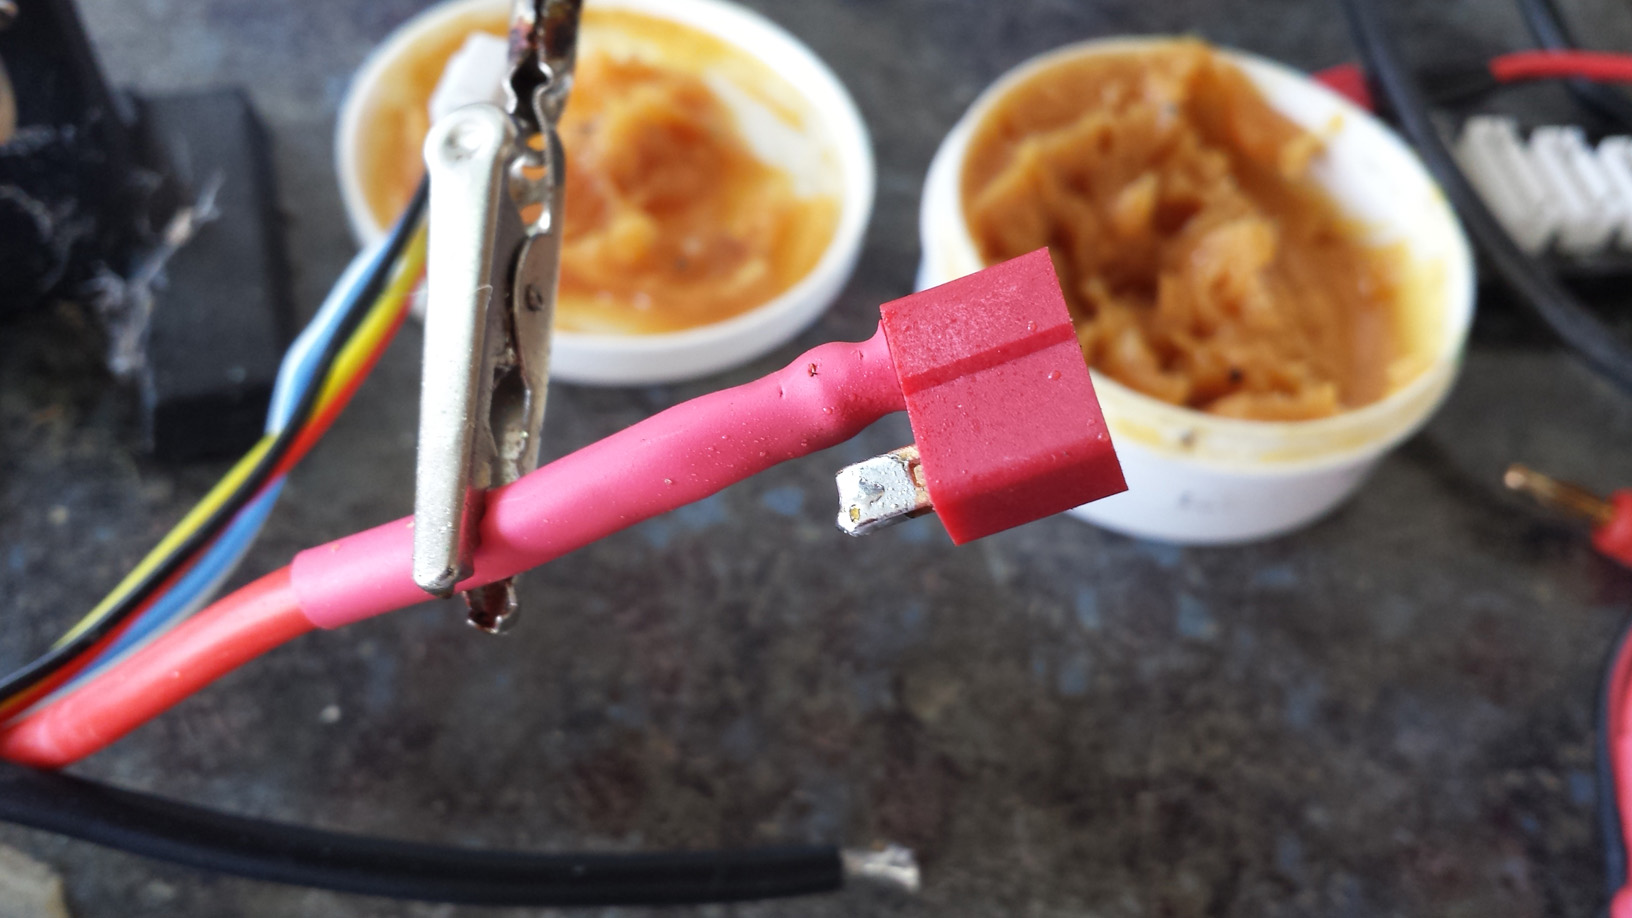
Step 4: Soldering the Deans Connector
The fourth and final step in soldering a Deans connector is a crucial one. This step involves securely attaching the wires to the solder tabs on the connector. Follow these instructions to ensure a strong and reliable connection:
1. Heat the soldering iron until it reaches the desired temperature. It’s important to use a soldering iron with an appropriate wattage for the task.
2. Once the soldering iron is hot, carefully touch the tip of the iron to one of the solder tabs on the Deans connector. This will transfer heat to the tab and prepare it for soldering.
3. Take one of the tinned wires and position it over the heated solder tab. It’s crucial to use a wire that has been properly tinned in a previous step.
4. Apply the soldering iron to the wire and solder tab, making sure they come into direct contact. The heat from the iron will cause the solder to melt and form a strong bond with the wire, creating a secure connection.
5. Hold the wire firmly in place until the solder cools and solidifies. It’s important not to disturb the connection while the solder is still molten, as this can result in a weak joint.
6. Repeat this process for the remaining wires, ensuring that each wire is securely soldered to the appropriate solder tab on the Deans connector.
Remember, safety should always be a priority when soldering. Work in a well-ventilated area to avoid inhaling any fumes, and wear protective equipment like safety glasses and heat-resistant gloves to protect yourself from potential burns.
By following these steps and taking the necessary safety precautions, you can successfully solder a Deans connector and create a strong, reliable connection for your electronics projects.
Conclusion
In conclusion, learning how to solder Deans connectors is an essential skill for anyone in the field of mobile accessories or electronics. By following the step-by-step guide and utilizing the proper tools and techniques, you can successfully solder Deans connectors and ensure a secure and reliable connection for your mobile devices. Whether you’re looking to repair a broken connector or customize your own cables, mastering the art of soldering will open up a world of possibilities. With practice and patience, you’ll become proficient in this skill and be able to tackle any soldering project with confidence. So, don’t hesitate to grab your soldering iron and start honing your soldering skills today!
FAQs
1. What is a Deans connector?
A Deans connector is a type of electrical connector commonly used in the RC (radio-controlled) hobby industry. It is specifically designed for high-current applications and is most commonly used to connect batteries to motor controllers in RC vehicles like cars, airplanes, and boats.
2. Why do I need to solder a Deans connector?
Soldering a Deans connector is necessary to create a solid and reliable electrical connection between the battery and the motor controller. It ensures that there is minimal resistance and prevents the connector from getting loose or disconnected during operation, which could lead to power interruptions or even damage to your RC vehicle.
3. What tools do I need to solder a Deans connector?
To solder a Deans connector, you will need a few basic tools. These include a soldering iron, solder wire, solder flux, wire strippers, and heat shrink tubing. It’s important to have the right tools to ensure a clean and effective solder joint.
4. How do I solder a Deans connector?
Soldering a Deans connector requires a careful and precise process. Firstly, you need to strip a small section of the wire insulation from the power leads of both the battery and the motor controller. Then, apply solder flux to the exposed wire strands. Next, heat up your soldering iron and apply it to the wire while adding a small amount of solder, ensuring it flows evenly along the wire strands. Lastly, slide a piece of heat shrink tubing over the soldered joint and use a heat gun to shrink it, providing insulation and further securing the connection.
5. Are there any safety precautions I should take when soldering a Deans connector?
Yes, it’s important to follow safety precautions when soldering a Deans connector. Make sure you work in a well-ventilated area to avoid inhaling any potentially harmful fumes. Use safety goggles and gloves to protect your eyes and hands from potential burns. Additionally, ensure that your soldering iron is placed in a stand or holder when not in use to avoid accidental burns or fire hazards.