
Are you struggling with soldering wire to a connector? Whether you’re a beginner or someone with some experience in DIY electronics, soldering can be a challenging task. However, with the right techniques and tools, you can successfully solder wire to a connector and ensure a reliable electrical connection. In this article, we will guide you through the steps to solder wire to a connector, providing you with valuable tips and tricks along the way. From selecting the proper soldering iron to preparing your wire and connector, we’ve got you covered. So, grab your soldering iron, put on your safety goggles, and let’s dive into the world of soldering wire to a connector!
Inside This Article
- Choosing the Right Wire and Connector
- Preparing the Wire and Connector for Soldering
- Soldering the Wire to the Connector
- Checking and Testing the Soldered Connection
- Conclusion
- FAQs
Choosing the Right Wire and Connector
When it comes to soldering wire to a connector, choosing the right materials is crucial for a reliable and effective connection. Here are some factors to consider when choosing the wire and connector:
1. Wire Gauge: The wire gauge, which measures the diameter of the wire, should be suitable for the amount of current it will carry. Larger gauge wires can handle higher currents, while smaller gauge wires are more suitable for low-current applications.
2. Wire Type: There are various types of wire available, such as stranded and solid core wire. Stranded wire consists of multiple smaller wires twisted together, providing more flexibility. Solid core wire, on the other hand, is a single solid conductor, making it less prone to breakage.
3. Connector Type: Consider the type of connector that will be used for the soldering connection. Connectors come in various shapes and sizes, including spade connectors, banana plugs, and RCA connectors. Ensure that the connector matches the wire size and is compatible with the equipment you are connecting.
4. Connector Material: The material of the connector can impact the overall performance and durability of the soldered connection. Common connector materials include copper, brass, and gold-plated connectors. Copper connectors offer good conductivity, while gold-plated connectors provide enhanced corrosion resistance.
5. Solder Compatibility: Consider the type of solder that will be used for the connection. Different solders have different melting points and compositions, so ensure that the solder used is suitable for both the wire and the connector material.
By considering these factors, you can choose the right wire gauge, wire type, connector type, connector material, and solder compatibility for your soldering project. This will ensure a strong and reliable connection that meets your specific needs.
Preparing the Wire and Connector for Soldering
Before you begin the process of soldering wire to a connector, it is crucial to properly prepare both the wire and the connector to ensure a strong and reliable connection. This preparation will help facilitate the soldering process and result in a durable bond that can withstand the demands of everyday use. Here are the steps you should follow to prepare the wire and connector:
1. Strip the wire: Using a wire stripper, carefully remove the insulation from the end of the wire. Be sure to strip off just enough insulation to expose the bare metal conductor. Take care not to nick or cut the wire during this process, as it can weaken the integrity of the wire.
2. Clean the wire: After stripping the wire, it is important to clean the exposed metal conductor. This can be done using a wire brush or a small piece of sandpaper. By removing any oxidation or debris from the surface of the wire, you ensure a clean and conductive area for the solder to adhere to.
3. Tin the wire: Tinning the wire involves applying a thin layer of solder to the exposed metal conductor. This step helps to prevent oxidation and makes it easier for the wire to bond with the connector. To tin the wire, heat the wire slightly with a soldering iron and then touch the solder to the wire until it melts and evenly coats the surface. Be careful not to add too much solder as it can create a bulky joint.
4. Prepare the connector: If the connector has any protective coating or plating, it is important to remove it before soldering. You can use an abrasive material such as sandpaper or a file to gently remove the coating and expose the bare metal surface. Make sure to clean the connector afterward to remove any debris or residue left from the removal process.
5. Apply flux (optional): Flux is a substance that helps to remove oxidation and improve the flow of solder. While not always necessary, applying flux to the wire and the connector can enhance the soldering process and result in a more reliable connection. Apply a small amount of flux to the soldering area using a flux pen or brush.
6. Align the wire and connector: Before soldering, ensure that the wire and connector are properly aligned. This will help establish a secure and accurate connection. Make sure the tinned wire and the prepared connector have a good fit before proceeding to the soldering stage.
By properly preparing the wire and connector before soldering, you set the foundation for a successful and durable connection. Taking the time to strip, clean, tin, and prepare the connector will significantly improve the overall quality and strength of the soldered joint, ensuring reliable functionality and longevity.
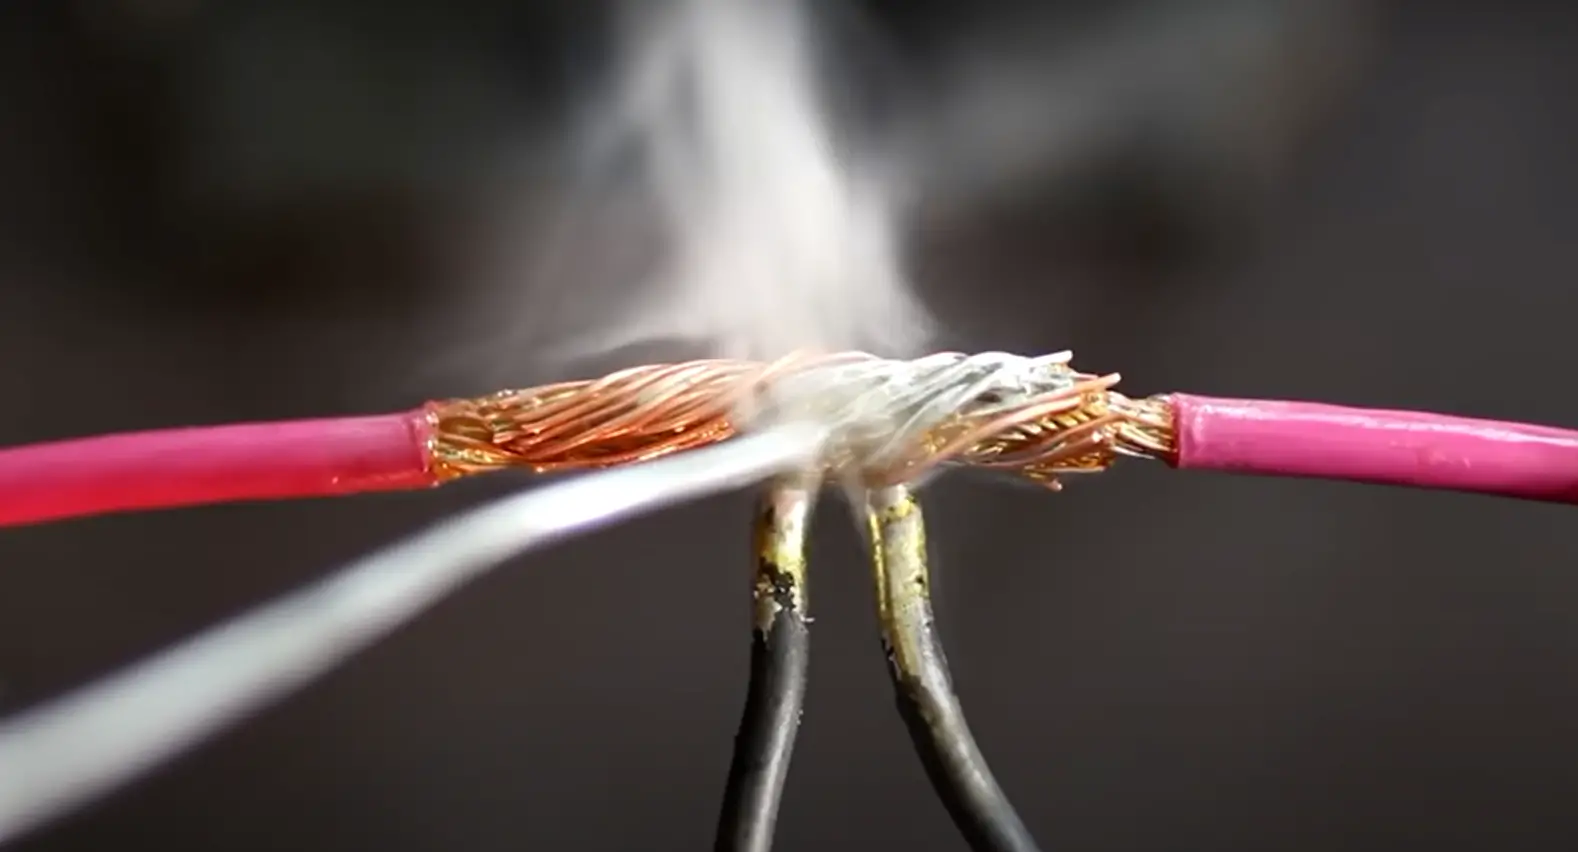
Soldering the Wire to the Connector
Soldering the wire to the connector is a crucial step in ensuring a secure and reliable electrical connection. Here’s a step-by-step guide to help you through the process:
1. Strip the wire: Start by stripping the insulation off the end of the wire. Use wire strippers to carefully remove about 1/2 inch of insulation, exposing the bare wire.
2. Tin the wire: Apply a small amount of solder to the exposed wire. This process, known as tinning, helps to improve the soldering connection. Place the soldering iron tip on the wire and melt a small amount of solder onto it, making sure the wire is coated evenly.
3. Preheat the connector: Before soldering, it’s important to preheat the connector. This will ensure that the solder flows smoothly and makes a strong bond. Use the soldering iron to heat up the connector for a few seconds.
4. Apply flux: Flux helps to remove any oxidation from the metal surfaces and improves the flow of solder. Apply a small amount of flux to the connector, taking care not to use too much, as it can cause soldering issues.
5. Position the wire: Insert the tinned wire into the connector, making sure it is positioned securely. The bare wire should be flush against the metal surface of the connector, ensuring a solid connection.
6. Solder the connection: With the wire in place, apply the soldering iron to the joint where the wire and the connector meet. Heat the joint until the solder melts and flows smoothly, making a strong and durable connection.
7. Allow it to cool: Once the solder has liquefied and formed a secure bond, remove the soldering iron. Give the connection a few moments to cool before moving or handling it.
8. Insulate the connection: To provide additional protection and support to the soldered connection, use heat shrink tubing or electrical tape to insulate it. Slide the tubing or wrap the tape around the connection and heat it with a heat gun or lighter to secure it in place.
Remember, practice makes perfect when it comes to soldering. It’s essential to take your time, use the correct tools and materials, and follow safety precautions to ensure a successful soldered connection.
Checking and Testing the Soldered Connection
Once you have completed the soldering process, it is crucial to check and test the soldered connection to ensure its quality and reliability. Here are some important steps to follow:
1. Visual Inspection: Begin by visually inspecting the soldered joint. Check for any visible signs of poor soldering, such as cold solder joints, excess solder, or solder bridges. A good solder joint should have a smooth and shiny appearance with no gaps or irregularities.
2. Tug Test: Gently tug on the wire and connector to check the strength of the soldered connection. A solid solder joint should provide a firm and secure connection without any movement or detachment.
3. Continuity Test: Use a multimeter or continuity tester to verify the continuity of the soldered connection. Connect one probe to the wire and the other probe to the corresponding contact on the connector. If there is a complete electrical path, the tester should indicate continuity. If not, there may be a problem with the solder joint.
4. Resistance Test: Measure the resistance across the soldered connection using a multimeter set to the resistance mode. A good solder connection will have a low resistance reading, indicating a solid and reliable electrical connection. A high resistance reading could indicate a faulty solder joint or a poor connection.
5. Stress Test: Subject the soldered connection to some stress by twisting, bending, or flexing the wire and connector. This test helps ensure that the solder joint can withstand typical usage conditions without breaking or loosening. If the soldered connection holds up under stress, it is considered strong and durable.
6. Functionality Test: If the soldered connection is part of a larger electronic circuit or system, it is important to perform a functionality test to ensure that the connection is working as intended. This may involve powering up the device and verifying that everything is functioning properly.
7. Final Inspection: Once you have completed all the tests and are satisfied with the soldered connection, do a final visual inspection to ensure there are no loose wires, exposed connections, or other potential issues. It is important to have a well-insulated and secure soldered connection to prevent any electrical hazards.
By following these steps and performing thorough checks and tests, you can ensure that your soldered connection is reliable, durable, and capable of delivering the desired electrical performance. Remember, a well-executed solder joint is key to maintaining the integrity and functionality of your electronic devices and systems.
Conclusion
In conclusion, the ability to solder wires to connectors is an essential skill for anyone dealing with mobile accessories or working with electronics. It allows you to create custom cables, repair damaged connections, and ensure a secure and reliable connection. By following the steps outlined in this article, you can confidently solder wires to connectors on your own.
Remember to always work in a well-ventilated area, use the right tools and materials, and practice proper safety precautions. Patience and precision are key when soldering, as even the smallest mistake can lead to a faulty connection. With practice, you will become more proficient and confident in your soldering abilities.
Whether you are a hobbyist, a DIY enthusiast, or a professional, knowing how to solder wires to connectors opens up a world of possibilities. It allows you to customize and optimize mobile accessories, ensuring optimal performance and longevity. So grab your soldering iron, prepare your wires and connectors, and start soldering like a pro!
FAQs
1. How do I solder wire to a connector?
Soldering wire to a connector requires a few steps. First, strip the insulation from the wire to expose the conductor. Next, tin both the wire and the connector by applying solder to them separately. Then, position the wire in the connector and heat it using a soldering iron. Finally, touch the solder to the heated joint until it flows and forms a secure bond. Remember to let it cool before handling.
2. What type of solder should I use for wire-to-connector soldering?
For wire-to-connector soldering, it is recommended to use rosin-core solder, preferably with a diameter of 0.032 inches. The rosin core flux helps in cleaning and preparing the surface for a reliable solder joint.
3. Can I solder different types of wire to a connector?
Yes, it is possible to solder different types of wire to a connector as long as you take into consideration the compatibility of the wire and the connector. Make sure that the wire gauge matches the connector size and that the conductor material is suitable for soldering.
4. Should I use flux when soldering wire to a connector?
Using flux is not necessary when soldering wire to a connector if you are using rosin-core solder. The flux within the solder provides ample cleaning and preparation for a solid bond. However, if you are using non-rosin core solder or you encounter difficulty with the solder flowing smoothly, applying flux to the joint can help improve the soldering process.
5. What safety precautions should I take when soldering wire to a connector?
When soldering wire to a connector, it is important to work in a well-ventilated area to avoid inhaling any harmful fumes. Additionally, always wear protective goggles to shield your eyes from any splattering solder. Ensure that your soldering iron is properly grounded and use heat-resistant materials when holding the connector or wire during soldering to prevent burns.