
Are you ready to embrace the convenience of mobile payments? If you own an iPhone, you’re in luck. Apple Pay is a revolutionary payment feature that allows you to easily make purchases in apps using just your iPhone. With Apple Pay, you can securely store your credit or debit card information and complete transactions with a simple touch of your finger or a glance at your phone’s Face ID.
In this article, we will guide you through the process of using Apple Pay in an app on your iPhone. Whether you’re ordering food, booking a ride, or shopping for clothes, Apple Pay provides a quick and seamless way to make payments. We’ll cover everything from setting up Apple Pay to making your first purchase, ensuring that you can confidently navigate the world of mobile payments with ease and peace of mind.
Inside This Article
- Setting up Apple Pay on iPhone
- Adding payment cards to Apple Pay
- Making a payment with Apple Pay in-app
- Managing Apple Pay settings and preferences on iPhone
- Conclusion
- FAQs
Setting up Apple Pay on iPhone
Apple Pay is a convenient and secure way to make payments using your iPhone. Whether you’re shopping online or in-store, Apple Pay allows you to simply tap your device to complete a transaction. Setting up Apple Pay on your iPhone is a quick and straightforward process. Here’s a step-by-step guide to get you started:
- Open the Wallet app on your iPhone. This app looks like a wallet icon and comes pre-installed on your device.
- Tap the “+” button in the top right corner of the screen to add a card.
- You’ll have the option to either scan your physical credit or debit card using your iPhone’s camera or enter the card details manually.
- If you choose to scan your card, align it with the frame provided and your iPhone will automatically detect the card details.
- If you prefer to enter the card details manually, simply type in the card number, expiration date, and security code.
- Once you’ve entered or scanned your card details, follow the on-screen instructions to verify your card. This may involve receiving a verification code via SMS or email.
- Once your card is verified, you can start using Apple Pay for in-app and contactless payments.
It’s important to note that not all banks and financial institutions support Apple Pay, so make sure your card issuer is compatible before attempting to add a card. Additionally, some countries may have limitations on using Apple Pay, so check with your local regulations.
Once you’ve set up Apple Pay on your iPhone, you can enjoy the convenience and security of making payments with just a touch. It’s a great way to streamline your shopping experience and leave your physical wallet at home.
Adding payment cards to Apple Pay
Apple Pay allows you to make secure and convenient payments in many apps using your iPhone. To get started, you’ll need to add your payment cards to Apple Pay. Here’s how:
1. Open the Wallet app on your iPhone. You can find it on your home screen.
2. Tap on the “+” (plus) icon in the top-right corner of the screen. This will initiate the process of adding a new card.
3. You’ll have the option to either scan your physical card using the camera or enter the card details manually. For scanning, position your card within the frame on the screen, and your iPhone will capture the necessary information.
4. If you prefer to enter the details manually, tap on the “Enter Card Details Manually” option. You’ll then need to fill in the card number, expiration date, and security code.
5. After entering or scanning the card details, Apple Pay will attempt to verify the card with your bank or card issuer. You might be required to go through a verification process, such as receiving a one-time code via SMS.
6. Once the card is successfully verified, it will be added to your Apple Pay wallet. You can repeat the steps above to add additional payment cards.
7. You may also have the option to set the added card as your default payment card for Apple Pay. This means that it will be used automatically when making payments unless you specify another card.
Keep in mind that not all cards are compatible with Apple Pay, so it’s a good idea to check with your bank or card issuer to ensure your card is supported.
Adding your payment cards to Apple Pay makes it quick and easy to make secure in-app purchases with just a few taps on your iPhone. Once your cards are added, you can start enjoying the convenience of Apple Pay in a wide range of mobile apps.
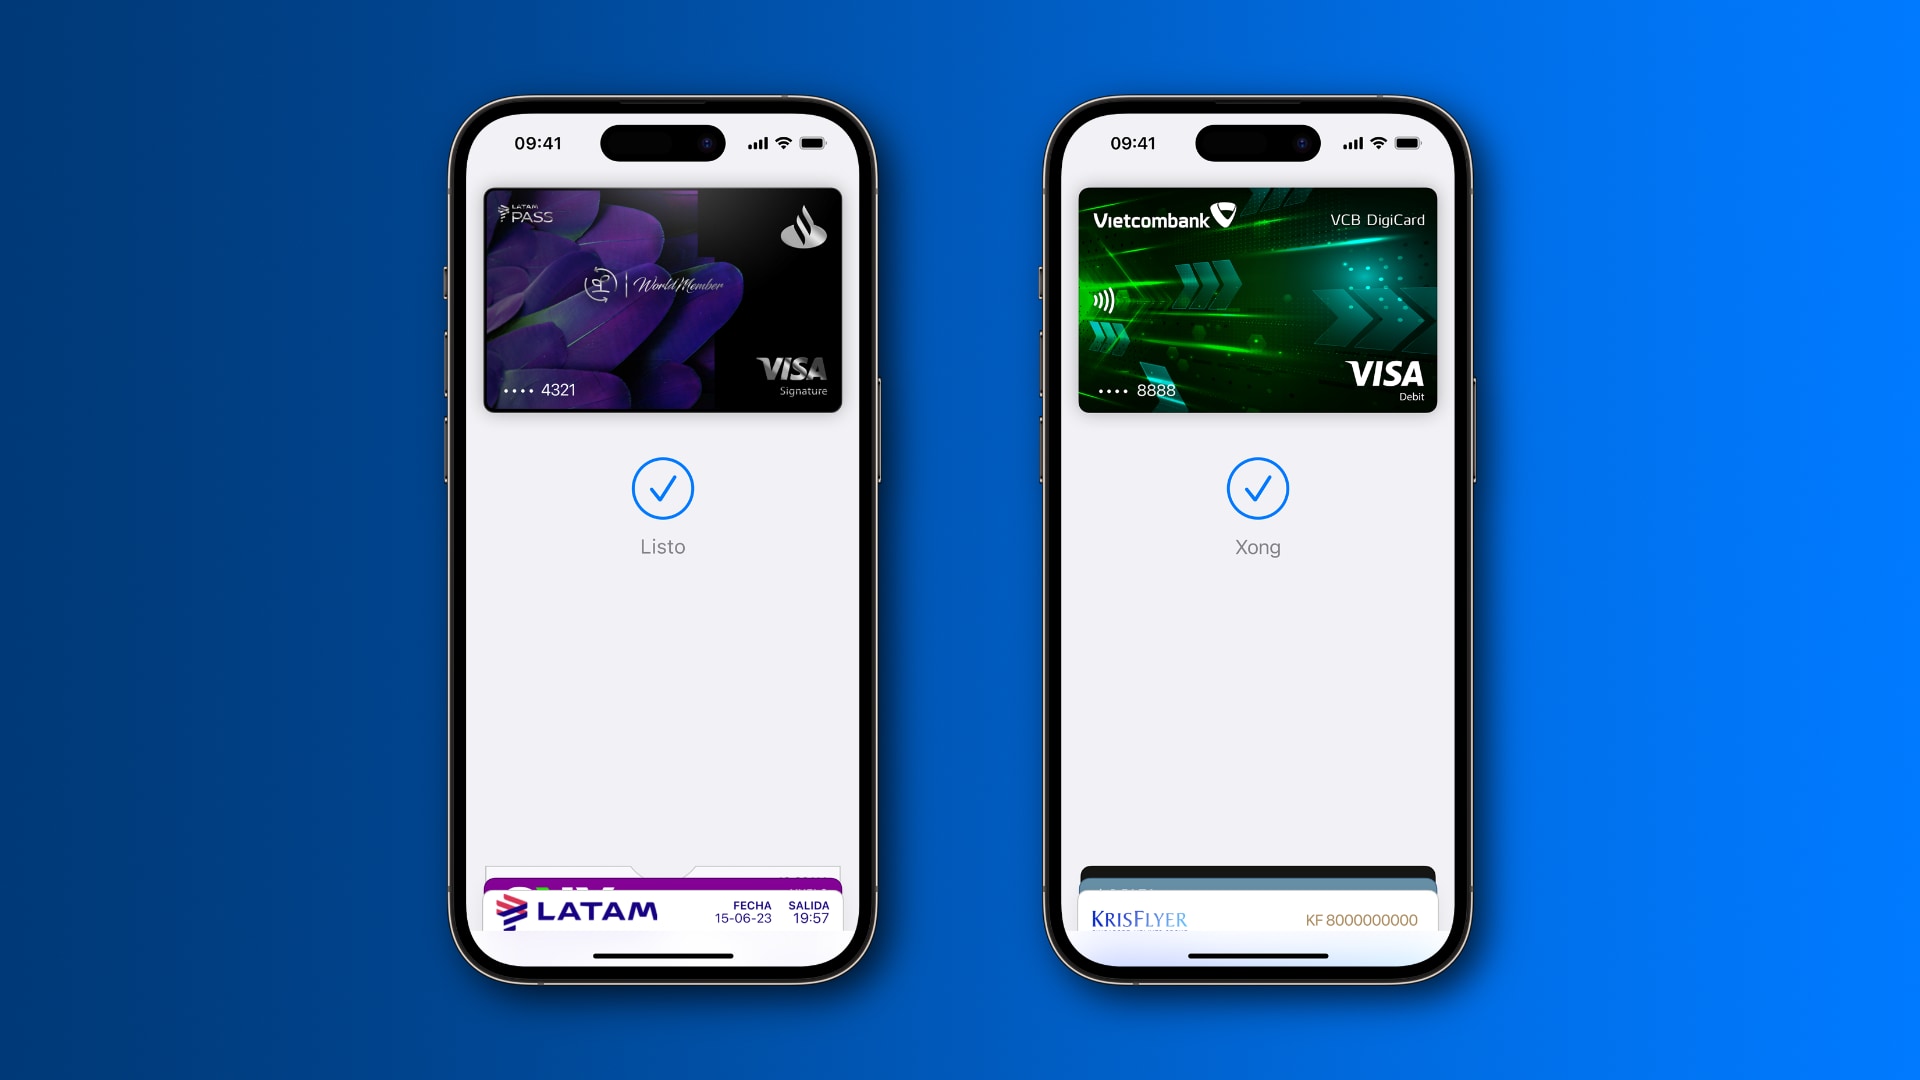
Making a payment with Apple Pay in-app
Apple Pay is a convenient and secure way to make payments in apps on your iPhone. With just a few simple steps, you can complete transactions using your stored payment cards without the hassle of manually entering your payment information. Here’s how to make a payment with Apple Pay in-app:
1. Open the app that you want to make a purchase from and find the item or service you wish to buy. Once you’ve selected the item, proceed to the checkout or payment page.
2. Look for the Apple Pay button, which typically features the Apple logo and the word “Pay.” Tap on the button to initiate the payment process.
3. If you have multiple payment cards added to your Apple Pay wallet, you’ll be prompted to select the card you’d like to use for the transaction. Simply choose the card you want to make the payment with by tapping on it.
4. Next, verify your payment using the Touch ID or Face ID feature on your iPhone. Place your finger on the Touch ID sensor or align your face in front of the Face ID camera to authenticate the transaction.
5. Once the payment is authorized, you’ll receive a confirmation message on the screen, indicating that the payment was successful. In some cases, you may also receive an email receipt or notification from the app or the merchant.
6. Finally, you can proceed to complete your purchase or continue browsing within the app knowing that your payment has been processed securely and efficiently through Apple Pay.
It’s important to note that not all apps and merchants support Apple Pay. To ensure that you can use Apple Pay to make in-app purchases, look for the Apple Pay logo or payment options with compatible apps.
Using Apple Pay in-app provides a seamless and streamlined payment experience. With the ability to securely store your payment cards and authentication through Touch ID or Face ID, you can make purchases with just a single touch or glance. Say goodbye to tedious and time-consuming manual entry of payment details and enjoy the convenience of Apple Pay in-app payments.
Managing Apple Pay settings and preferences on iPhone
Once you have set up Apple Pay and added your payment cards, you can further manage and customize your Apple Pay settings and preferences on your iPhone. Here are some key features and options to consider:
1. Default Card: You can choose a default card to be used for transactions when using Apple Pay. To set a default card, go to Settings > Wallet & Apple Pay, and under the “Transaction Defaults” section, select the card you prefer.
2. Transaction Confirmation: You can choose whether to require confirmation for transactions made with Apple Pay. This adds an extra layer of security by prompting for authentication, such as Face ID or Touch ID. To enable this feature, go to Settings > Wallet & Apple Pay, and toggle on the “Double-Click Side Button” option.
3. Transaction History: Apple Pay keeps a record of your transaction history so you can review your purchases. To view your transaction history, open the Wallet app, select your card, and scroll down to see the recent transactions. You can also view more detailed transaction history in the linked app for each payment card.
4. Passcode and Authentication: For added security, you can require a passcode or authenticate transactions using Face ID or Touch ID. To manage these settings, go to Settings > Wallet & Apple Pay, and under the “Payment Authentication” section, you can toggle on or off the options that suit your preferences.
5. Card Management: If you need to update or remove a payment card from Apple Pay, you can easily do so. Open the Wallet app, select the card you want to manage, and tap on the “…” icon. From there, you can choose to update the card details, remove it from Apple Pay, or even request a new physical card if available.
6. Wallet Notifications: To stay informed about your transactions and receive helpful notifications, you can customize your Wallet notifications settings. Go to Settings > Notifications > Wallet, and you can manage notifications for things like payment reminders, transaction alerts, and more.
7. Privacy and Security: Apple takes privacy and security seriously. Your payment card information is encrypted and securely stored on your device, and Apple Pay generates a unique token for each transaction, ensuring your card details are never shared with merchants. You can find more information about Apple Pay’s security measures on Apple’s website.
By managing these settings and preferences, you can personalize your Apple Pay experience and ensure that your transactions are secure and convenient. Take a few moments to explore and customize these options to make the most of Apple Pay on your iPhone.
Conclusion
Apple Pay has revolutionized the way we make payments using our iPhones. With its secure and convenient features, it has become a popular choice for users around the world. If you want to use Apple Pay in an app on your iPhone, follow the simple steps outlined in this article.
By adding your cards to Wallet, you can easily make purchases within supported apps with just a touch or a glance. The integration of Apple Pay provides a seamless and safe payment experience, ensuring your financial information remains protected.
Whether you’re ordering a meal, booking a ride, or shopping for your favorite products, Apple Pay simplifies the checkout process. Enjoy the convenience of fast, contactless payments and say goodbye to entering your card details manually.
So, go ahead and take advantage of Apple Pay’s capabilities on your iPhone. Experience the security, speed, and simplicity of mobile payments and unlock a world of seamless transactions at your fingertips.
FAQs
Q: What is Apple Pay?
A: Apple Pay is a mobile payment and digital wallet service developed by Apple Inc. It allows users to make payments using their iPhone, iPad, and Apple Watch, both in physical retail stores and within apps.
Q: How do I set up Apple Pay on my iPhone?
A: To set up Apple Pay on your iPhone, follow these steps:
- Open the Wallet app on your iPhone.
- Tap the “+” sign to add a new card.
- Follow the on-screen instructions to add your credit or debit card.
- Once your card is added, you may be asked to verify your card through your bank or card issuer.
- After verification, you can start using Apple Pay in apps that support it.
Q: How can I use Apple Pay in an app on my iPhone?
A: Using Apple Pay in an app on your iPhone is easy:
- Ensure that you have set up Apple Pay and added a card to your Wallet.
- Open the app that supports Apple Pay and proceed to the checkout or payment screen.
- Select Apple Pay as your payment method.
- Authenticate your payment using Face ID, Touch ID, or by entering your device passcode.
- Once your payment is authorized, you will receive a confirmation in the app.
Q: Is Apple Pay secure for in-app payments?
A: Yes, Apple Pay is secure for in-app payments. When you use Apple Pay, your card information is encrypted and stored securely on your device. Your actual card details are never shared with the merchant, providing an extra layer of security. Additionally, Apple Pay uses tokenization, which replaces your card details with a unique token for each transaction, making it even more secure.
Q: Can I use Apple Pay in any app?
A: Not all apps support Apple Pay. However, more and more apps are integrating Apple Pay as a payment option. You can look for the Apple Pay logo or the “Buy with Apple Pay” button in the app’s checkout or payment section to determine if Apple Pay is available.