
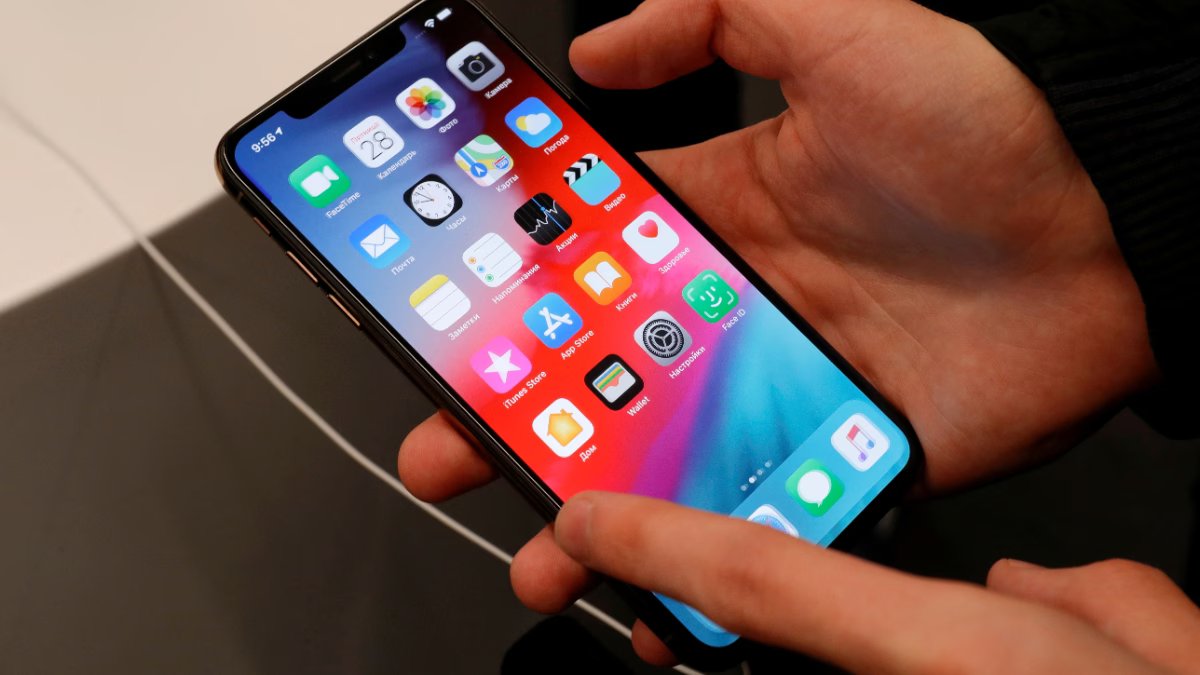
In today’s digital age, mobile apps have revolutionized the way we conduct our daily activities. From communication to entertainment and everything in between, there seems to be an app for every need. One such app that has gained immense popularity is the iPhone Camera App. Not only does it allow you to capture stunning photos and videos, but it also offers a range of features and functionalities that make your smartphone experience even more convenient. One of the lesser-known but highly useful features of the iPhone Camera App is its integration with UPI payments in India. This means that with just a few taps on your screen, you can make UPI payments using your iPhone Camera App, eliminating the need for multiple apps and simplifying your financial transactions. In this article, we will explore how to use the iPhone Camera App to make UPI payments in India, providing you with a step-by-step guide and answering some frequently asked questions to help you get started.
Inside This Article
- Section 1: Getting Started – Understanding UPI payments – Setting up the iPhone Camera app for UPI payments – Linking your bank account to the app
- Section 2: Making UPI Payments
- Section 3: Additional Features
- Conclusion
- FAQs
Section 1: Getting Started – Understanding UPI payments – Setting up the iPhone Camera app for UPI payments – Linking your bank account to the app
Welcome to Section 1 of our guide on using the iPhone Camera app for UPI payments in India. In this section, we will take you through the process of getting started with UPI payments, setting up the iPhone Camera app, and linking your bank account to the app.
First, let’s understand what UPI payments are. UPI, which stands for Unified Payments Interface, is a real-time payment system developed by the National Payments Corporation of India (NPCI). It allows users to instantly transfer money between bank accounts using their smartphones.
To use UPI payments on your iPhone, you need to set up the iPhone Camera app specifically for this purpose. The iPhone Camera app uses advanced technology to scan QR codes and process UPI payments seamlessly. This eliminates the need for manually entering UPI IDs or VPA (Virtual Payment Address) for each transaction.
The first step in setting up the iPhone Camera app for UPI payments is to link your bank account. To do this, open the iPhone Camera app and navigate to the UPI payments section. Tap on the “Link Bank Account” option and follow the on-screen instructions.
You will be prompted to enter your UPI ID or VPA. If you don’t have one, you can create it by linking your bank account with a UPI-enabled app like Google Pay or PhonePe. Once you enter your UPI ID or VPA, the app will securely link your bank account to the iPhone Camera app.
After successfully linking your bank account, you may need to provide additional information, such as your name, phone number, and registered email address. This helps ensure the security and authenticity of your UPI transactions.
Once your bank account is linked to the iPhone Camera app, you’ll be ready to make UPI payments using the app’s advanced scanning capabilities. Stay tuned for Section 2, where we will walk you through the process of making UPI payments using the iPhone Camera app.
Section 2: Making UPI Payments
Making UPI payments on your iPhone using the camera app is a convenient and hassle-free way to transfer money. There are two primary methods you can use to make UPI payments – by scanning QR codes or by entering the UPI ID or VPA manually. Let’s explore both methods in detail.
Scanning QR Codes for Payments
One of the easiest ways to make UPI payments is by scanning QR codes. QR codes are unique square-shaped codes that contain payment information, including the recipient’s UPI ID or VPA. To scan a QR code:
- Open the iPhone Camera app and position it over the QR code.
- Wait for the camera to focus and recognize the code.
- A notification will appear on the screen with the payment details.
- Review the payment details and enter the amount (if necessary).
- Confirm the payment by entering your UPI PIN or biometric authentication.
Entering UPI ID or VPA for Payments
If you don’t have access to a QR code, you can still make UPI payments by manually entering the recipient’s UPI ID or VPA. Here’s how:
- Open the iPhone Camera app and launch the UPI payment feature.
- Select the option to enter the UPI ID or VPA.
- Type in the recipient’s UPI ID or VPA.
- Enter the payment amount and any additional remarks.
- Proceed to verify the payment details.
- Confirm the payment by entering your UPI PIN or biometric authentication.
Verifying and Confirming the Payment
Before finalizing the UPI payment, it is important to verify the payment details to ensure accuracy. Double-check the recipient’s UPI ID or VPA, the payment amount, and any additional remarks. Once you are confident that the details are correct:
- Enter your UPI PIN or provide biometric authentication (fingerprint or Face ID).
- Review the final confirmation screen to ensure all information is accurate.
- Tap on the confirmation button to complete the payment.
Once the payment is successfully processed, you will receive a confirmation notification. It is always a good practice to take a screenshot or note down the transaction reference number for future reference.
Section 3: Additional Features
In addition to making UPI payments through the iPhone Camera app, there are several additional features that can enhance your payment experience and make it more convenient. These features include sending payment requests, checking transaction history, and adding beneficiaries for quick payments. Let’s explore each of these features in detail:
Sending Payment Requests
Payment requests allow you to easily request money from your contacts. Whether you need to split a bill with friends or remind someone to repay a loan, the iPhone Camera app makes it simple. To send a payment request, open the app and navigate to the payment request section. Enter the amount you are requesting, select the contact or enter their UPI ID, and add a note if necessary. Once you confirm the request, your contact will receive a notification and can proceed with the payment.
Checking Transaction History
Keeping track of your UPI transactions is essential for maintaining financial awareness. The iPhone Camera app provides a transaction history feature that allows you to review your past payments easily. Simply access the transaction history section within the app, and you’ll see a detailed list of all your UPI transactions. This feature helps you to monitor your spending, track reimbursements, and ensure accuracy in your financial records.
Adding Beneficiaries for Quick Payments
If you frequently make payments to the same individuals or entities, adding them as beneficiaries can streamline the process. By adding beneficiaries, you can bypass the step of entering their UPI ID or scanning QR codes every time you need to make a payment. To add a beneficiary, open the iPhone Camera app and navigate to the beneficiaries section. Enter the details of the beneficiary, such as their UPI ID and name, and save it for future use. This feature saves you time and effort when making repeat payments.
By taking advantage of these additional features in the iPhone Camera app, you can maximize the convenience and efficiency of your UPI payments. Sending payment requests simplifies bill splitting and repayment reminders, checking transaction history keeps you informed about your financial activities, and adding beneficiaries streamlines the payment process for recurring transactions. Utilize these features to make your UPI payment experience even better!
Conclusion
Using the iPhone Camera App to make UPI payments in India is a convenient and reliable way to carry out digital transactions. The integration of UPI into the Camera App has simplified the payment process, eliminating the need for multiple apps and providing a seamless user experience.
With just a few taps, iPhone users can now scan QR codes or use the Paytm option in the Camera App to initiate UPI payments. This feature not only saves time but also enhances security by encrypting the transaction data and ensuring that it remains secure.
Whether you’re making a purchase at a local store, paying utility bills, or sending money to friends and family, the iPhone Camera App offers a quick and hassle-free way to complete your transactions. Take advantage of this convenient feature on your iPhone today and enjoy the convenience and simplicity of UPI payments.
FAQs
Q: Can I use the iPhone Camera app to make UPI payments in India?
A: No, the iPhone Camera app is primarily used for capturing photos and videos. To make UPI payments in India, you need to use a UPI-enabled payment app such as Google Pay, PhonePe, or Paytm.
Q: Do I need to install a separate app to make UPI payments on my iPhone?
A: Yes, you need to install a UPI-enabled payment app from the App Store to make UPI payments on your iPhone. Some popular UPI payment apps in India include Google Pay, PhonePe, Paytm, and BHIM.
Q: Can I link multiple bank accounts to a UPI payment app?
A: Yes, most UPI payment apps allow you to link multiple bank accounts. This enables you to choose the desired bank account for making UPI payments.
Q: Are UPI payments secure?
A: Yes, UPI payments are highly secure. UPI uses two-factor authentication, including your UPI PIN and device authentication, to ensure the safety of your transactions. Additionally, UPI transactions are encrypted and monitored by NPCI (National Payments Corporation of India).
Q: Can I use UPI payments for online shopping?
A: Absolutely! UPI payments can be used for online shopping on websites and mobile apps that support UPI as a payment option. Many e-commerce platforms in India, such as Amazon, Flipkart, and Myntra, accept UPI payments.