
Welcome to our guide on how to add contacts to a TCL flip phone. TCL flip phones are popular for their simplicity, ease of use, and reliability. Whether you are a senior who prefers a straightforward device or someone looking for a basic phone as a backup, adding contacts to your TCL flip phone is essential for staying connected with friends, family, and colleagues.
In this article, we will walk you through the simple steps to add contacts to your TCL flip phone. We will explain the process clearly, provide tips for organizing your contacts, and offer troubleshooting advice for any issues you may encounter. So, let’s get started and make sure your TCL flip phone is equipped with all the necessary contacts to keep you connected on the go!
Inside This Article
- How to Add Contacts to a TCL Flip Phone
- Access the Contacts Application
- Select the “Add New Contact” Option
- Enter Contact Information
- Conclusion
- FAQs
How to Add Contacts to a TCL Flip Phone
Adding contacts to your TCL flip phone is a simple and straightforward process. By following these steps, you can quickly store important numbers and keep them easily accessible on your device.
1. Access the Contacts Application
To begin adding contacts, locate and open the contacts application on your TCL flip phone. This can usually be found in the main menu or on the home screen.
2. Select the “Add New Contact” Option
Once you have opened the contacts application, navigate to the “Add New” or “New Contact” option. This will allow you to create a new entry for your contact.
3. Enter Contact Information
After selecting the “Add New Contact” option, you will be presented with a form or fields to enter the contact information. Begin by entering the person’s name. You can usually use the phone’s keypad or physical buttons to input the name.
Once you have entered the name, proceed to enter additional details such as phone numbers, email addresses, and any other relevant information you wish to store.
4. Save the Contact
Once you have entered all the necessary information, select the “Save” or “Done” option to save the contact. This will ensure that the contact is added to your TCL flip phone’s address book.
Congratulations! You have successfully added a contact to your TCL flip phone. Repeat these steps to add more contacts as needed, and you will have a robust address book at your fingertips.
Access the Contacts Application
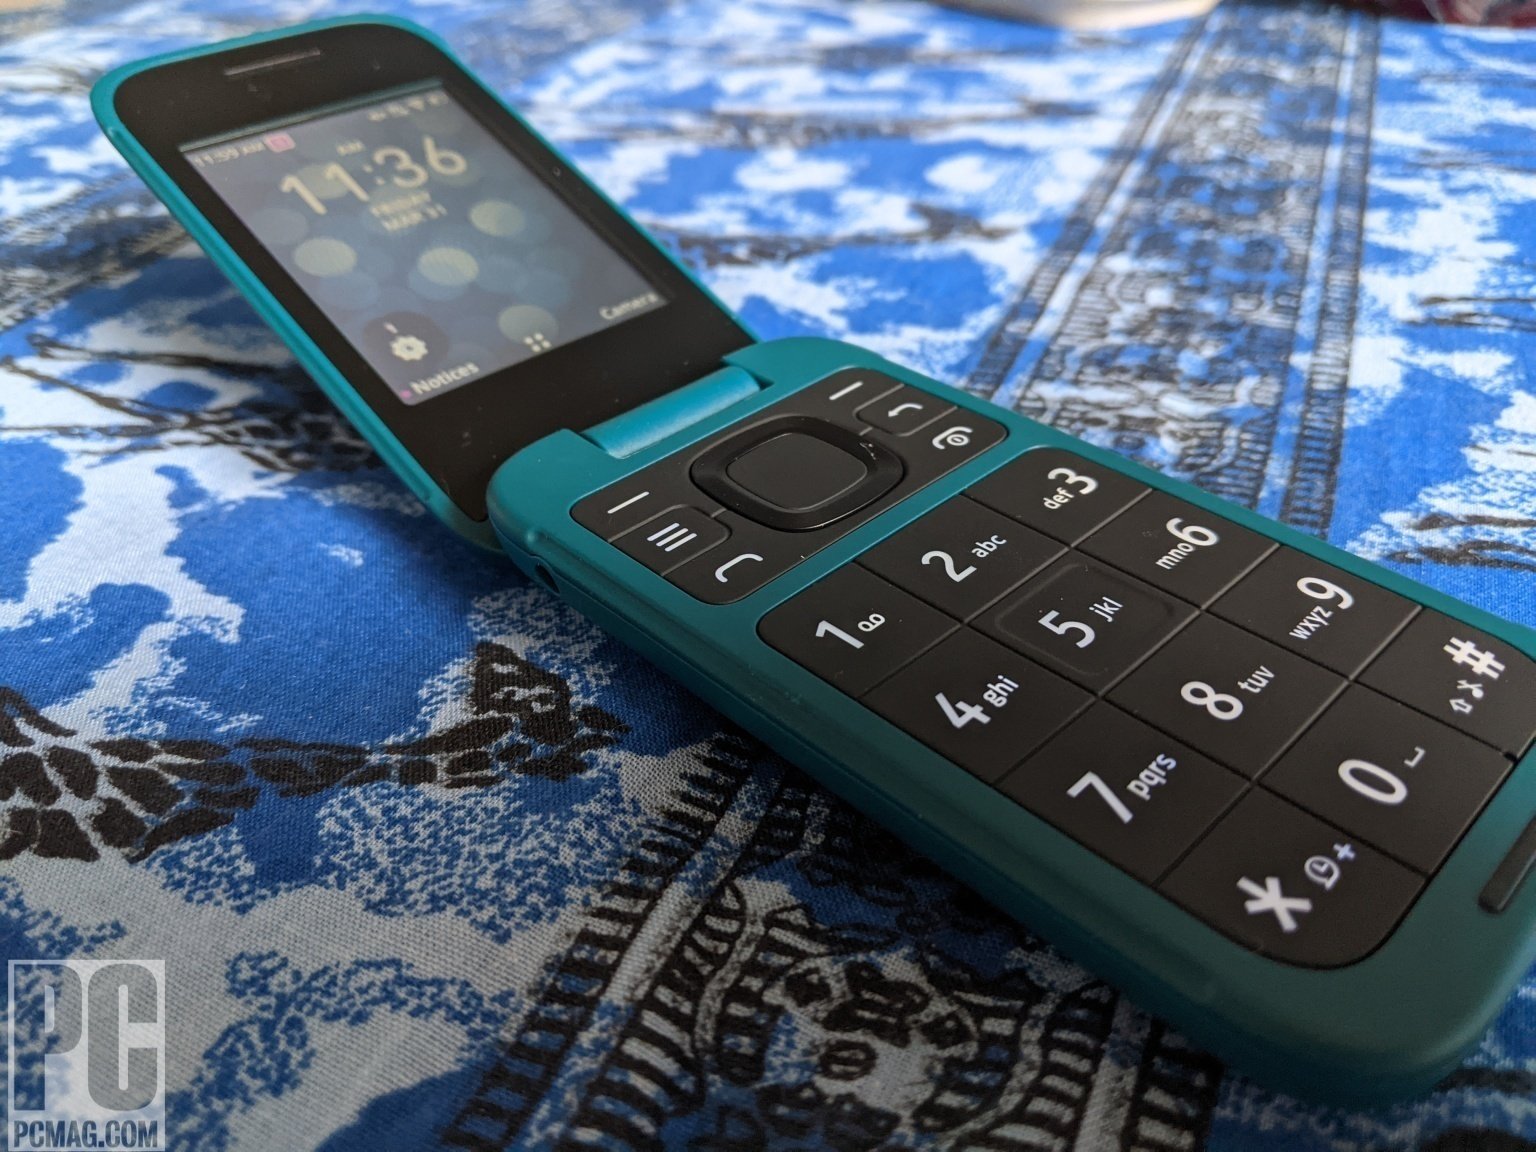
Adding contacts to your TCL Flip Phone is a simple and straightforward process. The first step is to access the Contacts application on your device. To do this, navigate to the main menu on your TCL Flip Phone by pressing the Menu key, usually located near the center of the phone’s keypad.
Once you are in the main menu, use the navigation keys, which are typically arrow keys, to scroll through the available menu options. Look for an option labeled “Contacts” or “Address Book” and select it by pressing the corresponding key. This will open the Contacts application on your TCL Flip Phone.
Some TCL Flip Phones have a dedicated button to access the Contacts application. If your phone has this feature, simply press the Contacts button to open the application directly. Consult your user manual or refer to the phone’s documentation to see if your device has this button and where it is located.
Alternatively, some TCL Flip Phones allow you to access the Contacts application by pressing a specific key combination. For example, you may need to press the Menu key followed by a designated numerical key, such as “*”, to access the Contacts application. Again, it is recommended to consult your user manual or phone’s documentation for the exact key combination required.
Once you have successfully accessed the Contacts application on your TCL Flip Phone, you are ready to proceed to the next step of adding a new contact.
Select the “Add New Contact” Option
Once you have opened the Contacts application on your TCL Flip Phone, you can proceed to add a new contact. To do this, look for the option that says “Add New Contact” or something similar. The exact wording and location may vary depending on the specific model of your TCL Flip Phone.
Typically, you can find the “Add New Contact” option in the Contacts menu or within the contact list itself. Look for an icon or a button that represents adding a new contact. It might be a plus (+) sign, an icon of a person with a plus sign, or a similar symbol.
Once you have located the “Add New Contact” option, select it by pressing the designated button or tapping on the screen if your TCL Flip Phone has a touchscreen. This action will take you to a new screen or prompt you to provide information for the new contact.
Note: If you are unsure about how to access the Contacts application or find the “Add New Contact” option on your specific TCL Flip Phone model, refer to the user manual or online resources provided by TCL for detailed instructions.
Upon selecting the “Add New Contact” option, you will be presented with a blank form or a series of fields to fill in the contact’s information. These fields typically include the contact’s name, phone number, email address, and additional details such as a home address, job title, or notes.
Use the navigation buttons or the touchscreen to move between the different fields and enter the relevant information. Depending on your TCL Flip Phone model, you may have options to add multiple phone numbers, email addresses, and other details for each contact.
Take your time to accurately input the contact’s information. Double-check for any errors or typos before proceeding to the next step. This will ensure that you have the correct and complete contact details saved on your TCL Flip Phone.
Once you have filled in all the necessary information, you can save the contact by selecting the appropriate option. Look for a button or icon that indicates saving, such as a floppy disk symbol or the word “Save.” Press the designated button or tap on the screen to save the contact.
After saving the contact, you will typically be taken back to the main contact list or shown a confirmation message that the contact has been successfully added. At this point, you can choose to add more contacts or return to the home screen of your TCL Flip Phone.
Congratulations! You have successfully selected the “Add New Contact” option on your TCL Flip Phone and added a new contact to your list. Now you can easily reach out to your contacts with just a few taps or button presses on your versatile TCL Flip Phone.
Enter Contact Information
Once you have accessed the Contacts application on your TCL flip phone and selected the “Add New Contact” option, it’s time to enter the contact information. This step allows you to input all the necessary details about the person or organization you are adding to your contacts list.
When entering contact information, start by inputting the person’s name. This can be their first name, last name, or both, depending on your preference. You may also have the option to add a prefix or suffix to their name, such as Mr., Mrs., Dr., or Jr.
After entering the name, you can enter the person’s phone number. Be sure to use the proper format, including the area code, and double-check the number to avoid any errors. Some TCL flip phones may also allow you to add multiple phone numbers for a single contact, such as a home, work, or mobile number.
In addition to phone numbers, you can also enter email addresses for your contacts. This feature is particularly useful if you frequently communicate with them via email. Again, ensure that you enter the email address correctly to avoid any communication issues in the future.
Furthermore, many TCL flip phones offer the option to add a physical address for each contact. This can be useful if you need to send mail or if you want to keep track of someone’s address for any reason. Similar to the other fields, ensure that you input the address correctly and include all relevant details, such as the street name, city, state, and ZIP code.
Lastly, some TCL flip phones may provide additional fields to input additional information about your contacts, such as their company name, job title, or birthday. If these fields are available, you can choose to fill them out to have a more comprehensive contact record.
Once you have entered all the necessary contact information, take a moment to review it for accuracy. Double-check the spelling of names, numbers, and addresses to avoid any mistakes. This is crucial, as any errors could lead to miscommunication or missed connections in the future.
After ensuring that all the information is correct, you can proceed to save the contact. The method to save the contact may vary depending on your TCL flip phone model, but usually, there will be a “Save” or “Done” option on the screen. Select this option, and your newly entered contact will be saved to your contacts list.
Adding and managing contacts on a TCL flip phone is a straightforward process that allows you to keep all the important information in one place. By effectively entering contact information, you can easily reach out to your contacts whenever needed.
Adding contacts to a TCL flip phone is a simple and straightforward process. By accessing the phone’s address book or contacts app, you can easily add, edit, and manage your contacts with ease. Whether you want to store important phone numbers, email addresses, or other contact information, your TCL flip phone provides you with the necessary tools to keep all your contacts organized and accessible.
Remember to use the built-in keypad or on-screen keyboard to enter the contact details accurately. Keep in mind that some TCL flip phones also offer the option to import contacts from a SIM card or sync them with other devices, making it even more convenient to transfer your contacts. With just a few steps, you can ensure that your TCL flip phone is equipped with all the contacts you need to stay connected with family, friends, and colleagues.
So, take advantage of the contact management features on your TCL flip phone and never miss an important call or message again. Keep your contacts up to date, organized, and easily accessible for a seamless communication experience.
FAQs
Q: How do I add contacts to a TCL flip phone?
A: Adding contacts to a TCL flip phone is a simple process. Start by navigating to the phone’s main menu. Look for the “Contacts” or “Address Book” option and select it. From there, choose the “Add New Contact” or a similar option. Enter the contact’s name using the phone’s keypad, and then enter their phone number. Some models may also allow you to add additional information such as an email address or home address. Once you have entered all the necessary details, save the contact and it should be added to your phone’s address book.
Q: Can I import contacts from another device to my TCL flip phone?
A: Yes, most TCL flip phones offer the ability to import contacts from other devices. The specific method may vary depending on the model and the type of device you are importing from. Generally, you can use features like Bluetooth or a memory card to transfer contacts. Alternatively, some TCL flip phones also support syncing with online services like Google Contacts or iCloud, allowing you to import contacts from your account. Refer to your phone’s user manual or contact TCL customer support for detailed instructions on how to import contacts to your specific model.
Q: Is there a limit to the number of contacts I can add to my TCL flip phone?
A: The maximum number of contacts you can add to your TCL flip phone may vary depending on the model and the available memory. Some older models may have a limit of a few hundred contacts, while newer models with larger storage capacity can accommodate thousands of contacts. To check the storage capacity and the number of contacts currently stored on your phone, go to the Contacts or Address Book menu and look for an option like “Contacts Storage” or “Memory Status.” If you are reaching the limit, consider deleting unnecessary contacts or utilizing a memory card for additional storage.
Q: Can I add a photo to a contact on my TCL flip phone?
A: Yes, many TCL flip phones allow you to add photos to your contacts. To do this, navigate to the specific contact and select the “Edit” or “Modify” option. Look for an option like “Add Photo” or “Assign Picture” and choose it. You may then have the option to select a photo from your phone’s gallery or camera roll, or you may be able to take a new photo directly. Once you have selected or taken the photo, save the changes, and the photo will be associated with the contact.
Q: How do I search for a specific contact on my TCL flip phone?
A: To search for a specific contact on your TCL flip phone, access the Contacts or Address Book menu. Look for the “Search” or “Find” option and select it. You will usually find a search bar where you can enter the name or any part of the contact’s information that you remember. As you type, the phone will filter the contacts and display matching results in real-time. Scroll through the results to find the desired contact. If your TCL flip phone has a physical keyboard, you may also be able to use the alphanumeric keys to directly input the contact’s name for quicker searching.