
Are you looking to crop a video on your iPhone or iPad? With the advancements in technology, now you can easily edit videos right on your mobile device. Whether you want to trim unnecessary parts, remove unwanted sections, or resize your video, cropping is a great tool to achieve the desired effect. In this article, we will guide you through the process of cropping a video on your iPhone or iPad in 2023. Don’t worry if you are not a tech expert – we will provide you with step-by-step instructions that are easy to follow. So let’s dive in and explore how you can transform your videos by cropping them directly on your iPhone or iPad.
Inside This Article
- How to Open the Photos App
- Selecting the Video to Crop
- Using the Crop Feature in the Photos App
- Saving and Sharing the Cropped Video
- Conclusion
- FAQs
How to Open the Photos App
Opening the Photos app on your iPhone or iPad is a simple process. The Photos app comes pre-installed on your device, so you don’t need to download it separately. To open the Photos app, follow these steps:
- Locate the Photos app icon on your home screen. It is usually represented by a multi-colored flower icon.
- Tap on the Photos app icon to open it.
Once you tap on the Photos app icon, the app will launch, and you will be taken to the main screen of the app. From here, you can access your entire photo and video library, including any albums or folders you have created.
Opening the Photos app is the first step towards cropping a video on your iPhone or iPad. Next, we will discuss how to select the video you want to crop.
Selecting the Video to Crop
When it comes to cropping a video on your iPhone or iPad, the first step is to select the video you want to edit. Fortunately, the process is straightforward and can be done within the Photos app. Here’s how:
- Launch the Photos app on your iPhone or iPad. You can easily find the app icon on your device’s home screen.
- Navigate to the “Videos” tab at the bottom of the app. This will display all the videos stored on your device.
- Browse through the list of videos and tap on the one you want to crop.
- The video will open in full screen. At the bottom of the screen, you will see a series of editing options.
- Tap on the “Edit” button. This will open the editing interface, allowing you to make adjustments to the video.
Now that you’ve successfully selected the video you want to crop, it’s time to move on to the next step: using the crop feature in the Photos app.
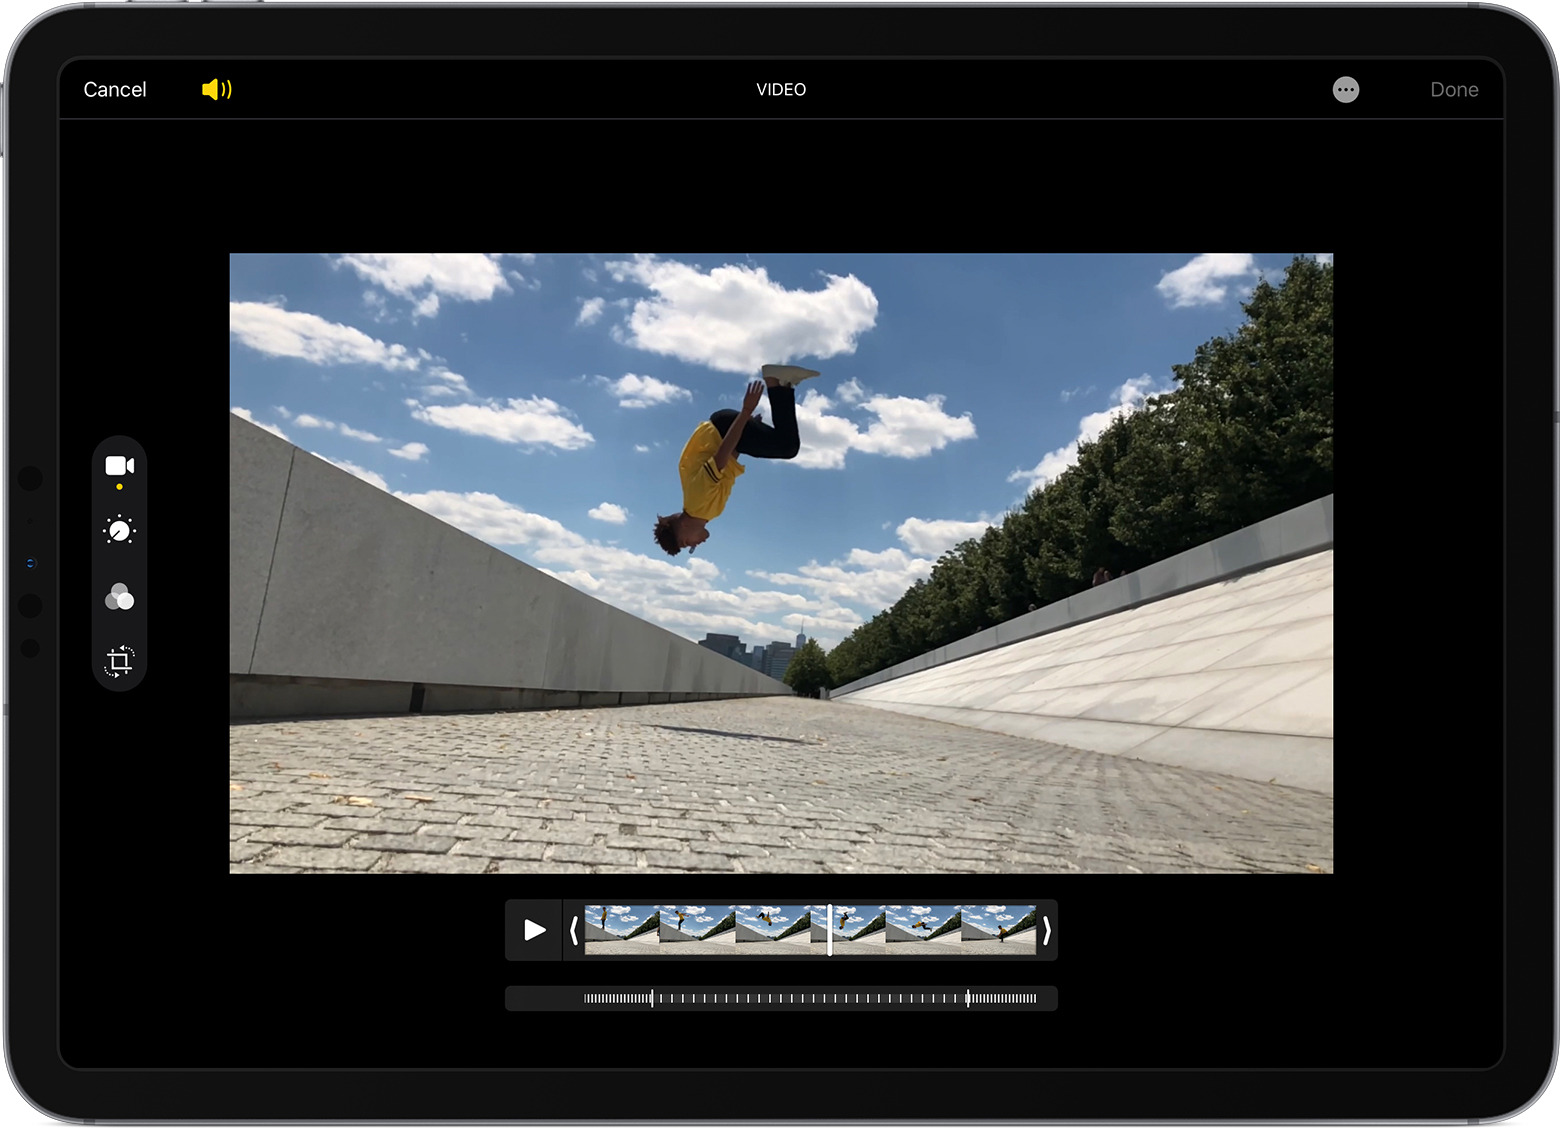
Using the Crop Feature in the Photos App
When it comes to editing videos on your iPhone or iPad, the Photos app offers a variety of powerful tools, including the option to crop your videos. Cropping your videos can help you remove unwanted parts, adjust the framing, or create a more visually appealing composition. In this section, we will guide you through the process of using the crop feature in the Photos app on your iPhone or iPad.
1. Open the Photos app on your device. You can find the Photos app on your home screen or in your app drawer. Tap on it to launch the app.
2. Navigate to the video you want to crop. You can browse through your albums or use the search bar at the top of the screen to find the specific video you want to edit.
3. Once you have selected the video, tap on the “Edit” button in the top right corner of the screen. This will open up the video editing interface.
4. At the bottom of the screen, you will see a row of editing options. Swipe to the left until you find the “Crop” option and tap on it.
5. Now, you can adjust the crop frame according to your preferences. You can drag the corners of the frame to resize it, or you can use the handles on the sides to adjust the position and size of the frame.
6. As you adjust the crop frame, you will see that the video preview updates in real-time. This allows you to see exactly how your cropped video will look.
7. Once you are satisfied with the crop, tap on the “Done” button in the bottom right corner of the screen. This will apply the crop and save your edited video.
8. If you change your mind and want to revert to the original video, you can always tap on the “Revert” button. This will discard the crop and revert the video back to its original state.
9. After saving the cropped video, you can choose to share it with others or keep it in your Photos library. The Photos app offers various sharing options, including sending the video via email, messaging apps, or social media platforms.
By using the crop feature in the Photos app, you can easily refine and enhance your videos directly on your iPhone or iPad. Whether you want to remove unwanted elements or create a more focused composition, cropping is a valuable tool to have in your video editing repertoire.
Saving and Sharing the Cropped Video
After you have successfully cropped your video using the Photos app on your iPhone or iPad, it’s time to save and share your masterpiece. Follow these simple steps to complete the process:
1. Once you are satisfied with the cropped version of your video, tap on the “Done” button located at the bottom right corner of the screen.
2. You will be taken back to the video editing screen where you can choose to either save the video as a new clip or overwrite the original video. To save it as a new clip, tap on “Save as New Clip.” If you prefer to overwrite the original, tap on “Replace Original.”
3. The Photos app will then process and save the cropped video to your device’s camera roll. This may take a few moments depending on the size of the video.
4. Once the video has been saved, you can share it with friends and family via various methods. To share directly from the Photos app, tap on the share icon (usually represented by an arrow pointing upwards) located at the bottom left corner of the screen.
5. A menu of sharing options will appear, including Messages, Mail, AirDrop, and social media platforms such as Facebook and Instagram. Tap on your preferred method of sharing to proceed.
6. Depending on the sharing method you choose, you may need to provide additional information, such as the recipient’s contact information or the caption for social media platforms. Fill in the required details and tap on the “Send” button to share the cropped video.
7. If you prefer to share the video through a messaging app, simply select the desired contact or group, and the video will be sent as a message attachment.
8. Alternatively, you can also upload the cropped video directly to a cloud storage service like iCloud, Google Drive, or Dropbox, and share the link with others.
By following these steps, you can easily save and share your cropped video with others, allowing you to showcase your creativity and moments captured in the perfect frame.
In conclusion, cropping a video on your iPhone or iPad has never been easier. With the multitude of applications available in the App Store, you can easily trim and resize your videos to suit your needs. Whether you want to remove unwanted sections, adjust the aspect ratio, or create a captivating social media post, these tools empower you to unleash your creativity and tell your story visually.
By following the step-by-step guide provided in this article, you can confidently crop videos on your iOS device without any hassle. Remember to choose a reliable and user-friendly video editing app, familiarize yourself with its features, and experiment with different cropping techniques to achieve the desired results.
So, grab your iPhone or iPad, explore the world of video editing, and elevate your video content to new heights. Start cropping today and unlock a world of possibilities with your mobile device!
FAQs
Q: Can I crop a video on my iPhone or iPad?
A: Yes, you can easily crop a video on your iPhone or iPad. Both devices come with built-in video editing tools that allow you to trim and crop videos directly on your device.
Q: Which app can I use to crop videos on my iPhone or iPad?
A: The Photos app, which comes pre-installed on your iPhone or iPad, includes a simple and intuitive video editing feature that allows you to crop videos. You can also find third-party apps on the App Store that offer more advanced video editing features and options.
Q: How do I crop a video using the Photos app on my iPhone or iPad?
A: To crop a video using the Photos app, follow these steps:
1. Open the Photos app and select the video you want to crop.
2. Tap on the “Edit” button.
3. Tap on the crop icon at the bottom of the screen.
4. Drag the corners of the crop box to adjust the size and position of the crop.
5. Tap on “Done” to save your changes.
Q: Can I select a specific aspect ratio when cropping a video?
A: Yes, in the Photos app, you can choose from several aspect ratio options when cropping a video. Tap on the crop icon and then select the desired aspect ratio from the options displayed. This allows you to crop the video to a specific size and shape, such as square, widescreen, or custom ratios.
Q: Are there any third-party apps that offer more advanced video cropping features?
A: Yes, there are many third-party apps available on the App Store that offer advanced video editing features, including more precise cropping tools. Some popular options include iMovie, Adobe Premiere Rush, and InShot. These apps provide a wide range of editing options, allowing you to crop videos, add effects, overlay text, and more.