
The iPhone is not just a simple phone; it’s a powerful device with a top-tier camera that allows users to capture stunning photos. The iPhone Camera App, with its advanced features and intuitive interface, makes it easy for anyone to take professional-quality pictures. Whether you’re a photography enthusiast or a casual user looking to capture beautiful memories, mastering the iPhone Camera App is essential. In this article, we will guide you through the process of taking pictures with the iPhone Camera App, sharing tips and tricks to help you unleash your creative potential and capture breathtaking moments. From understanding the different camera modes to utilizing composition techniques, we’ll cover everything you need to know to elevate your iPhone photography skills. So grab your iPhone, open the Camera App, and let’s get started!
Inside This Article
- Overview of the iPhone Camera App (2023)
- Adjusting Camera Settings on iPhone
- Capturing Photos with the iPhone Camera App
- Applying Filters and Editing Photos with the iPhone Camera App
- Conclusion
- FAQs
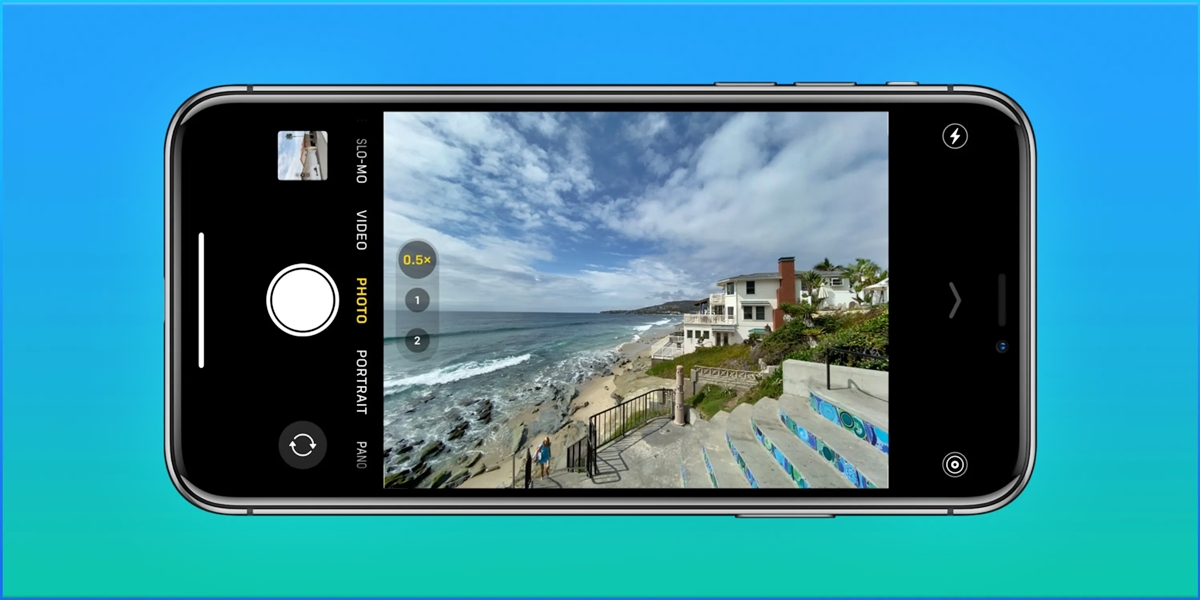
Overview of the iPhone Camera App (2023)
The iPhone Camera App has evolved significantly over the years, and the latest version in 2023 brings even more powerful features and capabilities to capture stunning photos. With its intuitive interface and advanced technology, the iPhone Camera App offers users a seamless and enjoyable photography experience.
One of the standout features of the iPhone Camera App in 2023 is its enhanced night mode. This feature intelligently adjusts settings to capture clear and detailed photos in low-light conditions. Whether you’re enjoying a candlelit dinner or capturing the beauty of the night sky, the iPhone Camera App’s night mode will ensure that your photos always turn out beautifully.
Another notable feature is the addition of ProRAW mode, which allows users to have greater control over their photos. With ProRAW, you can capture images in a format that retains all the original data from the camera sensor. This gives you the flexibility to make detailed edits to your photos without sacrificing image quality.
The improved Smart HDR feature in the iPhone Camera App is designed to capture a wider dynamic range, resulting in more balanced and vibrant photos. Whether you’re photographing a breathtaking landscape or a family gathering, Smart HDR will ensure that your subjects are well-exposed and the colors are rich and accurate.
The iPhone Camera App also includes a variety of shooting modes to suit different photography needs. From Portrait mode, which allows you to capture stunning depth-of-field effects, to Panorama mode for capturing wide scenic views, there is a mode for every moment. Additionally, the app’s burst mode enables you to capture a series of photos in rapid succession, perfect for capturing action-packed moments.
Furthermore, the iPhone Camera App offers various editing tools that allow you to enhance your photos right within the app. You can adjust exposure, contrast, and saturation, apply filters, crop and straighten your photos, and even add text and annotations. With these editing capabilities, you can transform your photos into true masterpieces without needing to switch between multiple apps.
Adjusting Camera Settings on iPhone
The iPhone camera app offers a range of settings that allow you to capture the perfect shot. By adjusting these settings, you can customize the camera’s behavior to suit your preferences and the specific shooting conditions. Whether you’re shooting in low light, capturing action shots, or experimenting with different exposure settings, the iPhone camera settings provide you with the flexibility to achieve the desired results.
To access the camera settings on your iPhone, open the Camera app and locate the small icon resembling a gear or a sliding scale at the top or bottom of the screen. Tap on this icon to enter the camera settings menu.
Once you’re in the camera settings menu, you’ll see a variety of options to customize your photography experience. Here are a few key settings and features you can adjust:
- Photo Mode: This setting allows you to choose the preferred mode for capturing photos. You can select options like “Automatic,” “Portrait,” “Panorama,” or “Square” depending on your needs and the type of photo you want to capture.
- HDR: HDR stands for High Dynamic Range and helps you capture photos with more detail in both the bright and dark areas of the scene. You can control the HDR settings by selecting “Auto,” “On,” or “Off.” It’s recommended to keep it on Auto for most situations.
- Timer: If you want to include yourself in the photo or capture a steady shot without any camera shake, you can use the timer feature. You can set a delay of 3 seconds or 10 seconds before the photo is taken.
- Grid: The grid overlay helps you compose your photos using the rule of thirds, which is a popular composition technique. Enabling the grid can assist you in aligning the subjects and improving the overall balance of your shots.
- Live Photos: With Live Photos, your iPhone captures a few seconds of video before and after you press the shutter button. This feature brings the photo to life with movement and sound. You can enable or disable Live Photos in the settings.
These are just a few examples of the camera settings available on your iPhone. Depending on the model and iOS version, you may find additional options such as exposure control, focus lock, and manual white balance adjustment. Take the time to explore and experiment with these settings to enhance your photography skills and maximize the capabilities of your iPhone camera.
Capturing Photos with the iPhone Camera App
The iPhone camera app offers a wide range of features that allow you to capture stunning photos effortlessly. Whether you’re a professional photographer or just enjoy taking pictures, the iPhone camera app has something for everyone. Here are some tips to help you make the most out of your iPhone’s camera capabilities:
1. Frame your shot: Before pressing the shutter button, take a moment to compose your photo. Look for interesting angles, leading lines, or captivating subjects. Remember, good composition is key to capturing a visually appealing image.
2. Use the gridlines: Enable the gridlines in the camera settings to assist you in aligning your shots. The gridlines follow the rule of thirds, which divides the frame into nine equal parts. By placing your subject on these intersections, you can create a more balanced and visually pleasing composition.
3. Hold steady: To avoid blurry photos, make sure to hold your iPhone steady while taking a shot. Consider using a tripod or bracing your arms against a stable surface for added stability.
4. Tap to focus: To ensure your subject is in sharp focus, tap on the screen where you want to prioritize the focus. This feature allows you to control the focus point and adjust the exposure to capture well-balanced shots.
5. Use burst mode: When capturing fast-moving subjects or trying to catch the perfect moment, use burst mode. Simply hold down the shutter button, and your iPhone will take a rapid series of photos. This enables you to select the best shot from the burst and discard the rest.
6. Experiment with different shooting modes: The iPhone camera app offers various shooting modes, such as panorama, portrait, and night mode. Explore these modes to add variety and creativity to your photos.
7. Take advantage of HDR: High Dynamic Range (HDR) is a feature that combines multiple exposures to create a well-balanced image, especially in challenging lighting conditions. Enable HDR on your iPhone camera app to capture photos with enhanced details and better contrast.
8. Utilize the self-timer: If you’re trying to include yourself in the photo or want to capture a group shot, make use of the self-timer function. Set the timer and position your iPhone in a stable location, then join the frame before the photo is taken.
9. Explore third-party camera apps: While the iPhone camera app is excellent, there are also many third-party camera apps available that offer additional features and editing capabilities. Experiment with different apps to find the one that best suits your photography style.
By utilizing the various features and settings available in the iPhone camera app, you can capture stunning photos that truly showcase your unique perspective. So, grab your iPhone and start exploring the world of photography right at your fingertips!
Applying Filters and Editing Photos with the iPhone Camera App
One of the great features of the iPhone Camera app is its ability to apply filters and edit photos directly within the app. Whether you want to enhance the colors, adjust the exposure, or add creative effects to your photos, the iPhone Camera app provides a range of editing tools to help you achieve the desired look.
To access the editing options, open the photo you want to edit in the iPhone Camera app. Once you have the photo open, tap on the “Edit” button located at the top right corner of the screen.
Once in edit mode, you will see a variety of editing tools at the bottom of the screen. These tools include cropping, adjusting exposure, brightness, and contrast, adding filters, and more.
If you want to crop your photo, simply tap on the crop tool and adjust the boundaries by dragging the edges. You can also rotate the photo if needed. Once you are satisfied with the crop, tap “Done” to apply the changes.
To adjust the exposure, brightness, and contrast, tap on the adjust tool. This will bring up sliders that you can use to fine-tune these settings. Slide your finger left or right to make the adjustments and preview the changes in real-time. Once you are happy with the results, tap “Done” to save the changes.
The iPhone Camera app also offers a variety of filters that you can apply to your photos. To access the filters, tap on the filter tool. You will see a list of available filters, each with a thumbnail preview. Simply tap on a filter to apply it to your photo. You can swipe left or right to browse through the different filter options. Once you find the desired filter, tap “Done” to save the changes.
In addition to basic editing tools and filters, the iPhone Camera app also provides advanced editing options such as adjusting the intensity of filters, adding vignette effects, and applying black and white or sepia tones to your photos.
Once you have finished applying the desired edits and filters, tap on “Done” to save the final version of your photo. The edited photo will be saved to your Camera Roll and can be easily shared or printed directly from your iPhone.
The iPhone Camera app makes it incredibly easy to apply filters and edit your photos on the go. Whether you are a casual photographer or a seasoned pro, these editing tools can help you enhance your images and unleash your creativity.
Conclusion
In conclusion, the iPhone Camera app is a powerful tool that allows you to capture stunning photos with ease. With its advanced features and user-friendly interface, taking professional-quality pictures has never been easier. Whether you’re a seasoned photographer or just getting started, the iPhone Camera app offers a wide range of options and settings to enhance your photography skills.
From portrait mode to night mode, from high dynamic range (HDR) to live photos, the iPhone Camera app offers a multitude of features that will help you capture the perfect shot in any situation. Plus, with the ability to edit and enhance your photos right within the app, you can take your creativity to the next level.
So, go ahead and unleash your inner photographer with the iPhone Camera app. Whether you’re capturing precious moments with friends and family, documenting your travels, or simply expressing your artistic vision, the iPhone Camera app is your go-to tool for capturing and preserving those special memories.
FAQs
Q: Can I take professional-quality photos with the iPhone camera app?
A: Yes, with the advancements in smartphone camera technology, including the iPhone camera app, you can capture stunning photos that rival those taken with professional cameras. The iPhone camera app offers various features like portrait mode, HDR, and night mode, allowing you to take high-quality photos in different lighting conditions.
Q: Can I adjust settings like exposure and focus in the iPhone camera app?
A: Absolutely! The iPhone camera app provides you with manual controls to adjust exposure, focus, and even white balance. Simply tap on the screen to set the focus point and swipe up or down to adjust the exposure level. This gives you complete control over the look of your photos.
Q: Can I use third-party camera apps on my iPhone?
A: Definitely! The iPhone supports third-party camera apps, offering a wide range of additional features and tools to enhance your photography experience. These apps often provide advanced functionalities like manual controls, RAW image capture, and advanced editing capabilities.
Q: How can I improve the quality of my photos taken with the iPhone camera app?
A: To enhance the quality of your photos, consider the following tips:
– Clean the lens regularly to avoid smudges or dirt affecting the image clarity.
– Use natural lighting whenever possible or experiment with different lighting conditions to get unique effects.
– Use composition techniques like the rule of thirds or leading lines to create visually appealing shots.
– Experiment with different shooting modes and filters available in the camera app to add creativity to your photos.
Q: Are there any accessories available to enhance iPhone photography?
A: Yes, there is a wide range of accessories available that can elevate your iPhone photography game. Some popular options include:
– Tripods or stabilizers to keep your iPhone steady for long exposure shots or videos.
– External lenses such as wide-angle or macro lenses to expand the capabilities of your iPhone camera.
– Remote shutter releases to capture selfies or group photos without having to touch the phone.
– External lighting solutions like portable LED lights for better illumination in low-light situations.