
In the world of smartphones, the iPhone has undoubtedly earned its place as a leader in innovation and technology. However, even the most advanced devices can encounter issues, and one common problem for iPhone users is a water-logged or damp charging port. If your iPhone charging port has gotten wet, you may experience difficulties in charging your device or connecting it to other devices. Thankfully, there are effective methods to dry out your iPhone charging port and restore its functionality. In this article, we will explore some tried-and-tested techniques to dry out your iPhone charging port and get your device back up and running in no time. Say goodbye to the frustration of a non-responsive charging port and let’s dive into the solutions that will help you revive your beloved iPhone.
Inside This Article
- Checking for Moisture in the Charging Port
- Removing the SIM Card and Cleaning the Charging Port
- Using Compressed Air to Remove Excess Moisture
- Leaving the iPhone in Rice or Silica Gel Packets for Drying
- Conclusion
- FAQs
Checking for Moisture in the Charging Port
Before attempting to dry out your iPhone’s charging port, it’s important to first check for any signs of moisture. Water or other liquids in the charging port can prevent your device from charging properly and may even cause damage if not addressed promptly. Here’s how you can check for moisture in the charging port:
1. Remove your iPhone’s charging cable: Start by unplugging the charging cable from your iPhone. This will give you a better view of the charging port and allow you to inspect it more closely.
2. Use a flashlight: Shine a flashlight into the charging port to look for any visible signs of moisture. Look for water droplets, condensation, or discoloration that may indicate the presence of liquid.
3. Check the charging cable: Inspect the charging cable for any signs of moisture as well. Sometimes, moisture can be trapped in the cable and transfer to the charging port when connected to your iPhone.
4. Use a toothpick or non-conductive material: Gently probe the charging port with a toothpick or a non-conductive material, such as a plastic toothpick or a SIM card removal tool. Be cautious not to damage any of the internal components while doing this.
5. Look for the moisture indicator: Some iPhone models have a liquid contact indicator located in the charging port. It’s a small sticker that changes color if it comes into contact with liquid. Check if the indicator has changed color to indicate moisture exposure.
6. Pay attention to warning messages: If your iPhone detects moisture in the charging port, it may display a warning message. Take note of any notifications or alerts related to moisture detection.
If you find any indications of moisture in the charging port, it’s crucial to take immediate action to prevent further damage to your iPhone. In the next section, we’ll discuss how to remove the SIM card and properly clean the charging port.
Removing the SIM Card and Cleaning the Charging Port
One of the first steps to take when drying out an iPhone charging port is to remove the SIM card. The SIM card sits next to the charging port and can hinder the drying process. To remove the SIM card, you will need a SIM ejector tool or a small paperclip. Locate the small hole on the side of your iPhone, insert the tool or paperclip, and gently push until the SIM card tray pops out.
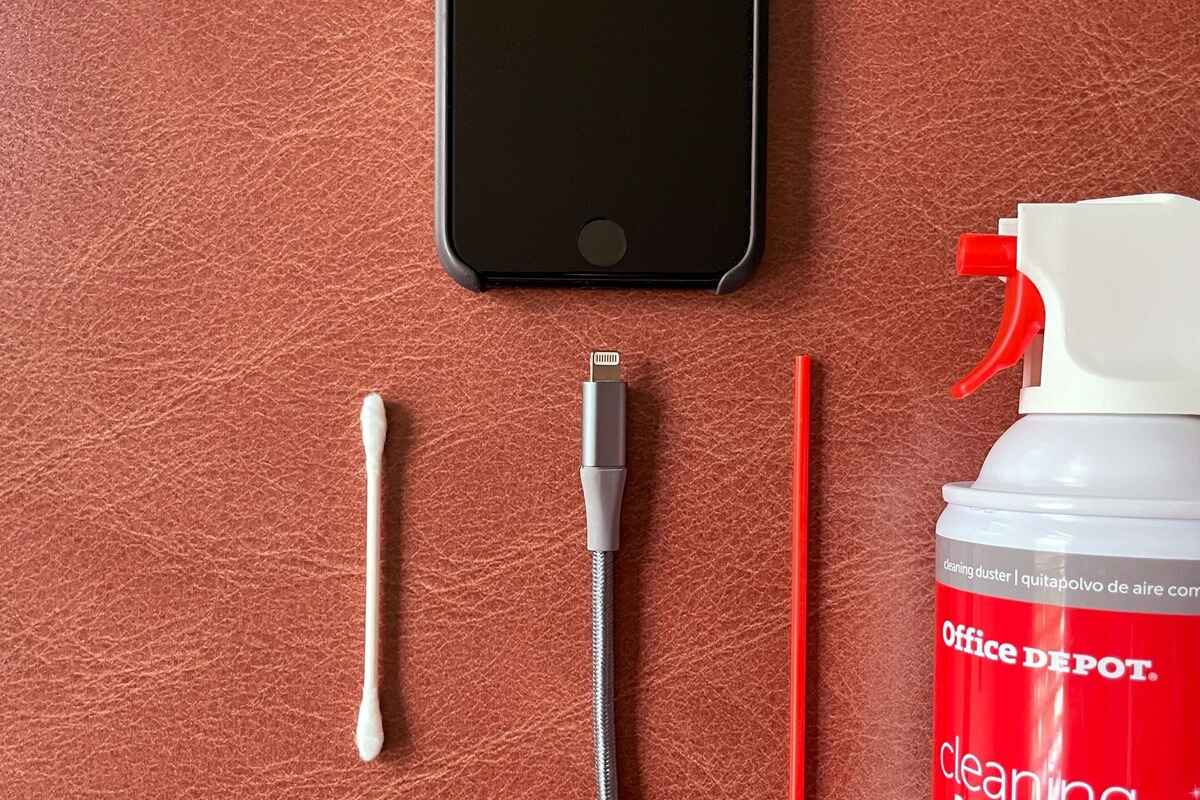
Once the SIM card is removed, it is important to clean the charging port. Over time, dust, debris, and lint can accumulate in the port, leading to connection issues. You can clean the charging port using a soft-bristled toothbrush or a cotton swab dipped in isopropyl alcohol. Gently brush or wipe away any visible dirt or grime from the port.
It is crucial to be gentle when cleaning the charging port, as excessive force could damage the delicate components. Avoid using sharp objects or excessive moisture, as this can cause further damage. Take your time and ensure that you clean the port thoroughly but safely.
Moreover, remember to check for any foreign objects that might be lodged in the charging port. Sometimes, small pieces of debris can get stuck and prevent the charging cable from making a proper connection. Use a flashlight to inspect the port and carefully remove any obstructions with a non-metallic object such as a toothpick or a plastic pry tool.
By removing the SIM card and cleaning the charging port, you are taking the necessary steps to ensure effective drying of your iPhone. These simple actions can help remove any obstacles and provide a clear path for the drying process to take place.
Using Compressed Air to Remove Excess Moisture
When it comes to drying out the charging port of your iPhone, using compressed air can be an effective method. Compressed air is a powerful tool that blows out any excess moisture from the port, helping to restore proper functionality to your device. Here’s how you can use compressed air to remove excess moisture from your iPhone’s charging port:
1. Gather the necessary tools: To begin, you will need a can of compressed air. You can easily find these at electronics stores or online. Make sure to choose a can with a thin nozzle attachment, as this will allow for precise targeting of the charging port.
2. Power off your iPhone: Before you start using compressed air, it is important to power off your iPhone. This will prevent any potential damage that could occur if the moisture comes into contact with electrical components while the device is powered on.
3. Locate the charging port: The charging port is usually located at the bottom of your iPhone. It may be covered by a small flap or exposed, depending on the model. Take a moment to locate and identify the charging port before proceeding.
4. Attach the nozzle and blow air: Once you have the can of compressed air and your iPhone is powered off, attach the narrow nozzle to the can. Hold your iPhone firmly but gently, and insert the nozzle into the charging port. Begin blowing short bursts of air into the port, making sure not to exert too much force that could cause damage.
5. Repeat if necessary: After blowing air into the charging port, inspect the port for any signs of moisture. If you notice any water droplets or moisture remaining, repeat the process by blowing more bursts of air. Be patient, as it may take several attempts to completely dry out the port.
6. Let it rest: Once you are satisfied with the drying process, let your iPhone rest for a few minutes before attempting to charge it again. This will ensure that any residual moisture evaporates completely before using the charging port.
Using compressed air is a quick and efficient way to remove excess moisture from your iPhone’s charging port. However, it’s important to note that this method should only be used if there is no visible water damage or if your iPhone is not submerged in water. If you suspect water damage or the presence of significant moisture, it is recommended to seek professional assistance or contact Apple support for further guidance.
Leaving the iPhone in Rice or Silica Gel Packets for Drying
One popular and widely used method for drying out a wet iPhone is to leave it in a container filled with rice or silica gel packets. This method is often recommended as it is simple and can be done with easily available materials.
Rice is known for its ability to absorb moisture, making it a common household remedy for drying out wet electronics. Silica gel packets, on the other hand, are small packets filled with silica beads that readily absorb moisture. These packets are commonly found in packaging for various products.
To use either method, start by powering off your iPhone as soon as possible if it isn’t already. Then, carefully remove your iPhone from any cases or covers, ensuring you don’t accidentally cause any further damage. Next, gently pat your iPhone dry with a soft cloth to remove any visible water.
In the case of rice, find a container large enough to hold your iPhone and fill it up with uncooked rice. Make sure the rice is completely covering your iPhone and leave it undisturbed for at least 24 to 48 hours. The rice will gradually absorb the moisture from your iPhone, helping to dry it out.
If you’re using silica gel packets, place your iPhone in a sealable plastic bag or container and add several packets of silica gel. Seal the bag/container tightly to create a confined space. Leave it undisturbed for around 24 to 48 hours, allowing the silica gel to absorb the moisture from your iPhone.
It’s important to note that while these methods are commonly recommended, they are not foolproof solutions. Rice and silica gel can absorb moisture, but they may not be able to reach all parts of your iPhone, especially the internal components. Additionally, simply drying out the iPhone may not be enough to restore full functionality if any damage has occurred.
If your iPhone has been exposed to significant water damage or is not working properly after drying, it’s best to seek professional help. A certified technician will have the necessary tools and expertise to assess the damage and repair your iPhone if possible. It’s always better to be safe than sorry when it comes to expensive electronic devices like iPhones.
Conclusion
In conclusion, it is common for an iPhone charging port to become wet or damp due to various accidental situations. However, it is crucial to address this issue promptly to avoid any further damage to your device.
By following the steps mentioned in this article, you can safely and effectively dry out your iPhone charging port. Remember to exercise caution and patience throughout the process to prevent any unintended consequences.
In case your iPhone continues to experience charging port issues or shows signs of damage even after attempting these methods, it is advisable to seek professional assistance. Consulting an authorized Apple service provider or technician will ensure that your device receives the necessary care and repair.
Remember, prevention is always better than cure. To minimize the chances of encountering a wet charging port, be mindful of your surroundings, use protective covers and cases, and avoid exposing your iPhone to water or liquid sources.
By applying these tips, you can keep your iPhone charging port dry and functioning properly, ensuring the longevity and efficiency of your device.
FAQs
1. Why is my iPhone charging port wet?
There are several reasons why your iPhone charging port may become wet. It could be due to accidental exposure to water, rain, or other liquids. It can also happen if you use your phone in a humid environment or if there is excessive moisture in the air.
2. How do I know if my iPhone charging port is wet?
If your iPhone charging port is wet, you may notice that the charging cable does not fit snugly into the port. You may also see visible moisture or water droplets inside the port. In some cases, your iPhone may not charge at all or may give you a warning message about moisture detection.
3. Can I use my iPhone with a wet charging port?
It is not recommended to use your iPhone with a wet charging port as it can potentially cause damage to your device. Moisture can interfere with the electrical connections in the port and lead to short circuits or corrosion. It’s best to dry out the charging port before attempting to charge your iPhone.
4. How do I dry out my iPhone charging port?
To dry out your iPhone charging port, you can use a soft, lint-free cloth or cotton swab to gently absorb any moisture. Avoid using excessive force or sharp objects that may damage the port. You can also try using compressed air to blow out any water droplets or moisture trapped in the port.
5. How long does it take for an iPhone charging port to dry?
The time it takes for an iPhone charging port to dry out can vary depending on the amount of moisture present and the environmental conditions. In general, it is advisable to let the port air dry for at least a few hours. You can also use a hairdryer on a low, cool setting to speed up the drying process, but be cautious not to overheat the device.