
**
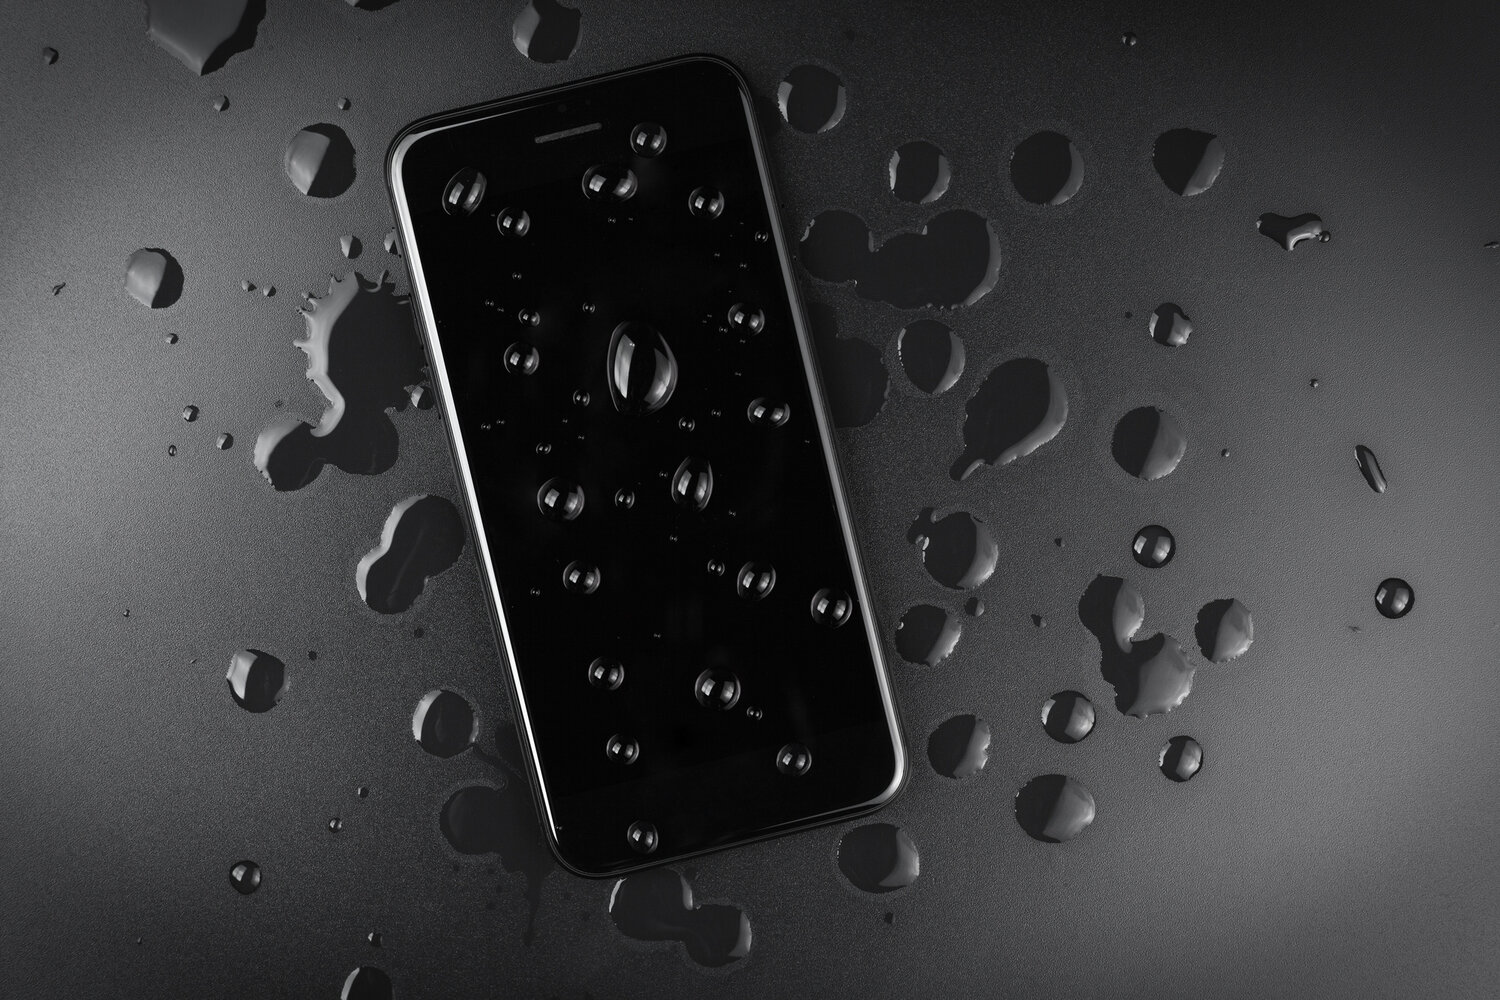
**The iPhone 11 is a remarkable device, boasting cutting-edge technology and a sleek design. However, accidents happen, and water damage is a common issue that many iPhone users encounter. Whether it's a spilled drink or an unexpected plunge into water, dealing with water damage can be distressing. In this article, we'll delve into the essential steps to fix water damage on your iPhone 11. From initial troubleshooting to professional repair options, we'll guide you through the process of salvaging your beloved device. By following these expert tips, you can increase the chances of restoring your iPhone 11 to its former glory. Let's explore the best strategies for addressing water damage and getting your iPhone 11 back in working order.
Inside This Article
- Assessment of Water Damage
- Steps to Fix Water Damage
- Drying the iPhone
- Checking for Damage
- Conclusion
- FAQs
**
Assessment of Water Damage
**
When your iPhone 11 encounters water, it’s crucial to assess the extent of the damage before taking any action. The first step is to carefully remove the device from the water source, whether it’s a puddle, sink, or any other liquid. Avoid the temptation to check if it’s still working, as turning it on could cause further damage.
Next, inspect the exterior of the device for any visible signs of water entry. Check the charging port, headphone jack, and speaker grills for moisture. Additionally, examine the buttons and switches for any stickiness or resistance, which could indicate water seepage.
It’s essential to consider the duration of exposure to water. If the iPhone was submerged for an extended period, the likelihood of internal damage is higher. Even if the device seems to be functioning normally, internal components could still be affected, necessitating a thorough assessment.
Steps to Fix Water Damage
Once you have retrieved your iPhone 11 from the water, it’s crucial to act swiftly to mitigate the damage. Here are the essential steps to follow:
1. Power Off: Immediately power off your iPhone to prevent a short circuit. Do not attempt to charge the device or use any functions.
2. Remove Accessories: Take off any case, SIM card, or accessories attached to the phone. This will help facilitate the drying process and prevent further damage.
3. Dry the Exterior: Gently wipe the exterior of the iPhone with a soft, absorbent cloth to remove any visible water. Avoid shaking the device, as this could drive water further into the internal components.
4. Drain Water: If water has entered the charging port or speakers, carefully shake the device with the charging port facing downward to help drain any excess water.
5. Silica Gel or Rice: Place the iPhone in a bag of silica gel packets or uncooked rice. These desiccants can help absorb moisture from the device. Seal the bag and leave the phone inside for at least 48 hours.
6. Avoid Heat: While it may be tempting, refrain from using a hairdryer or applying direct heat to the iPhone, as this can cause further damage to the internal components.
7. Professional Assessment: If the water exposure was extensive or if you are unsure about the extent of the damage, it’s advisable to seek professional assistance from an authorized service provider.
Drying the iPhone
Once you’ve removed the iPhone from water, the next crucial step is to dry it thoroughly. Begin by using a clean, dry cloth to wipe off any visible water on the exterior of the device. Avoid shaking the phone as this can cause the water to spread to other internal components.
It’s essential to avoid using heat sources such as hair dryers or microwaves, as excessive heat can damage the internal components of the iPhone. Instead, opt for a gentle method such as using a desiccant, like silica gel packets or uncooked rice, to absorb the moisture. Place the iPhone in a sealed container with the desiccant for at least 48 hours to ensure thorough drying.
Another effective technique involves using a vacuum to draw out moisture from the iPhone. Carefully position the nozzle of a vacuum cleaner near the affected areas of the device, ensuring that it doesn’t come into direct contact with the phone. The suction from the vacuum can help remove residual moisture from the device.
After employing these drying methods, refrain from attempting to power on the iPhone immediately. Allowing ample time for the device to dry completely is crucial to prevent further damage. Once you’re confident that the iPhone is thoroughly dry, proceed with caution to check for any signs of water damage before attempting to power it on.
Checking for Damage
After drying the iPhone thoroughly, it’s crucial to check for any signs of damage. Even if the device appears to be working fine, there could be underlying issues that may manifest later. Here’s how to inspect your iPhone for water damage:
1. Examine the Exterior: Inspect the exterior of the iPhone for any visible signs of water damage. Look for water droplets under the screen, in the charging port, or around the buttons. Water damage indicators, typically located in the SIM card tray, may also change color when exposed to moisture.
2. Test the Functions: Test all the essential functions of the iPhone, including the touchscreen, buttons, speakers, and microphone. Check the camera and ensure that Face ID or Touch ID is functioning properly. Any irregularities in performance could indicate water damage.
3. Check the Battery Health: Monitor the battery health through the settings to ensure it’s functioning optimally. Water damage can affect the battery’s performance and longevity, so keeping an eye on its health is crucial.
4. Inspect the Internal Components: If you’re comfortable doing so, you can open the iPhone and inspect the internal components for signs of corrosion or water residue. However, this step requires technical expertise and should be approached with caution to avoid causing further damage.
5. Monitor for Unusual Behavior: Keep an eye out for any unusual behavior such as overheating, screen flickering, or sudden shutdowns. These could be indicators of underlying water damage that may not be immediately apparent.
**
Conclusion
**
Dealing with water damage on your iPhone 11 can be a stressful experience, but with the right knowledge and prompt action, you can minimize the potential long-term effects. Remember to power off the device immediately, dry it carefully, and seek professional assistance if necessary. Prevention is always better than cure, so investing in a waterproof case and being mindful of your phone’s exposure to water can save you from future headaches. By following the steps outlined in this guide, you can increase the chances of salvaging your iPhone 11 and restoring it to full functionality. Stay informed, stay proactive, and remember that quick and decisive action is key when it comes to addressing water damage on your beloved device.
FAQs
Q: Can water damage be fixed on an iPhone 11?
Yes, water damage on an iPhone 11 can be fixed, but it requires prompt action and proper steps to prevent long-term damage.
Q: What should I do if my iPhone 11 gets wet?
If your iPhone 11 gets wet, immediately power it off, remove any accessories, and dry it using a soft, absorbent cloth. Then, follow the recommended steps for drying and preventing further damage.
Q: How long does it take to fix water damage on an iPhone 11?
The time it takes to fix water damage on an iPhone 11 varies depending on the extent of the damage. It can range from a few hours to several days, especially if professional repair services are required.
Q: Can I fix water damage on my iPhone 11 at home?
While some minor water damage issues can be addressed at home using DIY methods, extensive or severe damage may require professional intervention to ensure thorough and effective repairs.
Q: What are the potential risks of not addressing water damage on an iPhone 11 promptly?
Failing to address water damage on an iPhone 11 promptly can lead to corrosion, electrical issues, and permanent damage to internal components, potentially rendering the device inoperable.