
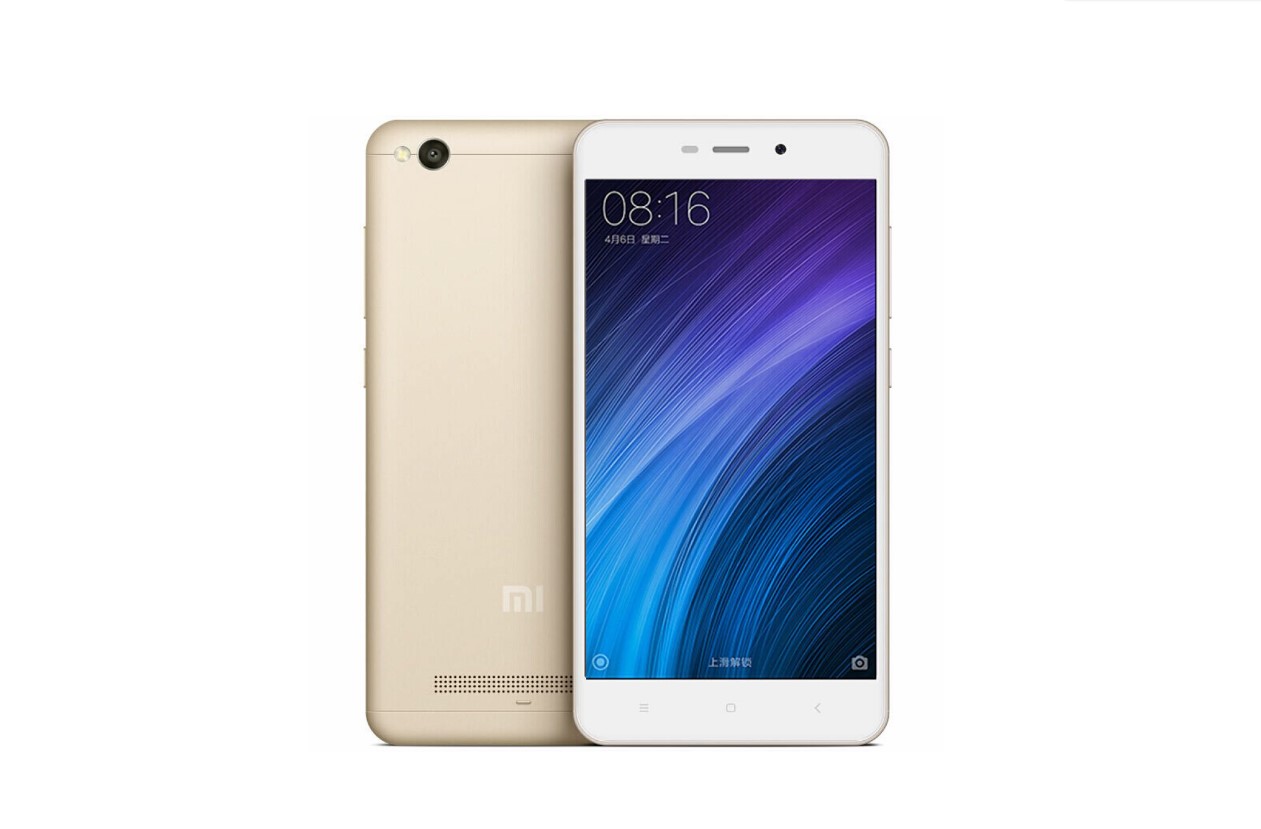
The Xiaomi Redmi 4A is a budget-friendly smartphone that offers impressive features at an affordable price. If you’re looking to upgrade your current device or switch to a new phone without breaking the bank, the Xiaomi Redmi 4A might be the perfect choice for you.
With its sleek design, compact size, and powerful performance, the Redmi 4A stands out in the market. Whether you’re a casual user or a power user, this smartphone has something to offer everyone. From its high-resolution display to its long-lasting battery, the Redmi 4A is designed to deliver a exceptional mobile experience.
In this article, we will guide you through the step-by-step process of installing the Xiaomi Redmi 4A. Whether it’s transferring data from your old phone or setting up the necessary applications, we’ll cover everything you need to know to get started with your new device.
Inside This Article
- Prerequisites
- Step 1: Unlocking the Bootloader
- Step 2: Installing TWRP Recovery
- Step 3: Downloading and Flashing Custom ROM
- Step 4: Installing Google Apps
- Conclusion
- FAQs
Prerequisites
Before you attempt to install a custom ROM on your Xiaomi Redmi 4A, there are a few prerequisites that you need to fulfill. These prerequisites ensure that the installation process goes smoothly and that you have all the necessary tools and resources at your disposal. Here are the prerequisites you need to meet:
- Enable USB Debugging: Go to the Settings menu on your Xiaomi Redmi 4A, scroll down to find “About phone,” tap on it, and then tap on the MIUI version seven times to enable Developer options. Now, go back to the main Settings menu, scroll down to find “Additional settings,” tap on it, and then select “Developer options.” In the Developer options menu, enable USB debugging.
- Backup Your Data: Installing a custom ROM involves wiping your device’s data, so it’s crucial to back up all your important files, contacts, and app data. You can use third-party apps or the built-in backup feature in MIUI to create a backup of your data.
- Ensure Sufficient Battery: It’s essential to have a charged battery before proceeding with the installation. Make sure your Xiaomi Redmi 4A is charged to at least 60% to avoid any interruptions during the process.
- Download Required Files: You will need to download several files before you can install a custom ROM. These files include the custom ROM itself, the TWRP recovery image, and the Google Apps package (GApps). Ensure that you download the correct files compatible with your Xiaomi Redmi 4A variant.
- Unlock the Bootloader: In order to install a custom ROM, you need to unlock the bootloader of your Xiaomi Redmi 4A. This process is essential to gain the necessary access to modify the system files on your device.
Once you have fulfilled these prerequisites, you will be ready to proceed with the installation of a custom ROM on your Xiaomi Redmi 4A. Ensure that you have understood and followed each prerequisite carefully to avoid any issues or complications during the installation process.
Step 1: Unlocking the Bootloader
Unlocking the bootloader is the first step in customizing your Xiaomi Redmi 4A. The bootloader acts as a security measure to prevent unauthorized access to the device’s system files. By unlocking it, you gain the freedom to install custom ROMs, root your device, and make modifications to enhance its performance and functionality.
Before you begin the process of unlocking the bootloader, keep in mind that this step will erase all data on your device. Make sure to back up any important files or data to avoid losing them. Additionally, unlocking the bootloader may void your warranty, so proceed with caution.
To unlock the bootloader of your Xiaomi Redmi 4A, follow the steps below:
- Go to the Xiaomi official website and create an account if you don’t already have one.
- Enable Developer Options on your device by going to Settings > About Phone > tap on MIUI version seven times.
- Go to Settings > Additional Settings > Developer Options > Enable OEM unlocking and USB debugging.
- Install the ADB drivers on your computer if you haven’t done so already. You can download them from the Android Developer website.
- Connect your Xiaomi Redmi 4A to your computer using a USB cable.
- On your computer, open a command prompt or terminal window and navigate to the folder where the ADB drivers are installed.
- Enter the command “adb devices” to ensure that your device is properly connected and recognized by the computer.
- Next, enter the command “adb reboot bootloader” to restart your device in bootloader mode.
- Once in bootloader mode, enter the command “fastboot devices” to check if your device is recognized by the computer in fastboot mode.
- Finally, enter the command “fastboot OEM unlock” to initiate the bootloader unlocking process. Follow the on-screen instructions to confirm the process.
After completing these steps, your Xiaomi Redmi 4A bootloader will be successfully unlocked. Your device will automatically reboot and all data will be erased. Now, you can proceed to the next step of installing TWRP recovery to further customize your device.
Step 2: Installing TWRP Recovery
Installing TWRP (Team Win Recovery Project) Recovery is a crucial step in customizing and maximizing the capabilities of your Xiaomi Redmi 4A. TWRP Recovery allows you to perform advanced tasks such as flashing custom ROMs, creating backups, and installing various mods and tweaks.
Before proceeding with the installation process, make sure you have completed the prerequisites mentioned earlier. Once you have met all the requirements, follow the steps below to install TWRP Recovery on your Xiaomi Redmi 4A:
-
Enable USB debugging on your device by going to Settings > About Phone > tap on MIUI version 7 times to enable Developer options. Then, go to Settings > Additional settings > Developer options and enable USB debugging.
-
Download the TWRP recovery image file specifically built for the Xiaomi Redmi 4A. You can find the latest version of TWRP for your device on the official TWRP website or on popular forums and community websites dedicated to Xiaomi devices.
-
Connect your Xiaomi Redmi 4A to your computer using a USB cable.
-
Open a command prompt or terminal window on your computer and navigate to the directory where the TWRP recovery image file is located.
-
Boot your Xiaomi Redmi 4A into fastboot mode by turning off the device and then pressing and holding the Volume Down and Power buttons simultaneously. Release the buttons once the fastboot logo appears on the screen.
-
In the command prompt or terminal window, enter the following command to check if your device is properly recognized:
fastboot devices -
If your device is detected, proceed to flash the TWRP recovery image by entering the following command:
fastboot flash recovery twrp.img(replacetwrp.imgwith the actual filename of the TWRP recovery image file). -
Once the flashing process is complete, reboot your device by entering the following command:
fastboot reboot
Congratulations! You have successfully installed TWRP Recovery on your Xiaomi Redmi 4A. You can now access the recovery mode by turning off your device and then pressing and holding the Volume Up and Power buttons simultaneously until the TWRP Recovery interface appears.
Having TWRP Recovery installed on your Xiaomi Redmi 4A opens up a whole new world of customization and possibilities. Make sure to explore the various features and options available in TWRP to get the most out of your device. Happy flashing!
Step 3: Downloading and Flashing Custom ROM
Once you have successfully unlocked the bootloader and installed TWRP recovery on your Xiaomi Redmi 4A, you are now ready to take the next step: downloading and flashing a custom ROM. Custom ROMs are alternate versions of the Android operating system that offer additional features, customizations, and sometimes even improved performance compared to the stock ROM provided by Xiaomi.
Before you download and flash a custom ROM, it is important to do thorough research to find the right ROM for your Xiaomi Redmi 4A. Look for ROMs that are specifically designed for your device model to ensure compatibility and stability. Additionally, read user reviews and check for updates to ensure you are downloading a reliable and up-to-date ROM.
When you have chosen a custom ROM, follow these steps to download and flash it onto your Xiaomi Redmi 4A:
- Connect your phone to your computer using a USB cable and transfer the downloaded ROM file to the root directory of your phone’s internal storage. This will make it easier to locate the file during the flashing process.
- Boot your Xiaomi Redmi 4A into TWRP recovery mode by turning off the phone and then pressing and holding the Volume Up and Power buttons simultaneously until the TWRP logo appears.
- In TWRP recovery mode, select the “Wipe” option and swipe to factory reset your device. This will clear all existing data and make your device ready for the custom ROM installation.
- Go back to the main menu of TWRP recovery and select the “Install” option. Navigate to the location where you transferred the custom ROM file and select it.
- Swipe to confirm the flash and wait for the installation process to complete. This may take a few minutes.
- Once the custom ROM is successfully installed, select the “Reboot System” option to restart your Xiaomi Redmi 4A.
After the reboot, your Xiaomi Redmi 4A will boot up into the newly installed custom ROM. Take some time to explore the features and settings of the ROM and customize it to your liking. Remember that different ROMs offer different features and customization options, so it’s worth experimenting to find the setup that suits you best.
It is important to note that flashing a custom ROM will void any warranty provided by Xiaomi, and there is a risk of bricking your device if the flashing process goes wrong. Make sure to follow the instructions carefully and back up your data before proceeding with the installation.
Overall, downloading and flashing a custom ROM onto your Xiaomi Redmi 4A can breathe new life into your device, offering a fresh user experience and the opportunity to tailor it to your preferences. Enjoy exploring the world of custom ROMs and make the most of your smartphone!
Step 4: Installing Google Apps
After successfully installing a custom ROM on your Xiaomi Redmi 4A, the next step is to install Google Apps (GApps) to enhance its functionality and enable access to various Google services. Here’s a step-by-step guide to help you through the process:
1. Choose Your GApps Package: There are several GApps packages available, each containing a different set of Google apps. You can choose between packages like “micro,” “mini,” “nano,” or “full,” depending on your preferences and available storage. Consider your device’s capability before selecting a package.
2. Download the GApps Package: Go to a trusted source, such as OpenGApps.org, and download the appropriate GApps package for your desired package size and Android version. Make sure to download the package meant for ARM architecture, as that is what the Redmi 4A uses.
3. Transfer the GApps Package to Your Device: Connect your Xiaomi Redmi 4A to your computer using a USB cable. Copy the downloaded GApps package to the internal storage or an accessible folder on your device.
4. Boot into Recovery Mode: Power off your device and then press and hold the volume up and power buttons together to boot into recovery mode. This will take you to the custom recovery software, like TWRP, that you installed earlier.
5. Install the GApps Package: In the recovery mode, select the “Install” option and navigate to the location where you transferred the GApps package. Select the package and swipe to confirm the installation. Wait for the installation process to complete.
6. Clear Cache and Reboot: After the GApps package is successfully installed, go back to the main menu of the recovery mode and select the “Wipe” option. Choose the “Cache” partition and swipe to clear the cache. Once done, go back and select the “Reboot” option to restart your device.
7. Set Up Google Apps: When your Xiaomi Redmi 4A boots up, you will need to go through the initial setup process. During this process, you will be prompted to sign in with your Google account. Follow the on-screen instructions to complete the setup and enjoy access to various Google services, such as the Play Store, Gmail, Maps, and more.
That’s it! Now your Xiaomi Redmi 4A is equipped with Google Apps, providing you with a more robust and feature-packed experience. Enjoy exploring and making the most of your smartphone’s capabilities.
Conclusion
The Xiaomi Redmi 4A is a highly impressive and affordable smartphone that offers outstanding features and performance. Its sleek design, vibrant display, and powerful processor make it an ideal choice for mobile users who are looking for a reliable and budget-friendly device.
With easy installation and user-friendly interface, setting up the Xiaomi Redmi 4A is a breeze, even for those who are not tech-savvy. Its efficient battery life ensures that you can enjoy hours of uninterrupted usage, whether it’s browsing the web, streaming videos, or playing games.
Additionally, the Redmi 4A provides a great camera setup, allowing you to capture high-quality photos and videos. Its expandable storage options provide ample space for all your files, apps, and media, ensuring you never run out of space.
Overall, the Xiaomi Redmi 4A is an excellent choice for anyone seeking a reliable, feature-rich, and affordable smartphone. It offers exceptional value for money and is sure to exceed your expectations, making it a top contender in the budget smartphone market.
FAQs
1. How do I install apps on Xiaomi Redmi 4A?
2. Can I expand the storage on Xiaomi Redmi 4A?
3. How do I take a screenshot on Xiaomi Redmi 4A?
4. Is Xiaomi Redmi 4A compatible with 5G networks?
5. How long does the battery last on Xiaomi Redmi 4A?