
Are you running out of storage space on your Blu Phone because of all those pictures you’ve been snapping? Don’t worry, we’ve got you covered! In this article, we will guide you through the process of moving your pictures to an SD card on your Blu Phone. By transferring your pictures to the SD card, you will not only free up valuable internal storage but also ensure that your memories are safe and easily accessible. Whether you’re a photography enthusiast or simply love capturing precious moments, knowing how to move pictures to an SD card on your Blu Phone is a skill worth mastering. So get ready to optimize your phone’s storage and never miss a picture-perfect moment again!
Inside This Article
- Why Move Pictures to an SD Card?
- Step 1: Inserting the SD Card into your Blu Phone
- Step 2: Transferring Pictures from Internal Storage to SD Card
- Step 3: Verifying the Picture Transfer
- Tips for Managing Pictures on your Blu Phone’s SD Card
- Conclusion
- FAQs
Why Move Pictures to an SD Card?
Moving pictures to an SD card on your Blu phone offers several advantages. Firstly, it helps you free up valuable internal storage space on your device. As you take more photos and videos, your phone’s internal storage can quickly fill up, causing performance issues and making it difficult to install new apps or download files. By transferring pictures to the SD card, you can keep your internal storage clean and optimize your phone’s performance.
A second reason to move pictures to an SD card is for easier data backup and transfer. With your pictures safely stored on the SD card, you can easily remove it from your Blu phone and insert it into another device or a card reader. This makes it simple to transfer pictures to a computer or share them with friends and family. Additionally, having a separate storage device for your pictures provides an additional layer of protection against data loss.
Furthermore, using an SD card allows you to expand your phone’s storage capacity. Blu phones typically have limited internal storage, but by using an SD card, you can significantly increase the amount of space available for storing pictures and other media. This is particularly useful if you frequently capture high-resolution photos or record videos.
Lastly, moving pictures to an SD card can improve the organization of your phone’s gallery. Instead of having all your pictures mixed with system files and app data, you can have a dedicated folder on the SD card specifically for your photos and videos. This makes it easier to locate and manage your media files, especially if you have a large collection.
Step 1: Inserting the SD Card into your Blu Phone
Before you can start transferring pictures to your SD card on your Blu phone, you need to make sure that the card is inserted properly. Follow these steps to insert the SD card:
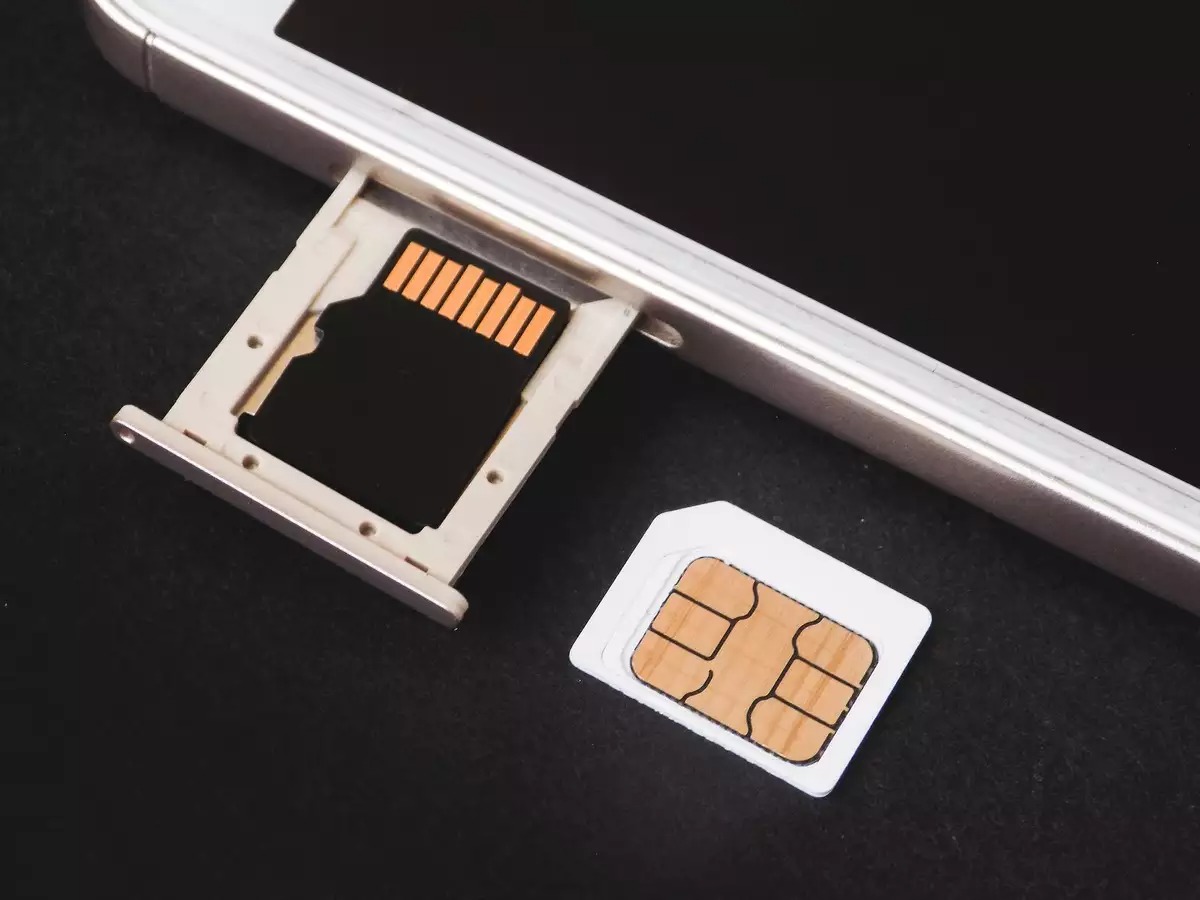
1. Locate the SIM card tray on your Blu phone. It is usually located on the side or top of the device.
2. Use a SIM card removal tool or a small paperclip to eject the SIM card tray. Insert the tool into the small hole next to the tray and apply gentle pressure until the tray pops out.
3. Carefully remove the tray from your phone and set it aside.
4. Take your SD card and make sure it is oriented correctly. Look for the notch or groove on one side of the card.
5. Insert the SD card into the dedicated slot in the SIM card tray. Make sure to align the notch or groove on the card with the corresponding slot in the tray.
6. Carefully push the tray back into the phone until it is fully inserted.
7. Gently push the tray back into the phone until it is fully inserted.
8. Once the SD card is inserted, your Blu phone should recognize it, and you will be able to start transferring pictures to it.
Step 2: Transferring Pictures from Internal Storage to SD Card
Now that you have inserted the SD card into your Blu Phone, it’s time to transfer the pictures from the internal storage to the SD card. This process will help free up space on your device and allow you to store a larger number of photos.
To start the transfer process, follow these steps:
- Open the ‘Gallery’ app on your Blu Phone. This app is where all your photos are stored.
- Once you’re in the Gallery, navigate to the folder or album that contains the pictures you want to transfer.
- Tap and hold on one of the pictures until a selection menu appears. You can now select multiple pictures by tapping on each of them.
- After selecting the desired pictures, locate the ‘Options’ menu (usually represented by three dots or lines) and tap on it.
- In the Options menu, look for the ‘Move’ or ‘Move to SD card’ option and select it. This will initiate the transfer process.
- Wait for the transfer to complete. The time it takes will depend on the number and size of the pictures you are transferring.
Once the transfer is complete, your pictures will now be safely stored on the SD card. You can verify this by checking the SD card’s folder or album within the ‘Gallery’ app.
It is important to note that after transferring the pictures to the SD card, you can still access them from the ‘Gallery’ app. However, if you remove the SD card from your Blu Phone, you will no longer be able to view these pictures.
Now that you have successfully transferred your pictures to the SD card, you can continue capturing and storing more beautiful moments without worrying about running out of storage space on your Blu Phone!
Step 3: Verifying the Picture Transfer
After successfully transferring your pictures from the internal storage to the SD card on your Blu Phone, it is crucial to verify that the transfer was successful. Here are a few simple steps to help you ensure that your precious memories are safely stored on the SD card:
- Open the Gallery App: Tap on the Gallery app icon on your Blu Phone’s home screen or app drawer. This app is typically represented by an icon resembling a photo or a flower.
- Navigate to the SD Card folder: Once you are in the Gallery app, look for an option called “SD Card” or “External Storage”. Tap on it to access the contents of your SD card.
- Browse through the pictures: Once you are in the SD Card folder, you should see all the pictures that you transferred from the internal storage. Take some time to browse through the pictures and ensure that all your important photos are there.
- Open and view the pictures: Tap on any picture to open it and make sure it loads correctly. Verify that the picture quality is not compromised and that you can view it without any issues.
- Check for missing or incomplete transfers: While viewing the pictures, keep an eye out for any missing or incomplete transfers. If you notice any images that did not transfer or appear corrupted, you may need to repeat the transfer process for those specific pictures.
By following these steps, you can effectively verify the picture transfer process and ensure that your photos are safely stored on the SD card of your Blu Phone. It is always a good idea to double-check to avoid any potential data loss or unexpected issues.
Tips for Managing Pictures on your Blu Phone’s SD Card
Managing pictures on your Blu Phone’s SD Card can help keep your device organized and ensure you have enough storage space for new memories. Here are some helpful tips to make the process easier:
- Regularly backup your pictures: It’s always a good idea to backup your pictures to a cloud storage service or to your computer. This way, even if something happens to your SD card, your precious memories will be safe.
- Organize your pictures into folders: Creating separate folders for different occasions or categories can make it easier to locate specific pictures later. You can create folders for vacations, birthdays, or any other events that you frequently capture on your Blu Phone.
- Delete unnecessary pictures: As you go through your pictures, take the time to delete any duplicates, blurry shots, or pictures that no longer hold any significance. This will free up space on your SD card and keep it clutter-free.
- Use a photo management app: There are several photo management apps available for Android devices, including Blu Phones. These apps can help you organize, edit, and share your pictures conveniently.
- Check for and fix any corrupted files: Occasionally, files on your SD card may become corrupted, making them unreadable or inaccessible. Use a reliable file checker app to scan and fix any issues with your pictures.
- Utilize cloud services: Many cloud storage services offer automatic backup options. Link your Blu Phone’s SD card to a cloud service like Google Photos or Dropbox to have your pictures automatically backed up as soon as they are saved to the SD card.
- Consider using a larger capacity SD card: If you frequently take a lot of pictures or videos, you might want to consider upgrading to a higher capacity SD card. This will give you more storage space and allow you to keep more memories on your device.
- Keep your SD card clean: Dust and debris can accumulate on your SD card, potentially causing issues with file transfers and access. Regularly clean your SD card by gently wiping it with a soft, lint-free cloth.
- Format your SD card periodically: Formatting your SD card can help optimize its performance and resolve any file allocation issues. However, be cautious when formatting as it will erase all data on the card. Make sure to back up your pictures before formatting.
By following these tips, you can effectively manage your pictures on your Blu Phone’s SD card, ensuring that you have ample storage space and easy access to your cherished memories.
Conclusion
So, in conclusion, transferring pictures to an SD card on your Blu phone is a simple and effective way to free up storage space and ensure that your precious memories are safely backed up. By following the steps outlined in this article, you can easily move your pictures to an SD card and enjoy the benefits of increased storage capacity.
Remember to choose a high-quality SD card that is compatible with your Blu phone, and make sure to back up your pictures regularly to avoid any loss of data. With the convenience and reliability of SD cards, you can confidently store and access your pictures whenever you need them.
Now that you have the knowledge and tools to transfer pictures to an SD card, you can declutter your phone’s storage and make room for new memories. So, go ahead and take control of your Blu phone’s storage space, and keep snapping those beautiful pictures without worrying about running out of space!
FAQs
1. How do I transfer pictures to an SD card on my Blu phone?
To move pictures to an SD card on your Blu phone, follow these steps:
- Insert the SD card into your phone’s SD card slot.
- Open the gallery app or file manager on your phone.
- Select the pictures you want to move by long-pressing on them or using the select button.
- Tap the share or options icon, usually represented by three dots or a share button.
- Choose the “Move” or “Move to SD card” option.
- Select the SD card as the destination folder.
- Confirm the transfer, and your pictures will be moved to the SD card.
2. Can I move all types of pictures to an SD card?
Yes, you can move all types of pictures, including photos, screenshots, and downloaded images, to an SD card on your Blu phone. Just follow the steps mentioned in the previous answer to transfer your pictures successfully.
3. How much storage space does an SD card have?
The storage space of an SD card varies depending on the card’s capacity. SD cards typically come in various sizes, such as 16GB, 32GB, 64GB, 128GB, and even larger capacities. Make sure to choose an SD card with sufficient storage space for your picture transfer needs.
4. Can I still access the pictures on the SD card after moving them?
Yes, you can still access the pictures on the SD card after moving them. The pictures will be stored in the SD card’s designated folder, which can be accessed through the gallery app or file manager on your Blu phone. Just navigate to the SD card directory to view and manage your pictures.
5. Can I use the SD card for other purposes besides storing pictures?
Absolutely! An SD card is versatile and can be used for various purposes. Besides storing pictures, you can use an SD card to store music, videos, documents, and other types of files on your Blu phone. It provides additional storage space and helps to free up your phone’s internal memory for better performance.