
The Motorola Razr V3 is a legendary smartphone that took the world by storm when it was first released. Its sleek design, innovative features, and iconic flip form captivated the hearts of cell phone enthusiasts everywhere. One of the most common questions that arises for Razr V3 users is how to get pictures off the device. Whether you want to transfer photos to your computer, share them with friends and family, or simply backup your precious memories, this article will guide you through the process step by step. So, if you’re ready to learn how to extract those cherished moments from your Motorola Razr V3, keep reading!
Inside This Article
- Overview
- Method 1: Transferring Pictures via USB Cable
- Method 2: Using Bluetooth to Transfer Pictures
- Method 3: Transferring Pictures to a Computer via SD Card
- Method 4: Emailing Pictures from Motorola Razr V3
- Conclusion
- FAQs
Overview
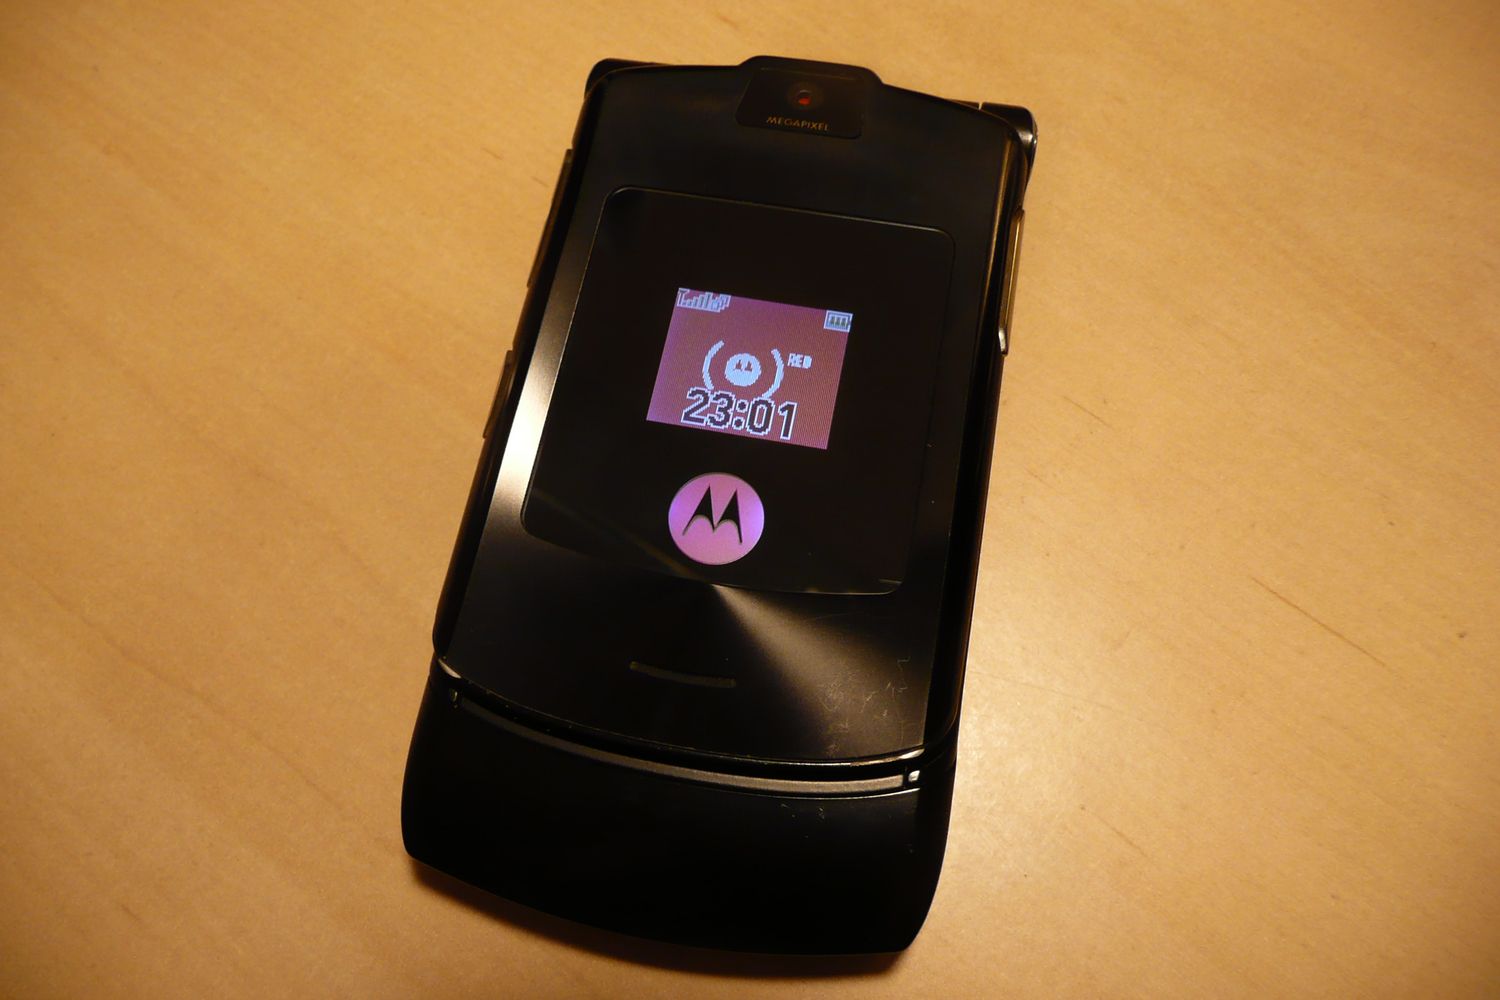
The Motorola Razr V3 is a classic and iconic cell phone that gained immense popularity when it was released back in 2004. Known for its sleek and slim design, the Razr V3 quickly became a status symbol and a must-have gadget.
One of the key features of the Motorola Razr V3 is its built-in camera, which allows users to capture precious moments with just a click. However, many users find themselves wondering how to get pictures off the Motorola Razr V3 and onto another device or platform.
In this article, we will explore several methods you can use to transfer pictures from your Motorola Razr V3 to a computer, another phone, or any other desired destination. From using a USB cable to transferring pictures via Bluetooth or SD card, we have you covered.
Whether you want to save your cherished memories, share them with friends and family, or simply free up space on your Razr V3, follow our step-by-step guide to easily and efficiently transfer pictures from your Motorola Razr V3.
Method 1: Transferring Pictures via USB Cable
Transferring pictures from your Motorola Razr V3 to your computer using a USB cable is a convenient and straightforward method. To get started, make sure you have a compatible USB cable that connects your phone to your computer.
Here are the steps to transfer pictures via USB cable:
- Connect one end of the USB cable to your Motorola Razr V3, and the other end to an available USB port on your computer.
- On your phone, locate the USB connection settings. This can usually be found by going to “Settings” > “Connection” > “USB Connection” or a similar menu option.
- Select “Data Transfer” or “File Transfer” mode on your phone. This will allow your computer to recognize your device as a storage device.
- Once your phone is connected and in data transfer mode, your computer should prompt you to open the device or view files. Click on the prompt to open the device.
- Navigate to the folder on your phone where the pictures are stored. This is typically the “Pictures” or “DCIM” folder.
- Select the pictures you want to transfer by either clicking on them individually or using the “Ctrl” or “Shift” key to select multiple pictures.
- Drag and drop the selected pictures to a folder on your computer. Alternatively, you can right-click on the selected pictures and choose “Copy” to copy them, then right-click on the desired folder on your computer and choose “Paste” to transfer them.
Once the transfer is complete, you can disconnect your Motorola Razr V3 from your computer. Voila! Your pictures are now safely stored on your computer for easy access and backup.
Transferring pictures via USB cable is not only a convenient way to back up your photos but also allows for easy editing, sharing, and printing.
Method 2: Using Bluetooth to Transfer Pictures
If you’re looking for a wireless and convenient way to transfer pictures from your Motorola Razr V3, using Bluetooth is a great option. Bluetooth technology allows you to connect your phone to other compatible devices, such as laptops, computers, or other smartphones, without the need for cables. Here’s how you can use Bluetooth to transfer pictures:
Step 1: Enable Bluetooth on your Motorola Razr V3
Start by turning on the Bluetooth feature on your Motorola Razr V3. To do this, go to the “Settings” menu, select “Connections,” and then choose “Bluetooth.” Toggle the Bluetooth option to enable it.
Step 2: Pair your Razr V3 with the receiving device
Next, you’ll need to pair your Motorola Razr V3 with the device you want to transfer pictures to. Ensure that the receiving device’s Bluetooth function is also turned on. On your Razr V3, navigate to the “Bluetooth” menu and select “Add device” or “Pair.” The phone will search for nearby devices and display a list of available options. Choose the device you want to connect to and follow the prompts to complete the pairing process.
Step 3: Select the pictures to transfer
Once your Motorola Razr V3 is successfully paired with the receiving device, it’s time to select the pictures you want to transfer. Open your phone’s gallery or photo app and navigate to the folder where the pictures are stored. Tap and hold on a picture to activate the selection mode, then choose additional pictures you wish to transfer.
Step 4: Initiate the transfer
With the pictures selected, find the “Share” or “Send” option in your gallery or photo app. Within the sharing options, you should see “Bluetooth” as one of the available methods. Select it, and your phone will initiate the transfer process to the paired device. The transfer speed may vary based on the Bluetooth version and the devices involved.
Step 5: Accept the transfer on the receiving device
On the receiving device, you should receive a notification or prompt to accept the incoming Bluetooth transfer from your Motorola Razr V3. Follow the prompts to complete the transfer, and the selected pictures will be saved to the designated location on the receiving device.
Using Bluetooth to transfer pictures from your Motorola Razr V3 provides a wireless and quick method without the need for cables or an internet connection. It’s a convenient way to share photos with friends or backup your pictures to a computer or other devices.
Method 3: Transferring Pictures to a Computer via SD Card
If you have a Motorola Razr V3 and want to transfer pictures to your computer, using an SD card can be a convenient option. The SD card slot on the Razr V3 allows you to easily store and transfer pictures. Here’s how you can do it:
1. Insert the SD card into your Motorola Razr V3. Make sure the card is properly seated in the slot.
2. Go to the “Pictures” or “Gallery” app on your Razr V3. Navigate to the picture you want to transfer to your computer.
3. Open the picture and look for the “Options” or “Settings” menu. Inside that menu, you should find an option to “Copy” or “Move” the picture.
4. Choose the “Copy” or “Move” option and select the SD card as the destination. The picture will be copied or moved to the SD card storage.
5. Remove the SD card from your Motorola Razr V3 and insert it into the SD card slot on your computer. Ensure the computer recognizes the SD card.
6. Open the file explorer on your computer and navigate to the SD card. You should see the picture you copied or moved from your Razr V3.
7. Copy the picture from the SD card to your computer by dragging and dropping it to a desired folder or location on your computer’s hard drive.
8. Safely eject the SD card from your computer. Remove the SD card from the slot and insert it back into your Motorola Razr V3.
By following these steps, you can easily transfer pictures from your Motorola Razr V3 to your computer using an SD card. This method is especially useful when you have multiple pictures to transfer or if you prefer a direct connection between your phone and computer.
Method 4: Emailing Pictures from Motorola Razr V3
The Motorola Razr V3 allows you to easily email pictures directly from your phone. This method is convenient if you want to quickly share your photos with family and friends, or if you need to send them to yourself for backup purposes. Here’s a step-by-step guide on how to email pictures from your Motorola Razr V3:
- First, navigate to the picture you want to email in your phone’s gallery or camera roll.
- Select the picture by pressing the appropriate key or using the touch screen interface.
- Once the picture is selected, look for the menu option that allows you to share or send the picture. It is usually represented by a share icon or the word “send”.
- Choose the option to send the picture via email.
- If you have already set up an email account on your Motorola Razr V3, select the account you want to use to send the email. If you haven’t set up an email account yet, you will be prompted to do so.
- Compose your email by filling in the recipient’s email address, a subject line, and any additional text you want to include.
- Before sending the email, make sure to attach the picture you want to send. Look for an attachment icon or an option to “add attachment” in the email composition screen.
- Once the picture is attached and your email is ready to be sent, review it one last time to ensure everything is correct.
- When you’re ready, press the send button or select the option to send the email.
- Your Motorola Razr V3 will then send the email with the attached picture to the recipient’s email address.
It’s important to note that sending pictures via email may result in data usage fees, depending on your mobile service provider. If you’re using a Wi-Fi connection, data usage fees may not apply. Also, keep in mind that email providers often have file size limits, so if your picture is too large, you may need to resize it or consider using another method to transfer the picture.
Emailing pictures from your Motorola Razr V3 is a quick and convenient way to share your photos with others or transfer them to your computer. It’s a handy feature that makes it easy to stay connected and share your memories on the go.
Conclusion
The Motorola Razr V3 is a timeless classic that revolutionized the mobile phone industry. With its sleek design, innovative features, and impressive performance, it remains a favorite among cell phone enthusiasts. Whether you’re looking to transfer pictures from your Razr V3 to your computer or share them with friends and family, there are several methods available to make the process seamless and convenient.
From using a USB cable to connecting via Bluetooth or accessing cloud storage, you have a range of options to choose from. Regardless of your preferred method, the key is to ensure compatibility and follow the necessary steps to successfully transfer your pictures.
With the instructions provided in this article, you can easily get pictures off your Motorola Razr V3 and enjoy your cherished memories on other devices. So, grab your USB cable or enable Bluetooth, and start exploring the various ways to transfer and share your pictures!
FAQs
Q: Can I transfer pictures from my Motorola Razr V3 to my computer?
A: Yes, you can transfer pictures from your Motorola Razr V3 to your computer. The easiest way to do this is by using a USB cable to connect your phone to your computer. Once connected, you can access the phone’s storage and copy the pictures to your computer. Alternatively, you can also use Bluetooth or a memory card reader to transfer the pictures.
Q: What is the best method to transfer pictures from my Motorola Razr V3 to my computer?
A: The best method to transfer pictures from your Motorola Razr V3 to your computer will depend on the resources available to you. If you have a USB cable, it is often the most convenient and efficient option. If not, you can consider using Bluetooth or a memory card reader. Choose the method that suits your needs and available resources.
Q: How can I connect my Motorola Razr V3 to my computer via USB?
A: To connect your Motorola Razr V3 to your computer via USB, you will need a USB cable that is compatible with your phone. Ensure that your phone is powered on and unlocked. Connect one end of the USB cable to your phone and the other end to an available USB port on your computer. Your computer should recognize the device, and you can then access the phone’s storage to transfer pictures or other files.
Q: Can I transfer pictures from my Motorola Razr V3 to my computer without a USB cable?
A: Yes, you can transfer pictures from your Motorola Razr V3 to your computer without a USB cable. One alternative method is to use Bluetooth. Ensure that Bluetooth is enabled on both your phone and computer. Pair the devices, and then you can transfer pictures wirelessly. Another option is to remove the memory card from your phone and use a memory card reader to transfer the pictures to your computer.
Q: Do I need special software to transfer pictures from my Motorola Razr V3 to my computer?
A: In most cases, you do not need special software to transfer pictures from your Motorola Razr V3 to your computer. Once the phone is connected to your computer, it should be recognized as a storage device, and you can access the pictures directly. However, if you encounter any issues or prefer to use specialized software, you can consider using Motorola Phone Tools or other file transfer applications specifically designed for Motorola phones.