
If you’re an avid photographer or simply love capturing precious moments on your Sony Xperia smartphone, you may find yourself running out of storage space on your device. Luckily, most Sony Xperia models offer the option to save pictures directly to an SD card, expanding your storage capacity and ensuring you never miss a shot. In this article, we will explore the step-by-step process of how to save pictures to an SD card on your Sony Xperia device, providing you with a handy guide to conveniently store and access your photos. So, whether you have a Sony Xperia XZ or a Sony Xperia 5 II, let’s dive in and discover how to maximize your storage space and preserve your picture-perfect memories.
Inside This Article
- Troubleshooting SD Card Issue
- Method 1: Setting Default Storage Location
- Method 2: Moving Pictures to SD Card
- Method 3: Using a File Manager App
- Method 4: Formatting SD Card as Internal Storage
- Conclusion
- FAQs
Troubleshooting SD Card Issue
If you’re experiencing issues with your SD card on your Sony Xperia smartphone, there are several steps you can take to troubleshoot and resolve the problem. Here are some common issues and solutions that can help you overcome SD card problems.
1. Incompatibility: One possible reason for SD card issues is compatibility. Make sure that your SD card is compatible with your Sony Xperia smartphone. Check the device specifications or consult the manufacturer’s website for compatibility information.
2. SD Card Not Recognized: If your SD card is not being detected by your Sony Xperia device, try removing it and reinserting it. Ensure that it is properly inserted into the card slot. If the problem persists, try using another SD card to determine if the issue is with the card or the device.
3. Corrupted Data: If you are experiencing errors or issues with the data on your SD card, it may be corrupted. Use a computer or a card reader to connect the SD card and try accessing the data. If the data is not accessible, you may need to format the SD card. However, keep in mind that formatting erases all the data on the card, so make sure to back up any important files before proceeding.
4. Insufficient Storage Space: If you are unable to save pictures or other files to your SD card, it may be due to insufficient storage space. Check the available storage on your SD card and delete any unnecessary files or apps to free up space.
5. SD Card Errors: If your SD card is displaying error messages or is not functioning properly, you can try using the built-in error-checking tool on your Sony Xperia device. Go to the Settings menu, select Storage & memory, and tap on the SD card. Look for the option to check for errors or repair the card.
6. Physical Damage: If your SD card has physical damage, such as a cracked or bent card, it may not function properly. In such cases, replacing the SD card is the best solution to resolve the issue.
By following these troubleshooting steps, you can resolve common SD card issues on your Sony Xperia smartphone. If the problem persists, it may be necessary to contact the manufacturer’s support for further assistance.
Method 1: Setting Default Storage Location
If you own a Sony Xperia phone and want to save pictures directly to your SD card, setting the default storage location to the SD card can be a quick and convenient solution. By doing so, any new pictures you capture will automatically be stored on your SD card instead of the internal storage.
Not only does this help you save precious internal storage space, but it also makes it easier to access and transfer your pictures to other devices.
Here’s how you can set the default storage location on your Sony Xperia:
- Open the Settings app on your Xperia device. You can usually find it in the app drawer or by swiping down from the top of the screen and tapping the gear-shaped icon.
- In the Settings menu, scroll down and tap on Storage or Storage & memory (depending on your device).
- Look for an option called Default Write Disk or Phone storage settings.
- Tap on it, and you’ll see a list of available storage options. Select the SD card from the list.
- Finally, confirm your selection by tapping on OK or Apply.
Once you’ve completed these steps, your Xperia phone will save all future pictures to the SD card automatically. However, keep in mind that any existing pictures stored in the internal storage won’t be moved to the SD card, so you may need to manually transfer them if you want to free up space.
It’s worth mentioning that some Sony Xperia models may have slightly different menu options or locations, so if you’re having trouble finding the specific setting, refer to the user manual or consult the Sony support website for your device.
By following this simple method, you’ll be able to change the default storage location on your Sony Xperia phone and ensure that your pictures are saved directly to the SD card for easy access and space management.
Method 2: Moving Pictures to SD Card
If you’re running out of storage space on your Sony Xperia device and want to free up some internal memory, moving pictures to an SD card is a great solution. The SD card acts as external storage and allows you to transfer your photos and videos from your phone’s internal storage to the card, thus making more room for new memories.
Follow these steps to move pictures to an SD card on your Sony Xperia:
- Insert the SD card into your phone’s SD card slot. Ensure that it is properly inserted and detected by your device.
- Open the “Photos” or “Gallery” app on your Sony Xperia. This may vary depending on the model and interface.
- Navigate to the folder containing the pictures you want to move. You can select individual photos or multiple photos at once by long-pressing on a photo and then ticking the boxes next to the desired photos.
- Once you have selected the photos, tap on the options menu (usually represented by three vertical dots or lines) located at the top-right corner of the screen.
- From the options menu, select “Move to SD card” or a similar option. If the option is not available, look for “Storage” or “Manage storage” settings within the app and check if there’s an option to change the default storage location.
- A confirmation prompt may appear, informing you about the potential loss of certain app-specific features or functionalities. Select “Move” or “OK” to proceed.
- The phone will now start transferring the selected photos from the internal storage to the SD card. The time taken for the transfer process depends on the number and size of the pictures.
- Once the transfer is complete, you will see a notification confirming the successful move of your photos.
- You can now verify the relocation by going to the “SD card” section within the app or using a file manager app to check the storage location of your pictures.
By moving your pictures to an SD card, not only do you free up valuable space on your Sony Xperia device, but you also have the flexibility to remove the SD card and access your photos on other devices, such as computers or digital photo frames.
Note: The steps mentioned above may vary slightly depending on your specific Sony Xperia model and the version of the operating system (Android) it is running. However, the general process should remain similar across the different devices.
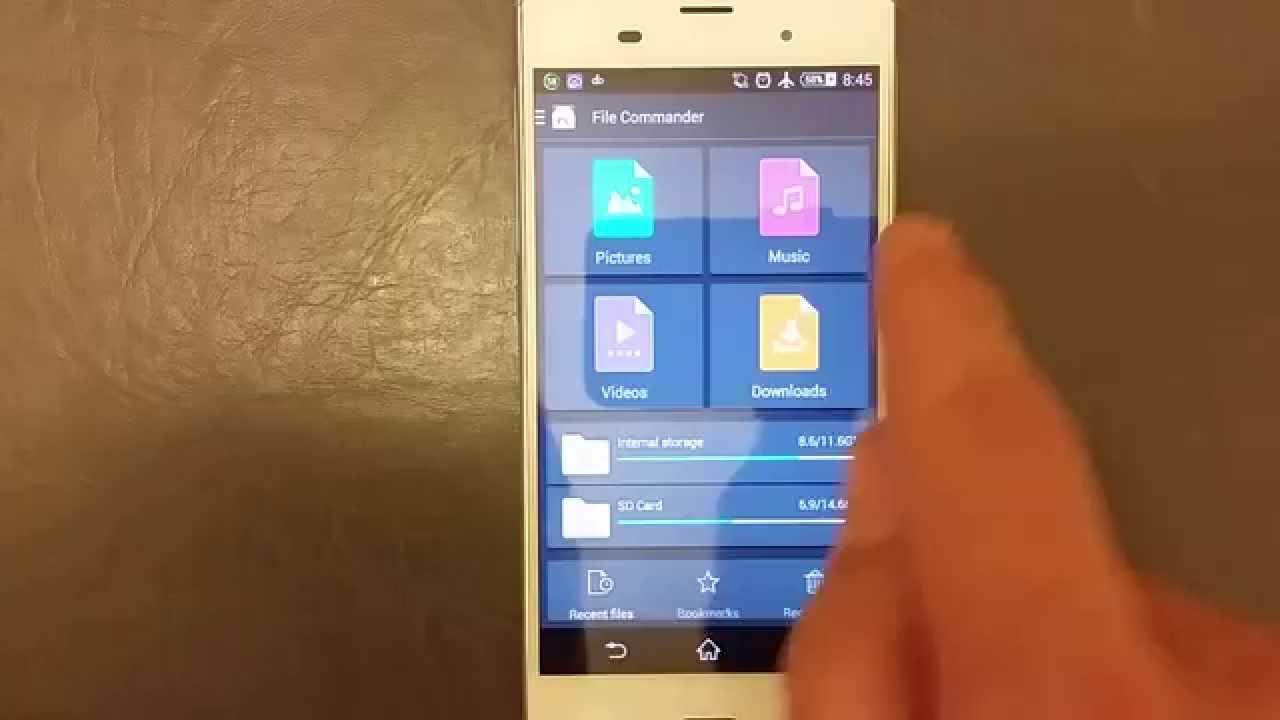
Method 3: Using a File Manager App
If you want a more convenient and straightforward way to save pictures to your SD card on your Sony Xperia device, using a file manager app is a great solution. File manager apps provide a user-friendly interface to browse, manage, and transfer files on your device.
There are several file manager apps available in the Google Play Store, such as ES File Explorer, Solid Explorer, and Astro File Manager. These apps offer a range of features, including the ability to move, copy, and delete files, as well as a built-in file viewer.
Follow these steps to save pictures to your SD card using a file manager app:
- Step 1: Install a file manager app from the Google Play Store if you haven’t already.
- Step 2: Launch the file manager app and grant the necessary permissions.
- Step 3: Navigate to the location where your pictures are stored, usually in the “DCIM” or “Pictures” folder.
- Step 4: Select the pictures you want to move to the SD card by long-pressing on them.
- Step 5: Look for the options to move or copy the selected pictures.
- Step 6: Choose your SD card as the destination folder.
- Step 7: Confirm the file transfer and wait for the process to complete.
Once the transfer is complete, the selected pictures will be saved to your SD card, freeing up space on your device’s internal storage.
Using a file manager app provides a convenient way to manage your files, including organizing and transferring pictures to your SD card. It offers more flexibility and control over your device’s storage, ensuring you can easily access and store your photos without cluttering your internal storage.
Keep in mind that the steps may vary slightly depending on the file manager app you choose. However, most file manager apps have a similar interface and functionality, making it easy to navigate and perform file operations.
Now that you know how to use a file manager app to save pictures to your SD card on your Sony Xperia device, you can enjoy capturing more memories without worrying about running out of storage space.
Method 4: Formatting SD Card as Internal Storage
If you are running out of internal storage on your Sony Xperia device and you have an SD card inserted, you can consider formatting the SD card as internal storage. This method essentially converts the SD card into an extension of your device’s internal storage, allowing you to install apps, store photos, and save other data directly on the SD card.
Before proceeding with this method, it’s important to note that formatting the SD card as internal storage will erase all data stored on the card. Therefore, make sure to back up any important files or documents before proceeding with this process.
To format the SD card as internal storage on your Sony Xperia device, follow these steps:
- Open the Settings app on your Sony Xperia device.
- Scroll down and tap on Storage.
- Select the SD card that you want to format as internal storage.
- Tap on the menu icon (usually represented by three dots) in the upper-right corner of the screen.
- Choose Storage settings from the dropdown menu.
- Select Format as internal.
- Read the information provided about the consequences of this action and tap Erase & Format if you’re sure you want to proceed.
- Wait for the formatting process to complete.
- Once the formatting process is finished, tap Move now to transfer data from the internal storage to the newly formatted SD card.
After completing these steps, your SD card will be formatted as internal storage, and you can start using it to install apps and store data. It’s worth noting that some apps may not be movable to the SD card, and certain functionalities may be limited depending on the app compatibility.
Remember, formatting the SD card as internal storage is a one-way process, and reverting to the previous state will require formatting the SD card again and erasing all data. Therefore, only proceed with this method if you are sure about your decision.
Conclusion
In conclusion, learning how to save pictures to an SD card on your Sony Xperia device can be a game-changer when it comes to managing your photo storage. Not only does it provide you with additional space on your device, but it also gives you the flexibility to transfer and access your pictures conveniently.
By following the simple steps outlined in this guide, you can easily save your pictures to your SD card and enjoy the benefits of extra storage capacity without compromising the quality of your photos or worrying about running out of space. Whether you’re a photography enthusiast or simply want to free up space on your Sony Xperia device, utilizing the SD card feature is a smart and practical solution.
Now that you have the knowledge to take control of your picture storage, you can preserve your precious memories and capture new moments without limitations. So go ahead, explore the world of photography with your Sony Xperia, knowing that you have the power to save pictures directly to your SD card.
FAQs
Q: How do I save pictures to the SD card on my Sony Xperia phone?
Saving pictures to an SD card on your Sony Xperia phone is a simple process. First, insert the SD card into your phone’s SD card slot. Then, open the camera app and go to the settings menu. Look for the storage option and select the SD card as the default storage location. From now on, all pictures you capture will be saved directly to the SD card.
Q: Can I move existing pictures from my phone’s internal storage to the SD card?
Yes, you can easily move existing pictures from your phone’s internal storage to the SD card. To do this, open your phone’s gallery app or file manager, locate the pictures you want to move, and select them. Look for the option to move or copy, and choose the SD card as the destination. The pictures will be transferred to the SD card, freeing up space on your phone’s internal memory.
Q: How do I set the SD card as the default storage for my Sony Xperia’s camera app?
To set the SD card as the default storage for your Sony Xperia’s camera app, follow these steps:
1. Open the camera app.
2. Access the camera settings by tapping on the gear icon or swiping from the edge of the screen.
3. Look for the storage option and tap on it.
4. Choose the SD card as the default storage location.
5. Exit the settings menu.
From now on, all pictures you capture using the camera app will be saved directly to the SD card.
Q: Are pictures saved to the SD card accessible from other devices?
If you save pictures to the SD card on your Sony Xperia phone, they are indeed accessible from other devices. Simply remove the SD card from your phone, insert it into a compatible device (such as a computer or tablet with SD card slot), and access the pictures as you would normally access files on that device. This versatility makes it easy to transfer and share your pictures across multiple devices.
Q: How do I remove the SD card from my Sony Xperia phone?
To remove the SD card from your Sony Xperia phone, follow these steps:
1. Power off your phone.
2. Locate the SD card slot, typically located near the SIM card slot.
3. Use a SIM card tool or a small pin to eject the SD card tray.
4. Gently remove the SD card from the tray.
5. Slide the SD card tray back into the phone.
6. Power on your phone.
It is essential to power off your phone before removing the SD card to avoid any potential data loss or damage to the card.