
Are you having trouble accessing the battery or SIM card slot on your Redmi 3S smartphone? Opening the back panel of a mobile phone may seem like a daunting task, but with the right knowledge and technique, it can be a straightforward process. In this article, we will guide you on how to open the back panel of your Redmi 3S effortlessly. Whether you need to replace a faulty battery or insert a new SIM card, we have got you covered. Just follow these easy steps, and you’ll be able to access the internals of your Redmi 3S in no time. Let’s dive right in!
Inside This Article
- Redmi 3S Back Panel: A Quick Guide
- Tools Required: Screwdriver, Plastic prying tool, Tweezers
- Step-by-Step Instructions
- Conclusion
- FAQs
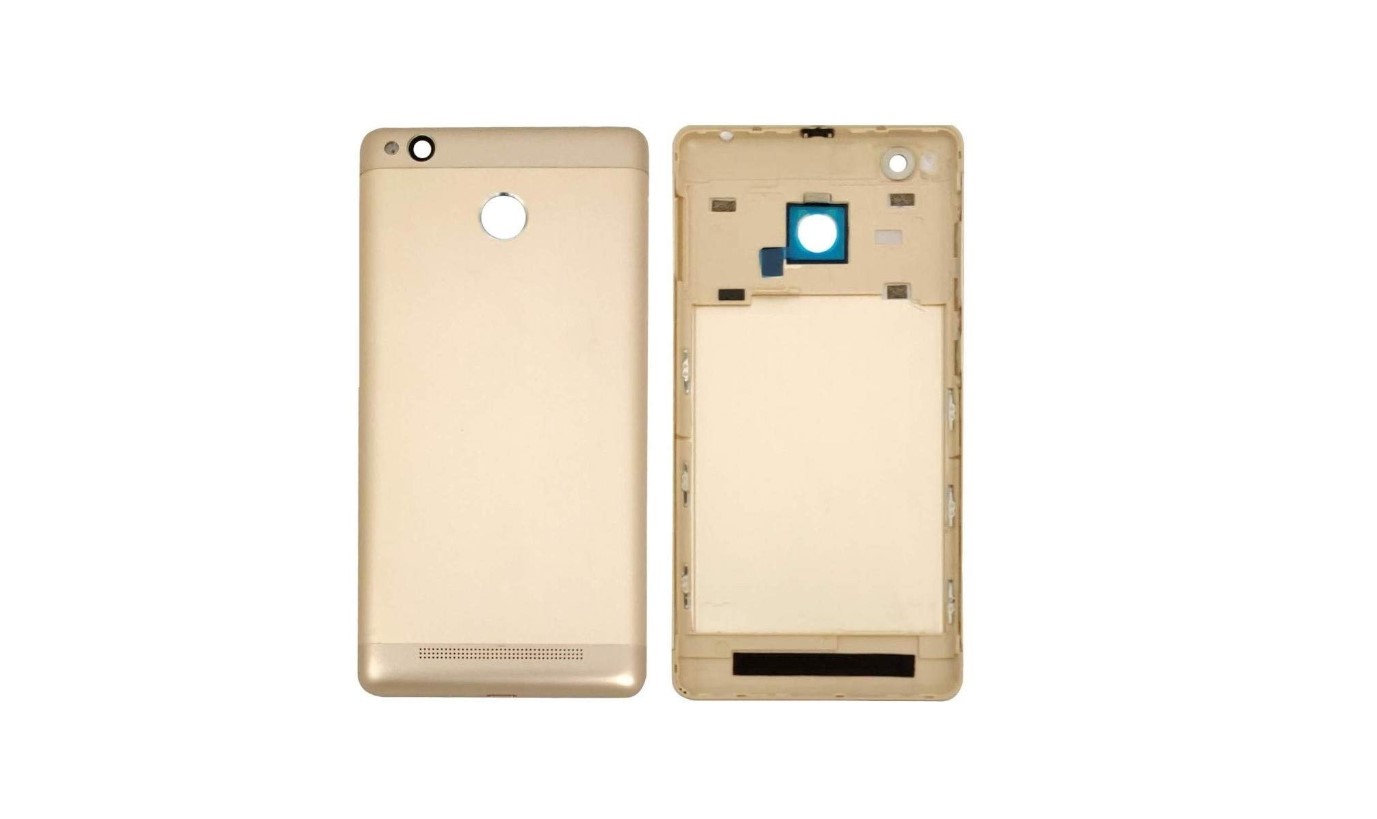
Redmi 3S Back Panel: A Quick Guide
The Redmi 3S is a popular smartphone known for its sleek design and impressive features. If you need to access the battery, SIM card, or other components, you may need to remove the back panel. In this quick guide, we will walk you through the steps on how to open the Redmi 3S back panel.
Tools Required
- Screwdriver
- Plastic prying tool
- Tweezers
Step-by-Step Instructions
- Power off the Redmi 3S and remove the SIM card tray: Before you start, make sure to power off your Redmi 3S. Then, locate the SIM card tray on the side of the phone and use a SIM ejector tool or a paperclip to gently remove it.
- Locate the small screws on the back panel and use a screwdriver to remove them: Flip the phone over and look for the small screws near the edges of the back panel. Use a screwdriver that matches the screw head size and carefully unscrew them. Keep these screws in a safe place to avoid losing them.
- Insert a plastic prying tool or a flat object into the small gap between the back panel and the main body of the phone: Once the screws are removed, you will need to separate the back panel from the main body of the phone. Insert a plastic prying tool or a flat object, like a guitar pick or credit card, into the small gap between the back panel and the phone.
- Gently pry the back panel upwards to disengage the clips holding it in place: Apply gentle pressure and slowly pry the back panel upwards. Take care not to use excessive force to avoid damaging the phone or breaking the plastic clips that hold the back panel in place. Work your way around the edges of the phone until the clips are disengaged.
- Lift the back panel off the device and set it aside: Once all the clips are disengaged, carefully lift the back panel off the device and set it aside. Be cautious when removing the back panel as there may be delicate ribbon cables or connectors attached to it.
Congratulations! You have successfully opened the Redmi 3S back panel. Now you can access the battery, SIM card slot, or any other components that may need servicing or replacement. Remember to handle the internals of the phone with care to avoid any damage.
Frequently Asked Questions
Q: Can I open the Redmi 3S back panel without any tools?
A: While it is not recommended, you can try using your fingertips to pry open the back panel. However, using the proper tools, such as a screwdriver and plastic prying tool, will make the process easier and safer.
Q: Are there any risks involved in opening the Redmi 3S back panel?
A: There is a risk of damaging the phone or its components if you apply excessive force or mishandle the back panel. It is important to follow the instructions carefully and handle the phone with care.
Q: Can I perform any repairs or upgrades after opening the Redmi 3S back panel?
A: Once the back panel is removed, you can access the battery, SIM card slot, or other components. However, it is recommended to seek professional assistance for any repairs or upgrades to avoid causing further damage to the device.
Q: How do I reinstall the Redmi 3S back panel?
A: To reinstall the back panel, simply align it with the phone’s body and gently press it down until you hear the clips snapping into place. Make sure it is securely attached before tightening the screws back in.
Tools Required: Screwdriver, Plastic prying tool, Tweezers
If you are planning to open the back panel of your Redmi 3S, you will need a few essential tools to get the job done efficiently. Here are the tools you’ll need:
1. Screwdriver: A small screwdriver is necessary to remove the screws that hold the back panel in place. Make sure to choose a screwdriver that fits the size of the screws on your Redmi 3S.
2. Plastic prying tool: To safely remove the back panel without causing any damage, a plastic prying tool is highly recommended. This tool helps to pry the panel away from the device’s body without scratching or cracking the surface.
3. Tweezers: Tweezers are useful for handling small components or cables that may need to be disconnected or reconnected when removing the back panel. They provide a precise and controlled grip, making it easier to handle delicate parts.
Having these tools ready before starting the process will make opening the Redmi 3S back panel much smoother and minimize the risk of damaging your device.
Step-by-Step Instructions
1. Power off the Redmi 3S and remove the SIM card tray. Make sure the device is completely powered off before starting the process. Locate the SIM card tray, usually located on the side of the phone, and gently eject it using a SIM ejector tool or a paperclip. Set the SIM card tray aside.
2. Locate the small screws on the back panel and use a screwdriver to remove them. Flip the phone over and look for the small screws holding the back panel in place. Use the appropriate screwdriver, usually a Phillips head or a Torx screwdriver, to carefully unscrew them. Keep these screws in a safe place to avoid losing them.
3. Insert a plastic prying tool or a flat object into the small gap between the back panel and the main body of the phone. Start at one corner of the phone, preferably the corner opposite the camera module, and gently insert a plastic prying tool or any other flat object like a credit card or a guitar pick. Be cautious not to apply too much pressure to avoid damaging the phone or breaking the back panel.
4. Gently pry the back panel upwards to disengage the clips holding it in place. Once you have inserted the prying tool, slowly and gently lift the back panel upwards. The clips holding the back panel in place will start to disengage, allowing you to carefully separate the back panel from the main body of the phone. Be patient and apply even pressure to prevent any cracks or damage to the back panel or the phone.
5. Lift the back panel off the device and set it aside. Once all the clips have been disengaged, you should be able to lift the back panel off the Redmi 3S. Carefully remove the back panel and set it aside in a safe place. You can now access the internal components of the phone or perform any necessary repairs or modifications.
By following these step-by-step instructions, you can easily open the back panel of your Redmi 3S. Remember to exercise caution and take your time during the process to avoid any damage to the phone or its components.
Conclusion
Opening the back panel of a Redmi 3S is a relatively simple process that can be done by following a few easy steps. By removing the back panel, you gain access to the battery, SIM card slots, and memory card slot, allowing you to replace or install components as needed. Remember to handle your phone with care and use the appropriate tools to avoid any damage.
Whether you are looking to replace a worn-out battery or upgrade your storage capacity, opening the Redmi 3S back panel provides you with the flexibility to customize and maintain your device. Just make sure to follow the guidelines and take your time to ensure a successful process. With this knowledge, you can confidently navigate through opening the back panel of your Redmi 3S.
FAQs
Q: How do I open the back panel of the Redmi 3S?
To open the back panel of the Redmi 3S, follow these steps:
1. Power off your Redmi 3S.
2. Locate the small notch on the bottom left corner of the phone.
3. Insert your fingernail or a prying tool into the notch and gently lift the back panel.
4. Continue lifting the panel until it separates from the phone.
Note: Be careful not to apply too much force, as it may damage the back panel or the internal components.
Q: Why would I need to open the back panel of my Redmi 3S?
There are a few reasons why you may need to open the back panel of your Redmi 3S. Some common reasons include:
1. Replacing the SIM card or memory card.
2. Replacing the battery.
3. Cleaning the inside of the phone.
4. Accessing the internal components (in case of repairs).
Opening the back panel gives you access to the phone’s internals and allows you to perform these tasks.
Q: Is it easy to open the back panel of the Redmi 3S?
Opening the back panel of the Redmi 3S is relatively easy with the proper tools and technique. However, it is essential to handle it carefully to avoid damaging the phone or its components. If you are unfamiliar or uncomfortable with performing such procedures, it is recommended to seek professional assistance.
Q: Can I damage my Redmi 3S while opening the back panel?
While opening the back panel of the Redmi 3S, there is a risk of damaging the phone if not performed correctly. Applying excessive force or using improper tools can lead to cracks or breaks in the back panel or internal components. It is crucial to be gentle and cautious during the process to avoid any damage.
Q: Are there any specific tools I need to open the back panel of the Redmi 3S?
To open the back panel of the Redmi 3S, you generally don’t need any specific tools. However, you may find it helpful to use a prying tool or a plastic opening tool to avoid scratching or damaging the phone. Remember to use these tools with caution and only apply the necessary pressure to avoid any mishaps.