
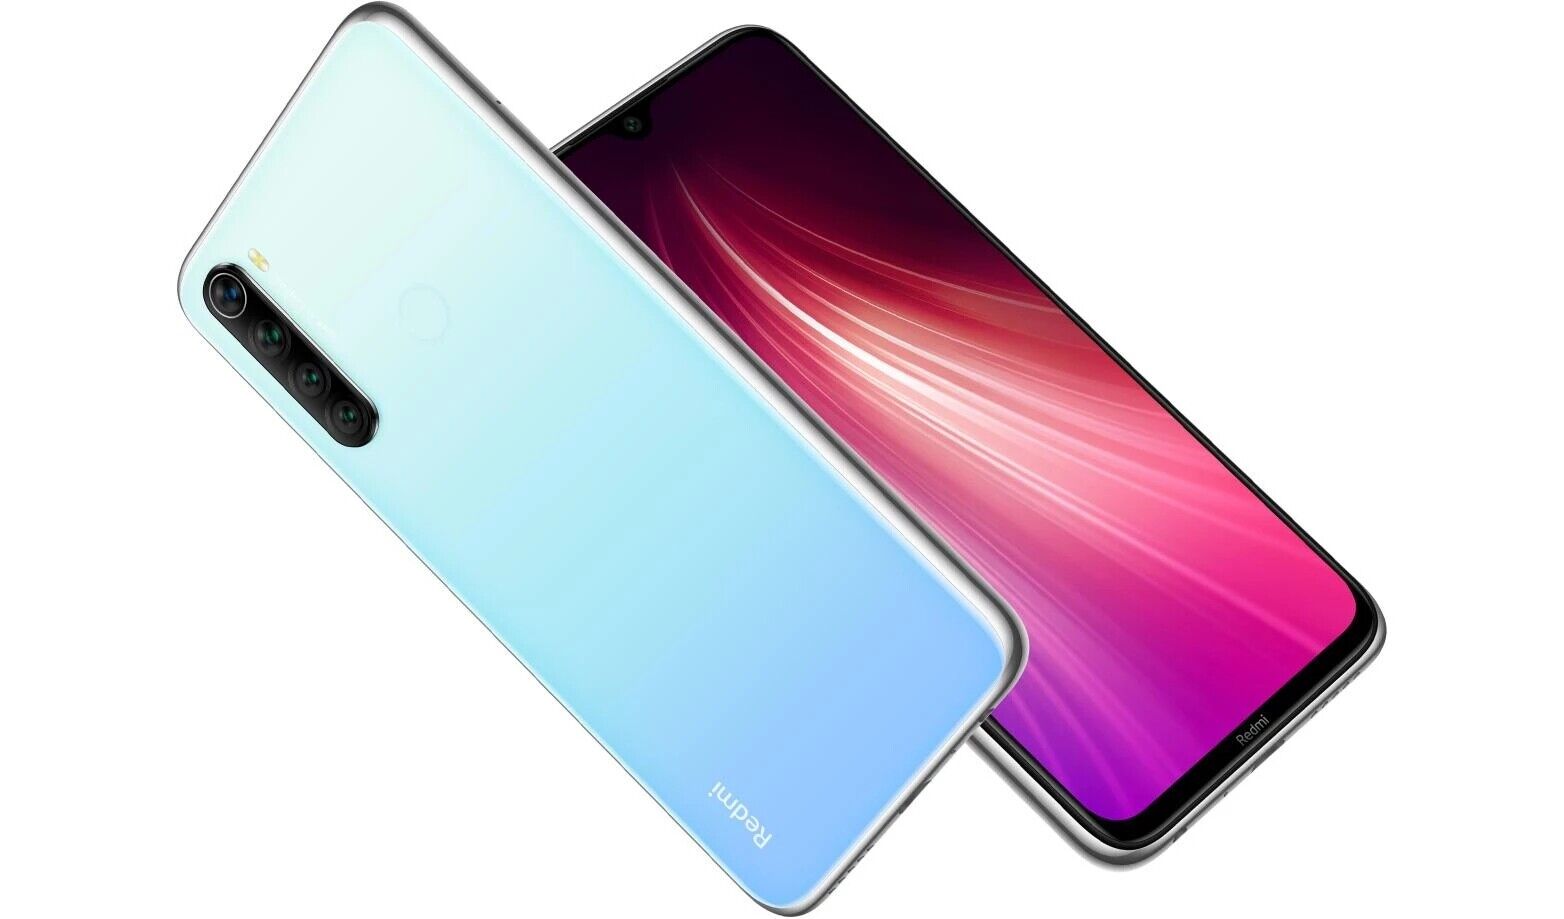
The Redmi Note 8 is a popular smartphone that offers impressive features and capabilities, including a powerful camera system. One of the handy functionalities it offers is the ability to take screenshots, which can come in handy for various purposes like capturing important information or sharing interesting content with others.
In this article, we will delve into the step-by-step process of taking screenshots on the Redmi Note 8. Whether you’re a new Redmi Note 8 user or just looking for a refresher on how to capture screenshots on this device, you’ve come to the right place. So, let’s dive right in and learn how to screenshot on the Redmi Note 8!
Inside This Article
- Method 1: Using Hardware Buttons
- Method 2: Using Quick Ball
- Method 3: Using Three-finger Swipe Gesture
- Method 4: Using the Notification Panel
- Conclusion
- FAQs
Method 1: Using Hardware Buttons
One of the simplest ways to take a screenshot on your Redmi Note 8 is by using the hardware buttons. By pressing the combination of buttons, you can capture whatever is displayed on your screen in an instant.
To take a screenshot using the hardware buttons, follow these steps:
- Open the screen or app you want to capture.
- Press and hold the power button and the volume down button simultaneously.
- Keep holding the buttons for a few seconds until you see a visual confirmation, such as a flash on the screen or a shutter sound.
- Release the buttons once the screenshot is taken.
After taking the screenshot, you can find it in the “Screenshots” folder in your phone’s gallery. From there, you can view, edit, or share the captured image as needed.
This method is especially convenient when you need to quickly capture something and don’t want to navigate through your phone’s menus. It’s a straightforward and reliable way to take screenshots on your Redmi Note 8.
Method 2: Using Quick Ball
If you own a Redmi Note 8, then you are in luck because this device comes equipped with a nifty feature known as Quick Ball. Quick Ball provides easy access to a range of handy functions, including taking screenshots. Follow the steps below to learn how to use Quick Ball to capture your screen effortlessly.
1. Start by enabling Quick Ball. To do this, go to Settings and select Additional Settings. From there, tap on Quick Ball and toggle the switch to enable it.
2. Once Quick Ball is enabled, a virtual button will appear on your screen. You can move this button to any desired location on the display by dragging it with your finger.
3. To take a screenshot using Quick Ball, simply tap on the button. This will trigger a small menu with several options, including the option to capture a screenshot.
4. Select the screenshot option from the menu, and voila! Your screen will be captured, and you will see a confirmation message confirming the success of the screenshot capture.
Using Quick Ball to take screenshots on your Redmi Note 8 is not only convenient but also quick and easy. This feature provides a hassle-free way to capture important information on your device with just a few taps.
Whether you want to capture a funny conversation, save an important image, or document an error message, using Quick Ball on your Redmi Note 8 is a surefire way to get the job done swiftly.
Method 3: Using Three-finger Swipe Gesture
If you own a Redmi Note 8, capturing screenshots is a breeze thanks to its innovative three-finger swipe gesture feature. This method allows you to take screenshots quickly and conveniently without needing to press any physical buttons. To enable this gesture on your Redmi Note 8, follow the simple steps below:
- Go to the Settings menu on your Redmi Note 8.
- Scroll down and tap on “Additional Settings.”
- Next, tap on “Button and Gesture Shortcuts.”
- Now, look for the “Take a screenshot” option and select it.
- You will find different options for taking screenshots, such as “Volume down + Power button” and “Three-fingered swipe.” Tap on the “Three-fingered swipe” option to enable it.
Once you have enabled the three-finger swipe gesture, you are ready to capture screenshots effortlessly. Follow these steps to take a screenshot:
- Open the screen or app that you want to capture.
- Place three fingers lightly on the screen and swipe downwards.
- You will see a screenshot animation and hear a shutter sound, indicating that the screenshot has been successfully taken.
The screenshot will be saved in your phone’s gallery, where you can find it by navigating to the “Screenshots” folder. From there, you can edit, share, or delete the captured screenshot according to your preference.
The three-finger swipe gesture feature on the Redmi Note 8 provides a convenient way to capture screenshots without the need for physical buttons or complicated procedures. It saves you time and allows you to capture important information or memorable moments on your phone effortlessly.
Make sure to practice the three-finger swipe gesture a few times to get used to the motion and achieve smooth, accurate screenshot captures. With this handy feature, you can document and share your screen contents with ease, whether it’s an interesting article, a funny meme, or a conversation you want to save for later.
Method 4: Using the Notification Panel
If you prefer a more convenient and simplified way to take a screenshot on your Redmi Note 8, you can utilize the notification panel. The notification panel is the handy, drop-down menu that contains various settings and shortcuts on your device.
To take a screenshot using the notification panel, start by opening the content or screen that you want to capture. Once you have it in view, swipe down from the top of your Redmi Note 8’s screen to access the notification panel.
In the notification panel, you’ll find a variety of options and quick settings. Look for the “Screenshot” icon, usually represented by a small camera or a phone screen with a dotted outline. Tap on this icon to capture a screenshot.
After tapping on the “Screenshot” icon, you’ll see a notification confirming that the screenshot has been taken. You can tap on this notification to instantly view or edit the screenshot, or you can access it later from your device’s gallery or photo app.
Using the notification panel to take a screenshot on the Redmi Note 8 is not only quick and easy, but it also allows you to capture screenshots without having to press any physical buttons. This method is especially helpful if you want to capture screenshots with one hand or if the physical buttons on your device are not easily accessible.
Remember, the notification panel gives you access to more than just the screenshot feature. You can also control settings, check notifications, access quick shortcuts, and more. Take some time to explore the notification panel on your Redmi Note 8 to fully harness its capabilities.
Conclusion
In conclusion, screenshotting on the Redmi Note 8 is a breeze with the various methods available. Whether you prefer the traditional button combination, the convenience of the Quick Ball feature, or the versatility of third-party apps, capturing and saving your screen has never been easier. The Redmi Note 8’s large display and excellent resolution make it the perfect device for capturing stunning screenshots.
Take advantage of these screenshotting methods to share important information, capture memorable moments, or troubleshoot technical issues on your Redmi Note 8. Experiment with different options and find the one that works best for you. Remember to explore the additional features and settings offered by the MIUI operating system to further enhance your screenshotting experience.
With the Redmi Note 8’s impressive capabilities and user-friendly features, you can truly take control of your device and capture the world at your fingertips.
FAQs
1. How do I take a screenshot on my Redmi Note 8?
To take a screenshot on your Redmi Note 8, you can use one of the following methods:
– Method 1: Press and hold the volume down button and the power button simultaneously until you see a screenshot animation or hear a shutter sound.
– Method 2: Swipe down from the top of the screen to open the notification panel and tap on the “Screenshot” icon.
Once the screenshot is taken, you can find it in the “Screenshots” folder in your Gallery app.
2. Can I edit the screenshot after taking it?
Yes, you can edit the screenshot after taking it on your Redmi Note 8. After capturing the screenshot, you can swipe down the notification panel and tap on the screenshot preview. This will open the screenshot in the Photo Editor app, where you can crop, draw, add text, or make other edits to enhance the screenshot according to your preference.
3. How can I share a screenshot from my Redmi Note 8?
To share a screenshot from your Redmi Note 8, follow these steps:
– After taking the screenshot, swipe down the notification panel and tap on the screenshot preview.
– In the Photo Editor app, tap on the “Share” icon located at the top right corner.
– Choose the desired sharing method, such as messaging apps, social media platforms, email, or any other compatible apps installed on your phone.
– Select the recipient(s) and send the screenshot as desired.
4. Where can I find the screenshots on my Redmi Note 8?
When you take a screenshot on your Redmi Note 8, it is automatically saved in the “Screenshots” folder in the Gallery app. You can access your screenshots by opening the Gallery app and navigating to the “Screenshots” folder. If you are using a file manager app, you can also find the screenshots in the “Pictures” or “Screenshots” folder.
5. Is there a way to capture scrolling screenshots on the Redmi Note 8?
Yes, the Redmi Note 8 has a scrolling screenshot feature that allows you to capture longer content, such as webpages or chat conversations that require scrolling. To take a scrolling screenshot, follow these steps:
– Take a regular screenshot using one of the methods mentioned in the first FAQ.
– Once the screenshot preview appears, tap on the “Scroll” icon located at the bottom of the screen.
– The screen will automatically scroll and capture additional content. You can tap on the screen to pause the scrolling if needed.
– Once you are satisfied with the captured content, tap on the “Done” or “Save” button to save the scrolling screenshot.