
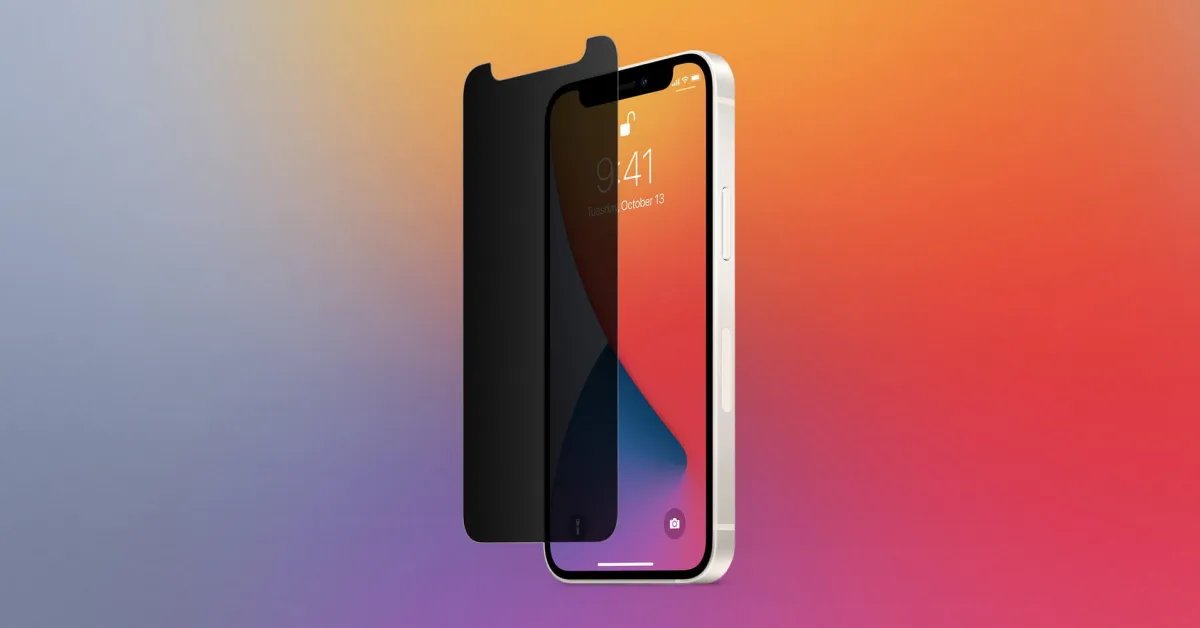
Are you concerned about the privacy of your iPhone? One effective way to protect your personal data from prying eyes is to add a privacy screen to your device. A privacy screen is a specially designed filter that limits the viewing angle of your screen, making it difficult for others to see what’s on your display unless they are directly in front of it. It’s a practical solution for safeguarding sensitive information, whether you’re using your iPhone in public places, while commuting, or even at home. In this article, we will guide you through the process of putting a privacy screen on your iPhone, ensuring that your personal data remains secure and private.
Inside This Article
- Choosing the Right Privacy Screen
- Cleaning and Preparing Your iPhone
- Applying the Privacy Screen
- Adjusting and Securing the Privacy Screen
- Conclusion
- FAQs
Choosing the Right Privacy Screen
When it comes to protecting your privacy on your iPhone, choosing the right privacy screen is essential. With a wide variety of options available in the market, it can be overwhelming to decide which one to go for. Here are some factors to consider when choosing the right privacy screen for your iPhone:
1. Privacy Filter Level: Privacy screens come with different levels of privacy filters. These filters restrict the angle at which the screen can be viewed, ensuring that only the user directly in front of the screen can see the content. Consider how much privacy you need and choose a screen with the appropriate privacy filter level.
2. Screen Clarity: While privacy is important, you also want a screen that maintains the clarity of your iPhone display. Look for a privacy screen that does not compromise on the sharpness and color accuracy of your screen.
3. Ease of Installation: Opt for a privacy screen that is easy to install without requiring any professional assistance. Look for screens that come with adhesive or easy snap-on features for hassle-free installation.
4. Screen Protection: A good privacy screen should not only keep your information secure but also provide adequate protection for your iPhone screen. Consider privacy screens that offer anti-scratch and anti-fingerprint properties to keep your screen looking new.
5. Compatibility: Ensure that the privacy screen you choose is compatible with your specific iPhone model. Different iPhone models may have different screen sizes, so double-check the compatibility before making a purchase.
6. Brand Reputation: Do your research and choose a reputable brand that has positive customer reviews. This ensures that you are investing in a quality privacy screen that will effectively protect your privacy.
By considering these factors and making an informed decision, you can choose the right privacy screen for your iPhone, allowing you to use your device with peace of mind knowing that your sensitive information remains private.
Cleaning and Preparing Your iPhone
Keeping your iPhone clean and well-maintained is essential for optimal performance. Whether you are preparing your device for a privacy screen installation or simply want to ensure it remains in top condition, regular cleaning is a must. Here are some tips on how to clean and prepare your iPhone:
1. Start by powering off your iPhone. This not only protects your device but also makes it easier to clean without accidentally activating any apps or functions.
2. Use a microfiber cloth or a soft, lint-free cloth to gently wipe the exterior of your iPhone. Avoid using harsh chemicals or abrasive materials as these can damage the screen or the body of the device.
3. Pay special attention to the screen. If there are smudges or fingerprints, dampen the cloth slightly with water or use a screen cleaning solution designed specifically for electronic devices. Gently wipe the screen in a circular motion until it is clean and free from any marks.
4. Don’t forget to clean the camera lens. Overtime, dust and fingerprints can accumulate, affecting the quality of your photos. Use the microfiber cloth to gently wipe the lens, ensuring it is clean and clear.
5. Check the charging port for any debris. Dust or particles can accumulate in the charging port, preventing a proper connection. Use a soft, dry toothbrush or a toothpick to carefully remove any debris. Be cautious not to damage the port while cleaning.
6. Inspect the headphone jack. If you use wired headphones, it’s important to keep the jack clean. Use a clean, dry toothbrush or a toothpick to carefully remove any lint or debris that may have collected inside the jack.
7. Take the opportunity to organize your apps and files. Delete any apps or files that you no longer need to free up storage space and improve the overall performance of your iPhone.
8. Finally, make sure your iPhone is fully charged before proceeding with any privacy screen installation. This ensures that you have enough battery life to complete the installation process without any interruptions.
Taking the time to clean and prepare your iPhone before installing a privacy screen not only ensures a smooth installation process but also helps maintain the overall functionality and longevity of your device. Regular maintenance and cleaning can go a long way in keeping your iPhone looking and performing its best.
Applying the Privacy Screen
Once you have chosen the perfect privacy screen for your iPhone, it’s time to apply it and start enjoying the benefits of enhanced privacy. Follow these simple steps to ensure a smooth installation:
1. Begin by cleaning the screen of your iPhone thoroughly. Use a microfiber cloth and a screen cleaner to remove any smudges, fingerprints, or dirt. A clean screen will ensure better adhesion of the privacy screen.
2. Take the privacy screen out of its packaging and align it with your iPhone screen to ensure a proper fit. Make sure to position it correctly, covering the entire display.
3. Gently peel off the adhesive backing of the privacy screen, being careful not to touch the sticky surface. Align the screen protector with your iPhone screen again, this time applying it from top to bottom.
4. Slowly press the privacy screen onto your iPhone screen, starting from the center and moving outwards towards the edges. Use your fingertips or a flat-edge tool to smooth out any air bubbles or wrinkles that may appear during the application process.
5. Once the privacy screen is fully applied, give it a final check to ensure proper alignment and adhesion. If needed, make any necessary adjustments before pressing firmly on the entire screen to secure it in place.
6. Finally, use the microfiber cloth to gently wipe across the screen and remove any remaining air bubbles or dust particles trapped under the privacy screen.
That’s it! You have successfully applied the privacy screen to your iPhone. Enjoy the added privacy and peace of mind knowing that your screen is protected from prying eyes.
Adjusting and Securing the Privacy Screen
Once you have successfully installed the privacy screen on your iPhone, it’s time to adjust and secure it to ensure optimal privacy and functionality. Here are a few steps to help you get started:
- Positioning the screen: Start by aligning the privacy screen with the edges of your iPhone’s display. Make sure it fits perfectly and covers the entire screen area to prevent prying eyes from viewing your sensitive information.
- Adjusting the viewing angle: Most privacy screens come with adjustable viewing angles. Experiment with different angles to find the one that works best for you. This will allow you to view the screen clearly while preventing others from seeing it from the side.
- Securing the screen: Some privacy screens come with adhesive tapes to secure them to your iPhone. Carefully remove the backing from the tape and firmly press the screen onto the display. Make sure it is securely attached and doesn’t move around when using your phone.
If your privacy screen doesn’t come with adhesive tape, you can use a privacy screen protector specifically designed for your iPhone model. These protectors not only offer privacy but also provide an additional layer of protection against scratches and smudges.
Remember to clean your iPhone’s screen thoroughly before installing the privacy screen. Any dirt or dust particles can affect the adhesion and visibility of the screen. Also, make sure to follow the manufacturer’s instructions for adjusting and securing the screen for your specific privacy screen model.
By taking the time to properly adjust and secure your privacy screen, you can enjoy enhanced privacy and peace of mind while using your iPhone in public spaces. Your sensitive information will remain protected from prying eyes, allowing you to confidently handle sensitive tasks or conversations on your device.
Conclusion
In conclusion, adding a privacy screen to your iPhone is a simple and effective way to protect your sensitive information and maintain your privacy. Whether you’re concerned about nosy onlookers in public spaces or you simply value your privacy, investing in a privacy screen is a worthwhile option.
By following the step-by-step instructions outlined in this article, you can easily apply and remove a privacy screen on your iPhone. Not only will it prevent prying eyes from viewing your screen, but it also offers additional benefits such as reducing glare and protecting your screen from scratches.
Remember to choose a high-quality privacy screen that is compatible with your iPhone model and provides a clear view for you while preventing others from seeing your screen. With a privacy screen, you can use your iPhone with peace of mind, knowing that your personal information remains secure and private.
FAQs
1. Why should I put a privacy screen on my iPhone?
Putting a privacy screen on your iPhone can help protect your sensitive information from prying eyes. It limits the viewing angle of your screen, making it difficult for others to see what’s on your display unless they are directly in front of it.
2. Can I still see my screen clearly with a privacy screen?
Yes, you can still see your screen clearly with a privacy screen on your iPhone. Most privacy screens are designed to provide a clear view when looking directly at the screen, while blocking the view from side angles. This way, you can maintain your privacy while still enjoying optimal visibility.
3. Are privacy screens easy to install on an iPhone?
Yes, privacy screens are generally easy to install on an iPhone. They are typically adhesive-backed and can be easily applied to the screen. Make sure to thoroughly clean the screen before installation to ensure proper adhesion and avoid any air bubbles.
4. Can I remove a privacy screen from my iPhone?
Yes, you can remove a privacy screen from your iPhone without causing any damage. Gently peel off the privacy screen from one corner, applying even pressure to avoid any screen damage. If there is any residue left, you can clean it off with a mild adhesive remover.
5. Do privacy screens affect touch sensitivity on an iPhone?
Privacy screens should not significantly affect touch sensitivity on an iPhone. However, it’s worth noting that some low-quality or improperly installed privacy screens may cause a slight decrease in touch responsiveness. To ensure the best touch experience, choose a high-quality privacy screen and follow the installation instructions carefully.