
Are you wondering how to remove a phone from your Toyota Camry? Whether you’re selling your vehicle, upgrading your phone, or just want to disconnect a previously connected device, learning how to remove a phone from your Toyota Camry is essential. In this article, we will guide you through the process step-by-step, ensuring that the removal process is hassle-free and seamless. By following our instructions, you will be able to disconnect your phone from your Toyota Camry quickly and easily, allowing you to stay organized and in control of your vehicle’s connectivity. Let’s dive in and learn how to remove a phone from your Toyota Camry!
Inside This Article
- Preparation
- Disconnecting the Battery
- Removing the Dashboard Panel
- Detaching the Phone Mount
- Conclusion
- FAQs
Preparation
Before you begin the process of removing the phone from your Toyota Camry, there are a few important steps you should take to ensure a smooth and successful process. Follow these preparation steps to get started:
- Gather the necessary tools: To remove the phone from your Toyota Camry, you will need a few basic tools, including a screwdriver, pry tool, and possibly a socket wrench. Make sure you have these tools readily available before you begin.
- Find a well-lit and comfortable workspace: Locate a well-lit area where you can comfortably work on removing the phone. This could be your garage, driveway, or any other suitable space.
- Turn off the ignition: Before starting any work, ensure that the ignition of your Toyota Camry is turned off. This is crucial for your safety and to prevent any electrical mishaps.
- Read the vehicle manual: Familiarize yourself with the specific instructions for removing the phone from your Toyota Camry. The vehicle manual will provide you with step-by-step guidance tailored to your car model.
- Take necessary precautions: Wear protective gloves and eyewear to safeguard yourself against any potential injuries during the removal process. It’s always better to be safe than sorry!
Once you have completed these preparation steps, you’re ready to begin the process of removing the phone from your Toyota Camry.
Disconnecting the Battery
Disconnecting the battery in your Toyota Camry is an essential step when removing your phone from the vehicle. Follow these steps to safely disconnect the battery:
- Locate the battery. In most Toyota Camry models, the battery is usually located in the engine compartment on the driver’s side.
- Ensure that the engine is off and the key is removed from the ignition. This will minimize the risk of electrical shocks or short-circuiting.
- Put on a pair of insulated gloves to protect your hands from accidental contact with electrical components.
- Locate the negative terminal (-) on the battery. It is usually marked with a minus sign or the letters “NEG”.
- Using a wrench or socket set, loosen the nut that secures the negative terminal. Turn the nut counterclockwise to loosen it, but do not remove it completely just yet.
- Carefully lift the negative terminal cable away from the battery terminal, ensuring that it doesn’t come into contact with any metal surfaces. This will effectively disconnect the battery.
- Wrap the disconnected negative terminal with a clean cloth or plastic bag to prevent accidental contact with the battery terminal or other metal objects.
- Wait for about 5 to 10 minutes to allow any residual power to dissipate. This step is important to avoid short-circuiting or electrical surges when working on other components of the vehicle.
- You may now proceed with removing your phone from the Toyota Camry.
Remember to always exercise caution when working with car batteries. If you are unsure or uncomfortable with performing the disconnecting process, it is recommended to seek assistance from a professional mechanic or dealership.
Removing the Dashboard Panel
Removing the dashboard panel from your Toyota Camry is a relatively straightforward process that can be completed with some basic tools and a little bit of patience. The dashboard panel is typically held in place by a combination of screws, clips, and fasteners. Here’s a step-by-step guide to help you remove the dashboard panel:
1. Disconnect the Battery
Before you start working on the dashboard panel, it’s important to disconnect the battery to avoid any electrical mishaps. Locate the battery in your Toyota Camry and use a wrench to loosen the negative terminal. Carefully remove the negative cable from the battery and keep it away from the terminal to prevent accidental reconnection.
2. Remove the Screws
Start by locating and removing any screws that hold the dashboard panel in place. These screws are usually located near the edges of the panel and may be hidden under plastic covers or trim pieces. Use a screwdriver or a socket wrench to remove the screws, keeping them in a safe place for reassembly later.
3. Release the Clips
Once the screws are removed, you may need to release the clips that hold the dashboard panel in place. Carefully pry around the edges of the panel with a trim removal tool or a flathead screwdriver to release the clips. Take your time and work your way around the panel, gently applying pressure until the clips release.
4. Disconnect the Wiring
As you remove the dashboard panel, you may come across wiring connections that need to be disconnected. Look for any harnesses or connectors that are attached to the panel and carefully disconnect them. Some connectors may have a tab or latch that needs to be pressed to release the connection. Remember to take note of the locations and orientations of the connectors for easy reassembly.
5. Remove the Panel
With the screws, clips, and wiring disconnected, you can now gently pull the dashboard panel away from the mounting points. Start from one edge and gradually work your way around, applying even pressure to release the panel. Be mindful of any remaining clips or fasteners that may still be holding the panel in place.
6. Store the Panel Safely
Once the dashboard panel is completely removed, be sure to store it in a safe and secure location, away from any potential damage or debris. Protect it by wrapping it in a soft cloth or plastic bag to prevent scratches or other damage.
Remember, when reinstalling the dashboard panel, simply follow these steps in reverse order. Take your time, be patient, and double-check that all screws, clips, and wiring connections are securely in place. With a little effort, you’ll have your Toyota Camry’s dashboard panel removed or reinstalled in no time!
Detaching the Phone Mount
Once you have removed the dashboard panel, you can now proceed with detaching the phone mount from your Toyota Camry. Follow these steps to ensure a smooth and hassle-free process:
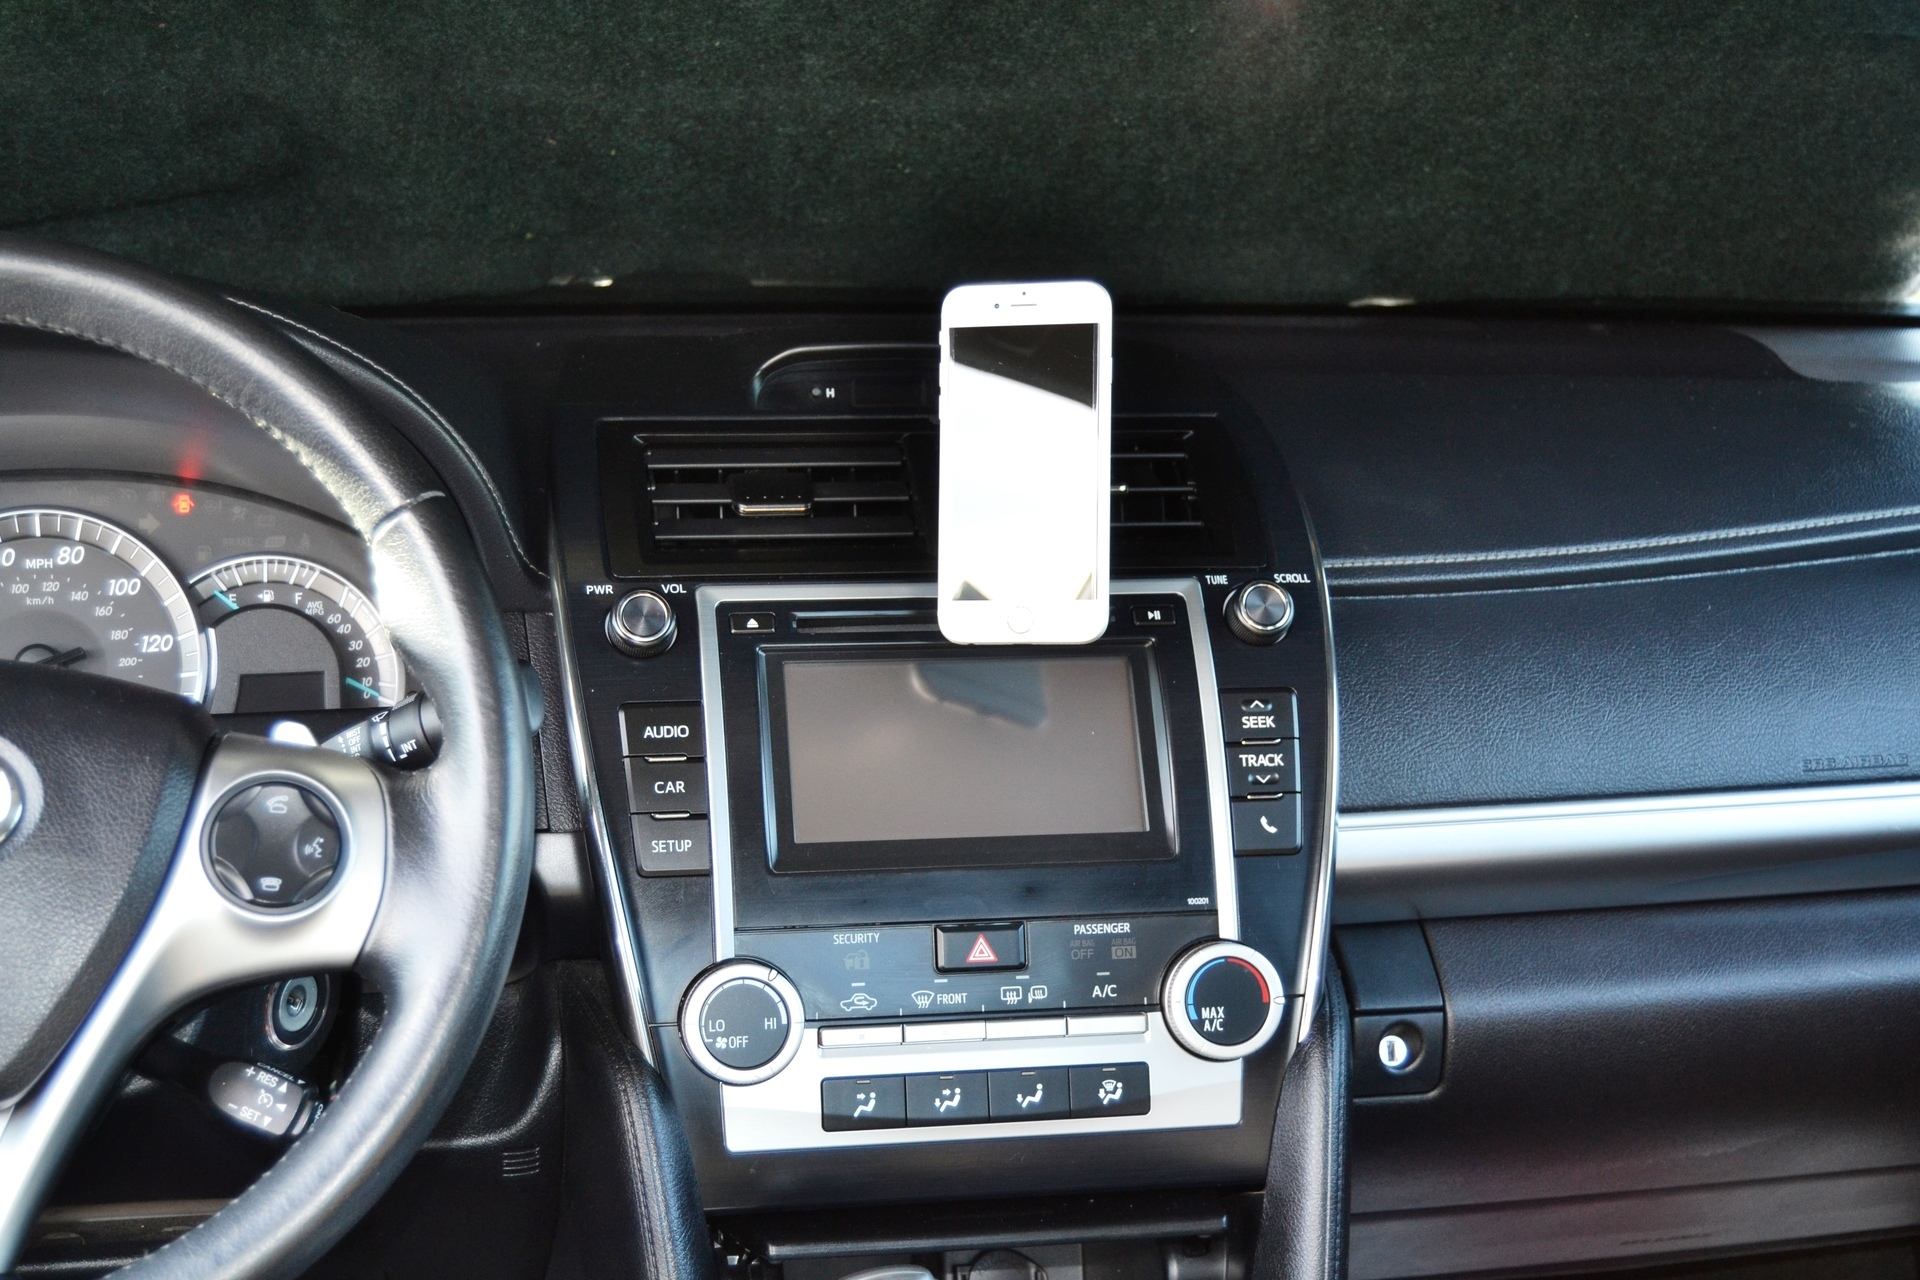
- Locate the phone mount: Look for the phone mount, which is usually attached to the dashboard or windshield. It is designed to securely hold your phone while you drive.
- Assess the attachment mechanism: Different phone mounts have various attachment mechanisms. Some may have adhesive pads, while others use suction cups or magnetic holders. Take note of how the phone mount is attached to your car’s interior.
- Release the adhesive: If the phone mount is attached using adhesive pads, gently pry it away from the surface. Use a plastic pry tool or your fingers, ensuring not to damage the dashboard or windshield.
- Release the suction cup: For phone mounts with suction cups, locate the release tab or lever on the suction cup. Press or pull the tab/lever to release the suction. Once detached, the phone mount should come off easily.
- Remove magnetic holders: If your phone mount uses a magnetic holder, you may need to remove the magnet from your phone or phone case. Carefully detach the magnet, ensuring not to damage the phone or case.
- Dispose or store the phone mount: Depending on the condition of the phone mount, you can either throw it away or store it for future use. If it is still in good shape, you might consider using it in another vehicle or for a different purpose.
By following these steps, you can successfully detach the phone mount from your Toyota Camry. Remember to handle the phone mount with care to prevent any damage to your car’s interior or your phone. Once removed, you will have a clean and clutter-free dashboard for your driving pleasure.
In conclusion, removing a phone from a Toyota Camry is a relatively simple process that can be done using a few different methods. Whether it’s for troubleshooting purposes, upgrading to a new device, or simply disconnecting a previously paired phone, Toyota Camry owners have a range of options to choose from. From using voice commands and the vehicle’s infotainment system to manually deleting paired devices, the process can be completed quickly and easily. By following the steps outlined in this article, you can remove a phone from your Toyota Camry and ensure a seamless transition to a new device or a fresh start. Remember, always refer to your Camry’s owner’s manual for specific instructions and consult with a professional if you encounter any difficulties along the way.
FAQs
Q: How do I remove a phone from a Toyota Camry?
A: To remove a phone from a Toyota Camry, start by accessing the car’s audio system menu. Look for the “Bluetooth” or “Phone” option and select it. Within the Bluetooth or Phone menu, you should find the connected devices. Locate the connected phone you wish to remove and select the “Delete” or “Disconnect” option. Confirm the action when prompted, and the phone will be successfully removed from your Toyota Camry’s audio system.
Q: Will removing a phone from my Toyota Camry delete all the pairing data?
A: No, removing a phone from your Toyota Camry will only disconnect it from the car’s audio system. The pairing data, including contacts and call history, will remain intact on the phone itself. However, it’s always a good practice to back up your phone’s data regularly to avoid any loss or inconvenience.
Q: Can I remove a phone from my Toyota Camry while driving?
A: It is not recommended to manipulate any settings or menus on your Toyota Camry’s audio system while driving. Distracted driving can lead to accidents and is a safety risk. It’s best to pull over in a safe location before attempting to remove a phone from your car’s audio system. Ensure your car is in park and follow the steps mentioned earlier to remove the phone from your Toyota Camry.
Q: Does removing a phone from my Toyota Camry affect other paired devices?
A: No, removing a phone from your Toyota Camry will only disconnect that specific phone from the car’s audio system. Your other paired devices, such as another phone or a Bluetooth speaker, will remain connected and unaffected.
Q: Can I reconnect a phone after removing it from my Toyota Camry?
A: Yes, you can reconnect a phone that you have previously removed from your Toyota Camry. To do so, access the car’s audio system menu, navigate to the “Bluetooth” or “Phone” option, and select it. Within the menu, choose the “Connect” or “Pair” option and follow the prompts on both your phone and the car’s audio system to establish the connection again.