
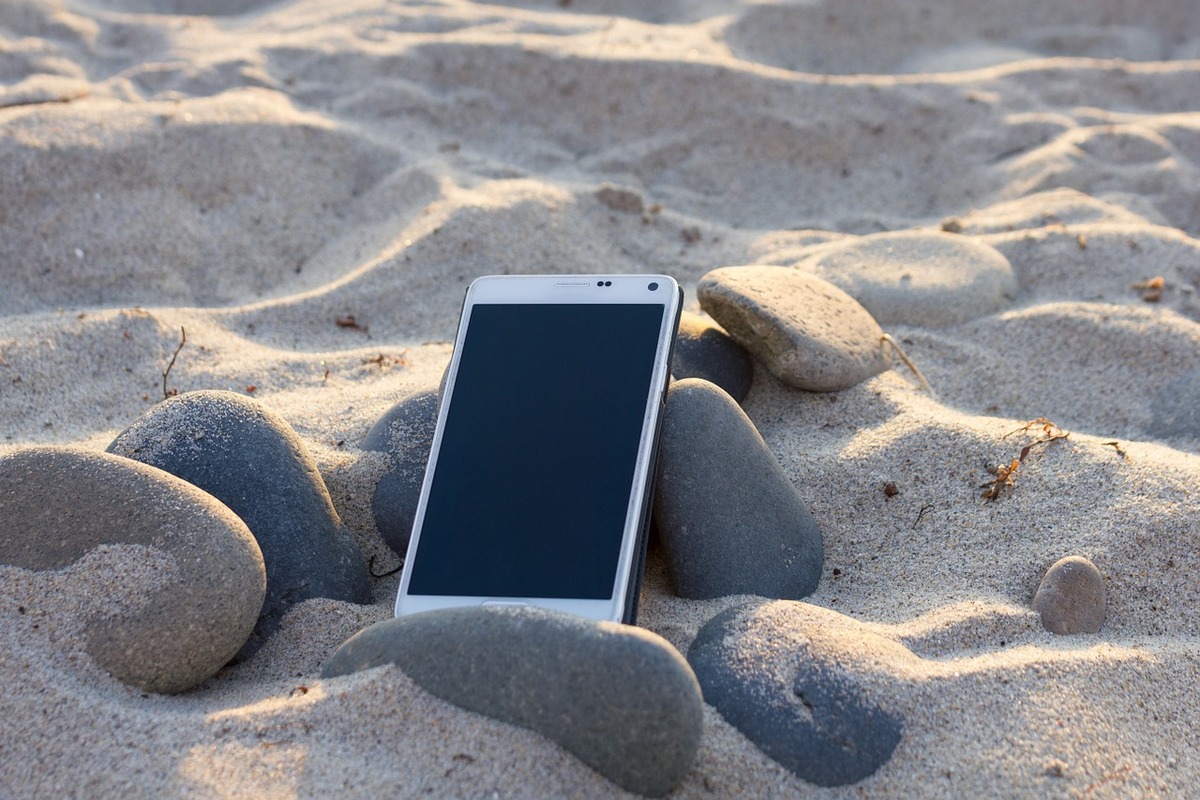
Are you enjoying a day at the beach, soaking up the sun and sea breeze, when suddenly disaster strikes? You accidentally drop your precious phone in the sand, and now you’re left wondering how to remove the sand from your phone’s speaker. Don’t panic! The good news is that with a few simple steps, you can effectively remove sand from your phone’s speaker and restore its optimal sound quality. In this article, we will guide you through the process, providing you with helpful tips and tricks to ensure a successful outcome. Whether you’re dealing with fine grains or stubborn particles, we’ve got you covered. So, let’s dive in and discover how to rescue your phone from the sand and get your speaker back on track!
Inside This Article
- How Sand Can Affect Your Phone Speaker
- Method 1: Using Compressed Air
- Method 2: Using a Soft Brush or Toothbrush
- Method 3: Using a Vacuum Cleaner
- Method 4: Rice or Silica Gel Method
- Conclusion
- FAQs
How Sand Can Affect Your Phone Speaker
Having sand in your phone’s speaker can cause several issues. Sand particles can get lodged in the tiny openings of the speaker grille, blocking the sound waves from properly coming out. This can result in muffled or distorted audio, making it difficult to hear calls, listen to music, or watch videos on your phone. Additionally, the sand particles can also scratch the delicate internals of the speaker, potentially causing permanent damage.
The presence of sand in the speaker can also compromise the overall performance of your phone. When the sound waves are obstructed by the sand particles, it puts unnecessary strain on the speaker to produce louder volumes, which can lead to decreased sound quality and distortion. This can be especially noticeable when using your phone in loud environments or during conference calls where clear and crisp audio is essential.
Furthermore, if the sand is not removed promptly, it can accumulate and cause a buildup of debris inside the speaker, making it even more challenging to remove. This can eventually result in a complete malfunction of the speaker, requiring costly repairs or even a replacement.
Therefore, it is important to take immediate action to remove sand from your phone speaker to avoid any long-term damage and ensure optimal sound quality.
Method 1: Using Compressed Air
If your phone speaker is clogged with sand, one effective way to remove it is by using compressed air. Compressed air is a quick and efficient method to blow out the tiny particles that may be stuck in the speaker grill. Here’s how you can do it:
1. Start by turning off your phone and removing any protective case or cover.
2. Hold your phone firmly and locate the speaker grill, which is usually located at the bottom of the device or near the earpiece.
3. Take a can of compressed air and hold it upright. Make sure to read the instructions on the can for proper usage.
4. Gently insert the nozzle of the compressed air can into the speaker grill. Be careful not to insert it too forcefully or too deeply, as it may damage the speaker.
5. Press the trigger on the can to release short bursts of compressed air into the speaker grill. Move the nozzle around to cover the entire area of the speaker grill.
6. Repeat the process a few times, allowing the bursts of air to dislodge the sand particles trapped in the speaker.
7. Once you’re done, give the speaker grill a final blow of compressed air to ensure all the sand is removed.
8. Wait for a few minutes to let any remaining moisture dissipate before turning on your phone.
By using compressed air, you can effectively remove sand particles from your phone speaker without causing any damage. However, it’s important to use caution and follow the instructions provided with the compressed air can to ensure proper usage.
Method 2: Using a Soft Brush or Toothbrush
Sand can easily accumulate in the small crevices of your phone speaker, causing distortion or muffled sound. One effective way to remove sand from your phone speaker is by using a soft brush or toothbrush. This method is safe and straightforward, requiring minimal tools and effort.
Before you begin, make sure your phone is turned off to prevent any accidental damage. Start by gently tapping the back of your phone near the speaker area to dislodge any loose sand particles. This will make it easier to remove them using the brush.
Next, take a soft-bristled brush or a clean toothbrush and gently brush the surface around the speaker area. Use light, sweeping motions to dislodge the sand particles from the speaker grille or any other openings. Be careful not to apply too much pressure, as this could damage the delicate components inside your phone.
After brushing, use a can of compressed air to blow away any remaining sand particles. Hold the can about 5-6 inches away from the speaker and give short bursts of air. Move the can in different directions to ensure thorough cleaning.
Once you have removed as much sand as possible, turn on your phone and test the speaker to see if the sound quality has improved. If necessary, repeat the process a few more times until all the sand is completely removed.
Remember, always be gentle when using a brush or toothbrush on your phone to avoid causing any damage. If you’re unsure about performing this method yourself, it’s always a good idea to seek professional assistance.
Method 3: Using a Vacuum Cleaner
If you find that your phone speaker is clogged with sand and you want to remove it safely and effectively, using a vacuum cleaner can be a great option. Here’s how you can do it:
- First, make sure your phone is turned off. This is to prevent any potential damage to the phone’s internal components.
- Take a small handheld vacuum cleaner with a soft brush attachment. The soft brush attachment is crucial to avoid scratching or causing any damage to the speaker or phone.
- Gently brush the surface of the phone speaker with the soft brush attachment. This will help loosen the sand particles and make them easier to remove.
- Next, set the vacuum cleaner to a low suction setting. High suction can potentially cause damage to the speaker or other sensitive components of the phone.
- Hold the vacuum cleaner nozzle close to the speaker, without making direct contact, and turn it on. The low suction will help pull out the loose sand particles from the speaker grille.
- Move the nozzle around the speaker area, ensuring that you cover all angles. This will help in removing as much sand as possible.
- Continue the process for a few minutes, until you are satisfied that most of the sand has been removed.
- Once you are done, carefully inspect the speaker grille to see if any sand particles are still present. If you notice any, repeat the process until you have successfully removed the sand.
Note: It’s important to exercise caution while using a vacuum cleaner near your phone. Avoid touching the phone’s delicate components with the vacuum cleaner nozzle, as this can cause damage. Always ensure that the suction is set to a low level to prevent any mishaps.
Using a vacuum cleaner can be an effective method to remove sand from your phone speaker. However, if you’re unsure about using a vacuum cleaner or if you have a more severe case of sand clogging, it’s advisable to seek professional assistance from a phone repair technician.
Method 4: Rice or Silica Gel Method
Sand particles can be stubborn and might not easily come out of your phone speaker using the previous methods. If you’re still experiencing muffled or distorted sound, you can try the rice or silica gel method as an alternative solution.
Both rice and silica gel have the ability to absorb moisture, which can help remove any residual moisture in your phone speaker caused by sand. However, it’s important to note that this method is not foolproof and may not work in all cases.
To use the rice method, follow these steps:
- Take a small bowl or bag and fill it with uncooked rice.
- Turn off your phone and remove the SIM card and any other removable components (if possible).
- Place your phone inside the bowl or bag, ensuring that the speaker is submerged in rice.
- Leave your phone in the rice for at least 24-48 hours to allow the rice to absorb any moisture.
- After the designated time, take your phone out of the rice and check if there’s any improvement in the speaker’s performance.
- If the issue persists, you may need to consider other options such as seeking professional help or contacting the manufacturer.
If you prefer using silica gel, here’s what you can do:
- Find a small container with a lid and place a few packets of silica gel inside.
- Turn off your phone and remove any removable components, just like with the rice method.
- Place your phone and the container with silica gel packets in a sealed plastic bag.
- Leave your phone in the bag for 24-48 hours to allow the silica gel to absorb the moisture.
- Once the designated time has passed, remove your phone from the bag and check for any improvement.
- If the speaker issue persists, it’s recommended to explore other options such as professional assistance or seeking manufacturer support.
Remember, the rice or silica gel method may not always be effective, especially if the sand has caused significant damage to your phone’s internal components. It’s essential to exercise caution and consider seeking professional advice if the issue persists or worsens.
Conclusion
Removing sand from a phone speaker can be a daunting task, but with the right techniques and a little patience, it is possible to restore the functionality of your speaker. By using methods like compressed air, a toothbrush, or a vacuum cleaner, you can dislodge the sand particles and ensure clear, crisp sound once again.
Remember, prevention is always better than cure, so taking precautions to keep your phone away from sandy environments, using protective covers, or cleaning it regularly can help avoid this issue in the future.
If you aren’t confident in your skills or have tried these methods without success, it’s always a good idea to seek professional help. They have the expertise and tools necessary to safely remove the sand from your phone speaker without causing any damage.
So, don’t let sand ruin your phone’s audio experience. Take the necessary steps to remove it, and you’ll be back to enjoying your favorite tunes and clear phone conversations in no time!
FAQs
1. Why is there sand in my phone speaker?
Sand can enter your phone speaker through exposure to sandy environments such as the beach or deserts. It can also occur if you accidentally drop your phone in sand or have sand in your pockets that transfers to the speaker.
2. What are the potential risks of having sand in my phone speaker?
Having sand in your phone speaker can hinder sound quality and affect the overall performance of your device. It may muffle or distort audio, and in extreme cases, it can damage the speaker, leading to a permanent loss of functionality.
3. Can I remove the sand from my phone speaker on my own?
Yes, you can try removing the sand from your phone speaker yourself, but be cautious to avoid causing further damage. There are several methods you can try, such as using compressed air, a soft brush, or gentle tapping to dislodge the sand particles.
4. How can I use compressed air to remove sand from my phone speaker?
To use compressed air, ensure you have an appropriate nozzle attachment. Hold the phone speaker side facing downwards and gently blow the compressed air into the speaker grille. The force of the air can dislodge the sand particles from the speaker.
5. What should I do if the sand doesn’t come out by using compressed air?
If compressed air doesn’t remove all the sand from your phone speaker, you can try using a soft brush, such as a toothbrush or a small paintbrush, to gently dislodge the remaining particles. Be careful not to apply excessive pressure that could damage the speaker.