
Welcome to our comprehensive guide on how to set up a fax machine on one phone line! Fax machines have been a staple of business communication for decades, allowing for the transmission of important documents quickly and securely. If you’re new to the world of faxing, setting up a fax machine on a single phone line may seem daunting at first, but fear not! In this article, we will provide you with step-by-step instructions on how to set up a fax machine on a single phone line, ensuring that you can send and receive faxes with ease. Whether you’re a small business owner or simply looking to incorporate faxing into your personal communication, this guide is here to help you get started. Let’s dive in and get your fax machine up and running!
Inside This Article
- Point 1: Understanding the Basics of Fax Machines
- Point 2: Connecting the Fax Machine to the Phone Line
- Point 3: Configuring the Fax Machine Settings
- Point 4: Testing and Troubleshooting the Fax Machine Connection
- Conclusion
- FAQs
Point 1: Understanding the Basics of Fax Machines
Fax machines have been a staple of office communication for decades. They provide a convenient and reliable way to transmit documents over a phone line. Understanding the basics of how fax machines work is essential when setting up and using them.
A fax machine converts a printed document into electronic signals that can be transmitted through a phone line. It uses these signals to recreate the document on the receiving fax machine. This allows for the quick and easy transmission of documents, even across long distances.
One of the key components of a fax machine is the modem. The modem is responsible for converting the analog signals from the phone line into digital signals that can be processed by the machine. It also performs the reverse process, converting digital signals back into analog signals for transmission.
Another important aspect of fax machines is the resolution. The resolution determines the level of detail that can be reproduced in the transmitted document. Higher resolution settings result in clearer and more detailed prints, but they also require more storage space and longer transmission times.
It’s worth noting that while fax machines were once the primary method of document transmission, they have become less common with the rise of digital communication methods. However, they are still widely used in certain industries and situations where physical document transmission is necessary.
Understanding the basics of fax machines will help you navigate the setup and troubleshooting process more effectively. In the next points, we will dive into the steps to connect and configure a fax machine on a phone line.
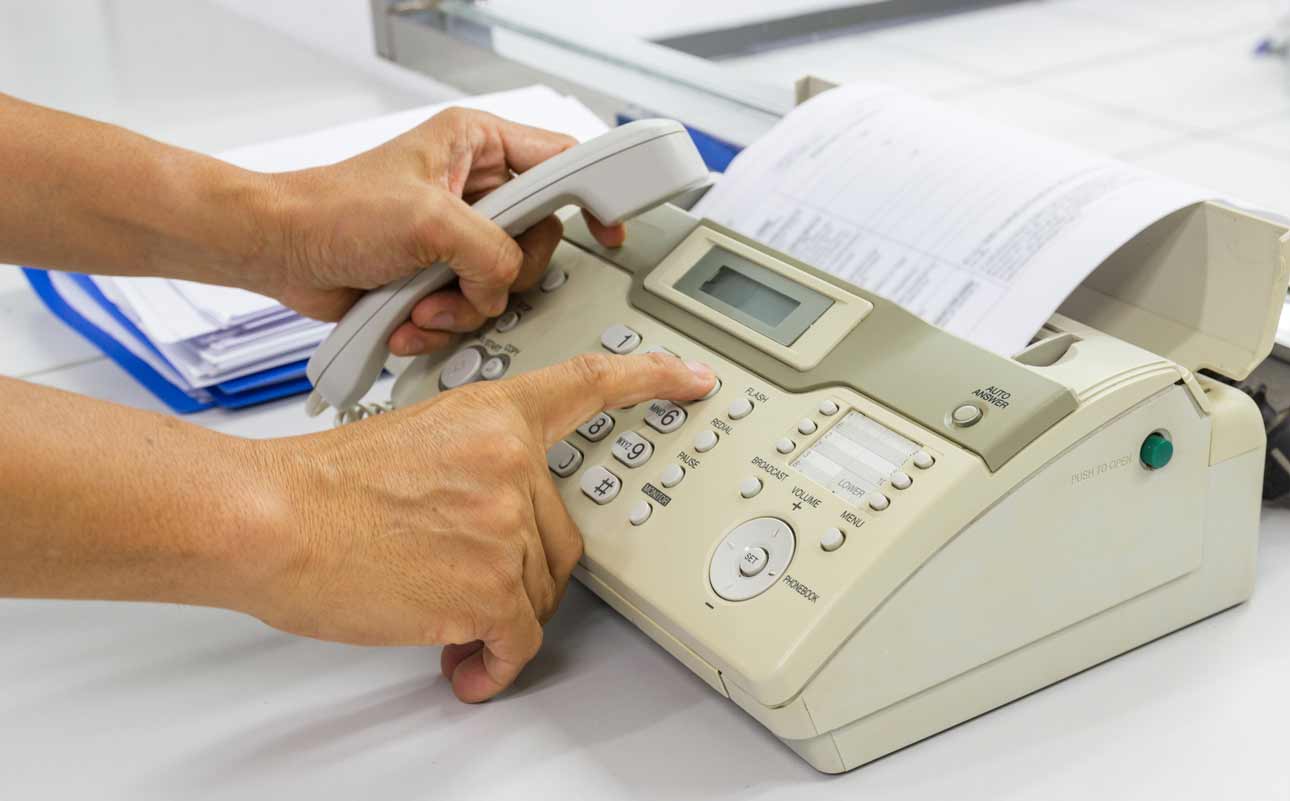
Point 2: Connecting the Fax Machine to the Phone Line
Connecting your fax machine to the phone line is a crucial step in setting up a functional fax system. This allows you to send and receive faxes directly from your device. Follow these steps to ensure a successful connection:
1. Locate the phone jack: Begin by finding a phone jack near the area where you plan to place your fax machine. It is usually a small rectangular socket on the wall or baseboard. Make sure the phone line is accessible and within reach.
2. Plug in the phone cord: Take the phone cord that came with your fax machine and insert one end into the phone jack. Ensure that the cord is securely connected to the jack to avoid any loose connections that may interfere with fax transmission.
3. Connect the other end to the fax machine: Locate the phone line input on your fax machine. It is typically labeled “Line” or “Line In.” Insert the other end of the phone cord into this input and make sure it is firmly connected.
4. Check for dial tone: Once the connections are made, lift the handset of your fax machine and listen for a dial tone. If you hear a clear tone, it indicates that your fax machine is properly connected to the phone line. If you don’t hear a dial tone, double-check all the connections.
5. Test the fax machine: To ensure that your fax machine is correctly set up, send a test fax to a known fax number or ask a friend to send you a test fax. Confirm that you receive the fax without any issues and that the quality is satisfactory. If there are any problems, refer to the troubleshooting section or contact the manufacturer for assistance.
By following these steps, you can easily connect your fax machine to the phone line and start sending and receiving faxes hassle-free. Now that your fax machine is connected, it’s time to move on to the next step of configuring the settings.
Point 3: Configuring the Fax Machine Settings
Configuring the settings of your fax machine is crucial to ensure that it operates effectively and delivers your faxes without any issues. By following these steps, you can easily set up your fax machine settings:
1. Access the Menu: Most fax machines come with a built-in menu system that allows you to configure various settings. Locate the “Menu” button on your fax machine and press it to access the menu options.
2. Select the Fax Settings: Once you’re in the menu, navigate through the options and look for the “Fax Settings” or a similar option. Press the corresponding button to enter the settings menu.
3. Set the Date and Time: It’s important to ensure that the date and time displayed on your fax machine are accurate. Look for the “Date and Time” or “Time Settings” option in the menu and make the necessary adjustments using the arrow keys or number pad.
4. Adjust Transmission Settings: Within the fax settings menu, you’ll find options related to transmission settings. These options allow you to choose the resolution, quality, and speed at which your faxes are sent. Select the desired settings based on your preferences and requirements.
5. Configure Ring and Call Settings: The fax machine should be configured to detect incoming fax calls and differentiate them from regular phone calls. Look for options like “Ring Pattern” or “Call Settings” in the menu and set them accordingly to ensure that your fax machine answers incoming fax calls correctly.
6. Set Ring Delay and Answer Mode: The ring delay determines how many rings your fax machine waits before answering an incoming call. Adjust the ring delay based on your needs to ensure that the fax machine doesn’t miss any important faxes. Additionally, set the answer mode to “Fax” or “Auto Answer” to enable the machine to automatically receive incoming faxes.
7. Enter the Fax Number and Sender Information: To ensure that your faxes reach the intended recipients, enter your fax number and sender information in the appropriate fields. This information is usually found in the settings menu, under options like “Fax Information” or “Sender Settings”.
8. Save and Exit: Once you have configured all the necessary settings, navigate to the “Save” or “Exit” option in the menu and confirm your changes. Your fax machine will now be configured and ready to send and receive faxes according to your specified settings.
Remember to refer to the user manual of your specific fax machine for detailed instructions as the steps may vary depending on the model and brand you are using.
Point 4: Testing and Troubleshooting the Fax Machine Connection
After connecting your fax machine to the phone line and configuring its settings, it’s crucial to test and troubleshoot the connection to ensure smooth and uninterrupted fax communication. Here are some steps you can follow:
1. Send a Test Fax: To verify that your fax machine is properly connected and configured, send a test fax to a known fax number. Make sure you are dialing the correct number and that there are no errors in the fax’s content or formatting. If the fax is received successfully, it indicates that your setup is working correctly.
2. Check for Signal Strength: A weak signal can lead to transmission errors, poor image quality, or incomplete faxes. Ensure that your fax machine’s signal strength indicator is strong. If it’s weak, try repositioning the machine or relocating it to a different area to improve signal reception.
3. Confirm Compatibility: If you encounter issues while sending or receiving faxes, double-check that the sender or recipient’s fax machine is compatible with your model. Some older fax machines may have compatibility limitations that can cause communication problems.
4. Test Different Settings: Experiment with different settings on your fax machine, such as reducing the transmission speed or enabling error correction mode. These adjustments can help improve fax reliability in cases where the connection is unstable or prone to errors.
5. Troubleshoot Error Codes: Most fax machines display error codes when transmission failures occur. Consult your fax machine’s user manual or manufacturer’s website to understand the meaning of these codes and troubleshoot the specific issue accordingly.
6. Check Phone Line Connection: Ensure that the phone line connecting the fax machine is securely plugged into both the device and the wall jack. Loose or damaged connections can disrupt communication and result in failed fax transmissions.
7. Test with Different Fax Machines: If possible, test your fax machine’s compatibility with different makes and models to identify if the issue lies with your machine or the other party’s device. This can help pinpoint the source of the problem more accurately.
8. Update Firmware: Check if your fax machine’s firmware is up to date. Manufacturers sometimes release firmware updates to address known bugs, enhance compatibility, and improve overall performance. Visit the manufacturer’s website or contact their customer support for any available updates.
9. Consult Technical Support: If all else fails, and you’re still experiencing issues with your fax machine connection, reach out to the manufacturer’s technical support. They can provide further guidance, troubleshoot specific issues, or assist with any necessary repairs or replacements.
By following these steps, you can test and troubleshoot your fax machine’s connection to ensure reliable and hassle-free fax communication.
Conclusion
Setting up a fax machine on a single phone line may seem like a daunting task, but with the right equipment and a few simple steps, it can be done smoothly and efficiently. By following the guidelines outlined in this article, you can ensure that your fax machine is up and running in no time.
Remember to properly connect the fax machine to your phone line using a splitter or dedicated port for optimum performance. Set your fax machine to the appropriate mode and configure the necessary settings, such as ring delay and transmission speed, to achieve the best results.
If you encounter any issues during the setup process, refer to the manufacturer’s instructions or seek assistance from their customer support. With a little patience and troubleshooting, you can enjoy the convenience and benefits of sending and receiving faxes from the comfort of your home or office.
Now, go ahead and set up your fax machine on one phone line with confidence. Good luck!
FAQs
1. Can I set up a fax machine on a single phone line?
Yes, it is possible to set up a fax machine on a single phone line. Many modern fax machines have the capability to share a phone line with a regular telephone or another device, such as a modem. This feature allows you to use your phone line for both voice calls and fax transmissions.
2. How do I connect a fax machine to a phone line?
To connect a fax machine to a phone line, you will need a telephone cord and a telephone jack. Start by plugging one end of the telephone cord into the port labeled “Line” or “Line In” on the back of the fax machine. Next, plug the other end of the cord into a telephone jack or into the telephone port of a splitter if you are using a shared line. Once the connection is made, your fax machine should be ready to send and receive faxes.
3. Do I need a separate phone line for a fax machine?
No, a separate phone line is not necessary for a fax machine. As mentioned earlier, many fax machines have the ability to share a phone line with other devices. However, it is important to note that sharing a phone line may lead to occasional interruptions in fax transmissions if there is simultaneous use of the line for voice calls or data communication.
4. Do I need any special settings to use a fax machine on a shared phone line?
In most cases, you do not need any special settings to use a fax machine on a shared phone line. However, you may want to configure the fax machine to answer incoming calls automatically after a certain number of rings. This will ensure that the fax machine intercepts incoming faxes while allowing you to answer voice calls manually if needed. Consult your fax machine’s user manual for detailed instructions on how to adjust the settings.
5. Can I use a fax machine on a digital phone line or VoIP service?
Using a fax machine on a digital phone line or VoIP service can be more challenging. Traditional fax machines are designed to work with analog phone lines, and they may struggle to communicate properly over a digital line. In some cases, you may need to use a fax machine with built-in compatibility for VoIP or digital phone services. Alternatively, you can utilize an online faxing service that allows you to send and receive faxes digitally without relying on a physical fax machine.