
Welcome to our guide on how to check a phone line! In today’s digital age, having a reliable phone line is crucial for staying connected with family, friends, and colleagues. Whether you’re experiencing issues with dropped calls, static noise, or no dial tone at all, it’s important to diagnose and troubleshoot the problem effectively.
In this comprehensive article, we will explore various methods and techniques to help you check the status and quality of your phone line. From simple line checks to more advanced troubleshooting procedures, we’ve got you covered. Understanding how to test your phone line can save you time, frustration, and potentially costly technician visits.
So, if you’re ready to dive in and regain control of your phone line’s performance, let’s get started!
Inside This Article
- Overview
- Step 1: Physical Inspection
- Step 2: Testing the Dial Tone
- Step 3: Conducting a Line Test
- Step 4: Troubleshooting Common Issues
- Conclusion
- FAQs
How To Check A Phone Line
Overview
Having a functional phone line is essential for both personal and professional communication. If you’re experiencing issues with your phone line, such as no dial tone, static, or dropped calls, it’s crucial to perform basic troubleshooting to identify and resolve the problem.
In this guide, we will walk you through the steps to check a phone line and help you troubleshoot common issues. Whether you are using a landline or a mobile phone, these steps will assist you in diagnosing and addressing any problems with your phone line.
Checking a phone line involves a series of tests and inspections to determine the root cause of the issue. By following these steps, you will be able to identify common problems and, in some cases, fix them on your own without the need for professional assistance.
The process generally involves physically inspecting the phone line, testing the dial tone, conducting a line test, and troubleshooting common issues. Let’s get started with the first step: physical inspection.
Remember, if you are not confident in performing these tasks or suspect there may be issues with your phone line beyond basic troubleshooting, it is always advisable to contact your service provider for further assistance.
Step 1: Physical Inspection
Before diving into the technical troubleshooting process, it’s important to start with a thorough physical inspection of the phone line. This step will help identify any visible issues that may be causing line problems.
Here are some key things to check during the physical inspection:
- Check the phone connection: Ensure that the phone line is securely connected to the phone jack on the wall. Sometimes, a loose connection can cause issues with the line.
- Inspect the phone cable: Carefully examine the entire length of the phone cable for any signs of damage such as fraying, cuts, or exposed wires. If you spot any damage, it may be necessary to replace the cable.
- Eliminate potential obstructions: Make sure there are no obstructions or physical objects on or around the phone line. Sometimes, items like furniture or other electronic devices can disrupt the signal.
- Check for water or moisture: Look for signs of water damage or moisture near the phone jack or cable. Water can interfere with the connection and cause issues with the phone line.
- Inspect other devices: If you have additional devices connected to the phone line, such as a fax machine or answering machine, check their connections and ensure they are functioning properly.
By thoroughly inspecting the physical aspects of the phone line, you can often identify and address any visible issues that may be affecting its performance. If everything looks normal during the physical inspection, it’s time to move on to the next step of testing the dial tone.
Step 2: Testing the Dial Tone
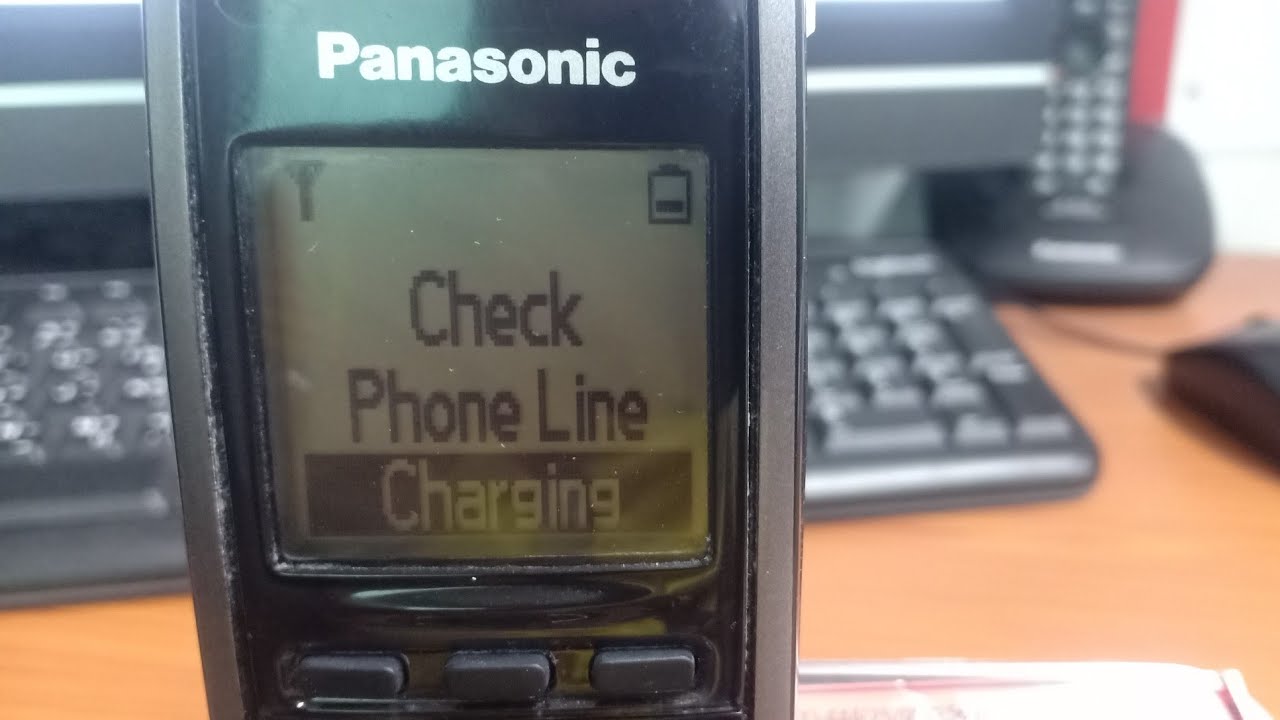
After conducting a physical inspection of the phone line, the next step is to test the dial tone. The dial tone is the audible signal you hear when you lift the handset or press the speakerphone button on your phone. It indicates that the line is active and ready for use. Testing the dial tone can help determine if there is a problem with the connection or if it is working properly.
To test the dial tone, follow these steps:
- Pick up the handset or press the speakerphone button on your phone.
- Listen for the dial tone. It should be a steady and clear tone.
- If you hear a dial tone, it means that the line is working correctly. You can proceed to make a test call to ensure the call quality is satisfactory.
- If you do not hear a dial tone, there may be a problem with the line. Try some of the troubleshooting steps mentioned in the next section.
If you are using a cordless phone, make sure it is properly charged and within range of the base station. Low battery or interference can affect the quality of the dial tone.
In some cases, you may hear an intermittent or distorted dial tone. This could indicate a line problem, such as a loose connection or a faulty phone line. If this is the case, additional troubleshooting steps may be necessary.
Remember, the dial tone is an essential indicator of a working phone line. If you are unable to hear the dial tone, it is important to identify and fix the issue to ensure a smooth and reliable telephone service.
Step 3: Conducting a Line Test
After inspecting the physical connections and testing the dial tone, the next step in checking a phone line is conducting a line test. This will help you determine if there are any issues with the line that could be affecting its performance.
To conduct a line test, follow these steps:
- Disconnect all devices: Make sure that all phones, fax machines, modems, or other devices are disconnected from the phone line. This will help isolate the line and ensure accurate test results.
- Use a line tester or phone line tester: A line tester is a handy tool that allows you to test the phone line for any faults or abnormalities. Simply connect the tester to the phone line jack and follow the instructions provided with the device.
- Check for noise or interference: Listen for any static, crackling, or buzzing noises during the line test. These noises can indicate line issues such as poor connections or interference from nearby electronic devices.
- Test incoming and outgoing calls: Use a phone or a test phone to make both incoming and outgoing calls. Pay attention to the call quality, clarity, and any distortions or dropouts during the call. These can be signs of line problems that need further investigation.
- Record the results: Take note of any issues or abnormalities encountered during the line test. This information will be helpful when troubleshooting or contacting your service provider for assistance.
Conducting a line test is an essential step in identifying any issues with your phone line. By following these steps, you can gather important information about the line’s performance and determine if further action is necessary.
Step 4: Troubleshooting Common Issues
Despite our best efforts to maintain a stable phone line, there are times when issues arise. Fortunately, many common problems can be easily resolved with a few troubleshooting techniques. Let’s take a look at some of the most common issues and how you can fix them:
1. No dial tone: If you pick up your phone and there is no dial tone, the first step is to check all your phone connections. Ensure that all cables are securely plugged in and there are no loose connections. If the problem persists, try plugging the phone into a different phone jack to verify if the issue is with the phone itself or the line.
2. Poor call quality: If you are experiencing static or poor call quality, there could be a problem with the line. Check if there are any visible damages to the phone cord or if it has any kinks. Consider replacing the cord to see if it improves the call quality. Additionally, if you are using a cordless phone, make sure it is within the recommended range of the base station for optimal audio quality.
3. Call dropping: If your calls are frequently dropping or disconnecting, it can be frustrating. In this case, check if there are any obstructions or interference near your phone’s base station. Objects like walls or electronics can weaken the signal and cause calls to drop. Relocating the base station to a more open and central location can potentially solve this issue.
4. Interference during calls: If you experience interference or background noise during calls, it could be due to external factors such as electrical devices or wireless signals. Try moving away from such devices or use a corded phone instead of a cordless one, which is more susceptible to interference.
5. Noisy line: If you hear static or buzzing noises on the line, it may be due to a problem with the wiring. Ensure that all connections and wiring inside your property are secure and properly connected. If the issue persists, you may need to contact your service provider to check if there are any issues with the line outside your property.
6. Caller ID not working: If your caller ID is not displaying the name or number of incoming calls, check if the feature is enabled on your phone and with your service provider. Sometimes a simple reset of the caller ID function or contacting your service provider to troubleshoot the issue can solve the problem.
7. Voicemail issues: If you are having trouble accessing or setting up your voicemail, ensure that your voicemail service is properly activated and configured. Check if the voicemail settings on your phone are correctly set up. If the problem persists, contact your service provider for further assistance.
Remember, if you are unsure about any troubleshooting steps or if the issues persist despite your efforts, it is recommended to reach out to your service provider for professional assistance. They will be able to offer specific guidance and resolve any underlying technical problems with your phone line.
Conclusion
In conclusion, checking a phone line is an essential step in troubleshooting and ensuring the effective functioning of your communication system. By following the steps mentioned in this article, you can diagnose and resolve any issues related to your phone line with ease. Remember to start by inspecting the physical connections, checking for any damages or loose connections. If the problem persists, try testing the line with a different phone or contacting your service provider for further assistance.
Regularly checking your phone line will help you maintain clear and uninterrupted communication, both for personal and professional use. By identifying and resolving any issues promptly, you can save valuable time and effort in the long run. With a well-functioning phone line, you can stay in touch with loved ones, conduct business calls, and enjoy a seamless connection with the world.
So, next time you encounter any phone line issues, don’t panic! Simply refer to this article and follow the steps outlined to troubleshoot and resolve the problem effectively.
FAQs
1. How can I check if my phone line is working?
To check if your phone line is working, follow these steps:
- Plug in a working phone into the phone jack.
- Check for a dial tone. If you hear a dial tone, your phone line is working.
- If there is no dial tone, try using a different phone. If the alternate phone also does not work, the issue might be with the line itself and you should contact your service provider.
2. What should I do if I have a dead phone line?
If you have a dead phone line and there is no dial tone, there are a few steps you can undertake to try and resolve the issue:
- Check if there are any loose or disconnected cables. Ensure that all phone cables are securely connected to the phone jack and the phone itself.
- Try unplugging all the devices connected to the phone line, including phones, fax machines, and modems. Then, plug them back in one by one, checking for a dial tone after each device is connected.
- If the issue persists, it is advisable to contact your service provider for further assistance. They may need to send a technician to examine and repair the phone line.
3. What causes static or noise on the phone line?
Static or noise on a phone line can be caused by various factors. Some common causes include:
- Loose or damaged phone cables and connectors.
- Electromagnetic interference from nearby electronic devices.
- Old or faulty telephone equipment.
- External factors such as power lines, radio waves, or weather conditions.
To troubleshoot static or noise issues on your phone line, you can try the following steps:
- Ensure all phone cables are securely connected.
- Remove any potential sources of interference, such as cordless phones or appliances, from the vicinity of the phone line.
- If the issue persists, contact your service provider for assistance.
4. Can I check my phone line without a landline phone?
Yes, you can check your phone line even without a landline phone. Here’s how:
- Use a mobile phone and call your landline number. If the call goes through and you can hear it ringing, it indicates that the phone line is active and working.
- If the call doesn’t connect or there is no ringing tone, it suggests a problem with the phone line and you should contact your service provider for further assistance.
5. How long does it take to fix a phone line?
The duration to fix a phone line can vary depending on the nature of the problem and your service provider’s response time. In some cases, simple issues like loose connections can be resolved quickly by securely reconnecting the cables. However, complex issues or repairs that require the involvement of a technician may take longer. It is best to contact your service provider for an estimated timeframe on resolving your specific phone line issue.