
In today’s fast-paced digital world, staying connected is more important than ever. And one of the key tools that keeps us connected is our mobile phone. Whether it’s for making calls, sending messages, browsing the internet, or accessing various applications, our mobile phones have become an integral part of our daily lives.
But what happens when we need to upgrade our phones or switch carriers? This is where the process of swapping phones comes into play. If you’re a Virgin Mobile customer looking to upgrade to a new device, you may be wondering how to go about swapping your phones seamlessly and hassle-free.
In this article, we’ll guide you through the step-by-step process of swapping Virgin Mobile phones, ensuring that you can enjoy your new device without any interruptions. From backing up your old phone to transferring your data and activating your new phone, we’ll cover it all. So, let’s dive in and make the phone swapping process a breeze!
Inside This Article
- Steps for Swapping Virgin Mobile Phones
- Check Device Compatibility
- Back up Data from Old Phone
- Activate New Phone
- Transfer Data to New Phone
- Conclusion
- FAQs
Steps for Swapping Virgin Mobile Phones
Are you a Virgin Mobile customer looking to swap your current phone for a new one? Whether you’re upgrading to a newer model or simply need a replacement, swapping your Virgin Mobile phone is a straightforward process. Just follow these steps to ensure a smooth transition:
1. Check Device Compatibility
The first step in swapping your Virgin Mobile phone is to check the compatibility of the new device with your existing plan. Virgin Mobile operates on the Sprint network, so make sure the phone you wish to swap is compatible with Sprint’s CDMA technology. You can check compatibility by contacting Virgin Mobile customer service or using their online device compatibility checker tool.
2. Back up Data from Old Phone
Before swapping your Virgin Mobile phone, it’s essential to back up your data from the old device. This includes contacts, photos, videos, apps, and any other important files. You can do this by using cloud storage services, such as Google Drive or iCloud, or by connecting your old phone to a computer and transferring the data manually. By backing up your data, you ensure that nothing is lost during the phone swap process.
3. Activate New Phone
Once you have confirmed device compatibility and backed up your data, it’s time to activate your new Virgin Mobile phone. To do this, follow the instructions provided with the new device. Typically, you will need to power on the phone, insert the Virgin Mobile SIM card provided with your new phone, and follow the prompts to activate the device. If you encounter any issues during the activation process, reach out to Virgin Mobile customer service for assistance.
4. Transfer Data to New Phone
After activating your new Virgin Mobile phone, it’s time to transfer the data from your old phone to the new device. There are several ways to do this, depending on the type of data you have backed up. For contacts, you can sync them with your Google or iCloud account, or manually transfer them using a VCF file. Photos, videos, and other files can be transferred using cloud storage apps, a computer, or a USB cable. Take your time to ensure that all of your data is successfully transferred to the new phone.
By following these steps, you can seamlessly swap your Virgin Mobile phone and enjoy your new device with all of your data intact. Remember to double-check compatibility, back up your data, activate your new phone, and transfer your data to ensure a smooth transition. If you have any further questions or need assistance, don’t hesitate to reach out to Virgin Mobile customer service for guidance.
Check Device Compatibility
Before swapping Virgin Mobile phones, it is important to ensure that the new device is compatible with your existing Virgin Mobile account. This step is crucial to avoid any compatibility issues that may hinder the smooth transition from your old phone to the new one.
To check the device compatibility, you can visit the Virgin Mobile website and utilize their online tool. This tool allows you to enter the details of your new phone, such as the model, make, and serial number, and it will provide you with information about whether the device can be activated on your account.
If the new phone is compatible, you can proceed with the swapping process. However, if it is not compatible, you may need to consider other options, such as contacting Virgin Mobile customer support to seek guidance on alternative solutions or exploring the possibility of purchasing a different phone that is compatible with your account.
By checking the device compatibility in advance, you can avoid any potential frustrations and ensure a seamless transition to your new Virgin Mobile phone.
Back up Data from Old Phone
When it comes to swapping your Virgin Mobile phone, one crucial step is to back up the data from your old device. This will ensure that you don’t lose any important information or files during the transition. Follow these steps to back up your data:
- Sync with the Cloud: Many mobile phones offer cloud storage options, such as Google Drive or iCloud. Take advantage of this feature by syncing your data to the cloud. This will safeguard your contacts, photos, videos, and other important files.
- Transfer to a Computer: Connect your old phone to a computer using a USB cable. Once connected, you can transfer your files by simply dragging and dropping them onto your computer’s storage. Make sure to create a new folder to organize all the transferred data.
- Use a Third-Party App: There are various third-party apps available that can assist you in backing up your data. These apps often provide easy-to-use interfaces and allow you to select specific files or folders for backup. Research and choose a reliable app that meets your requirements.
It is important to note that the method you choose for backing up your data will depend on your phone’s operating system and personal preferences. Regardless of the method, make sure to double-check that all your important data has been successfully backed up before proceeding with the phone swap.
Activate New Phone
Once you have received your new Virgin Mobile phone, the next step is to activate it before you can start using it. Activating your new phone is a simple process that ensures your device is tied to your phone number and ready for use.
The specific steps to activate your new Virgin Mobile phone may vary slightly depending on the model and operating system. However, the general process involves the following steps:
- Power on your new phone by pressing and holding the power button until it turns on.
- You will be prompted to select the language and region settings. Follow the on-screen instructions to make your selections.
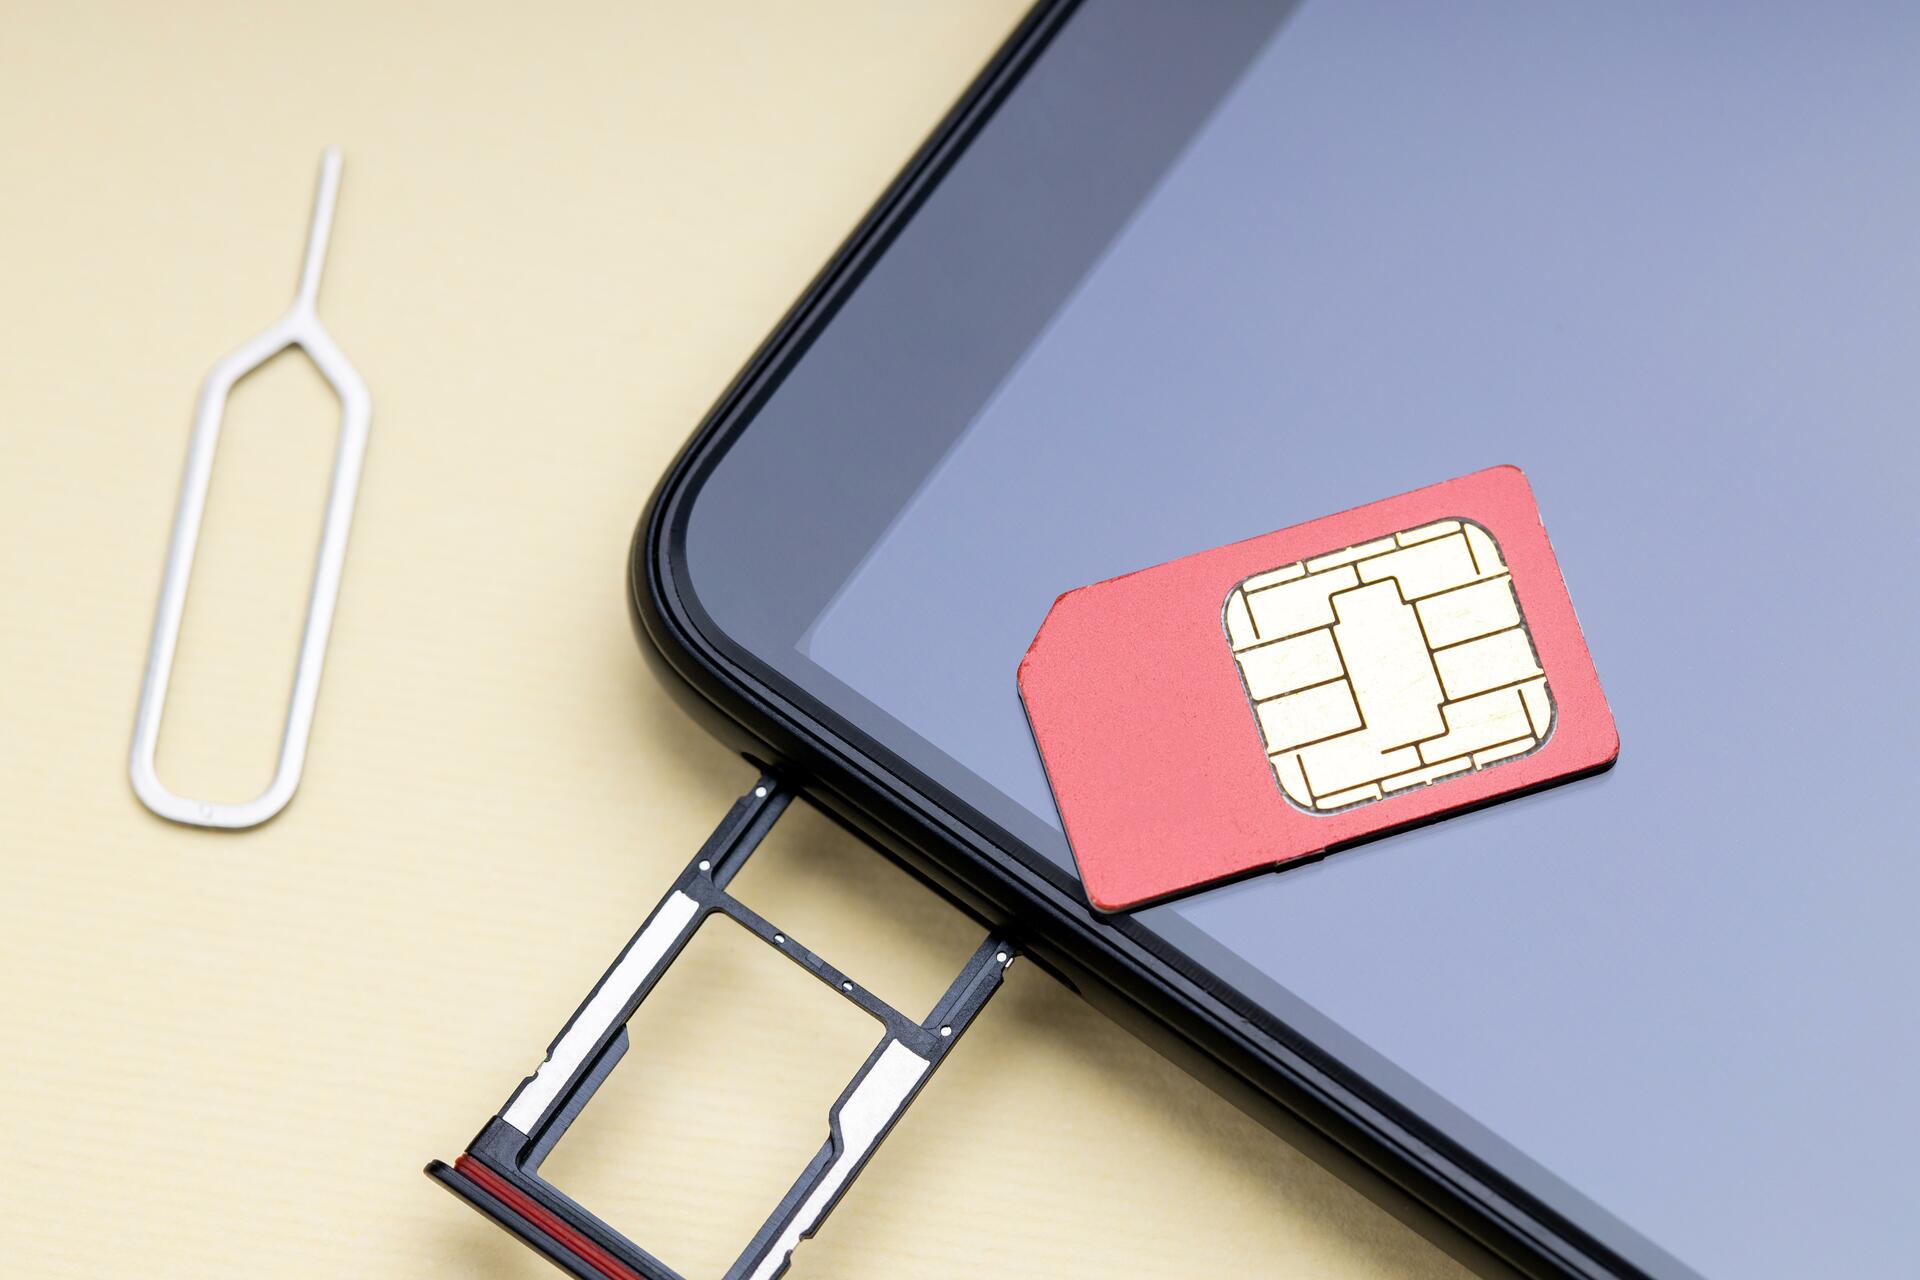
- If your new phone has a removable SIM card, insert the SIM card into the designated slot. Ensure it is inserted correctly and securely.
- Next, your phone will search for available networks. Once it has detected the Virgin Mobile network, select it to proceed.
- You will be prompted to enter your Virgin Mobile account information, including your phone number and account PIN. Enter the required information accurately.
- Follow any additional on-screen instructions to complete the activation process. This may involve setting up additional security measures, such as fingerprints or facial recognition.
- Once the activation is complete, you will see a confirmation message on your screen. At this point, your new Virgin Mobile phone is ready to be used.
It is important to note that if you are switching from another carrier to Virgin Mobile, you may need to contact Virgin Mobile customer support to complete the activation process. They will guide you through the necessary steps and ensure a smooth transition.
Once your new phone is activated, take some time to explore its features and settings. Set up your preferences, such as customizing the home screen, adding widgets, and installing your favorite apps. Don’t forget to transfer any data, contacts, messages, or media files from your old phone to your new one using the appropriate methods.
Activating your new Virgin Mobile phone is an exciting step towards experiencing the latest features and capabilities. Follow the provided instructions, and soon you’ll be enjoying your new device to its fullest.
Transfer Data to New Phone
Once you have activated your new Virgin Mobile phone, it’s time to transfer your data from the old phone to the new one. This process ensures that your contacts, messages, photos, and other important files are seamlessly moved to your new device, allowing you to pick up where you left off without missing a beat.
Follow these simple steps to transfer your data to your new Virgin Mobile phone:
- Connect both phones: Use a USB cable or a cloud-based service to connect both your old phone and your new Virgin Mobile phone to a computer. If you choose to use a USB cable, connect one end to your old phone and the other end to your new phone.
- Select transfer method: Depending on the operating systems of your old and new phones, you have several options for transferring your data. For Android devices, you can use the Google Drive app or Samsung Smart Switch. For iPhones, you can use iCloud or iTunes backup.
- Transfer contacts: Ensure that your contacts are saved to your SIM card or synced with your Google or Apple account. On your new Virgin Mobile phone, go to Settings and select Accounts & Sync. Sign in with your Google or Apple account, and your contacts will be automatically synced to your new device.
- Transfer other data: Use the transfer method you selected earlier to transfer your messages, photos, videos, and other important files from your old phone to the new one. The process may take some time, depending on the size of the files being transferred.
- Verify data transfer: Once the transfer is complete, double-check that all your data has been successfully transferred to your new Virgin Mobile phone. Open your contacts, messages, and other applications to ensure that everything is intact.
It’s important to remember that the transfer process may vary slightly depending on the make and model of your old and new phones. If you encounter any difficulties during the transfer, refer to the user manuals or contact Virgin Mobile customer support for assistance.
By following these steps, you can easily transfer your data to your new Virgin Mobile phone and enjoy a seamless transition to your new device. Say goodbye to the hassle of manually entering contacts and trying to retrieve important files – with Virgin Mobile, you can transfer your data quickly and effortlessly.
In conclusion, swapping Virgin Mobile phones can be a simple and convenient process. Whether you want to upgrade to a newer model, switch to a different device, or replace a damaged phone, Virgin Mobile offers an easy solution. By following the steps outlined in this guide, you can ensure a smooth transition between phones and continue enjoying the benefits of your Virgin Mobile service.
FAQs
1. Can I swap my Virgin Mobile phone with any other phone?
Yes, you can swap your Virgin Mobile phone with another compatible phone. However, it is important to check if the new phone is compatible with Virgin Mobile’s network and services. You can usually find this information on the Virgin Mobile website or by contacting their customer support.
2. How do I swap my Virgin Mobile phone?
To swap your Virgin Mobile phone, you will need to follow these steps:
- Contact Virgin Mobile’s customer support to verify that your new phone is compatible with their network.
- Ensure that you have transferred all of your data from your old phone to the new phone. This includes contacts, photos, apps, and any other important information.
- Remove the SIM card from your old phone and insert it into the new phone. The SIM card contains your phone number and account information.
- Activate the new phone by following the instructions provided by Virgin Mobile or through their website.
- You may need to update your phone’s settings and configurations to ensure it works properly on the Virgin Mobile network.
3. What happens to my old phone after swapping?
After swapping your Virgin Mobile phone with a new one, you have a few options for your old phone:
- You can keep it as a backup phone in case something happens to your new phone.
- You can sell or trade it in to offset the cost of your new phone.
- You can recycle it at an electronic recycling center to help reduce electronic waste.
4. Can I keep my existing phone number when swapping phones?
Yes, you should be able to keep your existing phone number when swapping phones with Virgin Mobile. During the activation process of your new phone, you will have the option to transfer your number from your old phone to the new one. Make sure to select this option and follow the instructions provided by Virgin Mobile.
5. Are there any fees or charges associated with swapping my Virgin Mobile phone?
Virgin Mobile may charge a fee for swapping your phone, depending on your specific plan and the type of phone you are swapping. It is recommended to check with Virgin Mobile’s customer support or refer to your service agreement for any applicable fees or charges. These fees are usually outlined in the terms and conditions of your plan.