
Learning how to take a screenshot on your iPhone XR is a handy skill that will allow you to capture and share important moments, conversations, or anything else you come across on your device. Whether you want to save a funny meme, capture a beautiful image, or document an important conversation, taking a screenshot is a quick and simple way to do it.
With its sleek design and advanced features, the iPhone XR offers multiple ways to capture screenshots. You can use button combinations, voice commands, or even utilize the assistive touch feature. In this article, we will guide you through various methods to take a screenshot on your iPhone XR, ensuring that you never miss an opportunity to capture and share the moments that matter.
Inside This Article
- Method 1: Using the Side Button and Volume Up Button
- Method 2: Using Assistive Touch
- Method 3: Using QuickTime on a Mac
- Conclusion
- FAQs
Method 1: Using the Side Button and Volume Up Button
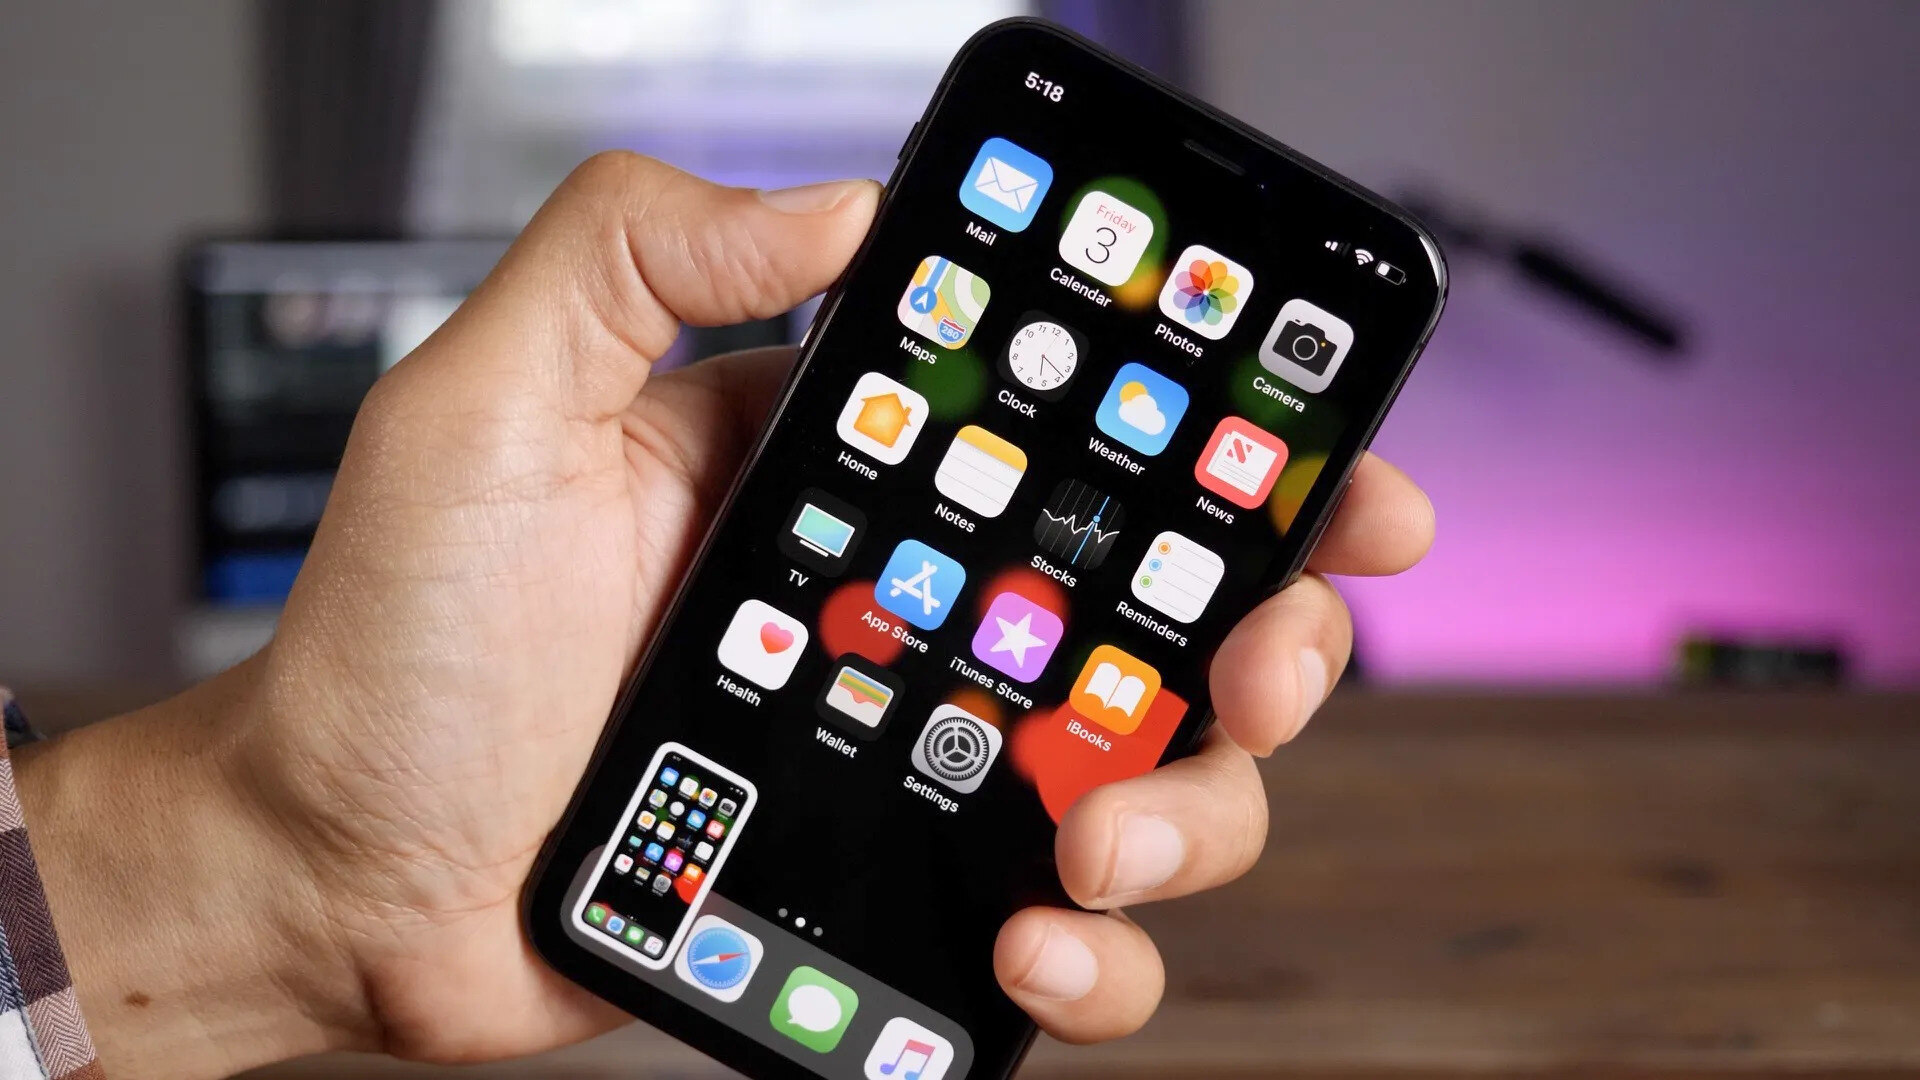
Taking a screenshot on an iPhone XR is a simple and convenient process. One of the most commonly used methods to capture your screen is by using the side button and volume up button simultaneously. This method is quick, efficient, and doesn’t require any additional settings or features.
To take a screenshot using this method, follow these steps:
- Open the app, screen, or page that you want to capture. Make sure everything on the screen is arranged as you want it to appear in the screenshot.
- Locate the side button on the right-hand side of your iPhone XR. It is also known as the power or sleep/wake button.
- Simultaneously press the side button and the volume up button located on the left-hand side of your iPhone XR. Press them at the same time and release quickly.
- You will hear a camera shutter sound, and the screen will briefly flash white, indicating that the screenshot has been successfully taken.
- You can find the screenshot in the Photos app, specifically in the “Screenshots” album. From there, you can edit, share, or delete the screenshot as needed.
Using the side button and volume up button to take a screenshot on your iPhone XR is a straightforward and intuitive method. It allows you to capture anything from important information to hilarious conversations or memorable moments on your device. Plus, with the convenience of readily accessible buttons, you can snap a screenshot in just a split second!
Method 2: Using Assistive Touch
If you find it challenging to press the side button and volume up button simultaneously, or if you prefer a more convenient method, you can use the AssistiveTouch feature on your iPhone XR to take a screenshot.
AssistiveTouch is a built-in accessibility feature that provides a virtual floating button on your screen. This can be helpful for those with physical disabilities or for users who want an alternative way to access certain functions. Here’s how you can use AssistiveTouch to capture a screenshot on your iPhone XR:
1. Go to your iPhone’s settings by tapping on the “Settings” app on your home screen.
2. Scroll down and select “Accessibility.”
3. Tap on “Touch” under the “Physical and Motor” section.
4. Scroll down and select “AssistiveTouch.”
5. Toggle the switch next to “AssistiveTouch” to turn it on. You will see a small floating button appear on your screen.
6. Tap on the AssistiveTouch button. A menu will pop up.
7. Tap on “Device.”
8. Tap on “More.”
9. Tap on “Screenshot.” Your iPhone XR will now capture the current screen and save it to your Photos app.
10. Close the AssistiveTouch menu by tapping anywhere outside of it.
Using AssistiveTouch provides a convenient and accessible way to take screenshots on your iPhone XR. This method is especially useful for users who have difficulties pressing physical buttons simultaneously. Now you can capture screenshots with ease using the AssistiveTouch feature on your device!
Method 3: Using QuickTime on a Mac
If you own a Mac and prefer to take screenshots of your iPhone XR using your computer, you can use the QuickTime Player application to accomplish this. QuickTime is a versatile multimedia player that also includes screen recording capabilities, and it is pre-installed on most Mac computers.
To use QuickTime to take a screenshot on your iPhone XR, follow these steps:
- Connect your iPhone XR to your Mac using a Lightning cable.
- On your Mac, open the QuickTime Player application. You can find it by searching in Spotlight or in the Applications folder.
- In the QuickTime menu bar, click on “File” and then select “New Movie Recording” from the drop-down menu. A recording window will appear.
- Next to the record button in the recording window, click on the small arrow to open the drop-down menu, and then select your iPhone XR as the camera and microphone input.
- You should now see the live screen of your iPhone XR displayed in the QuickTime Player window on your Mac.
- Position your iPhone XR screen exactly how you want it to appear in the screenshot.
- To take the screenshot, click on the red record button in the QuickTime Player window. The recording will begin, but don’t worry, you’re only interested in capturing a still image.
- Once you’ve captured the screenshot, click on the stop button in the QuickTime Player window to end the recording.
- You can now save the screenshot by clicking on “File” in the QuickTime menu bar, selecting “Save” from the drop-down menu, and choosing a location on your Mac to save the image.
This method using QuickTime on a Mac provides a convenient way to capture screenshots of your iPhone XR. It is particularly useful if you need to take multiple screenshots or if you prefer the larger screen and ease of use of your Mac computer. Just remember to connect your iPhone XR to your Mac using a Lightning cable and follow the step-by-step instructions outlined above to successfully capture your desired screenshot.
Conclusion
The iPhone XR is a powerful and versatile device that offers numerous features to enhance your mobile experience. One of these features is the ability to take screenshots effortlessly. By simply following the steps outlined in this article, you can capture important moments, save conversations, or share information with ease.
Whether you’re a seasoned iPhone user or new to the iOS ecosystem, the screenshot functionality on the iPhone XR is intuitive and user-friendly. With just a combination of buttons pressed simultaneously, you can capture and save anything on your screen in an instant.
So next time you want to capture a funny meme, save a noteworthy web page, or share an important chat conversation, remember the simple steps to take a screenshot on your iPhone XR. Enjoy the convenience and share your content with friends, family, or colleagues easily and seamlessly.
FAQs
Q: How do I take a screenshot on an iPhone XR?
A: To take a screenshot on an iPhone XR, simply press the volume up button and the side button (formerly known as the power button) simultaneously. The screen will flash momentarily and you will hear a camera shutter sound, indicating that the screenshot has been successfully captured.
Q: Where can I find the screenshots I have taken on my iPhone XR?
A: Once you have taken a screenshot on your iPhone XR, it will be saved in the Photos app under the “Screenshots” album. You can access this album by opening the Photos app and selecting the “Albums” tab.
Q: Can I edit the screenshots on my iPhone XR?
A: Yes, you can edit screenshots on your iPhone XR. After capturing a screenshot, you will see a preview of it in the lower-left corner of the screen. Tap on the preview to open the screenshot in the Markup editor, where you can add annotations, drawings, texts, and more before saving or sharing it.
Q: Can I take screenshots of specific portions of the screen on my iPhone XR?
A: Yes, you can take screenshots of specific portions of the screen on your iPhone XR. After pressing the volume up and side buttons simultaneously to initiate the screenshot, quickly drag your finger from the bottom left corner to the top right corner of the desired area. The screenshot will be automatically captured of that specific portion.
Q: How can I share a screenshot from my iPhone XR?
A: To share a screenshot from your iPhone XR, open the screenshot in the Photos app. In the bottom-left corner, tap on the share icon (a box with an upward arrow). You can then choose to share the screenshot via various methods, such as Messages, Mail, AirDrop, or social media platforms.