
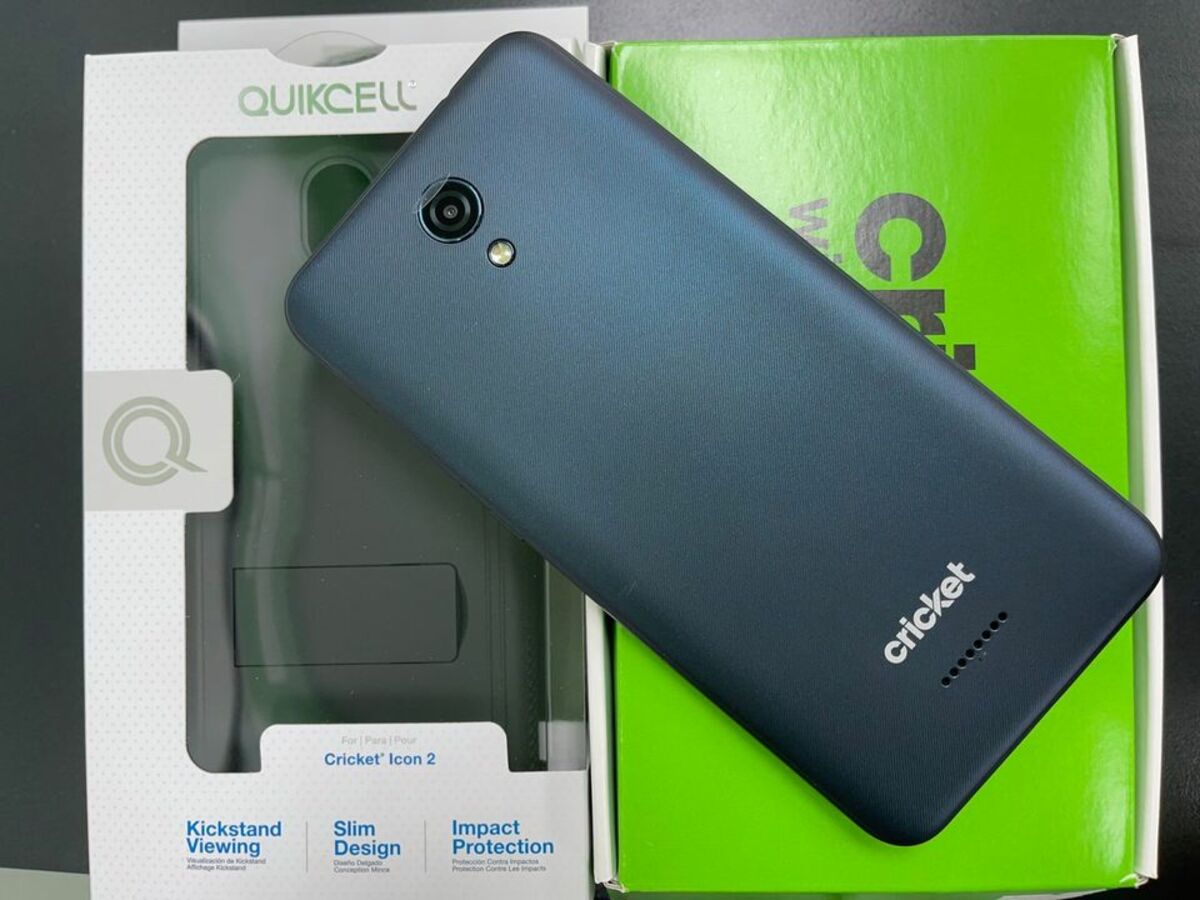
In today’s fast-paced world, staying connected is essential, and having a reliable mobile phone is a must. Whether you’re upgrading to a new device or sharing your Cricket service with a family member or friend, transferring your service to another phone can be a smooth and hassle-free process. In this article, we will guide you through the steps to transfer your Cricket service to another phone, ensuring that you stay connected without any interruptions. We’ll cover everything from backing up your data to activating your new phone, so you can enjoy all the features and benefits of your Cricket service on your new device. Let’s dive in and discover how you can easily make the switch to a new phone while keeping your Cricket service intact.
Inside This Article
- Overview
- Step 1: Check phone compatibility
- Step 2: Backup your data
- Step 3: Remove SIM card from current phone
- Step 4: Insert SIM card into new phone
- Step 5: Activate the new phone with Cricket service
- Step 6: Transfer contacts and other data
- Step 7: Test the transfer and troubleshoot any issues
- Additional tips and considerations
- Conclusion
- FAQs
Overview
Transferring your Cricket service to a new phone is a straightforward process that allows you to enjoy your mobile experience on a different device. Whether you want to upgrade to a more advanced model or replace a damaged phone, this guide will walk you through the steps required to transfer your Cricket service to another phone seamlessly.
With a few simple steps, you can switch to a new phone without losing any of your phone numbers, contacts, or data. The process involves checking phone compatibility, backing up your data, removing the SIM card from the current phone, inserting it into the new phone, and activating the new phone with Cricket service. Additionally, we will cover how to transfer your contacts and other data to ensure a smooth transition between devices.
By following the steps outlined in this guide, you will be able to confidently transfer your Cricket service to another phone and continue using your phone number and data as before. So let’s get started!
Step 1: Check phone compatibility
Before transferring your Cricket service to another phone, it’s important to ensure that the new phone is compatible with Cricket’s network. This will ensure a smooth and seamless transition.
The compatibility of a phone with Cricket’s network is determined by its technology and supported frequencies. Cricket operates on GSM and LTE networks, which means the phone should be compatible with these technologies. Most modern smartphones are equipped with these capabilities, but it’s always best to verify.
You can check if your new phone is compatible by visiting Cricket’s website or contacting their customer service. They will provide you with information about the phone models that are compatible with their network. This will save you time and potential frustration down the road.
Additionally, it’s important to check if the new phone is unlocked. Some phones are locked to specific carriers, meaning they can only be used with that carrier’s network. If your new phone is locked, you will need to contact the carrier to unlock it before transferring your Cricket service.
By taking the time to check the compatibility of your new phone with Cricket’s network, you’ll ensure that you can enjoy uninterrupted service and avoid any issues during the transfer process.
Step 2: Backup your data
Before proceeding with transferring your Cricket service to a new phone, it is crucial to back up your data to ensure that no information is lost in the process. By creating a backup, you can easily restore all your important contacts, photos, videos, and other files on the new device.
The method of backing up data may vary depending on the type of phone you currently have. Here are some common ways to back up data:
- Cloud Backup: Many smartphones offer built-in cloud backup options such as Google Drive or iCloud. Simply go to your phone’s settings, find the backup and restore section, and enable cloud backup. This will automatically save all your data to the cloud.
- External Storage: If your phone supports external storage, consider transferring your files to a microSD card or an external hard drive. Connect your phone to a computer using a USB cable and manually copy the files to the storage device.
- Syncing with Computer: Another option is to sync your phone with a computer using software like iTunes or Samsung Smart Switch. This allows you to transfer and backup data directly to your computer.
Prioritize the backup of essential information such as contacts, messages, photos, and any other personal files you don’t want to lose. Once you have completed the backup process, you can move on to the next step of transferring your Cricket service to another phone.
Step 3: Remove SIM card from current phone
Removing the SIM card from your current phone is a crucial step in transferring your Cricket service to another phone. The SIM card contains your mobile number, contacts, and other important data, so it needs to be safely transferred to the new device.
To remove the SIM card:
- Power off your current phone by pressing and holding the power button.
- Locate the SIM card tray on your phone. The location may vary depending on the make and model of your device. Typically, it is located on the side or top of the phone.
- Insert the SIM card removal tool (or a small paperclip) into the small hole on the SIM card tray. Gently push until the tray pops out.
- Remove the SIM card tray from the phone.
- Take out the SIM card from the tray. Be careful not to touch or bend the metal contacts on the card.
Once you have successfully removed the SIM card from your current phone, you can proceed to the next step of inserting it into your new device.
Step 4: Insert SIM card into new phone
After backing up your data from the old phone, it’s time to transfer the SIM card to your new phone. The SIM card is a small chip that carries your phone number and other cellular data. Here’s how you can insert it into your new phone:
1. Power off your new phone if it is already turned on. Look for a button on the side or top of the phone to turn it off completely.
2. Locate the SIM card slot on your new phone. The location of the SIM card slot varies depending on the make and model of your phone. Consult your phone’s user manual or manufacturer’s website to find the exact location of the SIM card slot.
3. Use a SIM card removal tool, or a paperclip, to gently eject the SIM card tray. Most phones have a small hole next to the SIM card slot to insert the removal tool. Insert the tool into the hole and push slightly until the SIM card tray pops out.
4. Take out the SIM card tray and carefully place the SIM card in the designated slot. Make sure the gold contacts on the SIM card are facing down and aligned with the contacts in the slot.
5. Gently push the SIM card tray back into the phone until it clicks into place. Make sure the tray is securely inserted to avoid any connection issues.
6. Power on your new phone. Press and hold the power button until you see the startup screen. Follow the on-screen instructions to complete the initial setup of your new phone.
7. Once your new phone is set up, it should recognize the SIM card and connect to the Cricket service automatically. You should see the network bars or signal indicator on the phone’s display.
By following these steps, you have successfully inserted the SIM card into your new phone and established the connection to your Cricket service. Now, you can proceed to the next step to transfer your contacts and other data from your old phone to the new one.
Step 5: Activate the new phone with Cricket service
Once you have inserted the SIM card into your new phone, the next step is to activate it with your Cricket service. Activating your new phone will ensure that you can make calls, send texts, and use data on your new device.
Here are the steps to activate your new phone with Cricket service:
- Power on your new phone by pressing the power button.
- Wait for the phone to fully boot up and display the home screen. This may take a few moments.
- Look for the Cricket activation prompt or notification on the screen. It may ask you to enter your Cricket account information or provide an activation code.
- If prompted, enter your Cricket account information, such as your phone number and account PIN. This information will be used to verify your account and activate your new phone.
- Follow any on-screen instructions provided by Cricket to complete the activation process. This may include confirming your plan details or updating your payment information.
- Once the activation process is complete, you should see a confirmation message on your screen. This indicates that your new phone is now active with your Cricket service.
If you do not see a Cricket activation prompt or notification on your new phone, you can also try initiating the activation process manually.
To manually activate your new phone with Cricket service:
- Open the Cricket Wireless app on your new phone, if available.
- Navigate to the activation section within the app.
- Follow the on-screen instructions to activate your new phone. This may involve entering your Cricket account information or scanning a QR code.
- Once the activation process is complete, you should receive a confirmation message or notification indicating that your new phone is now active.
It is important to note that the activation process may vary slightly depending on the make and model of your new phone. If you encounter any issues during the activation process, you can contact Cricket customer support for assistance.
Once your new phone is successfully activated, you can begin using it with your Cricket service. Enjoy the features and functionality of your new device and stay connected with friends, family, and the world around you.
Step 6: Transfer contacts and other data
Once you have successfully activated your new phone with Cricket service, the next step is to transfer your contacts and other important data. Fortunately, there are several methods you can use to accomplish this. Let’s explore some of the most common options:
1. Sync with Google or iCloud: If you have an Android phone or an iPhone, you can easily sync your contacts, calendars, and other data with Google or iCloud, respectively. Simply sign in to your Google or iCloud account on your new phone, and your data will be automatically transferred. This method ensures a seamless transition without the need for any manual input.
2. Use a data transfer app: Many apps are available on both the Google Play Store and the Apple App Store that allow you to transfer your contacts and other data from one phone to another. Some popular options include “Copy My Data,” “Samsung Smart Switch,” and “Phone Clone.” These apps typically guide you through the process of transferring data via Wi-Fi or a direct cable connection.
3. Transfer via Bluetooth: If your old and new phones both support Bluetooth connectivity, you can transfer your contacts by pairing the two devices and initiating a data transfer. Keep in mind that this method may be time-consuming if you have a large number of contacts to transfer.
4. Import/export using the SIM card: Most phones allow you to import and export contacts using a SIM card. Export your contacts from your old phone to the SIM card, and then insert the SIM card into your new phone to import the contacts. However, please note that this method may not transfer other data, such as photos, messages, and app data.
5. Transfer using a computer: If you have a computer with you, you can connect both your old and new phones to transfer contacts and other data. For example, you can connect your Android phone and iPhone to your computer using USB cables and use software like “Android File Transfer” or “iTunes” to transfer contacts, photos, and other files between the two devices.
Choose the method that works best for you based on your specific needs and preferences. Remember to follow the instructions provided with each method to ensure a successful transfer. Once the transfer is complete, take some time to verify that all your contacts and data have been successfully transferred to your new phone.
Step 7: Test the transfer and troubleshoot any issues
Once you have completed the previous steps and transferred your Cricket service to your new phone, it’s time to test if the transfer was successful and troubleshoot any issues that may arise. Follow these steps to ensure a smooth transition:
1. Turn on your new phone and check if it has successfully activated with your Cricket service. Ensure that you have a good cellular signal and can make and receive calls.
2. Test your data connectivity by browsing the internet or using any apps that require an internet connection. Make sure you are able to connect to Wi-Fi networks, if available, and that your mobile data is functioning properly.
3. Verify that your text messaging service is working. Send a text message to a friend or family member and ensure that it is delivered successfully. Make sure you can receive incoming text messages as well. If you encounter any issues, try restarting your phone or contacting Cricket support for assistance.
4. Check if your contacts, photos, and other data have transferred successfully to your new phone. Open your contacts list and verify that all your contacts are present. If any contacts are missing, try syncing your contacts or transferring them again. Likewise, ensure that your photos and other important files have made the transfer successfully.
5. Test any additional features or functionalities that are specific to your phone model. For example, if your new phone has a fingerprint sensor, test if it functions correctly. If there are any issues or malfunctions, refer to your phone’s user guide or contact the manufacturer for support.
6. If you encounter any problems during the testing phase, try troubleshooting the issues by restarting your phone, checking for software updates, or restoring the phone to its factory settings if necessary. In case the problems persist, reach out to Cricket support for further assistance.
By following these steps, you can ensure that your transfer to a new phone with Cricket service is successful and that any potential issues are resolved promptly. Enjoy your new phone and continue enjoying the reliable service provided by Cricket Wireless!
Additional tips and considerations
When transferring your Cricket service to a new phone, there are a few additional tips and considerations to keep in mind:
1. Check for compatibility: Before purchasing a new phone, ensure that it is compatible with Cricket’s network. You can verify this by checking the device’s specifications on Cricket’s website or reaching out to customer support.
2. Unlocking your phone: If you are transferring your Cricket service to a phone that was previously locked to another carrier, you will need to unlock it first. Contact the previous carrier or use a third-party unlocking service to gain access to the phone.
3. Resetting the old phone: After transferring your service to a new phone, it’s a good idea to factory reset your old device. This ensures that all personal data and information are removed, protecting your privacy.
4. Check data plan compatibility: If you are switching from a 3G to 4G device or vice versa, double-check if your current data plan is compatible with the new phone. Some older plans may not support the faster speeds of newer devices.
5. Consider upgrading your plan: If you’re switching to a more advanced phone, such as a smartphone or a device with higher data capacity, it might be beneficial to upgrade your plan to accommodate the additional features and data usage.
6. Back up your data frequently: Before transferring your Cricket service to a new phone, make sure to regularly back up your data. This ensures that you won’t lose any important information in case anything goes wrong during the transfer process.
7. Activate a new SIM card: If you’re transferring your service to a new phone that requires a different SIM card size, you will need to obtain a new SIM card from Cricket. You can usually do this by visiting a Cricket store or ordering one online.
8. Be patient during activation: The activation process for a new device may take a few minutes to complete. Follow the instructions provided by Cricket, and give it some time to fully activate before attempting to use the new phone.
9. Test all functionalities: After transferring your Cricket service, be sure to test all the features and functionalities of the new phone. Check if calls, texts, data, and other apps are working properly. If you encounter any issues, refer to the troubleshooting steps provided by Cricket or contact their customer support for assistance.
10. Keep your old phone as a backup: It’s always a good idea to keep your old phone as a backup, especially during the initial transition period. This way, if any unforeseen issues arise with the new device, you can still rely on your old phone until the problem is resolved.
Remember, transferring your Cricket service to a new phone doesn’t have to be a daunting task. By following these additional tips and considerations, you can ensure a smooth and successful transition, allowing you to fully enjoy your new device.
Transferring your Cricket service to another phone is a task that may seem complicated at first, but with the right steps and guidance, it can be a smooth and hassle-free process. By following the steps outlined in this article, you can ensure that your new phone is activated on the Cricket network and ready to use in no time.
Remember to back up your data, gather the necessary information like your account number and PIN, and choose the most suitable method for transferring your service. Whether you opt for a SIM card swap, an online transfer, or visiting a Cricket store, be patient and follow the instructions provided by Cricket customer service or the online portal.
With your new phone up and running on the Cricket network, you can enjoy all the benefits of your Cricket service, including reliable network coverage and access to a range of plans and features. Stay connected and make the most of your mobile experience with Cricket!
FAQs
1. How can I transfer my Cricket service to another phone?
2. Is there a fee for transferring my Cricket service to another phone?
3. Can I transfer my Cricket service to any phone, or are there any restrictions?
4. Will I lose my data when I transfer my Cricket service to another phone?
5. What do I need to do before transferring my Cricket service to another phone?