Love taking photos under the eaves of the night? While it’s pretty easy to snap night shots of the streets or even nature with a dedicated mirrorless or DSLR camera, the same cannot be said about smartphones. Attempting to capture beautiful photos in a dark environment with your phone can be frustrating, with results turning out blurry, dark, grainy, and/or noisy.
That doesn’t mean low-light photography is impossible on smartphones. There are several ways for you to improve your night photography, and we will show you a couple of the best methods you can use below—no need to rush out to arm yourself with a DSLR!
Low Light Photography: The Basics
Before getting started, we will discuss the two primary components that impact exposure on smartphones, namely ISO and shutter speed. Shutter speeds determine how long light enters your camera sensors. The more prolonged the shutter, the brighter your photo will be. However, your photos are more prone to becoming blurry because of movement.
As for ISO, it measures the sensitivity of your camera’s sensors to light. At a higher ISO value, your images will become brighter without adjusting your shutter speeds. However, the chances of having a noisier photo are higher.
Now that we’ve covered the basics, let’s move on to the best tips to master low-light photography on a smartphone:
1. Go For Manual Mode
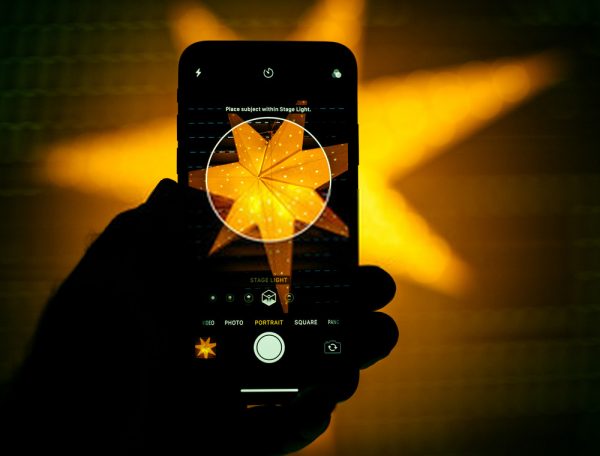
Although your smartphone’s camera is integrated with Auto Mode, it doesn’t offer the best results when it comes to low-light photography. Through Auto Mode, your smartphone isn’t focused on what you’re trying to capture. Instead, it attempts to expose your photos “correctly”—even when there is no need to.
What happens as a result is that your photos are artificially brightened, giving everything captured in the shot a muddied, sickly pallor. And this is why you should switch to Manual Mode, which lets you manually adjust shutter speed, ISO, and aperture for the best results.
Some Windows and Android smartphones have built-in manual modes. If your camera lacks these, then you can download other camera apps like Obscura, Manual, and VSCO for manual mode shooting. For more recommendations, check out our article on the best camera apps.
2. Keep Your Phone As Stable As Possible
Capturing photos as stable as possible requires a firm surface whenever available. Although smartphones have optical image stabilization, stable surfaces can help you adjust or prolong the shutter speed as well as lower your ISO without shaky hands.
3. Use External Lights
In some cases, your smartphone’s built-in flash can reduce the quality of your photos in low-light settings by destroying the shadow’s details and produces harsh highlights. However, using the flash component on your smartphone is the most accessible option to create light whenever necessary. If you really have to capture a photo and there’s no possible way you can get a decent one, try using the flash on your mobile phone.
Aside from your smartphone’s flash, you can also invest in external lights, such as a ring light or a portable LED panel. You can easily purchase them online to improve your photo quality.
With artificial lights, you’ll have more freedom to light where it is applicable. You can either let the light bounce off a surface or remove the mount on your phone. You can also purchase a separate diffuser to soften the light.
4. Take Advantage Of Your Phone’s Native Aspect Ratio
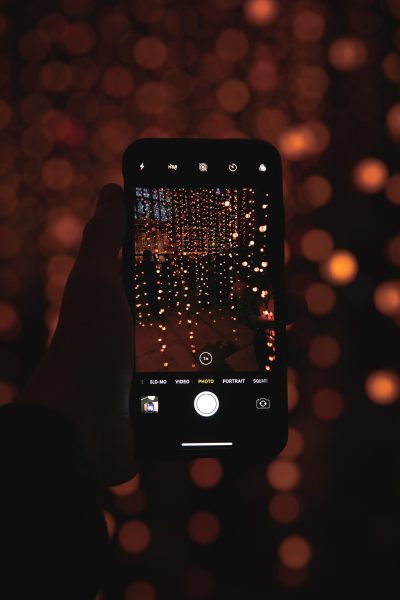
While most people are obsessed with the resolution, you should never underestimate your phone’s native aspect ratio. The higher your smartphone’s resolution, the more detailed photos it can produce. However, many mobile photographers aren’t completely aware that changing the aspect ratio can lower resolution and even crop photos.
Many smartphones, for example, have an aspect ratio of 16:9 as their default to align with the display despite their 4:3 sensors. Although minor cropping can be done, the sensor is significantly reduced by 25%.
Like all Apple smartphones, the majority of Android devices have a 4:3 sensor. However, some models, such as the LG G4, have higher sensors. To identify your smartphone’s aspect ratio, find the settings displaying the most environment within the image preview.
5. Go For Black and White
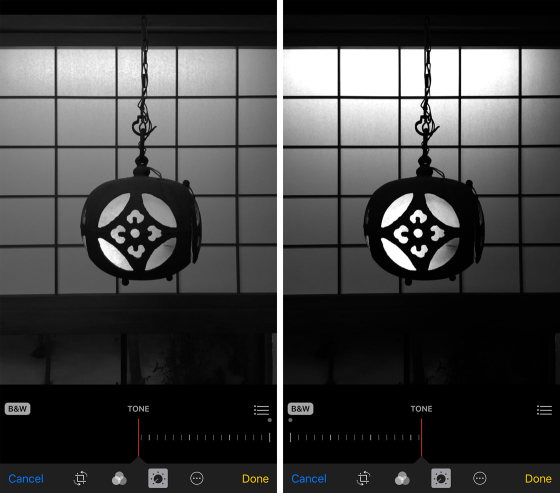
Aside from converting photos into dramatic scenes, the black and white effect reduces the roughness and “noise” in digital colors. This in turn makes your photos take on a film grain appearance. Transforming your images to grayscale eradicates the grain and color problems while accentuating lines and textures. Black and white also eliminates worries regarding skin tones and white balance. That said, experiment with the exposure until you can achieve stunning results.
If you’re not 100% sure of using grayscale or black and white, attempt to desaturate your photos slightly so you can adjust how your vision can see in low light or when your eyes become less sensitive to the brightness of the colors.
6. Use Tripods
The tripod is a handy accessory that gives you long exposures and more stabilized surfaces for shooting. As a result, you can always adjust the ISO to its lowest levels for greater image results. Aside from that, you can easily capture an image with longer shutter speeds for better outcomes.
Using a tripod is essential when it helps in smoothening fluids and creating light trails. To keep your shots as stable as possible, a tripod can be your best aid to reduce shaky footage and blurry images. When it comes to learning composition, tripods help make the camera static and give you the freedom and time to frame a decent scene.
7. Capture Photos In RAW Format
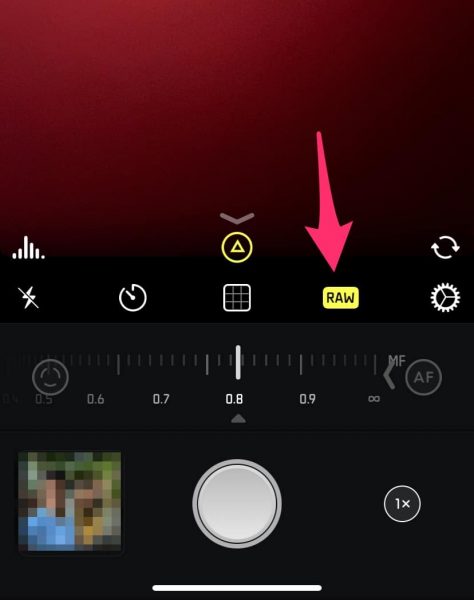
By default, Apple mobile devices have excellent image processing. Windows and Android smartphones are also in the thick of the mobile photo-taking game, coming integrated with RAW photography functionality. Unlike JPEGs, RAW photos are unprocessed and uncompressed, retaining all detail for you to process in any way you like. You can apply appropriate white balance levels, preserve highlights, enhance crushed shadows, and adjust the sharpness levels. Since you can’t automatically apply sharpening and noise reduction, RAW images can appear dull. However, you can always refine them according to your preferences.
If your phone supports RAW, you can always choose this method to take photos in low-light settings. Do note that RAW photos have a larger file size, so make sure that you have enough storage to capture them!
8. Apply White Balance Wisely
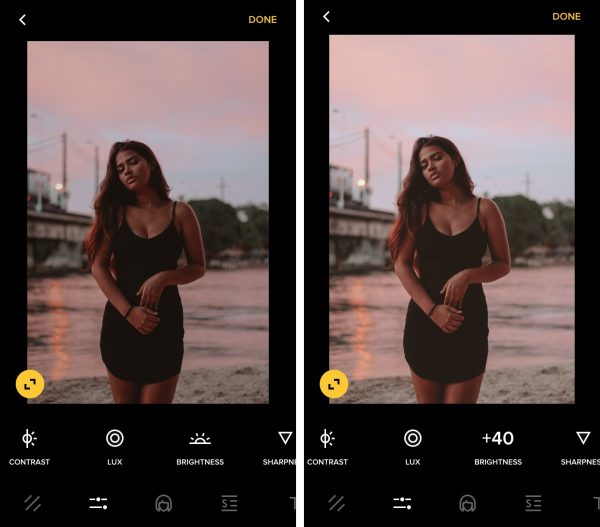
Having the perfect white balance will temper the appearance of yellow teeth and also eliminate any alien-looking textures. The dimmer the light, the more challenging it is for your phone’s camera to apply a suitable white balance. You should thus tweak your smartphone’s settings until you’ve achieved the ideal white balance.
9. Edit Your Shots
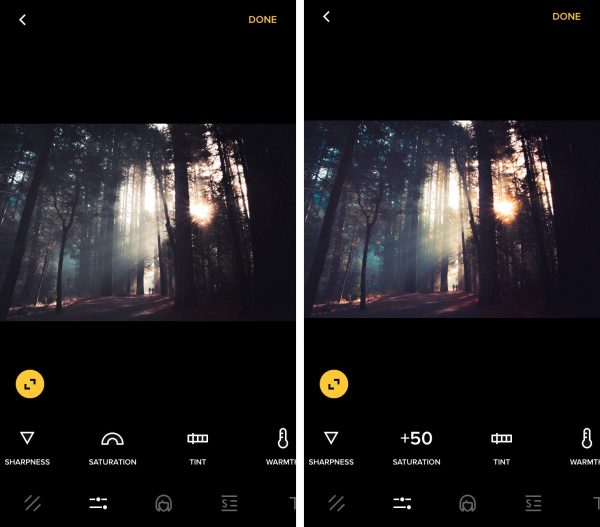
Capturing as many photos as you’d like isn’t the final phase yet. Editing your photos is crucial to help you achieve stunning outcomes. There is an abundance of photo editing apps available on the App Store for you to choose from, and all of them are outfitted with similar functionalities to improve the quality of your photos.
As many phone cameras are not adept at measuring color and white balance in the dark, you should thus use a photo-editing app to fix these measures. You can also adjust the ISO, but do make sure that this is done in moderation to prevent your photo from becoming too noisy.
10. Familiarize Yourself With Your Camera
Like individual mobile photographers, every smartphone camera is unique. Hence, the best method to get to know your strengths and weaknesses in low-light photography is by knowing your camera.
Some smartphone cameras integrate too much sharpness while others have the tendency to either over or under-expose. Speaking of photo editing tools, some offer a comprehensive package of editing your photos while some have bare minimum features.
Never limit yourself and try different options to practice taking photos in low-light settings. If your default settings and features are inadequate, you always have the option to download and install third-party editing apps to fix any errors.
Low Light Photography On Your Smartphone
Your phone may not be as good as a DSLR when you want to take photos in low-light settings, but that doesn’t mean it can’t. With the tips we’ve outlined in this article, it’s very much possible for you to snap stunning shots that are comparable to those taken by a dedicated modern camera.
