
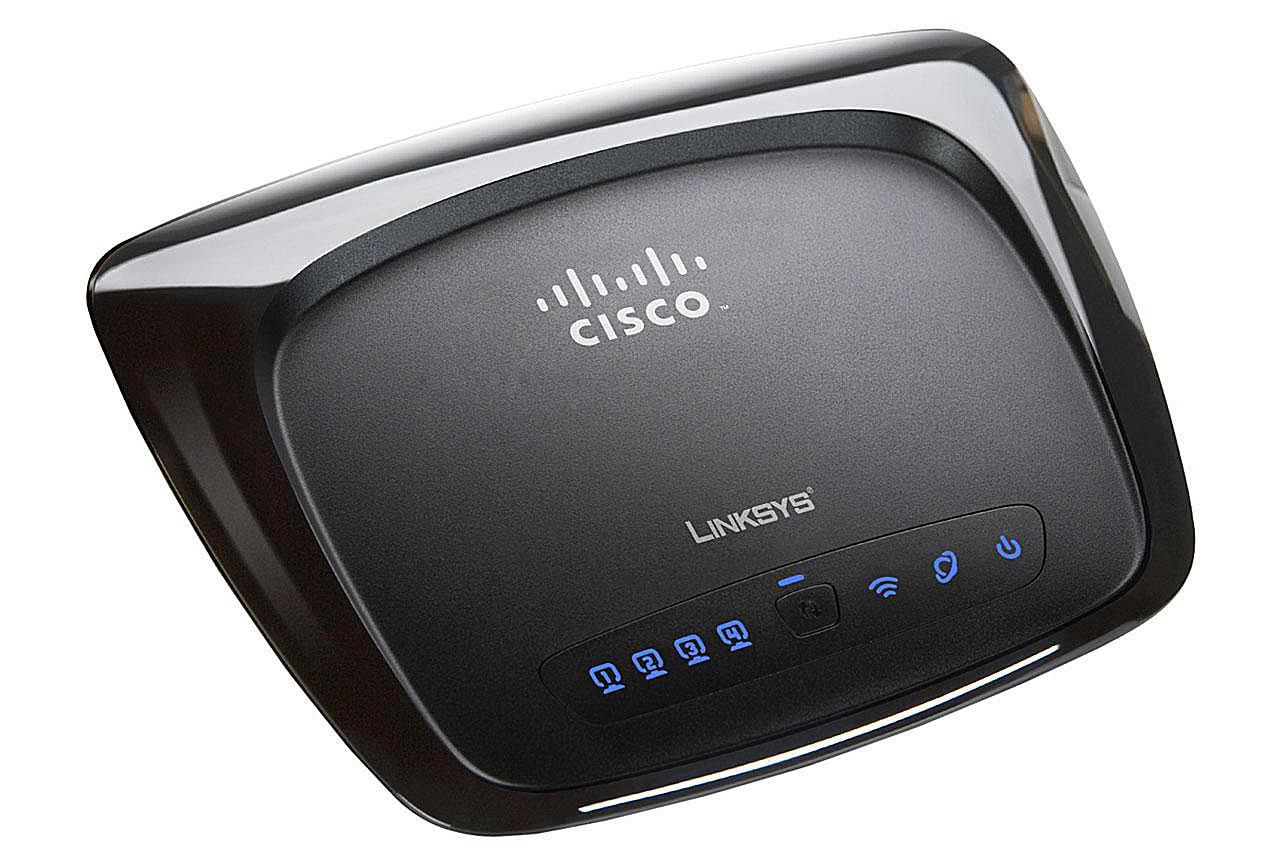
Are you struggling to configure your Cisco Linksys wireless router? Look no further, as we have the ultimate guide to help you set up your router and get your wireless network up and running in no time. Cisco Linksys routers are known for their reliability and performance, but the initial setup process can be a bit daunting for some users.
In this comprehensive guide, we will walk you through the step-by-step process of configuring your Cisco Linksys wireless router. Whether you are a tech novice or have some experience with networking, our easy-to-follow instructions will ensure that you can successfully set up your router and enjoy a fast and secure wireless connection for all your devices.
So, let’s dive into the world of Cisco Linksys routers and get ready to configure your wireless network like a pro!
Inside This Article
- Setting up the Cisco Linksys Wireless Router
- Accessing the Router’s Configuration Page
- Configuring the Wireless Network Settings
- Setting Up Wireless Security
- Conclusion
- FAQs
Setting up the Cisco Linksys Wireless Router
Setting up a Cisco Linksys wireless router is a straightforward process that can be done in a few simple steps. Whether you are a tech-savvy enthusiast or a beginner, this guide will help you configure your router and get your wireless network up and running in no time.
The first step in setting up your Cisco Linksys wireless router is to gather all the necessary equipment. You will need the router itself, an Ethernet cable, and a computer or laptop with an Ethernet port. Make sure you have everything before you begin the setup process.
Once you have all the necessary equipment, connect one end of the Ethernet cable to the Ethernet port on your computer, and the other end to one of the Ethernet ports on the back of the router. This will establish a wired connection between your computer and the router, allowing you to access the router’s configuration page.
Now, open your web browser and enter the default IP address of the Cisco Linksys router in the address bar. The default IP address is usually “192.168.1.1.” Press Enter, and you will be taken to the router’s login page.
On the router’s login page, you will be prompted to enter a username and password. By default, the username is usually set to “admin,” and the password field is left blank. However, it is recommended to check the user manual or the sticker on the bottom of the router for the correct login credentials. Enter the username and password and click on the Login or Submit button.
Once you have successfully logged in, you will be taken to the router’s configuration page. Here, you can customize various settings, such as the network name (SSID), wireless security, and password. It is recommended to change the default network name and password to enhance the security of your wireless network.
To configure the wireless network settings, navigate to the “Wireless” or “Wi-Fi” tab on the configuration page. Here, you can set the network name (SSID) and choose the wireless channel and mode. It is advisable to choose a unique network name that does not reveal any personal information.
Next, configure the wireless security settings. Enable WPA2 encryption, which provides the highest level of wireless security. Choose a strong password consisting of a combination of letters, numbers, and special characters. Remember to save your settings once you have made the necessary changes.
With the wireless network settings configured, you are now ready to connect your devices wirelessly to your Cisco Linksys router. Go to the Wi-Fi settings on your device, select your network name (SSID), and enter the password you set earlier. Once connected, you will be able to enjoy the benefits of a secure and reliable wireless network.
Setting up a Cisco Linksys wireless router may seem daunting at first, but by following these step-by-step instructions, you can easily configure your router and set up a secure wireless network. Remember to keep your network name and password safe and periodically update your router’s firmware for improved performance and security. Happy networking!
Accessing the Router’s Configuration Page
Accessing the configuration page of your Cisco Linksys wireless router is essential for making changes and customizing settings according to your preferences. Follow these simple steps to access the router’s configuration page:
1. Make sure your computer is connected to the Cisco Linksys wireless router either through a wired or wireless connection.
2. Open your preferred web browser, such as Google Chrome or Mozilla Firefox.
3. In the address bar at the top of the browser window, type in the default IP address of the Cisco Linksys router. Typically, the default IP address is “192.168.1.1.”
4. Press Enter or click on the Go button to navigate to the router’s configuration page.
5. You will be prompted to enter the router’s username and password. By default, the username is usually “admin” and the password field is left blank. If you have changed the login credentials in the past, enter the updated username and password.
6. After providing the correct username and password, click on the login or submit button to log into the router’s configuration page.
7. Once logged in, you will have access to various settings and options to customize your Cisco Linksys wireless router. Explore the different tabs and categories to modify settings such as network name (SSID), security options, port forwarding, parental controls, and more.
Note: It’s recommended to change the default login credentials for enhanced security. To do this, go to the administration or management section of the configuration page and update the username and password.
With these simple steps, you can easily access the configuration page of your Cisco Linksys wireless router and customize its settings as per your requirements.
Configuring the Wireless Network Settings
Configuring the wireless network settings on your Cisco Linksys wireless router is essential to ensure a seamless and secure connection. By following a few simple steps, you can customize your network settings to meet your specific needs.
1. Access the router’s configuration page – To configure the wireless network settings, you need to access the router’s configuration page. Open a web browser and enter the default IP address of your router in the address bar. Login with the appropriate credentials to access the configuration page.
2. Configure the network name (SSID) – The network name, also known as the Service Set Identifier (SSID), is the name of your wireless network. It is what you’ll see when you search for available networks on your devices. Choose a unique and easily recognizable name for your network.
3. Select the wireless channel – Wireless routers operate on different channels to avoid interference from neighboring networks. By default, the router will select the best channel automatically, but you can manually choose a specific channel if needed.
4. Determine the broadcast mode – The broadcast mode determines how your router sends out the wireless signal. There are three primary options: “Mixed,” “B/G/N,” or “N/A.” “Mixed” is usually the best choice, as it supports all types of devices. “B/G/N” is ideal if you only have devices that support those standards, while “N/A” will disable the wireless broadcast.
5. Set the wireless mode – The wireless mode determines the speed and range of your wireless network. The options available will vary depending on your router model, but commonly include “B,” “G,” “N,” or “Auto.” “Auto” is generally the best choice as it automatically adjusts based on device capabilities.
6. Configure the bandwidth – The bandwidth setting determines the wireless data transfer speed. Common options include 20 MHz and 40 MHz. If you want maximum speed, choose 40 MHz. However, if you experience interference or reduced range, it’s recommended to use 20 MHz.
7. Enable or disable guest access – Some routers allow you to set up a separate network for guest access. This allows visitors to connect to your internet without accessing your main network. Enable or disable guest access based on your preferences.
8. Save and apply the changes – Once you have configured all the wireless network settings, make sure to save and apply the changes. This ensures that the new settings take effect and your network operates according to your preferences.
By following these steps, you can easily configure your Cisco Linksys wireless router’s network settings to create a reliable and secure wireless network for your devices.
Setting Up Wireless Security
One of the most important aspects of configuring a Cisco Linksys wireless router is setting up wireless security. Without proper security measures, your wireless network can be vulnerable to unauthorized access, putting your personal information and network resources at risk. In this section, we will guide you through the steps to enable wireless security on your Cisco Linksys router.
1. Access the router’s configuration page: To begin, open a web browser and enter the IP address of your router in the address bar. This address is typically “192.168.1.1” or “192.168.0.1”, but you can check your router’s manual or documentation for the specific IP address. Press Enter to access the router’s login page.
2. Log in to the router: On the login page, enter the username and password for your router. If you haven’t changed these credentials, the default username is often ‘admin’ and the default password is either ‘admin’ or ‘password’. Once you’ve entered the correct login information, click the ‘Login’ or ‘Submit’ button to proceed.
3. Navigate to the wireless security settings: Once logged in, you will be presented with the router’s configuration interface. Look for a tab or section labeled ‘Wireless’ or ‘Wireless Settings’, and click on it to access the wireless configuration options.
4. Choose a security mode: Within the wireless security settings, you will see a drop-down menu or options for selecting the security mode. The available options may include WEP, WPA, or WPA2. It is recommended to choose WPA2 as it offers the highest level of security.
5. Set a strong password: After selecting the security mode, you will need to set a password or passphrase. It is crucial to choose a strong, unique password that combines upper and lowercase letters, numbers, and special characters. This will help prevent unauthorized access to your wireless network.
6. Save the settings and test the connection: Once you have configured the wireless security settings and set a strong password, click the ‘Save’ or ‘Apply’ button to save the changes. The router will apply the new settings, and your wireless network will now be secured. To ensure the security settings are working properly, test the connection by connecting to the network with a Wi-Fi enabled device and entering the password.
By following these steps, you can effectively set up wireless security on your Cisco Linksys wireless router. Remember to periodically update your password and review the security settings to ensure your network remains protected from potential threats.
Conclusion
In conclusion, configuring a Cisco Linksys wireless router can seem daunting at first, but with the right knowledge and guidance, it can be a straightforward process. By following the steps provided in this article, you can ensure a secure and seamless wireless network connection for your devices.
Remember to start by accessing the router’s web interface, setting up the basic network settings, and then implementing additional security measures such as changing the default password and enabling encryption. Regularly updating the firmware will also help to keep your router up to date with the latest security features.
By taking the time to configure your Cisco Linksys wireless router properly, you can enjoy a reliable and efficient Wi-Fi network that will support all your online activities and devices.
FAQs
1. Why should I configure my Cisco Linksys wireless router?
Configuring your Cisco Linksys wireless router allows you to customize and optimize its settings to meet your specific needs. It enables you to secure your network, manage connections, and ensure a reliable and efficient wireless experience.
2. How do I access the Cisco Linksys router configuration page?
To access the configuration page of your Cisco Linksys router, you need to open a web browser and enter the default IP address in the address bar. The default IP address is usually “192.168.1.1” or “192.168.0.1”. You will be prompted to enter your username and password, which are typically “admin” for both fields.
3. What are the key settings I should configure in my Cisco Linksys wireless router?
Some key settings you should configure in your Cisco Linksys wireless router include:
– Wireless network name (SSID): Choose a unique name to identify your network.
– Wireless security mode: Enable a secure encryption protocol such as WPA2 (Wi-Fi Protected Access 2) to protect your network from unauthorized access.
– Password: Set a strong password to prevent unauthorized users from accessing your router’s administration settings.
– Network mode: Choose the appropriate network mode based on your device compatibility and network requirements.
4. How can I update the firmware of my Cisco Linksys wireless router?
To update the firmware of your Cisco Linksys wireless router, you first need to download the latest firmware version from the official Cisco Linksys website. Then, access the router’s configuration page as mentioned earlier and navigate to the Firmware or Administration section. Upload the downloaded firmware file and follow the on-screen instructions to complete the firmware update process.
5. What should I do if I forget my Cisco Linksys router’s username and password?
If you forget your Cisco Linksys router’s username and password, you can do a factory reset. Locate the reset button on the router (usually a small hole) and press and hold it for about 10 seconds using a paperclip or a similar object. This will reset the router to its default settings, including the default username and password. After the reset, you can login using the default login credentials, usually “admin” for both fields.