
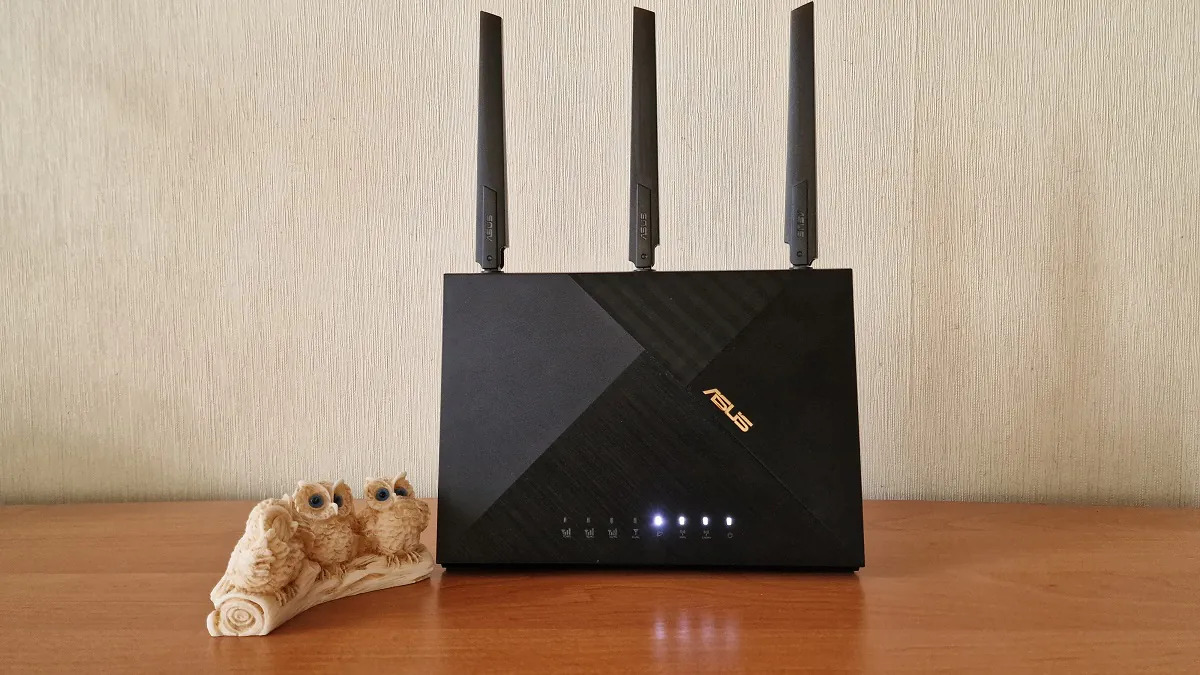
If you’re looking to connect to your Asus wireless router, you’ve come to the right place. Asus is a renowned brand known for its high-quality routers that provide reliable and fast internet connectivity. Whether you’re setting up a new router or troubleshooting an existing connection, we have you covered. In this article, we’ll guide you through the steps to connect to your Asus wireless router effortlessly. From finding your router’s IP address to configuring the Wi-Fi settings, we’ll walk you through the process, ensuring you get the best possible connection. So, let’s dive in and get your devices connected to your Asus wireless router in no time!
Inside This Article
- Setting up the Network Connection
- Finding the IP Address of the Asus Wireless Router
- Accessing the Router’s Web Interface
- Configuring the Wireless Settings
- Conclusion
- FAQs
Setting up the Network Connection
Setting up the network connection for your Asus wireless router is the first step to enjoy a seamless and secure internet experience. With a few simple steps, you’ll be able to connect your devices and start browsing the web, streaming videos, and playing online games.
The first thing you need to do is connect the router to your modem. Make sure to power off both the router and modem before making any connections. Use an Ethernet cable to connect the modem’s Ethernet port to the router’s WAN port. Once the cable is securely connected, turn on the modem followed by the router.
Next, you’ll need to connect your computer or device to the router. Most Asus routers have multiple LAN ports, so you can use an Ethernet cable to connect your device to one of these ports. If you prefer a wireless connection, you can connect to the router’s Wi-Fi network by going to your device’s Wi-Fi settings and selecting the network name (SSID) of your Asus router.
Now that the physical connections are in place, it’s time to access the router’s web interface to configure the network settings. Open your web browser and enter the IP address of the Asus router in the address bar. Consult the user manual or look for a label on the router itself to find the IP address. Once you’ve entered the IP address, press Enter to access the router’s web interface.
Upon accessing the web interface, you may be prompted to enter a username and password. Consult the router’s documentation for the default login credentials. It is highly recommended to change the default password for security purposes.
Once you’re logged in, you can start configuring the network settings according to your preferences. This includes setting up the wireless network name (SSID), password, and security settings. Take note of these settings as you may need them to connect your devices to the Wi-Fi network.
After configuring the network settings, it’s a good idea to save the changes and restart the router. This ensures that all settings are applied and any potential issues are resolved. Once the router has restarted, you can connect your devices to the newly configured network and enjoy a fast and reliable internet connection.
Setting up the network connection on your Asus wireless router may seem daunting at first, but with these step-by-step instructions, you’ll be able to connect your devices in no time. Remember to consult the user manual or the Asus website for further guidance or troubleshooting tips if needed. Happy browsing!
Finding the IP Address of the Asus Wireless Router
When setting up or troubleshooting a network connection, it is essential to know the IP address of your Asus wireless router. The IP address is a unique identifier that allows devices to communicate with the router and access its settings. Below, we will guide you on how to find the IP address of your Asus wireless router:
1. Check the router label: The easiest way to find the IP address is to check the label on the back or bottom of the router. Look for the section that says “Default Gateway” or “Router IP Address.” The IP address will be a series of numbers separated by periods (e.g., 192.168.1.1).
2. Use the Command Prompt: Another method is using the Command Prompt on your computer. Here’s how to do it:
- Press the Windows key + R to open the Run dialog box.
- Type “cmd” and press Enter to open the Command Prompt.
- In the Command Prompt window, type “ipconfig” and press Enter.
- Look for the “Default Gateway” under the adapter that is connected to the router. The IP address listed next to it is the IP address of your Asus wireless router.
3. Using a network scanning tool: If you are having trouble finding the IP address through the above methods, you can use a network scanning tool. These tools scan your network and give you a list of connected devices along with their IP addresses. You can then identify your Asus wireless router’s IP address based on its manufacturer name or MAC address.
Once you have found the IP address of your Asus wireless router, you can use it to access the router’s web interface and configure its settings. It is important to note that the default IP address for Asus routers is usually 192.168.1.1, but this can vary depending on the model or settings.
Now that you know how to find the IP address of your Asus wireless router, you can easily troubleshoot network issues, set up port forwarding, or make any necessary configuration changes. Understanding the IP address is crucial for managing your network effectively and optimizing your internet connection.
Accessing the Router’s Web Interface
Accessing the web interface of your Asus wireless router is essential for configuring and managing various settings. Here’s how you can easily access the router’s web interface:
Step 1: Ensure that your computer or device is connected to the Asus wireless router either via a wired or wireless connection. Make sure the connection is stable and active.
Step 2: Open a web browser on your computer, such as Google Chrome, Mozilla Firefox, or Microsoft Edge.
Step 3: In the address bar of the web browser, enter the default IP address of the Asus wireless router. Typically, the default IP address is “192.168.1.1” or “192.168.0.1”.
Step 4: Press the Enter key or click on the “Go” button to proceed.
Step 5: If the entered IP address is correct, you will be redirected to the login page of the Asus router’s web interface.
Step 6: On the login page, enter the default administrative username and password for the router. Usually, the default username is “admin” and the default password is “admin” or “password”. If you have previously changed these login credentials, use the updated ones.
Step 7: After entering the correct login credentials, click on the “Login” or “Submit” button.
Step 8: Once logged in, you will have access to the web interface of your Asus wireless router. From here, you can explore and configure various settings related to wireless connectivity, security, network management, and more.
It is important to note that the steps mentioned above are applicable for accessing the web interface of most Asus wireless routers. However, there could be slight variations depending on the specific model and firmware version of your router. Refer to the user manual or documentation provided by Asus for detailed instructions tailored to your device.
With access to the router’s web interface, you can customize your network settings, change the Wi-Fi password, set up guest networks, prioritize connected devices, and perform other administrative tasks to optimize your wireless network’s performance and security.
Configuring the Wireless Settings
Once you have accessed the web interface of your Asus wireless router, you can proceed to configure the wireless settings. This will allow you to personalize your network and ensure a secure and efficient wireless connection.
The wireless settings section of the router’s interface provides options to modify the network name (SSID), channel, security settings, and more. Let’s explore the key settings you need to consider:
- Network Name (SSID): The network name, also known as the SSID, is the name that identifies your wireless network. It’s essential to choose a unique and easily recognizable SSID to distinguish your network from others in the vicinity. You can enter your desired name in the provided field.
- Wireless Channel: The wireless channel determines the frequency band that your router uses to transmit and receive signals. By default, most routers are set to auto-select the channel, but you can manually choose one to avoid interference with other nearby networks. Experimenting with different channels can help improve the overall performance of your wireless connection.
- Wireless Security: To protect your wireless network from unauthorized access, it’s crucial to enable wireless security. The primary security options available are WEP (Wired Equivalent Privacy), WPA (Wi-Fi Protected Access), and WPA2. It is highly recommended to choose WPA2 as it offers the highest level of encryption and security for your network.
- Wireless Password: Setting a strong password is essential to prevent unauthorized users from accessing your network. Choose a password that combines numbers, letters (both uppercase and lowercase), and special characters. Ensure that it is not easily guessable and avoid using common phrases or personal information.
- Wireless Mode: Depending on your networking needs, you may have options such as “Wireless-N Only,” “Wireless-AC Only,” or “Mixed.” Choosing the appropriate wireless mode ensures compatibility with your devices and optimizes the performance of your network.
Once you have made the desired changes, don’t forget to save the settings to apply them to your wireless router. After saving, it may take a few moments for the changes to take effect.
Keep in mind that configuring the wireless settings on your Asus wireless router may vary slightly depending on the model and firmware version. However, the basic principles remain the same.
By taking the time to configure your wireless settings, you can personalize your network, enhance security, and optimize the performance of your Asus wireless router.
Connecting to an Asus wireless router is a straightforward process that allows you to enjoy seamless internet connectivity in your home or office. By following the simple steps outlined in this guide, you can quickly establish a secure and reliable connection with your Asus router. Whether it’s setting up a new router or reconfiguring an existing one, the user-friendly interface and comprehensive features of Asus routers make the process hassle-free.
Remember to always consult the user manual or visit the Asus support website for specific instructions tailored to your router model. With the ability to connect multiple devices simultaneously and enjoy high-speed internet, an Asus wireless router is an excellent choice to meet your networking needs.
So, why wait? Take the plunge and connect to your Asus wireless router today to experience outstanding internet connectivity!
FAQs
1. How do I connect to an Asus wireless router?
To connect to an Asus wireless router, follow these steps:
- Power on the Asus router and ensure that it is properly connected to your modem.
- On your device (laptop, smartphone, tablet), go to the Wi-Fi settings.
- Look for the available Wi-Fi networks and select the one that matches your Asus router’s network name (SSID).
- Enter the password for the network, which can be found on a label on the router or in the router’s settings.
- Wait for your device to connect to the Asus wireless router. Once connected, you will be able to access the internet.
2. Can I change the default network name (SSID) of my Asus wireless router?
Yes, you can change the default network name (SSID) of your Asus wireless router. To do this, access the router’s settings by typing its IP address into a web browser. Log in with the router’s admin credentials. Look for the wireless settings section and locate the SSID field. Enter your desired network name and save the changes. Remember to reconnect your devices to the new network name after making the change.
3. How can I change the Wi-Fi password on my Asus wireless router?
To change the Wi-Fi password on your Asus wireless router, follow these steps:
- Access the router’s settings page by typing its IP address in a web browser.
- Log in with the admin credentials.
- Look for the wireless settings section and find the password or security key field.
- Enter your desired password and save the changes.
- Remember to update the Wi-Fi password on all your connected devices to maintain connectivity.
4. What should I do if I forget the password to my Asus wireless router?
If you forget the password to your Asus wireless router, you can reset it to factory settings. Locate the small reset button on the router (usually on the back). Use a paperclip or a similar object to press and hold the reset button for about 10 seconds. The router will reset all its settings, including the password. You can then access the router’s settings page using the default credentials specified in the router’s manual or on the manufacturer’s website.
5. How can I improve the Wi-Fi signal strength on my Asus wireless router?
To improve the Wi-Fi signal strength on your Asus wireless router, you can try the following methods:
- Position the router in a central location, away from obstructions like walls and metal objects.
- Consider using a Wi-Fi range extender to extend the coverage area.
- Update the router’s firmware to the latest version, as it may include performance improvements.
- Switch to a less congested Wi-Fi channel, especially if you are in an area with many nearby networks.
- Ensure there are no other devices or appliances causing interference, such as cordless phones or microwave ovens.