
**
Introduction:
**
Are you ready to take your gaming experience to the next level? If you’re a proud owner of a Turtle Beach wireless headset and an Xbox console, you’re in luck! Connecting your Turtle Beach wireless headset to your Xbox is a breeze and will unlock the full potential of your gaming setup.
In this article, we’ll guide you through the simple steps to connect your Turtle Beach wireless headset to your Xbox console. Whether you’re a casual gamer or a competitive player, having a high-quality headset can greatly enhance your gaming experience. From immersive audio to crystal-clear communication with your teammates, the Turtle Beach wireless headset offers impressive features that will elevate your overall gaming experience.
So, if you’re ready to dive into a world of immersive gaming sound and seamless communication, let’s get started on connecting your Turtle Beach wireless headset to your Xbox console. Say goodbye to tangled wires and say hello to an enhanced gaming experience like never before!
Inside This Article
- Setting Up the Turtle Beach Wireless Headset
- Pairing the Wireless Headset with Xbox
- Adjusting Audio Settings on Xbox for Turtle Beach Wireless Headset
- Troubleshooting Tips for Connecting Turtle Beach Wireless Headset to Xbox
- Conclusion
- FAQs
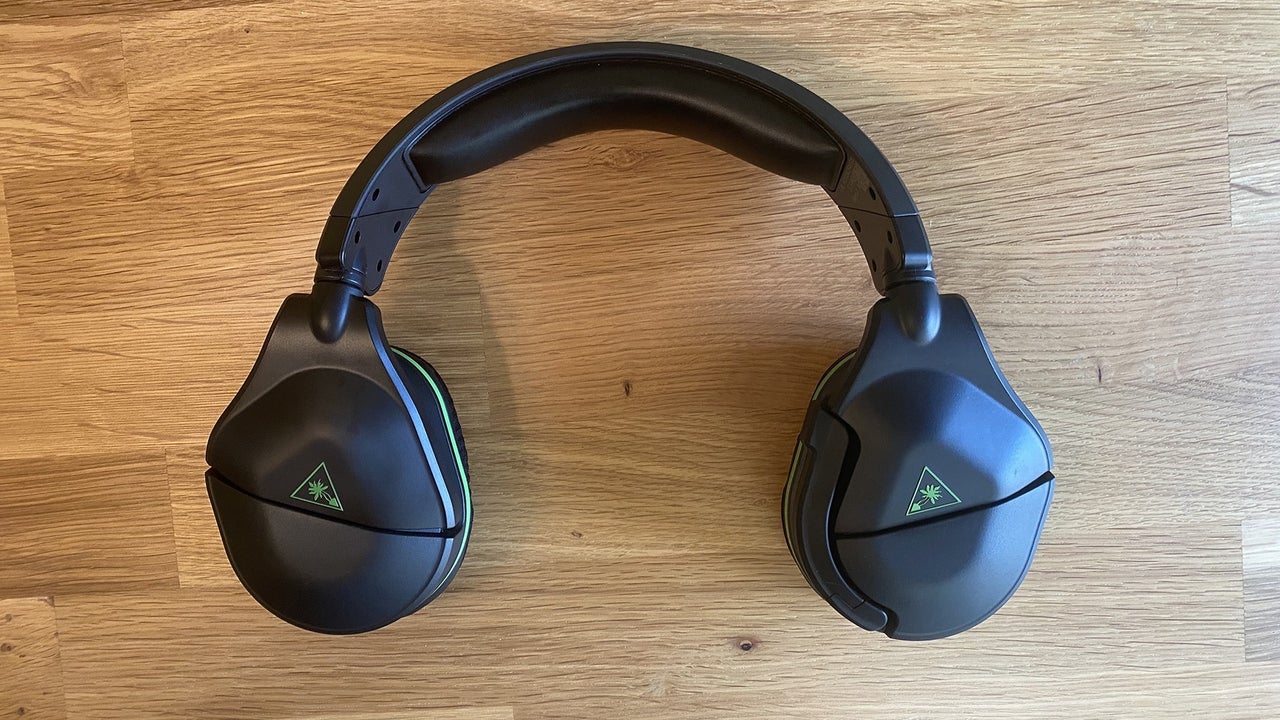
Setting Up the Turtle Beach Wireless Headset
Setting up a Turtle Beach wireless headset for your Xbox is a straightforward process that will have you enjoying high-quality audio in no time. To ensure a seamless setup, follow these steps:
1. Unbox the Turtle Beach wireless headset and make sure all the components are present. Typically, the box will contain the headset itself, a wireless transmitter, a USB cable, and any necessary documentation.
2. Connect the wireless transmitter to your Xbox. Locate an available USB port on your Xbox and plug one end of the USB cable into the transmitter. Insert the other end of the USB cable into the USB port on the front or side of your Xbox console.
3. Power on your Xbox and the wireless transmitter. Make sure your Xbox console is connected to the power source and turned on. Then, switch on the wireless transmitter by pressing the power button if it has one. Some transmitters power on automatically when connected to the Xbox.
4. Put the Turtle Beach wireless headset into pairing mode. On most Turtle Beach wireless headsets, this can be done by pressing and holding the power button on the headset until the power LED begins to flash rapidly. Refer to your headset’s user manual for specific instructions on how to enter pairing mode.
5. Pair the wireless headset with the transmitter. Press and hold the pairing button on the wireless transmitter until the LED indicator starts flashing. Within a few moments, the headset and transmitter should successfully pair with each other, indicated by a solid LED light on both devices.
6. Test the audio. Once the headset is paired with the transmitter, put it on and check if the audio is working properly. You should hear the audio coming through the headset instead of the TV speakers. Adjust the volume on the headset to your liking using the built-in controls.
That’s it! You have now successfully set up your Turtle Beach wireless headset with your Xbox. Enjoy the immersive audio experience while gaming or watching movies.
Pairing the Wireless Headset with Xbox
Pairing your Turtle Beach wireless headset with your Xbox is a straightforward process that allows you to start enjoying immersive audio during your gaming sessions. Follow the steps below to ensure a successful connection:
1. Begin by charging your wireless headset to ensure it has enough power for pairing. Connect the provided USB charging cable to the headset and plug the other end into a power source or your Xbox console.
2. Once the headset is fully charged, power it on by pressing the designated power button. The LED indicator lights on the headset should light up, indicating that it is ready to pair with your Xbox.
3. On your Xbox console, navigate to the “Settings” menu by pressing the Xbox button on your controller and selecting the gear icon. Scroll down to “Devices & connections” and select “Devices.”
4. Under the “Devices” menu, choose “Connection & audio” and then select “Wireless accessories.”
5. Turn on your Xbox wireless controller by pressing the Xbox button on the controller. On the console, press the connect button, which is located on the front of the Xbox near the disc tray. Hold the connect button down until the Xbox logo on the front of the console begins to flash.
6. Return to your wireless headset and locate the Bluetooth pairing button. Press and hold the pairing button until the LED indicator lights start flashing rapidly to indicate that the headset is in pairing mode.
7. On your Xbox console, wait for it to detect and display the name of your wireless headset. Once the headset appears on the screen, select it and choose “Pair.”
8. After a few moments, the Xbox console will confirm that your wireless headset has been successfully paired. You can now adjust the audio settings on your Xbox to optimize the sound experience.
9. To test the audio, launch a game or media app on your Xbox and listen for any sound coming through the headset. Adjust the volume and other audio settings as needed to achieve your desired sound quality.
By following these simple steps, you will be able to pair your Turtle Beach wireless headset with your Xbox and elevate your gaming experience with high-quality audio.
Adjusting Audio Settings on Xbox for Turtle Beach Wireless Headset
Once you have successfully connected your Turtle Beach wireless headset to your Xbox, the next step is to adjust the audio settings to ensure optimal sound quality and performance. Thankfully, adjusting the audio settings on Xbox is a simple and straightforward process.
To begin, make sure your Xbox is powered on and navigate to the settings menu by pressing the Xbox button on your controller and selecting “Settings”. Then, follow these steps:
- Select “Audio” from the settings menu.
- Under the Audio settings, you will find various options such as Headset Audio, Headset Chat Mixer, and Mic Monitoring.
- For the best audio experience with your Turtle Beach wireless headset, adjust the Headset Audio option to your desired balance between game audio and chat audio.
- The Headset Chat Mixer determines the audio balance between in-game audio and chat audio. Adjust this setting according to your personal preference.
- If your Turtle Beach wireless headset has mic monitoring, you can adjust the Mic Monitoring option to control the volume level of your own voice that you hear through the headset. This feature can help you avoid speaking too loudly or softly during gameplay or online chats.
- After making the desired adjustments, test the audio settings by playing a game or using the headset for chat. If any further adjustments are needed, you can revisit the Xbox audio settings and make changes accordingly.
It’s important to note that the specific audio settings available on your Xbox may vary depending on the model and system software version. However, the general steps outlined above should apply to most Xbox consoles.
By taking the time to adjust the audio settings on your Xbox for your Turtle Beach wireless headset, you can ensure an immersive and crystal-clear audio experience while gaming or communicating with others. So go ahead and fine-tune those settings, and enjoy your gaming sessions with enhanced sound quality.
Troubleshooting Tips for Connecting Turtle Beach Wireless Headset to Xbox
Connecting a Turtle Beach wireless headset to your Xbox can sometimes be a bit tricky. If you are experiencing issues with the connection, don’t worry – we’ve got you covered! Here are some troubleshooting tips to help you get your Turtle Beach wireless headset connected to your Xbox effortlessly.
1. Check the Power
Make sure that your Turtle Beach wireless headset is properly charged or has fresh batteries. If the headset doesn’t have enough power, it may not establish a stable connection with the Xbox. Plug in the headset or replace the batteries to ensure sufficient power.
2. Verify the Xbox Compatibility
Confirm that your Turtle Beach wireless headset is compatible with your Xbox model. Different headsets are designed for different console versions. Check the compatibility list provided by Turtle Beach or consult the user manual to ensure proper compatibility.
3. Reset the Headset
If you are still having trouble connecting your Turtle Beach wireless headset, try resetting it. Most wireless headsets have a reset button or a specific button combination to initiate the reset process. Consult the user manual or visit the Turtle Beach website for instructions on how to reset your specific headset model.
4. Update Firmware
Outdated firmware can sometimes cause connectivity issues. Visit the Turtle Beach website and check if there are any firmware updates available for your headset. Download and install the latest firmware following the instructions provided. Updating the firmware can often resolve connection problems.
5. Distance and Interference
Ensure that there are no physical obstructions or other devices interfering with the wireless signal between the headset and the Xbox. Move closer to the console and eliminate any sources of interference, such as other wireless devices or Bluetooth-enabled devices.
6. Re-pair the Headset
If the connection between the Turtle Beach headset and the Xbox drops frequently, you may need to re-pair them. Follow the pairing instructions for your specific headset model to establish a new connection. This process will vary depending on the headset model, so check the user manual or Turtle Beach website for detailed instructions.
7. Test with Another Device
To determine if the issue is with the headset or the Xbox, try connecting your Turtle Beach wireless headset to another device, such as a smartphone or computer. If the headset connects successfully to another device, the problem may lie with the Xbox settings or hardware. Consult the Xbox support website or contact customer support for further assistance.
8. Contact Turtle Beach Support
If you have tried all the troubleshooting steps and are still unable to connect your Turtle Beach wireless headset to your Xbox, it may be time to reach out to Turtle Beach support. They have a dedicated support team that can provide specific guidance for your headset model and help you resolve any connectivity issues you may be facing.
With these troubleshooting tips and a bit of patience, you should be able to get your Turtle Beach wireless headset connected to your Xbox in no time. Happy gaming!
Conclusion
In conclusion, connecting a Turtle Beach wireless headset to your Xbox is a simple and straightforward process that allows you to enjoy an immersive and high-quality gaming experience. By following the steps outlined in this article, you can easily pair your headset with your Xbox console and start enjoying crystal-clear audio and seamless communication with your gaming buddies.
Whether you’re engaging in intense battles or exploring vast virtual worlds, the wireless connectivity of the Turtle Beach headset provides freedom of movement and eliminates the hassle of dealing with tangled wires. With its superior sound quality and comfortable design, you can fully immerse yourself in the game and stay connected with your teammates.
So grab your Turtle Beach wireless headset, follow the steps we’ve provided, and get ready to take your gaming experience to new heights!
FAQs
1. How do I connect my Turtle Beach wireless headset to Xbox?
To connect your Turtle Beach wireless headset to Xbox, follow these steps:
- Turn on your Xbox console and your wireless headset.
- Press and hold the power button on the headset until the LED indicator starts blinking.
- On your Xbox, go to Settings > Devices & streaming > Accessories.
- Select “Add accessory” and wait for your Xbox to detect the headset.
- Once detected, select the headset from the list of available devices and follow any additional prompts.
- Your wireless headset should now be connected and ready to use with your Xbox.
2. How do I ensure optimal audio quality with my Turtle Beach wireless headset?
To ensure optimal audio quality with your Turtle Beach wireless headset, consider the following tips:
- Ensure that your headset is properly charged to maintain a stable connection and prevent audio issues.
- Position the wireless transmitter within the recommended range of your headset to avoid signal interference.
- Adjust the audio settings on your Xbox to optimize the sound output for your headset.
- Keep the firmware of your headset and Xbox updated to benefit from any performance improvements and bug fixes.
3. Can I use my Turtle Beach wireless headset with other devices?
Yes, most Turtle Beach wireless headsets are compatible with multiple platforms and devices, including PCs, PlayStation, and mobile devices. However, it’s important to check the specific compatibility of your headset model to ensure compatibility with the desired device.
4. How do I troubleshoot connectivity issues with my Turtle Beach wireless headset?
If you’re experiencing connectivity issues with your Turtle Beach wireless headset, try the following troubleshooting steps:
- Ensure that your headset and Xbox are within the recommended range of each other and that there are no physical obstacles blocking the signal.
- Check the batteries or charging status of your headset. Low battery levels can affect the wireless connection and audio quality.
- Reset your headset and Xbox by powering them off, waiting for a few seconds, and then powering them back on.
- Try connecting the headset to a different USB port on your Xbox or try using a different USB cable.
- If possible, test your headset with another compatible device to determine if the issue is with the headset or the Xbox.
- If the issue persists, consult the user manual of your headset or reach out to Turtle Beach customer support for further assistance.
5. Are there any specific setup requirements for Turtle Beach wireless headsets?
The setup requirements may vary depending on the model of the Turtle Beach wireless headset you have. However, in general, you will need to:
- Ensure that your Xbox console is updated with the latest system software.
- Charge your headset and make sure it has sufficient power for the setup process.
- Follow the manufacturer’s instructions regarding connecting the wireless transmitter or base station to your Xbox.
- Install any necessary drivers or software updates on your Xbox to ensure compatibility with the headset.
- Once the setup is complete, you should be able to connect and use your Turtle Beach wireless headset with your Xbox.