
Are you a proud owner of a Nintendo 3DS? If so, you may have wondered how to enable wireless communication on your device. The ability to connect wirelessly opens up a world of possibilities, allowing you to play multiplayer games, download new content, and even communicate with fellow gamers. In this article, we will guide you through the process of enabling wireless communication on your 3DS device. Whether you’re a seasoned gamer or just starting out, we’ll provide you with step-by-step instructions and useful tips to help you make the most of your wireless capabilities. So, grab your 3DS and let’s dive into the world of wireless connectivity!
Inside This Article
- Overview
- Step 1: Check for Wireless Communication Compatibility
- Step 2: Enable Wireless Communication
- Step 3: Connect to a Wi-Fi Network
- Troubleshooting Tips
- Conclusion
- FAQs
Overview
The Nintendo 3DS is a popular handheld gaming console that offers an immersive gaming experience. One of its key features is wireless communication, which allows players to connect with friends, download content, and engage in online multiplayer gameplay. In this article, we will guide you through the steps to enable wireless communication on your 3DS and connect to a Wi-Fi network.
Before we dive into the specific steps, it’s important to note that not all 3DS models have built-in wireless communication capabilities. The original Nintendo 3DS and the Nintendo 3DS XL require a separate wireless adapter to enable wireless communication. However, the newer models, such as the New Nintendo 3DS and the New Nintendo 3DS XL, come with built-in wireless capabilities.
If you own a New Nintendo 3DS or New Nintendo 3DS XL, you can skip the additional step of acquiring a wireless adapter. This makes the process of enabling wireless communication much simpler and more convenient.
Now, let’s get started with the steps to enable wireless communication on your 3DS. Make sure you have your console and any necessary accessories handy, and let’s dive in!
Step 1: Check for Wireless Communication Compatibility
Before enabling wireless communication on your 3DS, it’s essential to ensure that your device is compatible. The 3DS is equipped with built-in wireless capabilities, allowing you to connect to Wi-Fi networks and even play multiplayer games with other 3DS owners.
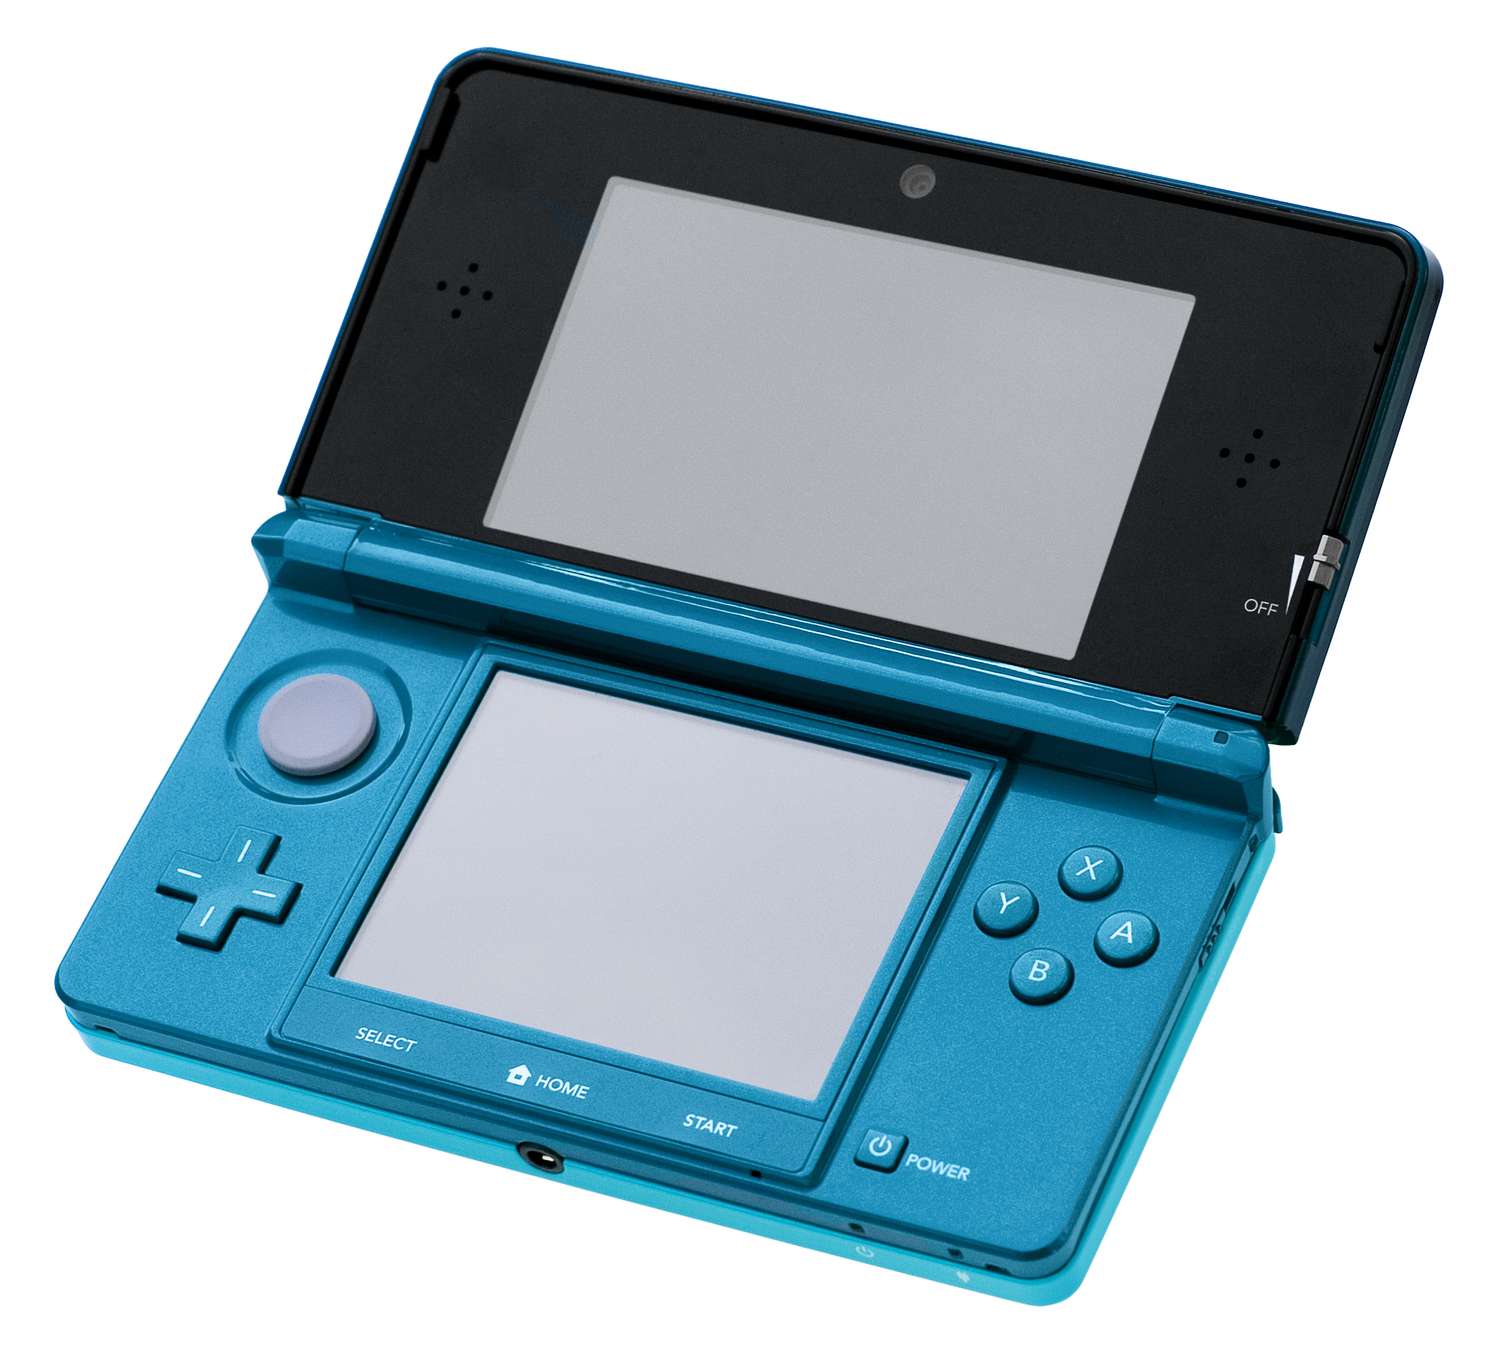
To check if your 3DS supports wireless communication, look for the wireless signal icon on the top screen of your device. This icon resembles three curved lines and indicates that your 3DS is capable of connecting to Wi-Fi networks.
If you don’t see the wireless signal icon on your 3DS, there could be a few reasons why wireless communication is not available. Here are some troubleshooting steps you can take:
1. Check your device’s settings: Access the System Settings on your 3DS by tapping on the system settings icon on the home screen. From there, navigate to the Internet Settings section and verify that the wireless communication option is enabled.
2. Update your system software: Outdated system software can sometimes cause issues with wireless communication. Ensure that your 3DS is running the latest firmware by going to System Settings > Other Settings > System Update. Follow the on-screen instructions to update your device’s software if necessary.
3. Verify Wi-Fi compatibility: Some older 3DS models may not support all Wi-Fi frequencies. Check the specifications of your 3DS model to ensure it is compatible with the Wi-Fi network you are trying to connect to.
4. Reset network settings: If all else fails, you can try resetting your network settings. Access the System Settings on your 3DS, go to Internet Settings, and select the connection that you are having trouble with. Choose “Delete Settings” to remove the network connection. Then, attempt to reconnect to the Wi-Fi network and see if wireless communication is enabled.
By following these steps, you can ensure that your 3DS is compatible with wireless communication and troubleshoot any issues that may arise. Once you’ve confirmed compatibility, you’ll be ready to move on to the next step: enabling wireless communication.
Step 2: Enable Wireless Communication
Enabling wireless communication on your 3DS is a simple process and allows you to connect to Wi-Fi networks for online gaming, downloading software updates, and accessing various online features. By following these steps, you’ll be ready to enjoy the full potential of your gaming device.
Here’s how to enable wireless communication on your 3DS:
- Turn on your 3DS by pressing the power button located on the right-hand side of the device.
- On the Home menu, navigate to the System Settings icon and tap on it.
- In the System Settings menu, you will see various options. Look for the “Internet Settings” option and select it.
- Next, choose “Connection Settings.”
- If you already have a connection set up, you may need to select the existing network. Otherwise, click on “New Connection.”
- Now, choose “Manual Setup” and then select “Search for an Access Point.”
- Your 3DS will scan for available Wi-Fi networks. Once the scan is complete, a list of networks will be displayed.
- Select your preferred network from the list. If your network is password protected, you will need to enter the password.
- After entering the password, your 3DS will test the connection. If the test is successful, you will be prompted to save the settings.
- Save the settings and proceed. Your 3DS is now enabled for wireless communication.
It’s important to note that some older models of the 3DS may require a Wi-Fi USB connector to enable wireless communication. If your device doesn’t have built-in Wi-Fi capabilities, you can purchase a USB connector separately.
Now that you have enabled wireless communication on your 3DS, you can enjoy multiplayer gaming, access the Nintendo eShop, communicate with friends, and download software updates. Take advantage of the online features and make the most out of your gaming experience!
Step 3: Connect to a Wi-Fi Network
Once you have determined that your 3DS is compatible with wireless communication and enabled it, the next step is to connect to a Wi-Fi network. Follow these simple steps to get connected and start enjoying online features and multiplayer gaming:
1. Access the System Settings: From the home screen, tap on the “System Settings” icon. It is located on the top left corner of the bottom screen.
2. Navigate to Internet Settings: Scroll through the options in the System Settings menu and find the “Internet Settings” tab. Tap on it to proceed.
3. Select Connection Settings: In the Internet Settings menu, you will see various connection options. Look for the “Connection Settings” option and tap on it.
4. Choose an Available Connection: The next screen will display a list of available Wi-Fi networks. Select the network you wish to connect to. If the network is secured, you may need to enter the correct password.
5. Run a Connection Test: After selecting the Wi-Fi network, the system will automatically run a connection test. This test will confirm if your 3DS is successfully connected to the network and can access the internet.
6. Save the Connection: If the connection test is successful, you will be prompted to save the connection settings. Tap on “Save” to finalize the setup.
7. Enjoy Online Features: Once the connection is saved, your 3DS will be connected to the Wi-Fi network. Now you can access online features such as the Nintendo eShop, online multiplayer gaming, and software updates.
Remember to keep your 3DS within range of the Wi-Fi network to maintain a stable connection. You can also add and manage multiple Wi-Fi connections in the Connection Settings menu if needed.
Troubleshooting Tips
If you’re experiencing issues with enabling wireless communication on your 3DS, don’t worry! Here are some troubleshooting tips to help you get back on track:
1. Check your internet connection: Make sure you are connected to a stable Wi-Fi network. Weak or intermittent internet connections can cause problems with wireless communication. Try moving closer to your router or resetting your network if needed.
2. Update your system software: Outdated software can sometimes interfere with wireless communication. Check for any system updates and install them on your 3DS. This can help resolve any compatibility issues and improve the overall performance of your device.
3. Remove any obstacles: Physical obstructions like walls or large objects can weaken the Wi-Fi signal. Ensure that there are no barriers between your 3DS and the Wi-Fi router. This will ensure a strong and uninterrupted wireless connection.
4. Restart your 3DS: Sometimes, a simple restart can resolve minor glitches and connectivity issues. Turn off your 3DS and then turn it back on. This can refresh the system and potentially resolve any temporary issues affecting wireless communication.
5. Double-check your settings: Verify that you have properly enabled the wireless communication feature on your 3DS. Go to the System Settings menu and navigate to the Internet Settings option. Check if the wireless communication is turned on and properly configured.
6. Reset network settings: If none of the above steps work, you can try resetting the network settings on your 3DS. This will erase all saved Wi-Fi connections and restore the default network settings. Be aware that you will need to set up your Wi-Fi connection again after performing this step.
7. Contact customer support: If you have tried all the troubleshooting steps and are still experiencing issues, it may be best to reach out to the customer support team for further assistance. They can provide personalized guidance and help you resolve any complex wireless communication issues.
By following these troubleshooting tips, you should be able to diagnose and resolve any problems with enabling wireless communication on your 3DS. Enjoy seamless connectivity and make the most out of your gaming experience!
Conclusion
Enabling wireless communication on your 3DS opens up a world of possibilities and enhances your gaming experience. Whether you want to connect with friends, participate in multiplayer battles, or access additional content, having wireless capabilities on your 3DS is crucial.
By following the steps outlined in this guide, you can easily enable wireless communication on your 3DS and make the most out of your gaming device. Remember to ensure your 3DS is charged, turn on the Wi-Fi feature, and connect to a wireless network with internet access. Additionally, don’t forget to explore the various online features available to you, such as online gaming, downloads, and access to the eShop.
With wireless communication enabled, you have the ability to connect with other players, expand your gaming library, and immerse yourself in the exciting world of online gaming. So, don’t wait any longer – unlock the full potential of your 3DS by enabling wireless communication today!
FAQs
1. Can I enable wireless communication on my 3DS?
Yes, you can enable wireless communication on your Nintendo 3DS. The 3DS comes equipped with built-in wireless capabilities that allow you to connect to the internet, play games with others online, and transfer data between devices.
2. How do I enable wireless communication on my 3DS?
To enable wireless communication on your 3DS, simply go to the settings menu on your device. From there, navigate to the internet settings and choose the option to enable wireless communication. You may need to input your network details, such as the Wi-Fi password, to establish a connection.
3. Can I play multiplayer games on my 3DS using wireless communication?
Yes, the wireless communication feature on your 3DS allows you to play multiplayer games with friends and other players online. You can connect with others locally or via the internet to enjoy multiplayer experiences in a variety of games.
4. Is it possible to transfer data between my 3DS and other devices using wireless communication?
Absolutely! With wireless communication enabled on your 3DS, you can transfer data between your device and other compatible devices. This includes sharing game data, downloading software updates, and even exchanging Mii characters with friends.
5. Are there any precautions I should take when using wireless communication on my 3DS?
While using wireless communication on your 3DS is generally safe, it’s important to keep a few things in mind. Ensure that you are connecting to secure and trusted networks to protect your personal information. Additionally, be aware of your surroundings and be cautious when sharing sensitive data while connected to public Wi-Fi networks.